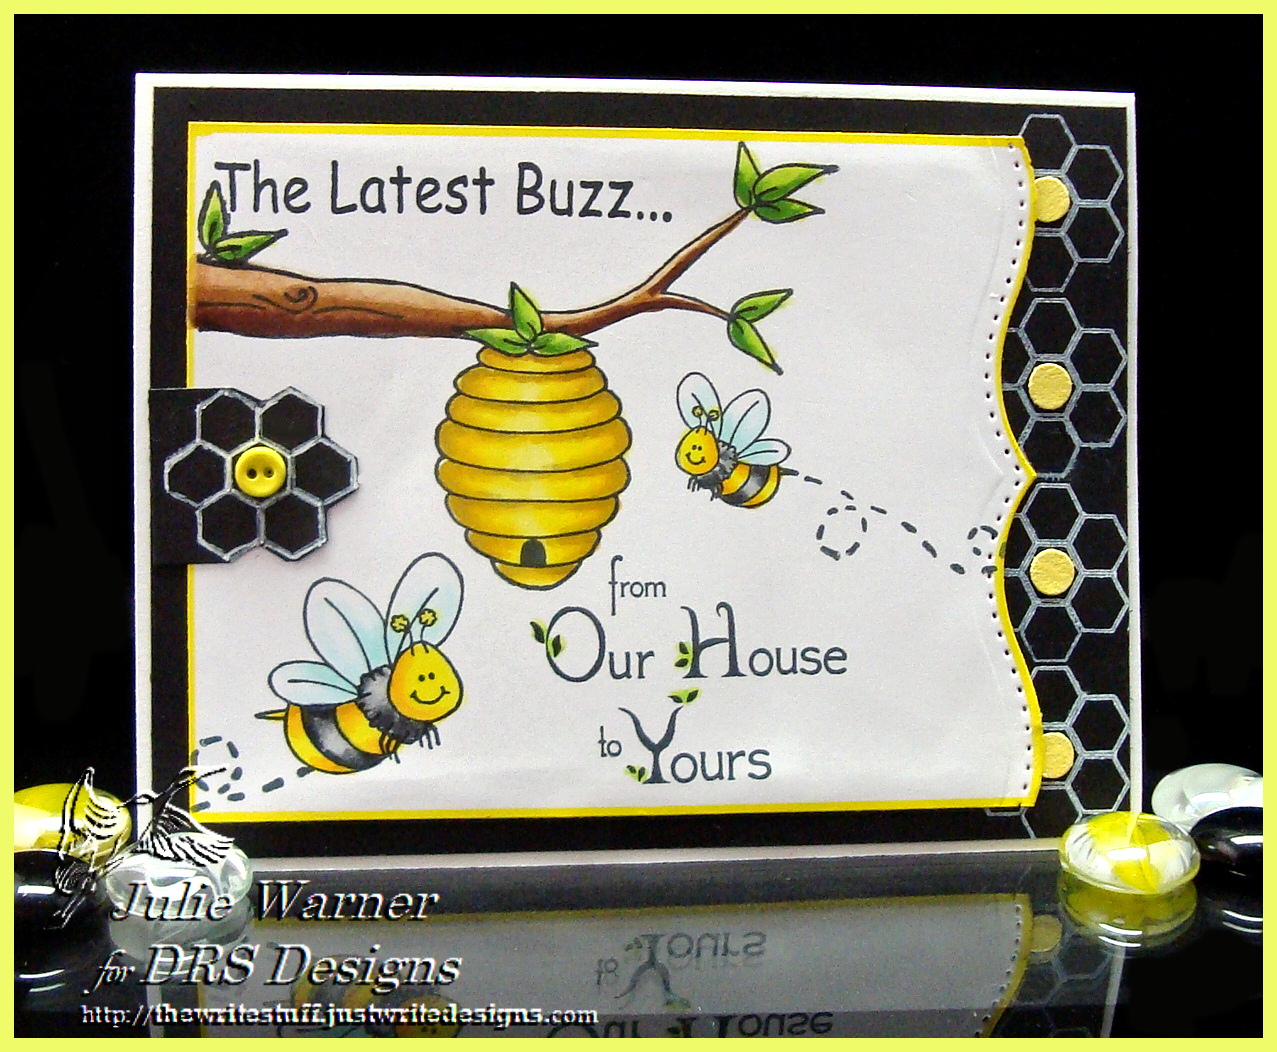

The two challenges today on Splitcoast, the CAS281 (a color challenge) and the TLC490 (stamp, punch) seemed doable as a combination, so that was the direction I went. My card isn’t quite as clean & simple as I originally intended, but it’s close enough for me, since most everything is punched or die cut.
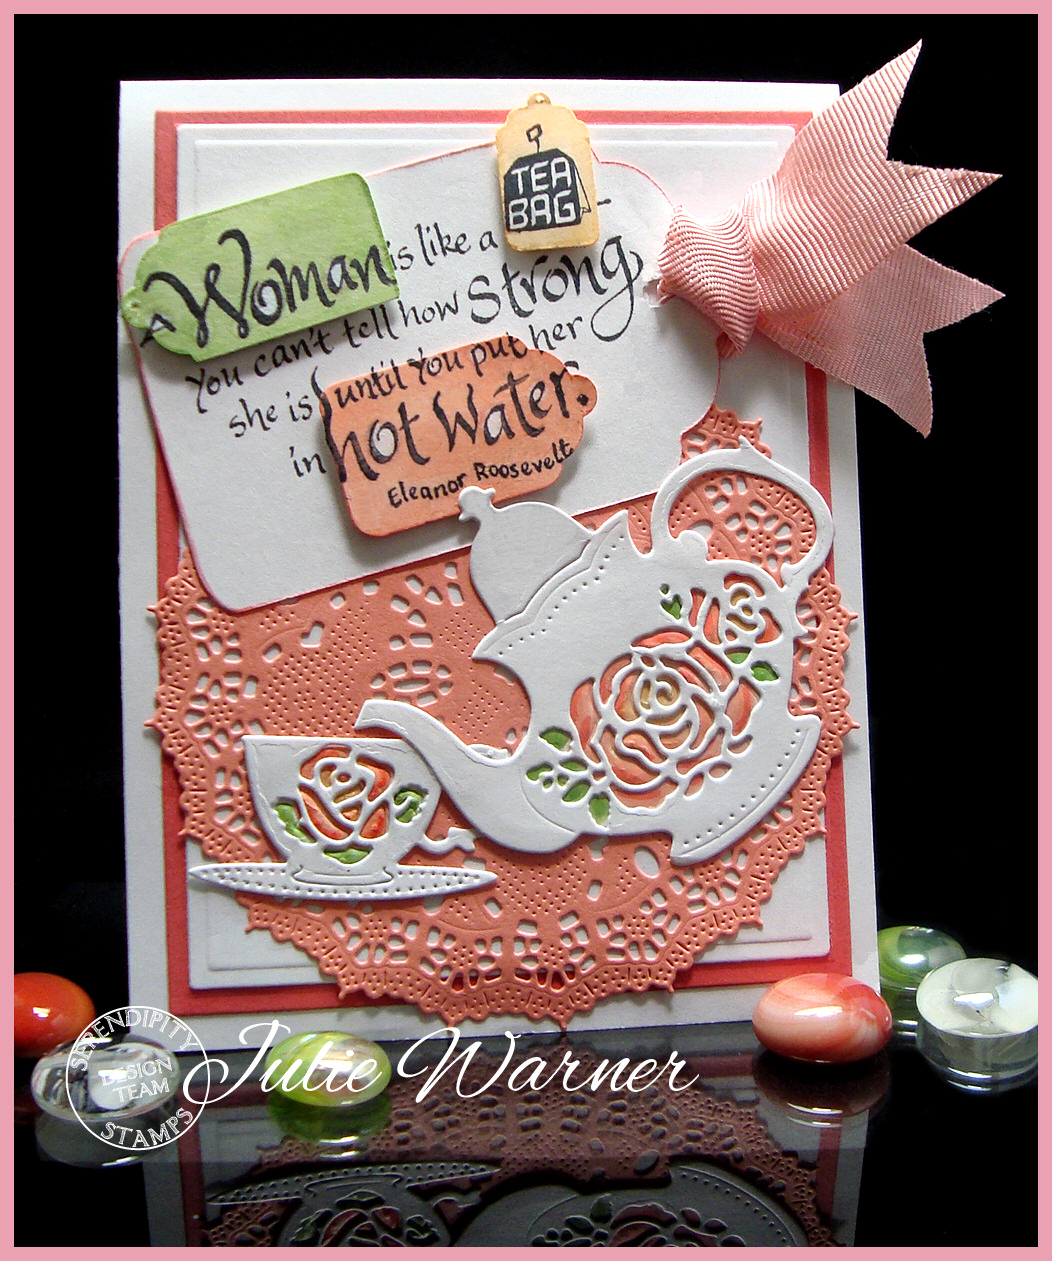
The fun greeting was stamped on a large die cut tag and again a few times on scrap pieces. I used a multi tag punch to punch out parts of the greeting, then added a some color w/ my Copics and popped them up on top of the original greeting. The teapot & cup were die cut and I added a scrap behind the roses parts that I also added color. The peach doily was die cut as well as the white & coral layers.
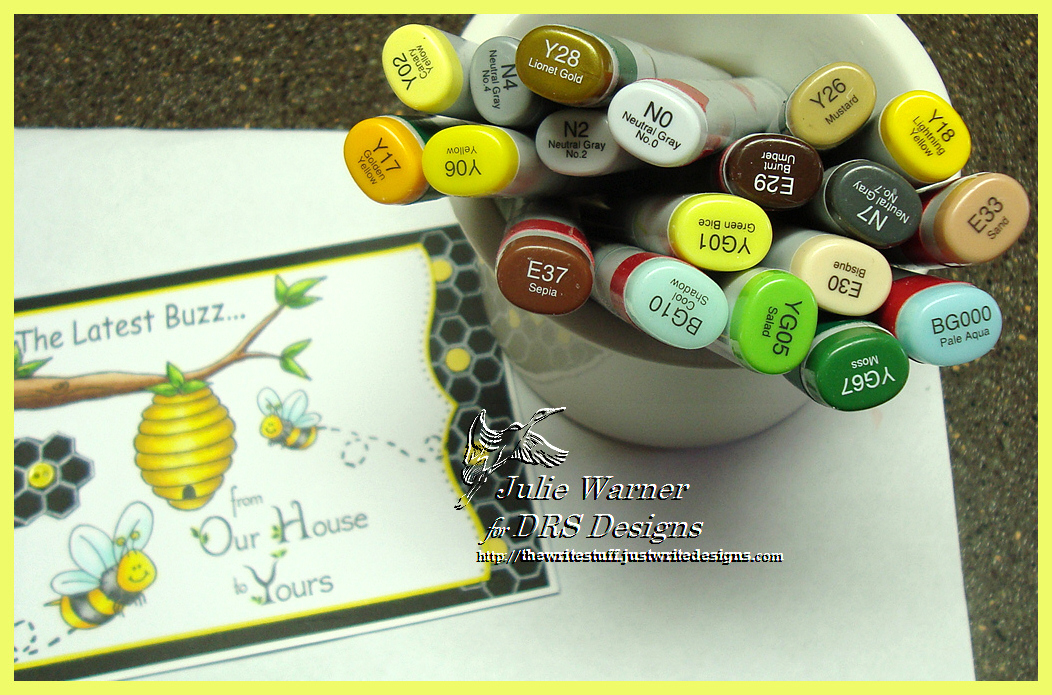
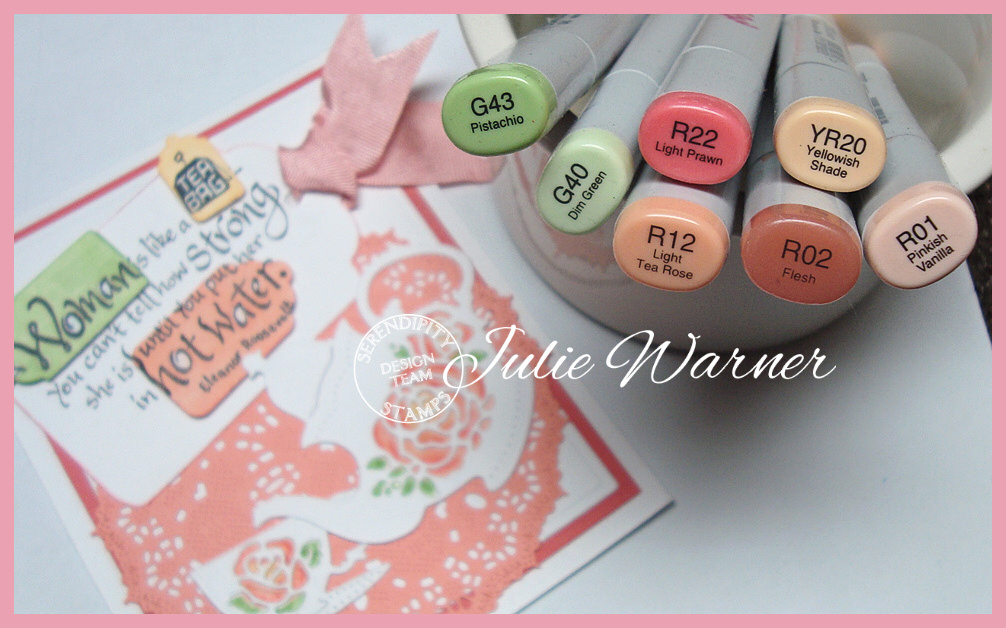
The finished card is 4.25 x 5.50 and these are the Copics I used.
Thanks so much for stopping by!

Supplies:
| Stamps: Serendipity Stamps – A Woman is Like Greeting |
| Paper: X-Press It white, peach, coral |
| Ink: Memento tuxedo black |
| Accessories: Serendipity Teapot & Teacup dies, Copic markers, Spellbinders A2 matting basics A & B dies, multi tag punch (McGill), ribbon, ODBD lg Tag die, Cheery Lynn Kiwi doily die |