 x5
x5
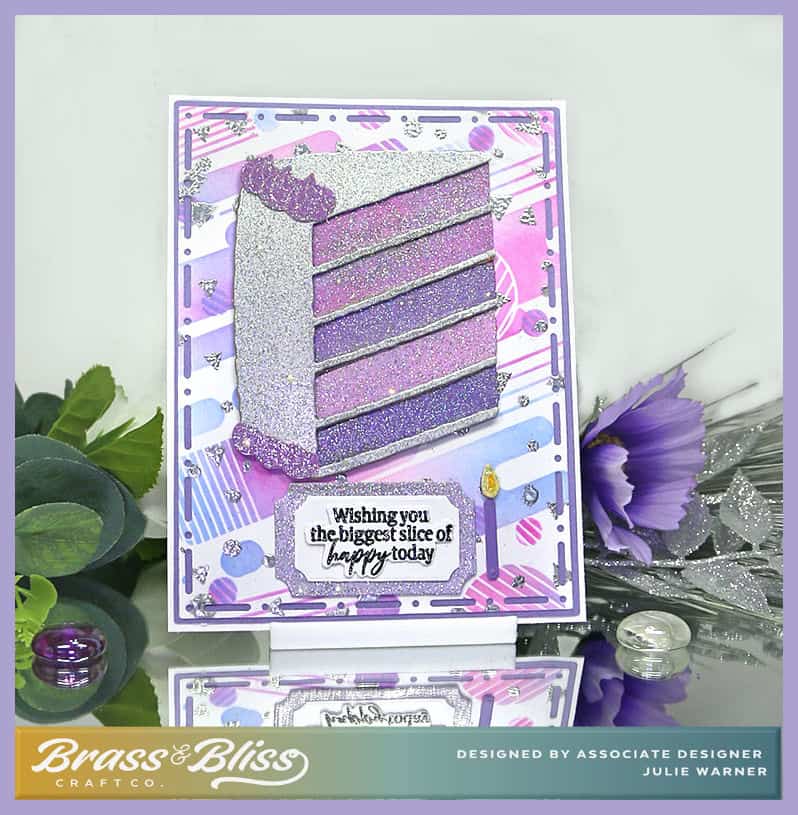
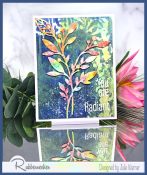
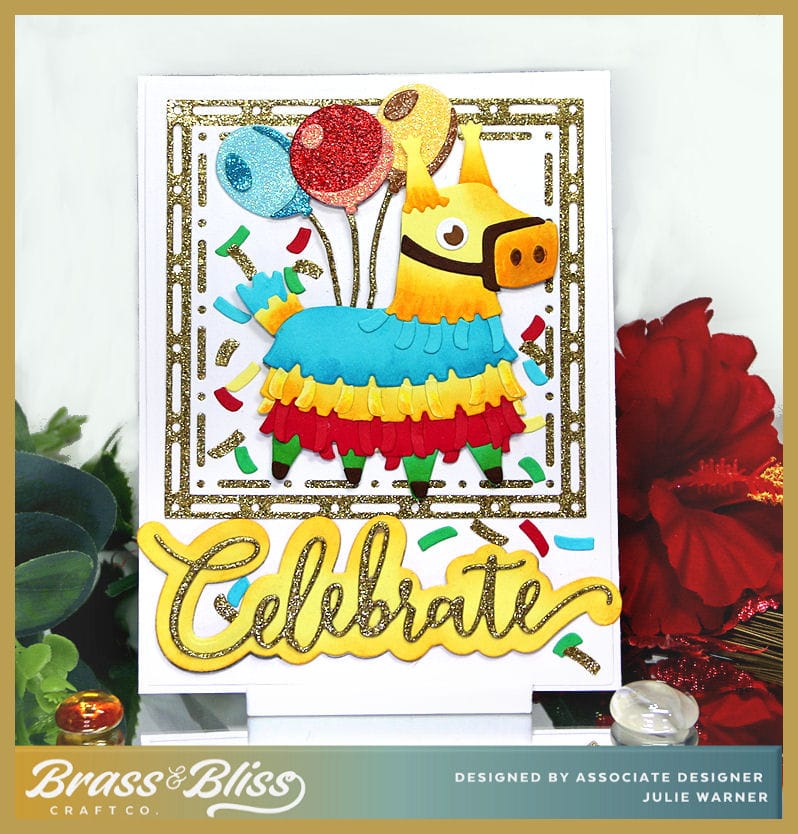
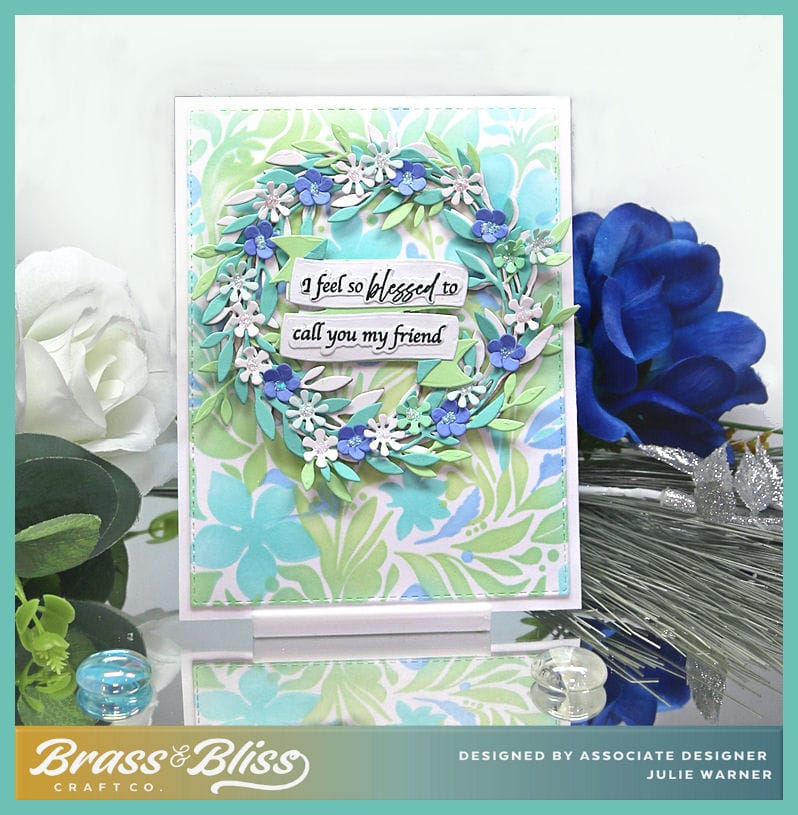
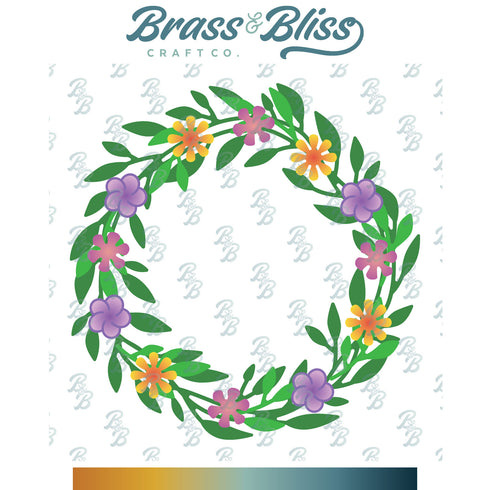
Maybe because it snowed here a couple of days this week and the temps were frigid, this flowery wreath brings a breath of spring air. The background is a 3 part stencil so it can be any color you desire. Then just match the wreath to your colors and you are done. These are a few of my favorite colors.
For the Inspiration Challenge, IC1003, we are visiting Everything Kitchens & their Pinterest Board. I was inspired by THIS plate. I loved the colors & the round plate became a flower wreath.
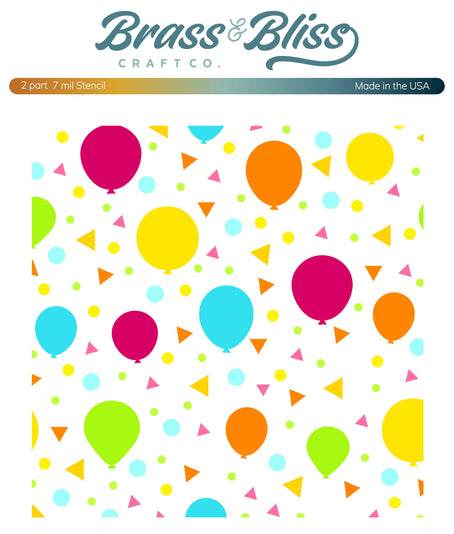
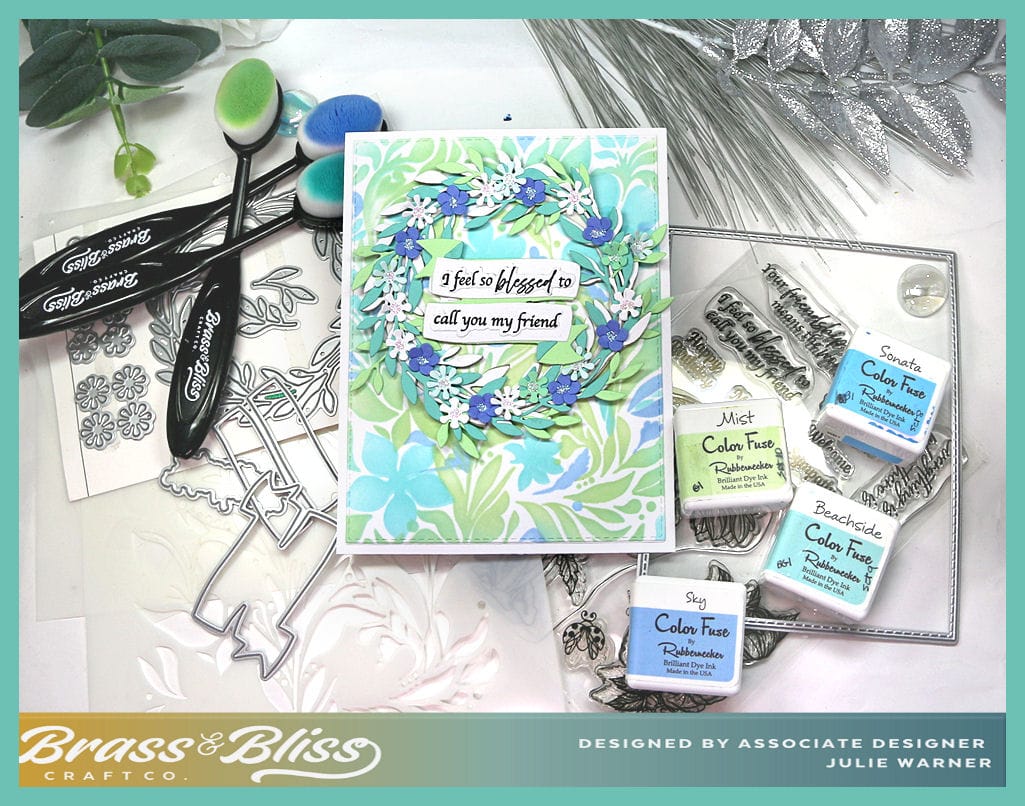
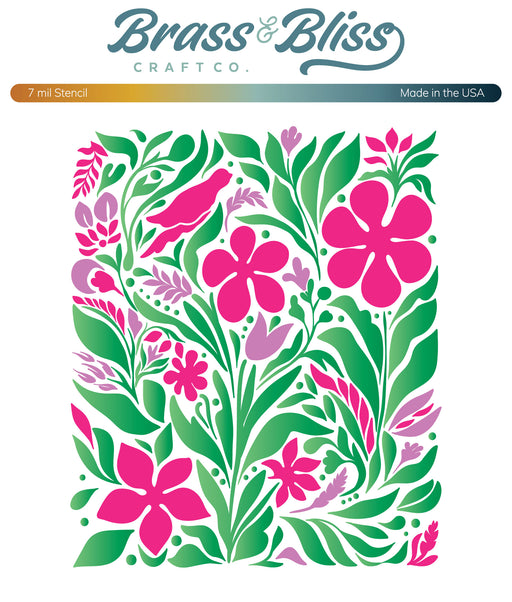
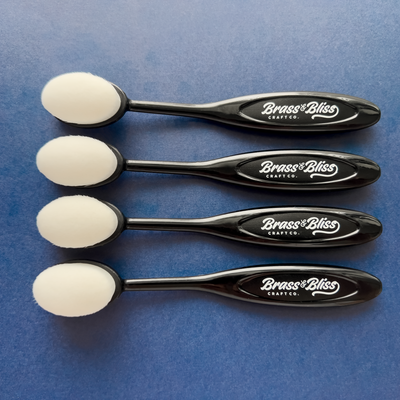
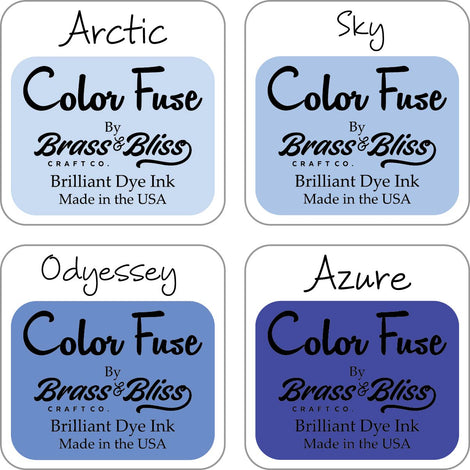
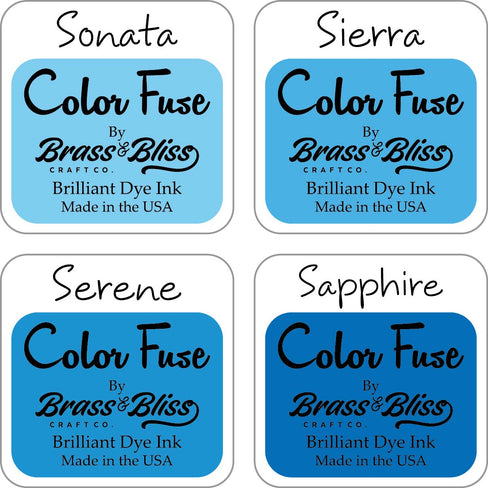
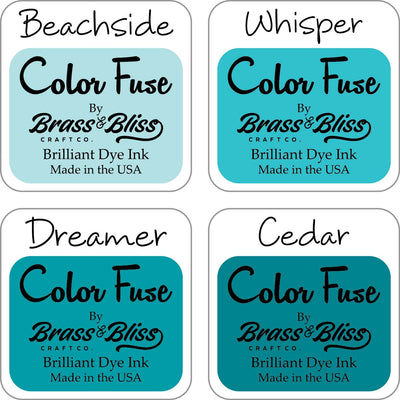
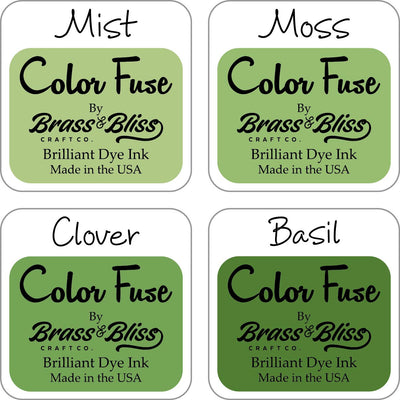
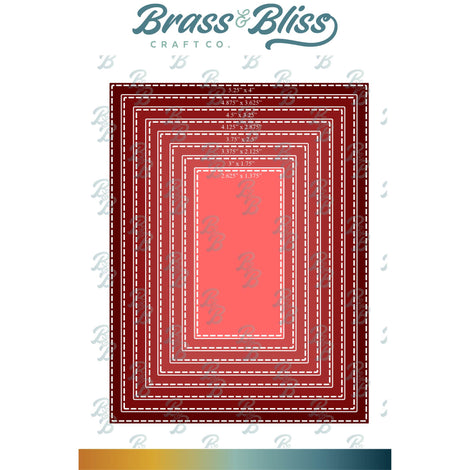
My card started with the die cut white background & a 3 part floral stencil. Stencil 1 is the all over leaves & I used a large stencil brush to add the Mist green on the entire stencil. I went back over the outside edges with the Beachside ink. Stencil 2 is the flowers which I used the Beachside & a little Sonata on. Stencil 3 is some detail leaves, here & there. I used Sky & a little Sonata on them. Then I picked some coordinating colors & die cut the wreath, extra leaves & 3 different flowers. The flowers were shaped just a bit & the wreath is popped up. Some stickles was added to the flower centers. The greeting was die cut & then I used detail scissors to cut the lines apart & added them to the ribbon banner die.
Thanks so much for stopping by!

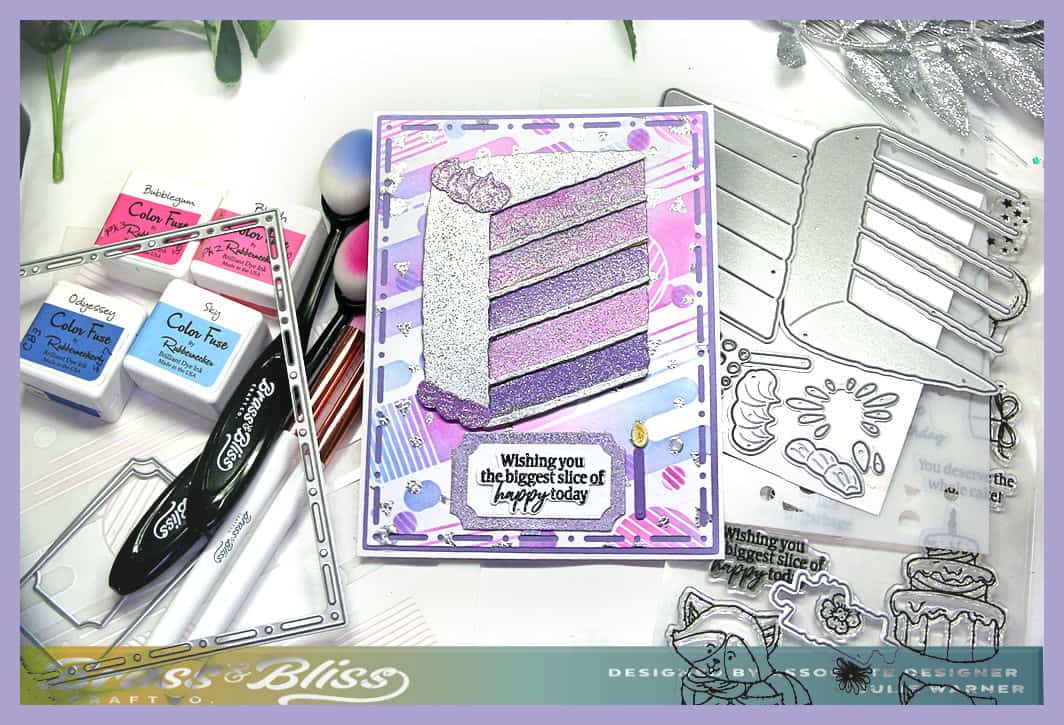
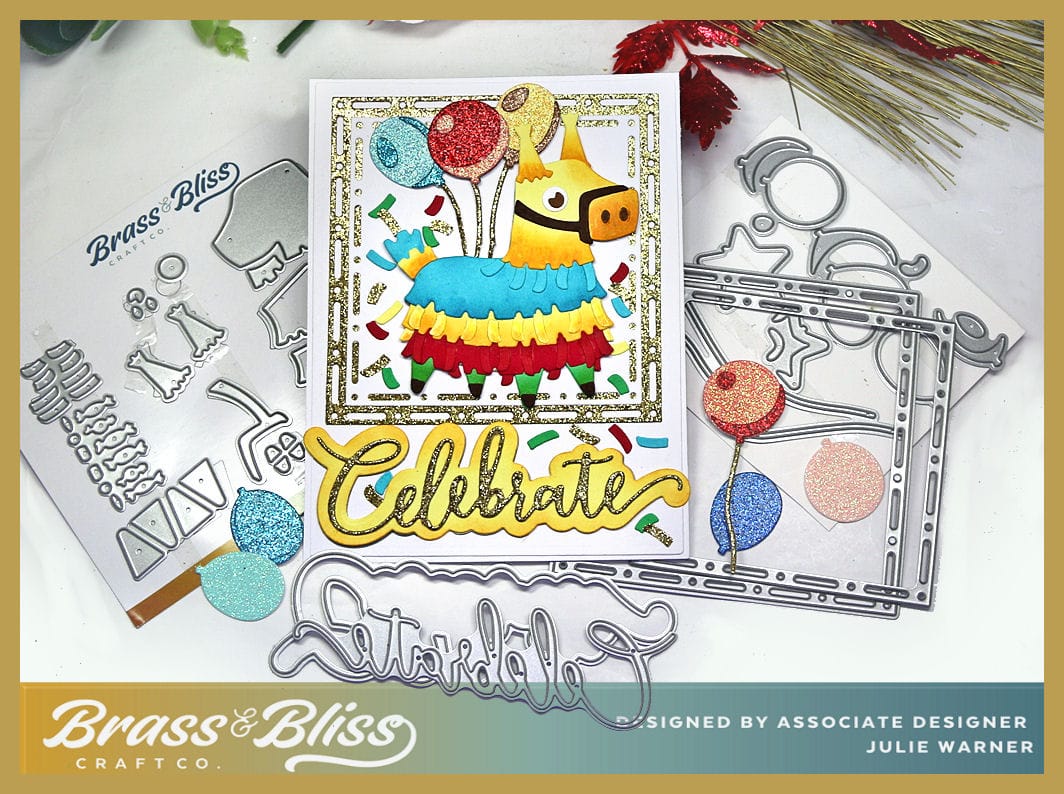
Supplies: (click the names below the pictures to take you to the products)
| Stamps: Brass & Bliss: Welcome Flower (greeting) |
| Paper: Staples 110# white, mint green, pale turquoise, lt teal, cornflower blue |
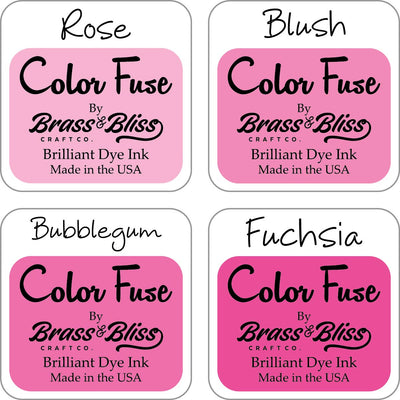
| Ink: Brass & Bliss: Color Fuse inks Set #7, Set #8, Set #9, Set #10, Memento tuxedo black |
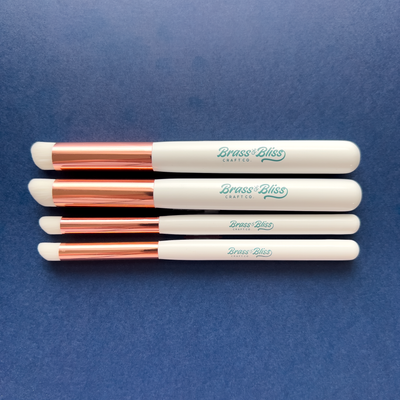
| Accessories: Brass & Bliss: Greenery Wreath, Welcome Flower, Rectangle Stitch, Ribbon Banner dies, Lg Blending Brushes, Floral Abstract Stencil, MISTI, Stickles |
|
|

|

|
|
|
|
|
|
|
|

|

|

|

|

|

|
You might also like: