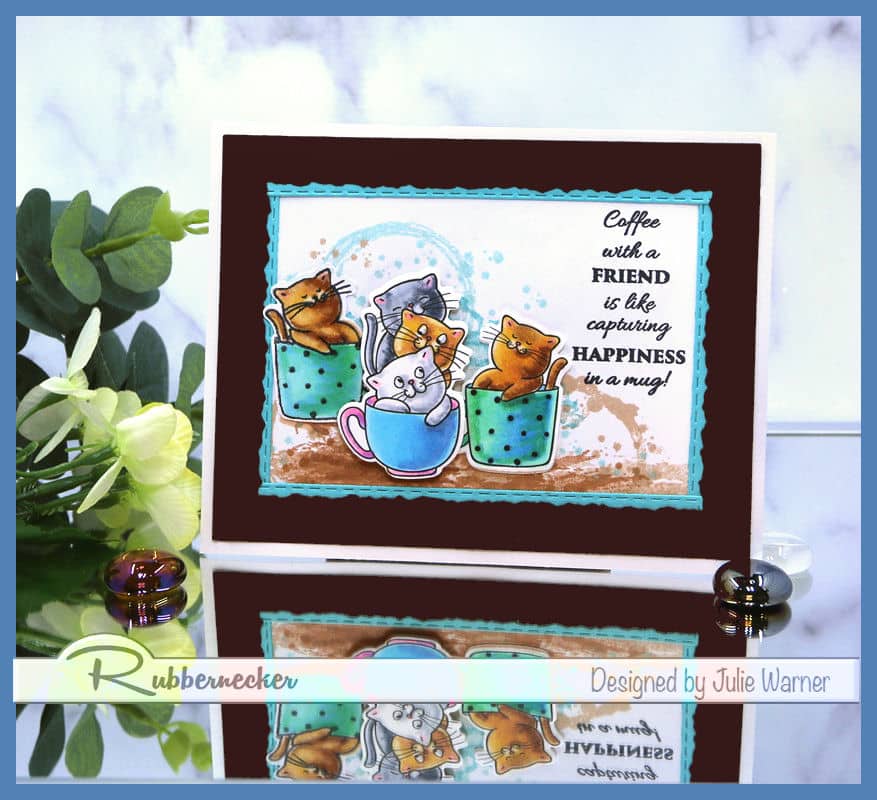
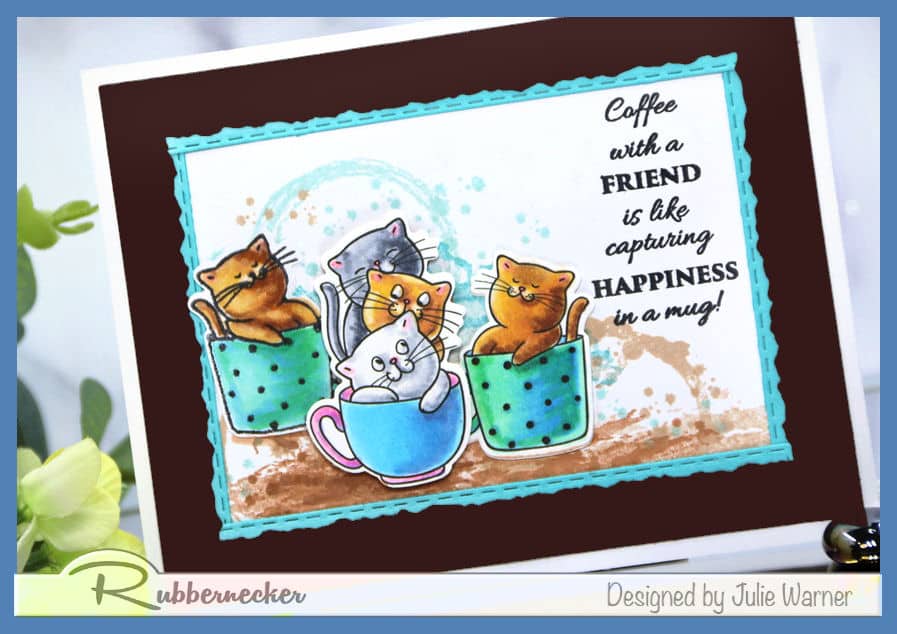
It’s my pleasure to host the Splitcoast Inspiration Challenge (IC800) this week & the site I chose is Design Stack & their Pinterest Boards. I found THIS cute pic & used it for my inspiration.
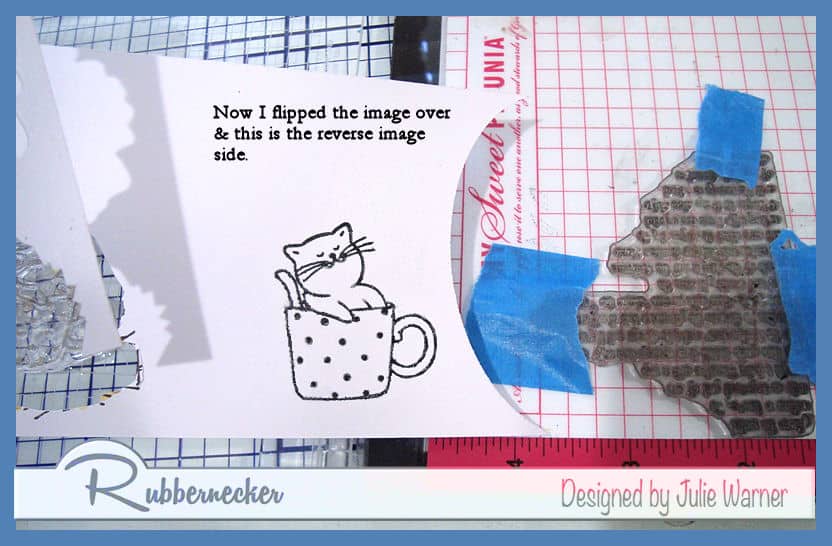
For my card, I also have a fun & useful tutorial. It’s really simple & I’m a little surprised it took me this long to figure it out. This revelation actually came about because of a little accident & I had an “aha” moment when it happened. My tutorial involves the mirror image little cat on the far left. But the best part is, not only is he a stamped mirror image of the cat on the right, he was also die cut using the same die. So after I colored & die cut the cat on the right & the 3 in the center, I really wanted a mirror image cat. I’ve done the mirror image stamping quite a bit so that part was easy. Since these are clear stamps, I reasoned that the back of a larger clear stamp would be the best choice for my mirror image. I will mention, right off the bat, a Misti is essential to this technique. So here’s what I did: (click on any pic to enlarge)
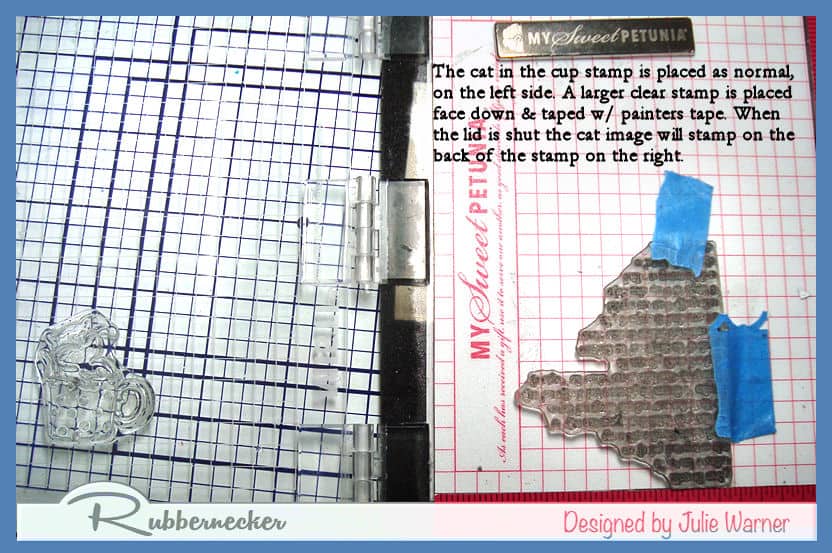
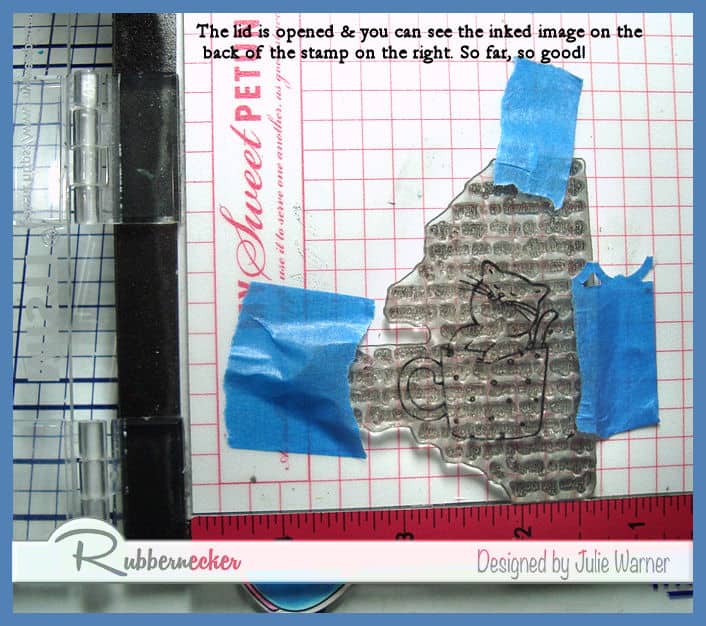
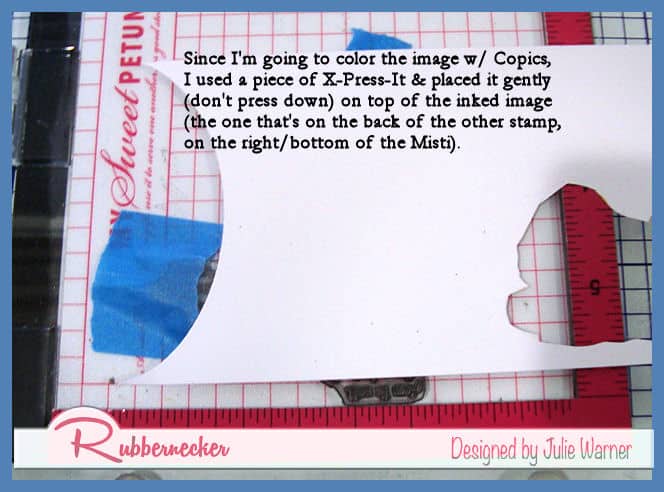
Up to this point is the normal process for mirror image stamping. The difference is since it’s in the Misti & I didn’t clean off the ink on the original image (that was the accident part), it stamped the image on both sides of the card stock.
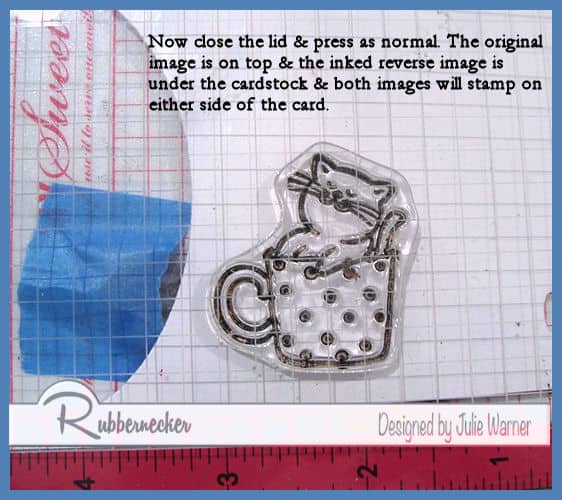
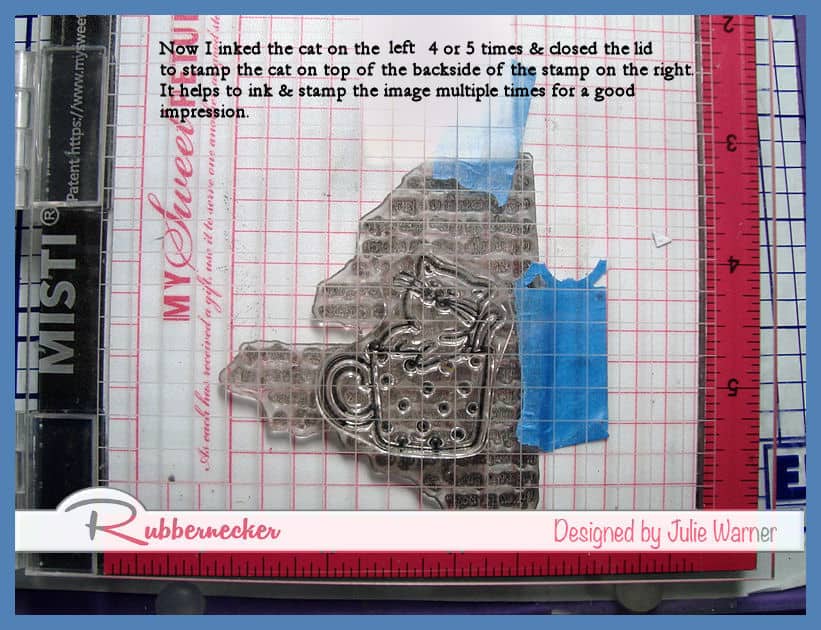
This where the “aha” moment kicked in. Since it was stamped using the Misti, the stamped image is exactly in the same spot on both sides. I taped the die to the right (normal) side..the side the die actually fits.

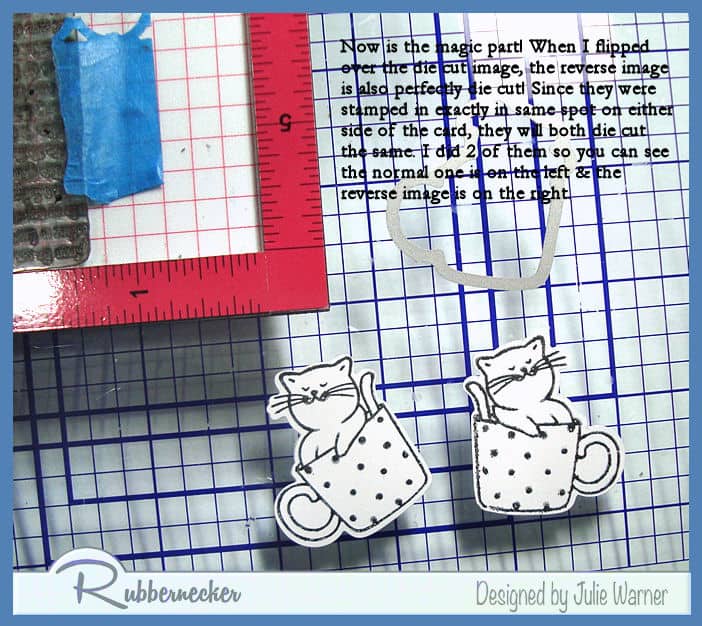
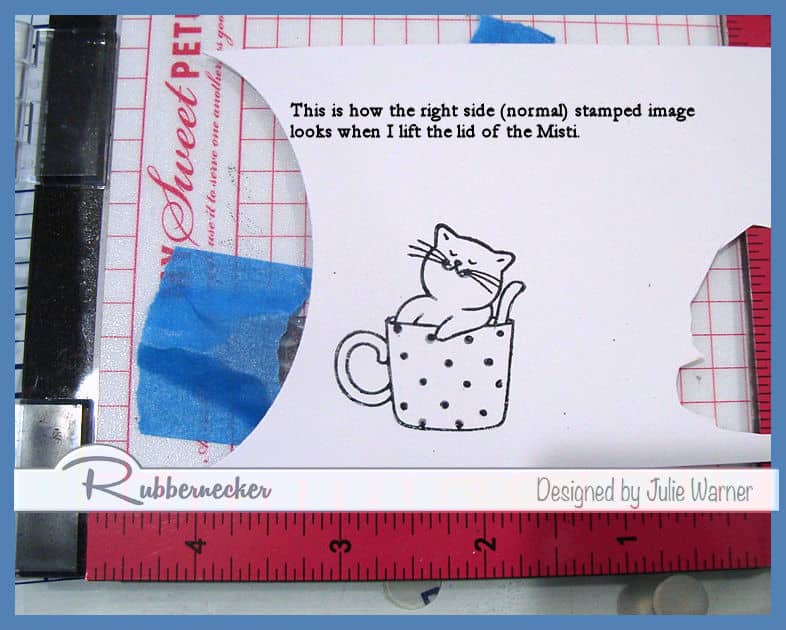
Finished! I did 2 of these to show you the right side & the mirror side. With this little trick it’s now possible to die cut a mirror image. Yay! No fussy cutting! I will mention that I made sure to have a smooth surface (I used the metal shim under mine) for the mirror image (cutting side). Otherwise you’ll have ridges if your cutting plate is well used.
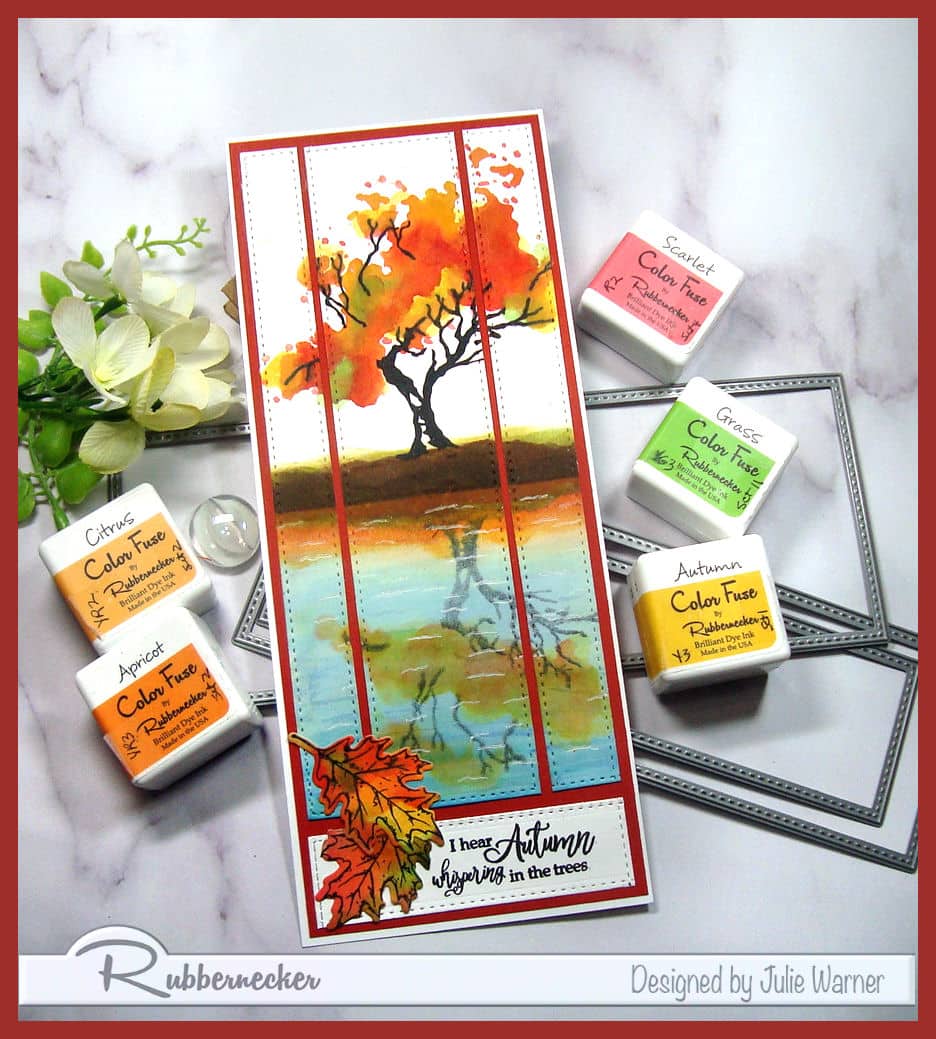
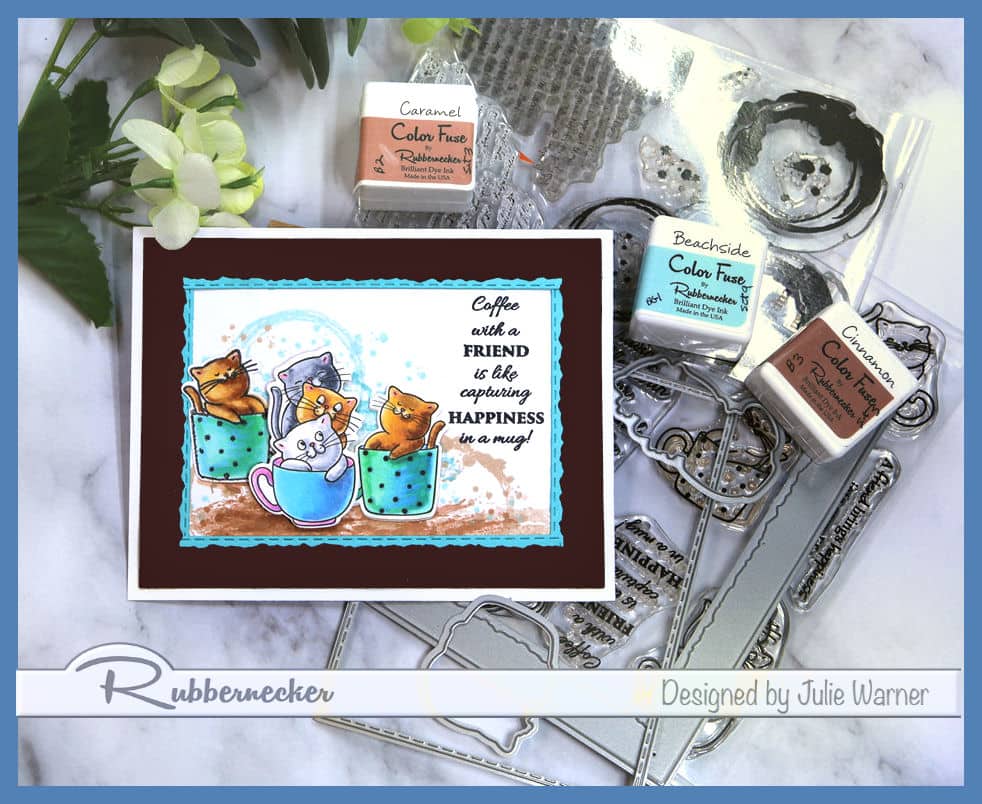
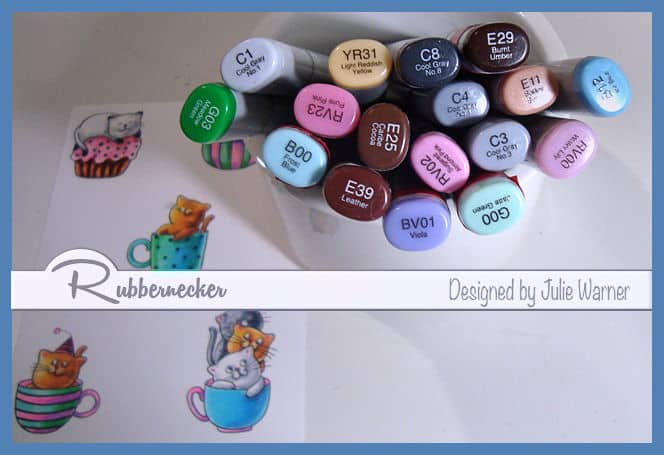
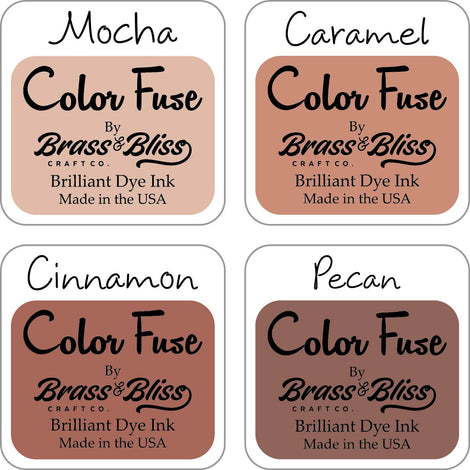
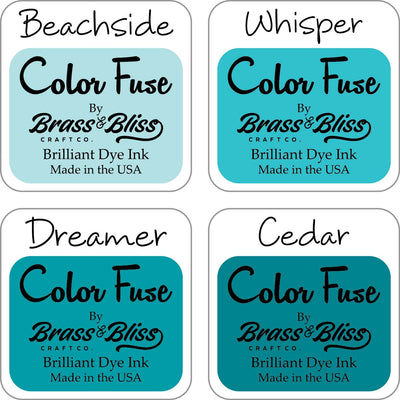
The background was stamped w/ the Color Fuse inks & another coffee set. Here are the Copics I used.
Thanks so much for stopping by!

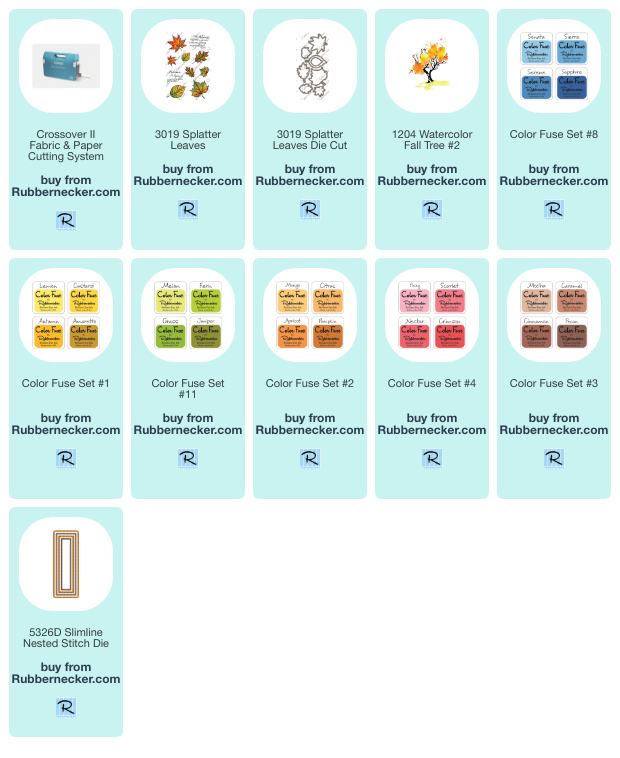
Supplies:
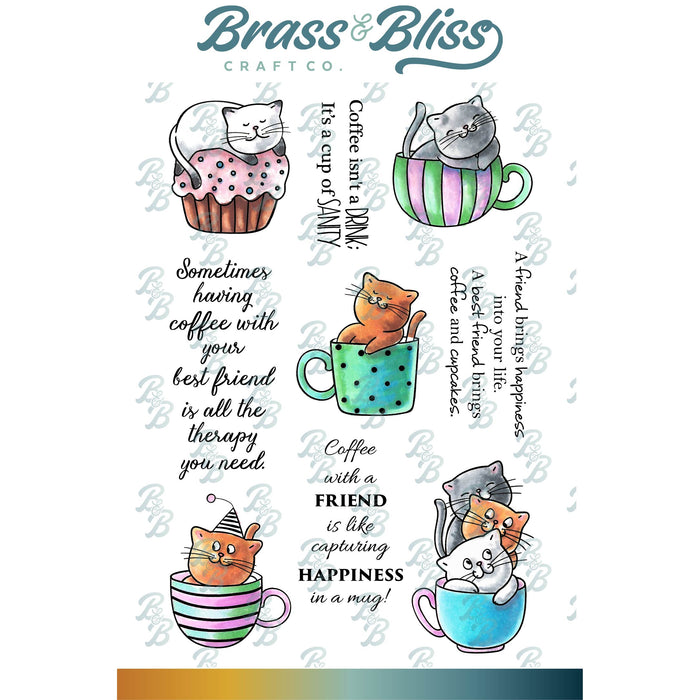
| Stamps: Rubbernecker Stamps: Cats in Coffee Cups (retiring but still available at a great price!), Splatter Stains, Watercolor Splatter set |
| Paper: Staples 110# white, chocolate brown, turquoise,X-Press It Blending Card |
| Ink: Memento tuxedo black, Rubbernecker Stamps: Color Fuse ink set #3, set #9 |
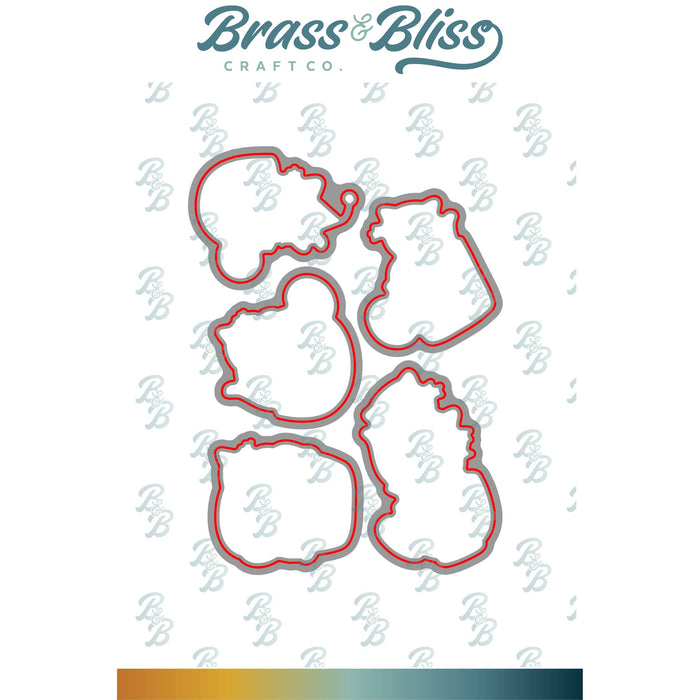
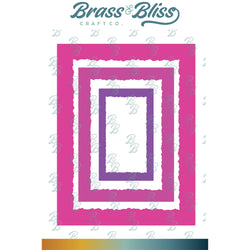
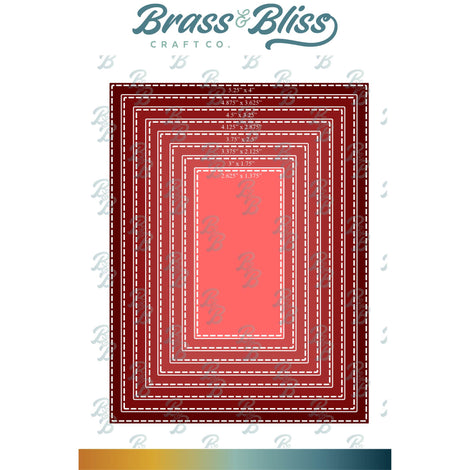
| Accessories: Rubbernecker Stamps: Rectangle Stitch, Cats in Coffee Cups, Deckle Frame dies, MISTI, Copic Sketch Markers, Crossover II |
|
|

|

|
|
|
|
|

|

|

|

|

|