Follow Me On Pinterest justwritedesign - Julie
Subscribe by Email
Loading
Archives
Categories

Posts Tagged ‘pigs’


Welcome to 2021!  Are you as happy to say adios to 2020 as I am? Seriously, all I can say to 2020 is don’t let the door hit you on the way out. And it’s time for the Splitcoaststampers Fan Club Jan Christmas Challenge! We have a year of new Christmas Challenges!  You’ll need to be Fan Club member but that’s easy…just click the blue link to find out how. Bet you’re wondering what the challenge theme is..I’d love to tell you but you’ll have to go see for yourself. Hint..I’m really loving the new theme for this year.

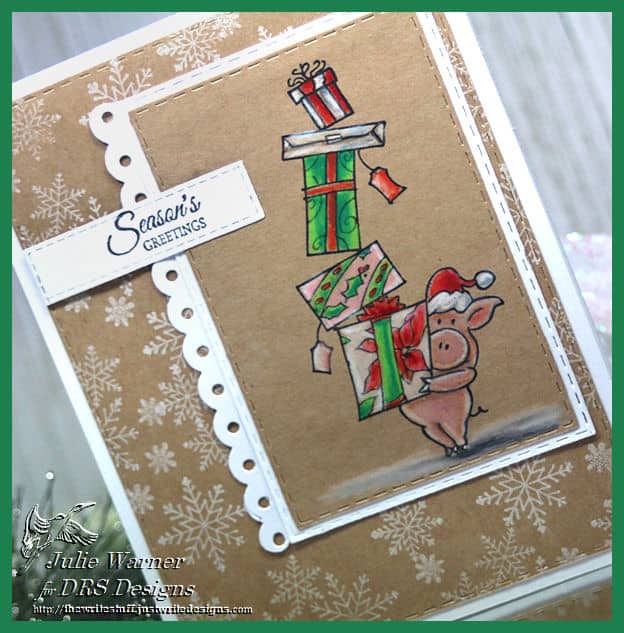
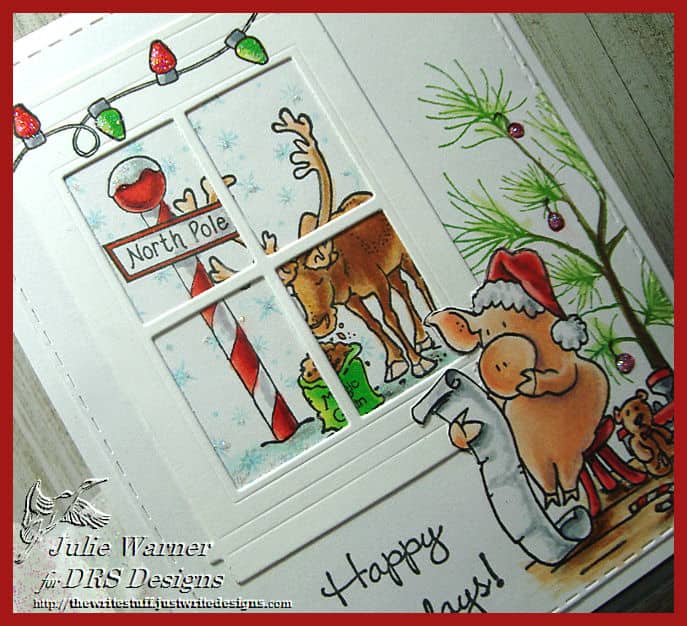
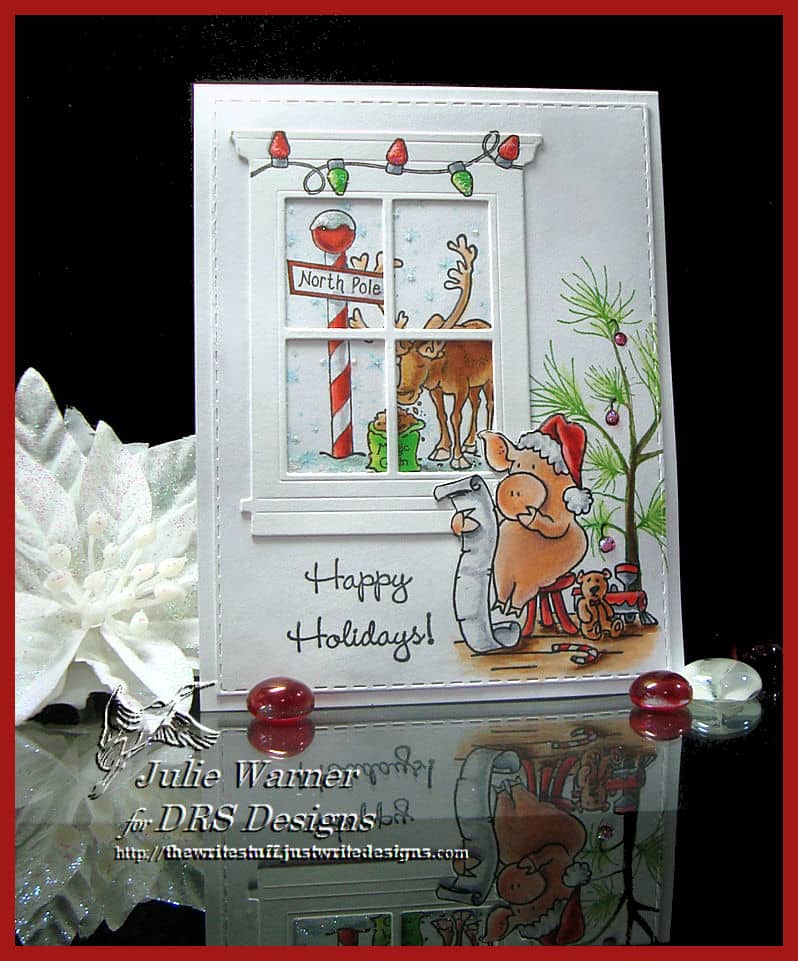
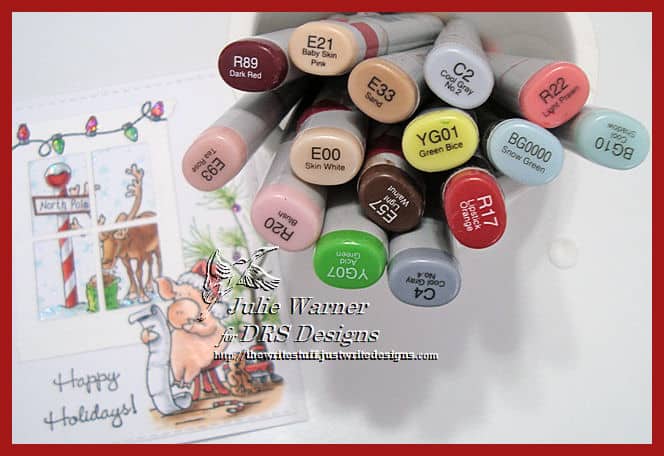
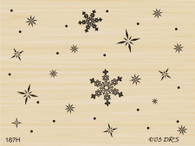
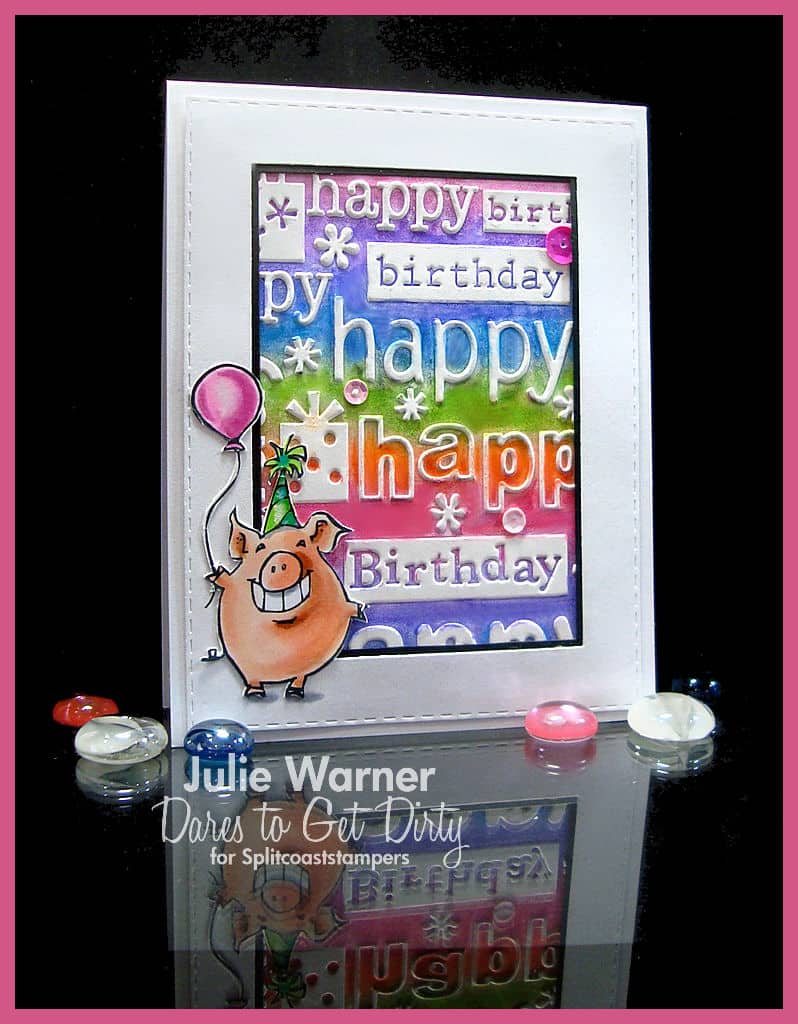
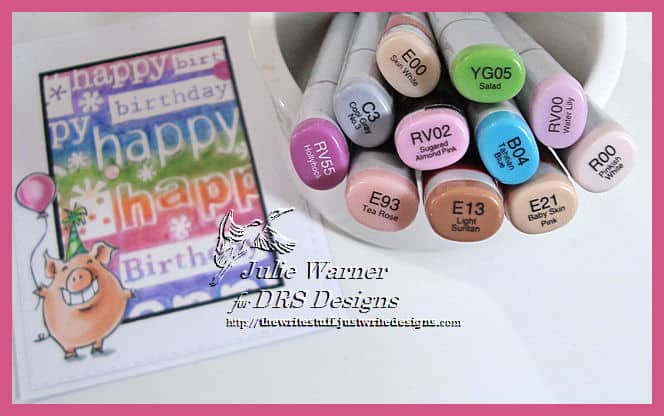
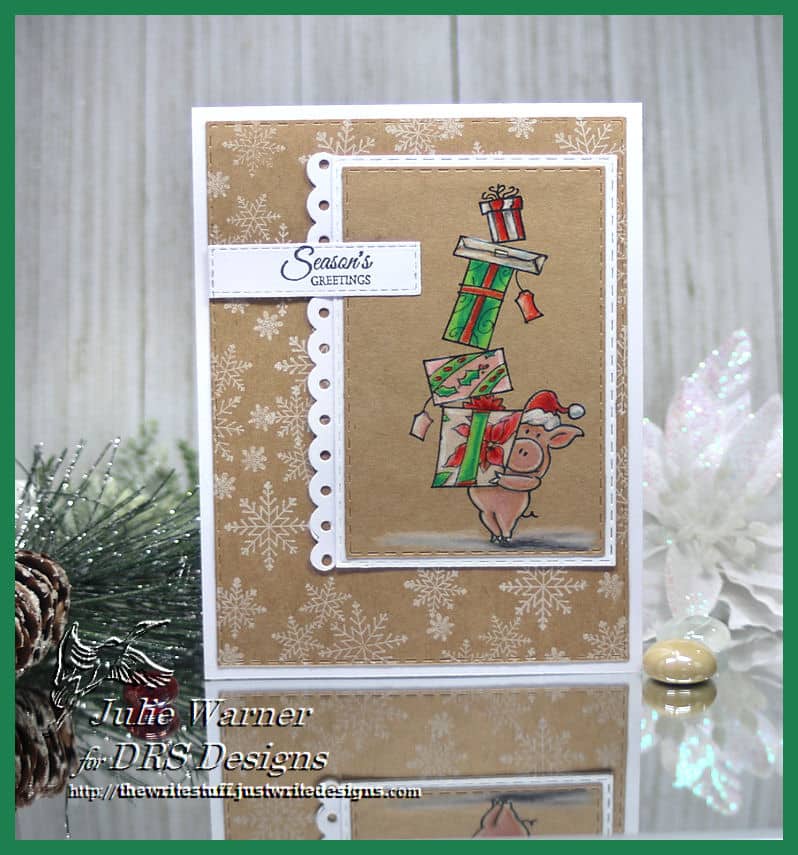
My card is pretty easy…I stamped the piggy w/ presents onto kraft & colored it in using Prismacolor pencils. I really love the look of Prismas on kraft & especially when paired w/ a bit of white. The snowflakes were stamped on the large kraft layer using Distress picket fence ink then I added a white layer behind piggy & a scalloped edge down the left.
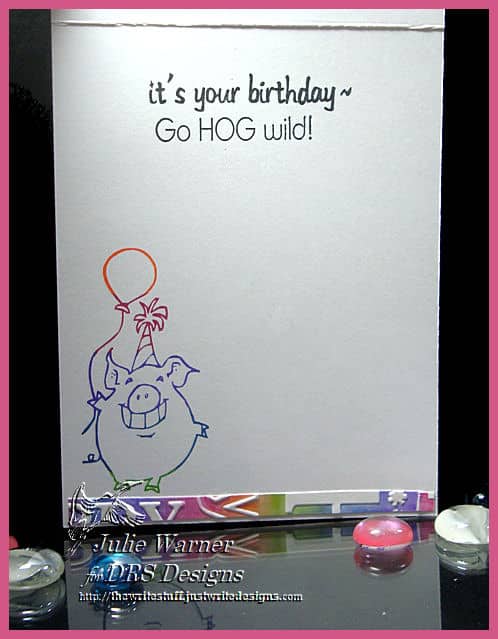
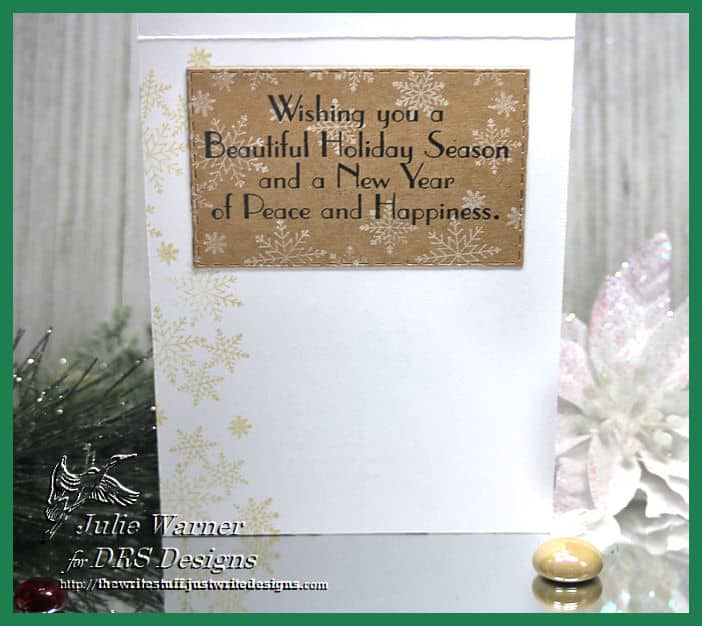
Here’s the inside. I figured the greetings would work well for Christmas, New Year’s or any winter holiday.


Thanks so much for stopping by!
Julie2 sig

Supplies:

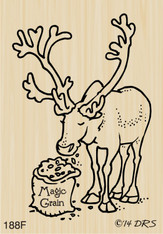
Stamps: DRS Designs –  Christmas Leonard, Tiny Season’s Greetings , Interlocking Snow , Beautiful Holiday Greeting
Paper:  white,  kraft
Ink: Memento tuxedo black, Distress ink picket fence
Accessories: Rubbernecker Rectangle Stitch, Nested Scallop w Holes dies,  Prismacolor Pencils

Welcome to October & to the Splitcoaststampers Fan Club October Christmas Challenge! You’ll need to be Fan Club member but that’s easy…just click the blue link to find out how. Bet you’re wondering what the challenge theme is..I’d love to tell you but you’ll have to go see for yourself.

My card is all on one layer, so there was a little masking going on. I started by stamping & coloring Leonard, then I masked him & stamped the pine bough to resemble a little Charlie Brown Christmas tree & added a few ornaments. I die cut the window then used a reverse mask of it to stamp the North Pole & reindeer. The snow bg was stamped w/ the tumbled glass. I thought it needed something so I stamped part of the light string on the top of the window then added stickles to the lightbulbs & snowflakes. I did a little cutting around the top of Leonard in order to insert the corner of the window frame underneath him.

Here are the Copics I used.

Thanks so much for stopping by!


Supplies:

Stamps: DRS DesignsLeonard Pig’s Christmas List ,Feeding Reindeer North Pole SignSnow BgChristmas Light StringSm. Happy Holidays 
Paper: Staples 110# white
Ink: Memento tuxedo black, Distress ink tumbled glass
oAccessories:  Rubbernecker Rectangle StitchWindow 4 Pane dies, Stickles, Copic markers

It’s the last day of the Splitcoast Dare to Get Dirty Challenges & I made this to fit a couple of the challenges..Janine’s Challenge & Polly’s Challenge. For all the details go to the Dare to Get Dirty Forum..but you’ll need to be a Fan Club member (click the blue link to find out how).

This is probably one of the quickest cards I’ve made in a while. The bg & white frame were already made & had been hanging around in my stash for quite awhile. If I remember correctly, I brayered the inside of the embossing folder w/ a rainbow ink pad then embossed it. Party Pig is the only thing I had to do. Just colored & cut him out. His hat was the only thing that didn’t come out right. Let’s just say…beware of Copics w/ the wrong caps on them. People who have watched me color have asked why I’m so quick to put the caps back on when I’m using them. This is why. If I leave the caps off, I seem to always get them mixed up. Oh well! 

Here’s the inside & the Copics I used. (The green one was the culprit! Bad marker, bad marker!)

Thanks so much for stopping by!


Supplies:

Stamps: DRS Designs: Party Pig (inside: Sweet BirthdayGo Hog Wild)
Paper: Staples 110# white
Ink: Memento tuxedo black, Kaleidacolor spectrum
Accessories: Rubbernecker Rectangle Stitch diesCopic markers, sequins, Cuttlebug Happy Birthday embossing folder