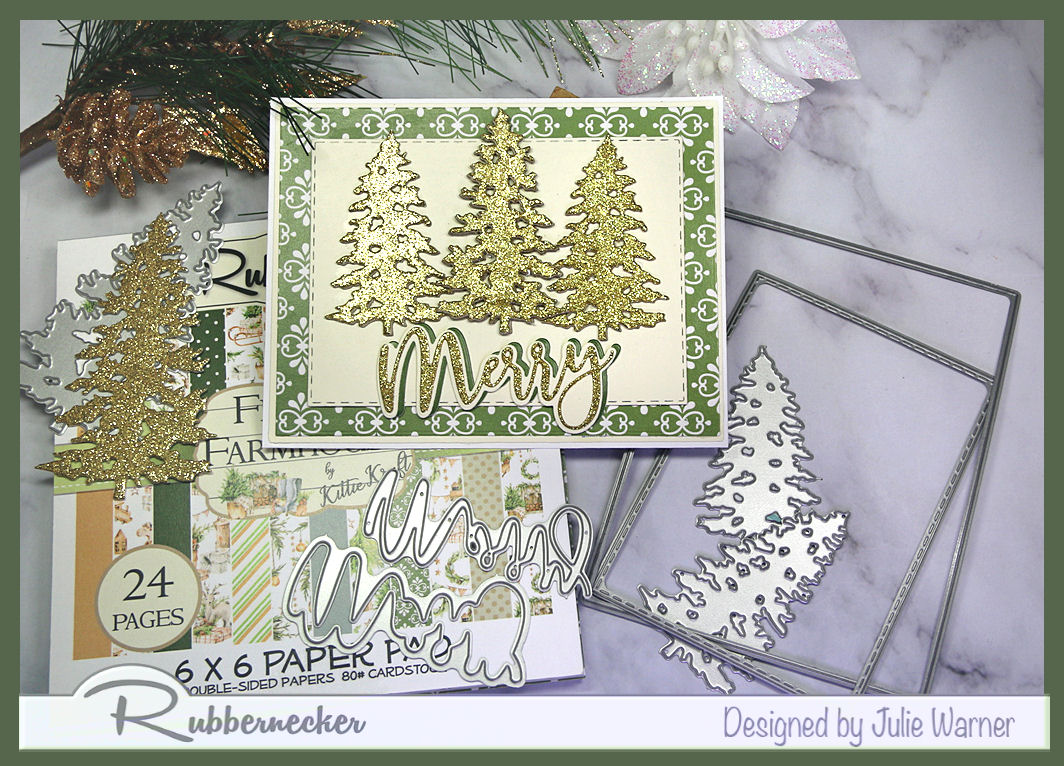
A very glittery, gold Christmas card featuring some die cut trees & greeting. Easy to make w/ lots of impact. Change the paper or colors & you’ll have a bunch of finished Christmas cards in no time.
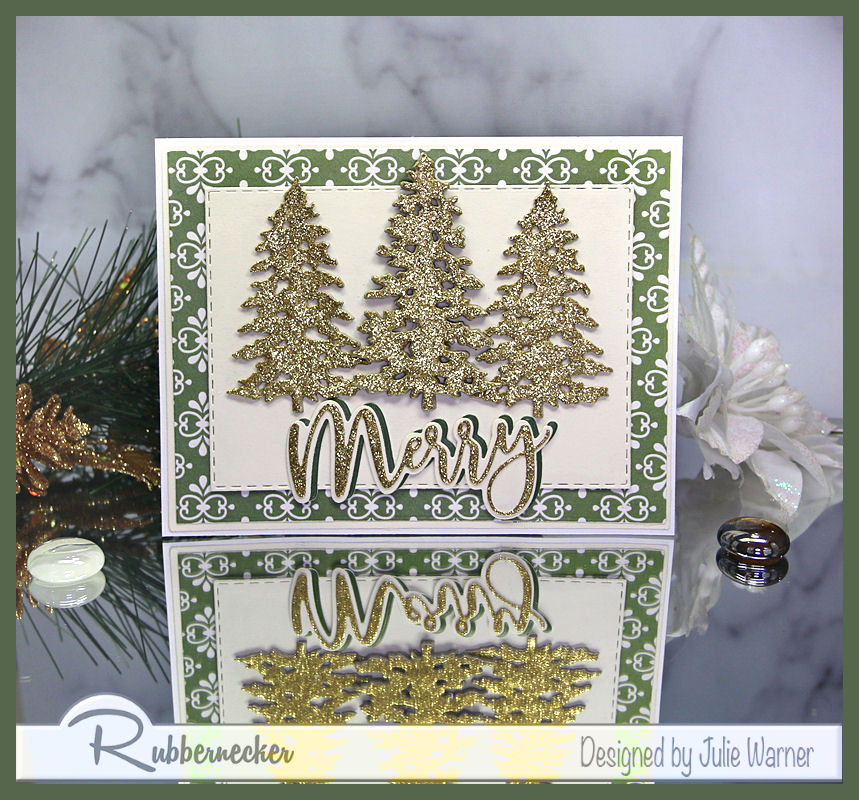
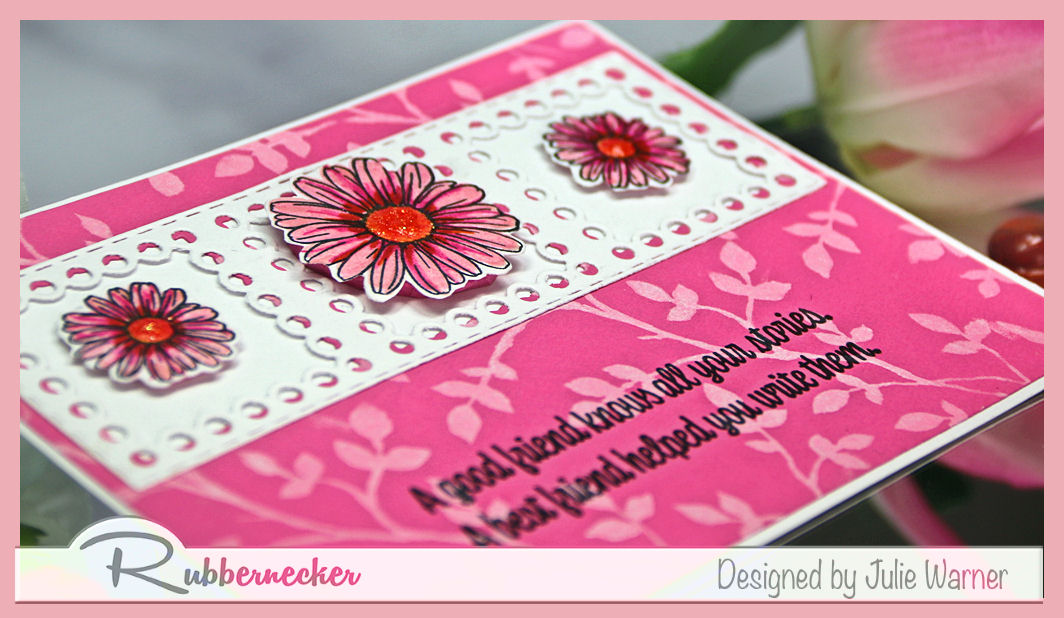
It’s my turn to host the Splitcoast Featured Stamper Challenge (FS858) so a big congrats to Vikki! She has a lovely gallery & I chose THIS card to case. I kept the gold trio element & horizontal layout, but I used trees instead of leaves, added a layer of designer paper & a die cut greeting instead of a stamped one.
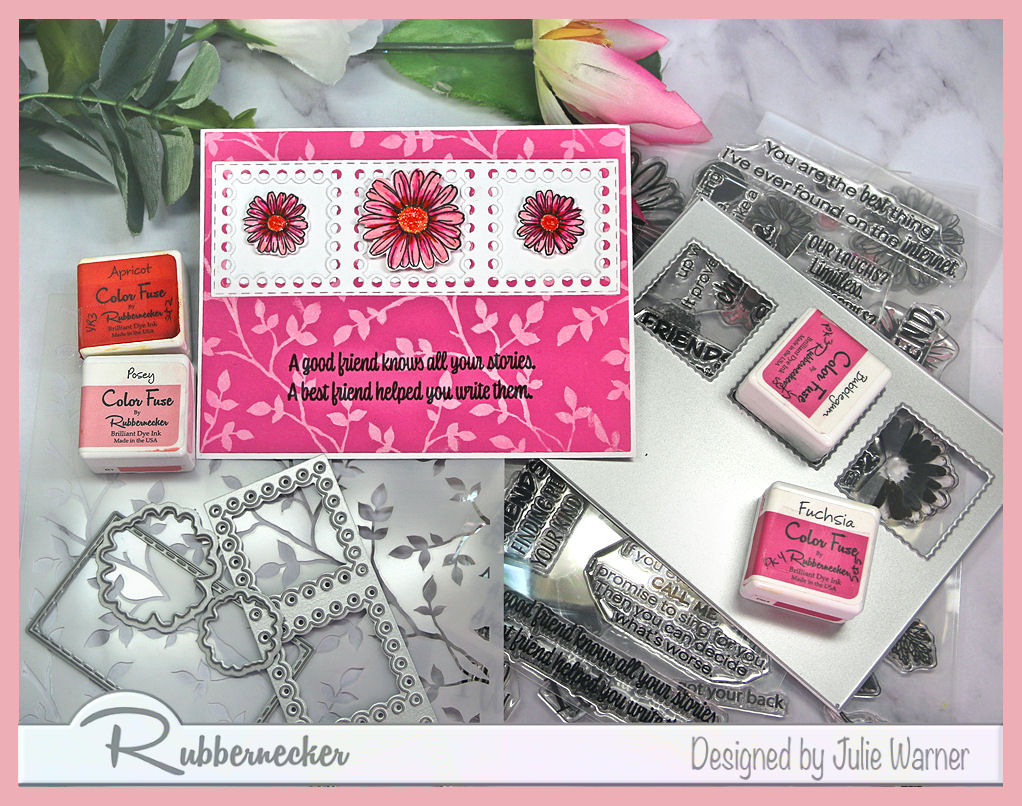
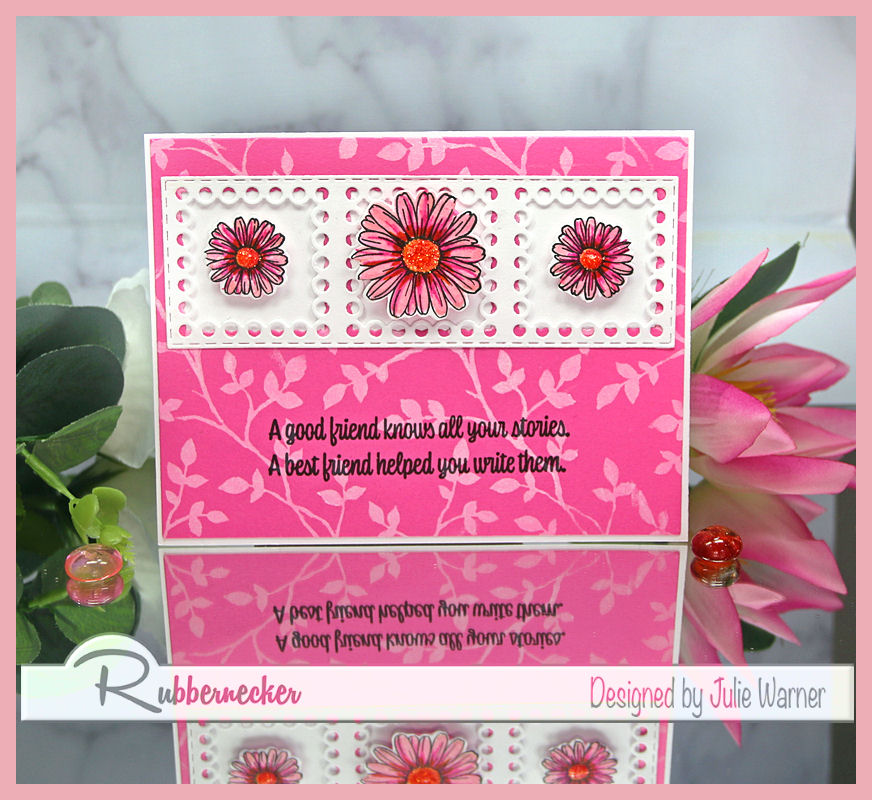
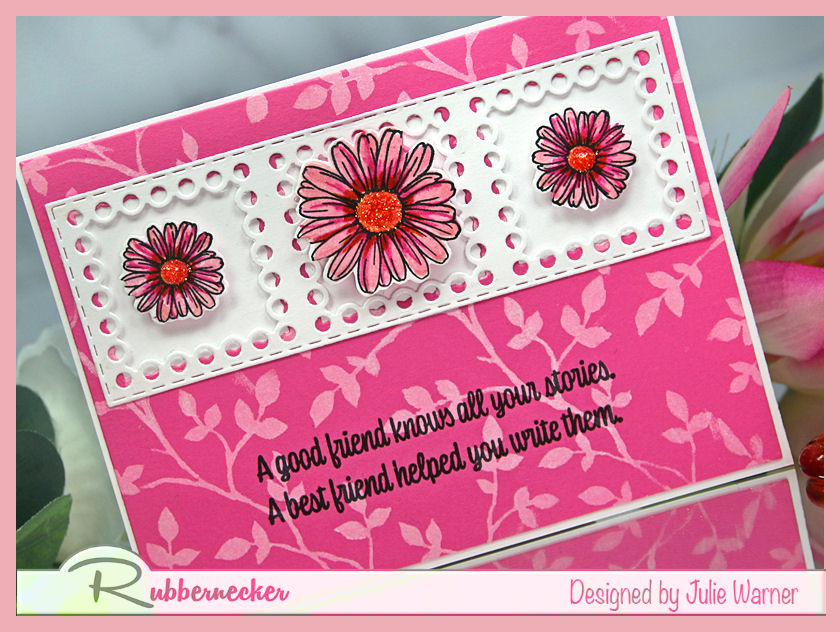
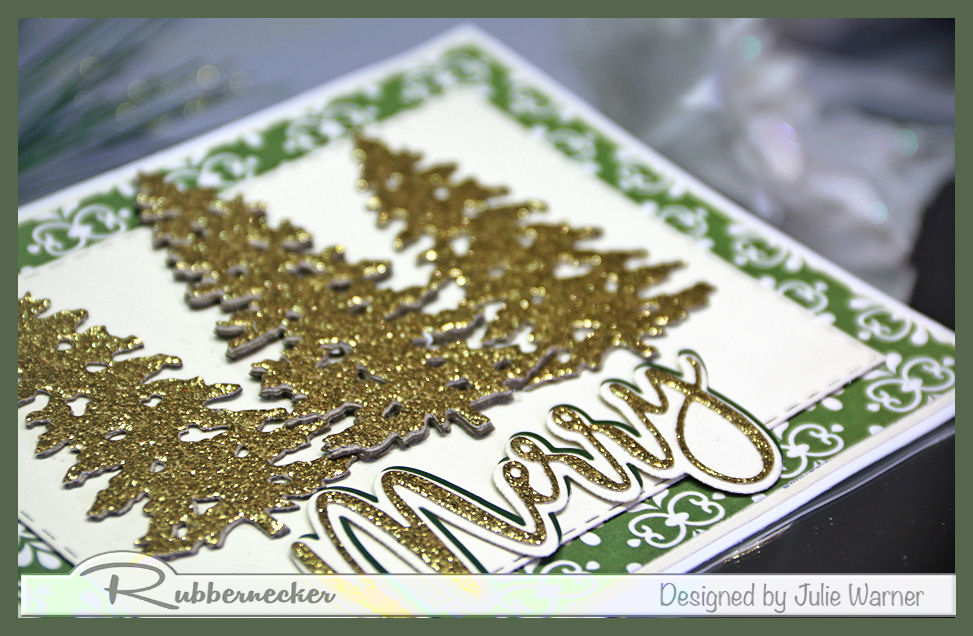
For my glittery gold trees, I used a roll of glittery gold wrapping paper & attached to plain card stock before die cutting the trees & Merry out of it. There is one larger tree, but it was too tall to fit this direction so I used 1 medium & 2 small trees instead. I attached them to a piece of ivory card stock, then attached this to a larger piece of green print paper w/ a very narrow ivory frame behind it. I die cut of the shadows for the Merry greeting..one in ivory & one in dk green. The Merry is attached as normal on top of the ivory. The dk green shadow was offset a bit to add some contrast.
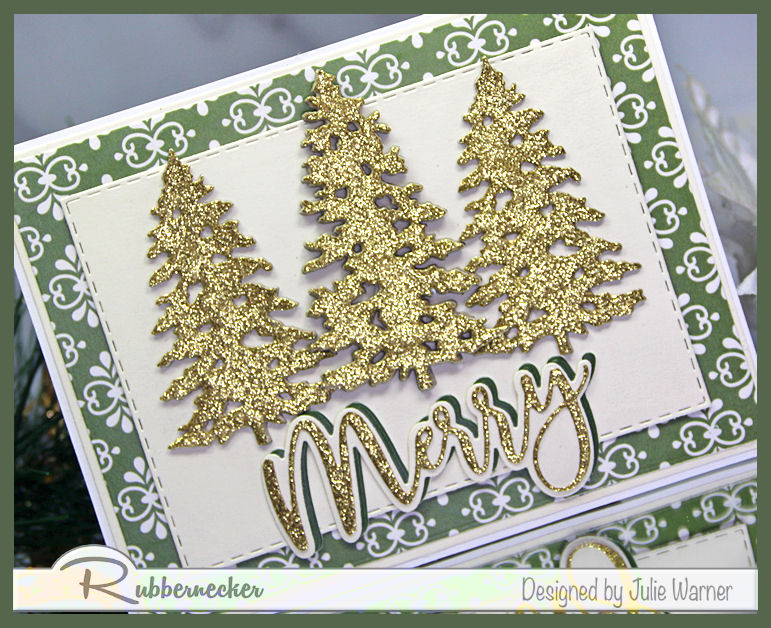
The center tree & greeting were popped up to add some dimension & interest.
Thanks so much for stopping by!
![]()
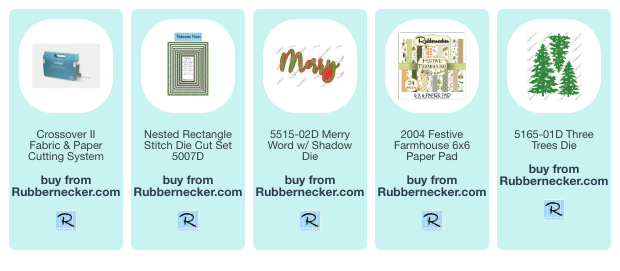
Supplies:

|

|

|
You might also like: