Posts Tagged ‘Digital Images/Backgrounds’
This is for several Splitcoast Challenges…Sketch (SC597), Color (CC587), Technique (TLC590), & Clean & Simple (CAS381). And it’s also for my dad, who has a super sense of humor. Since he lives in Texas where they’ve had about a ton of rain, this is how imagine he’d be kickin’ back, ridin’ it out, if he didn’t already live on the high side of the street, lol.
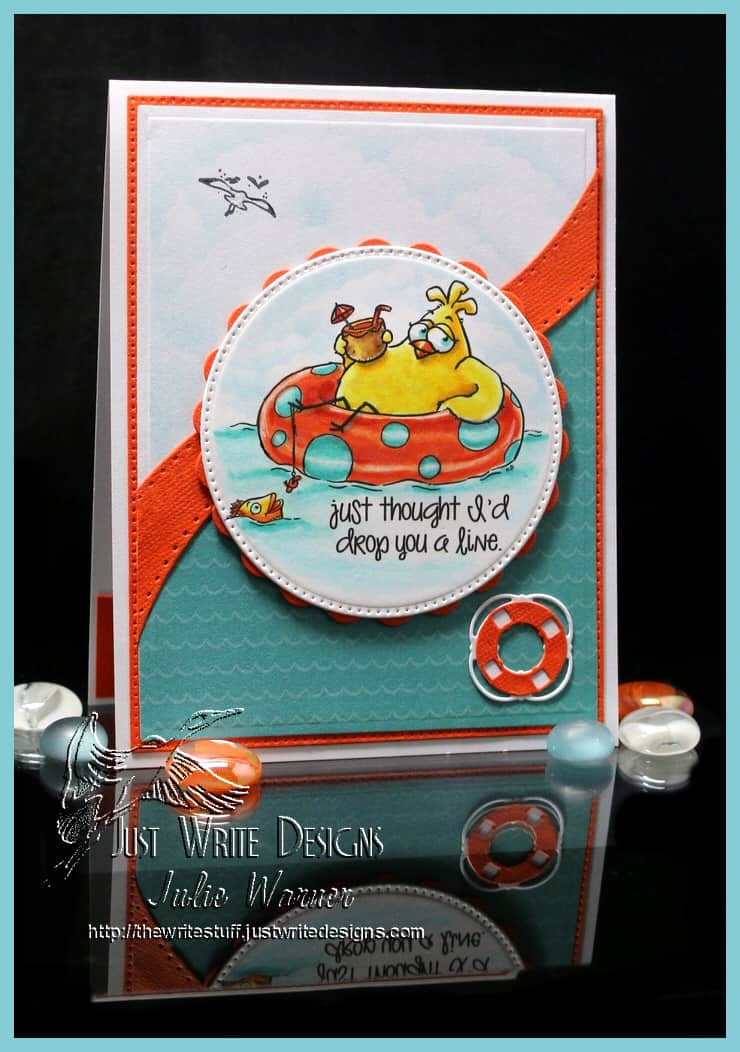
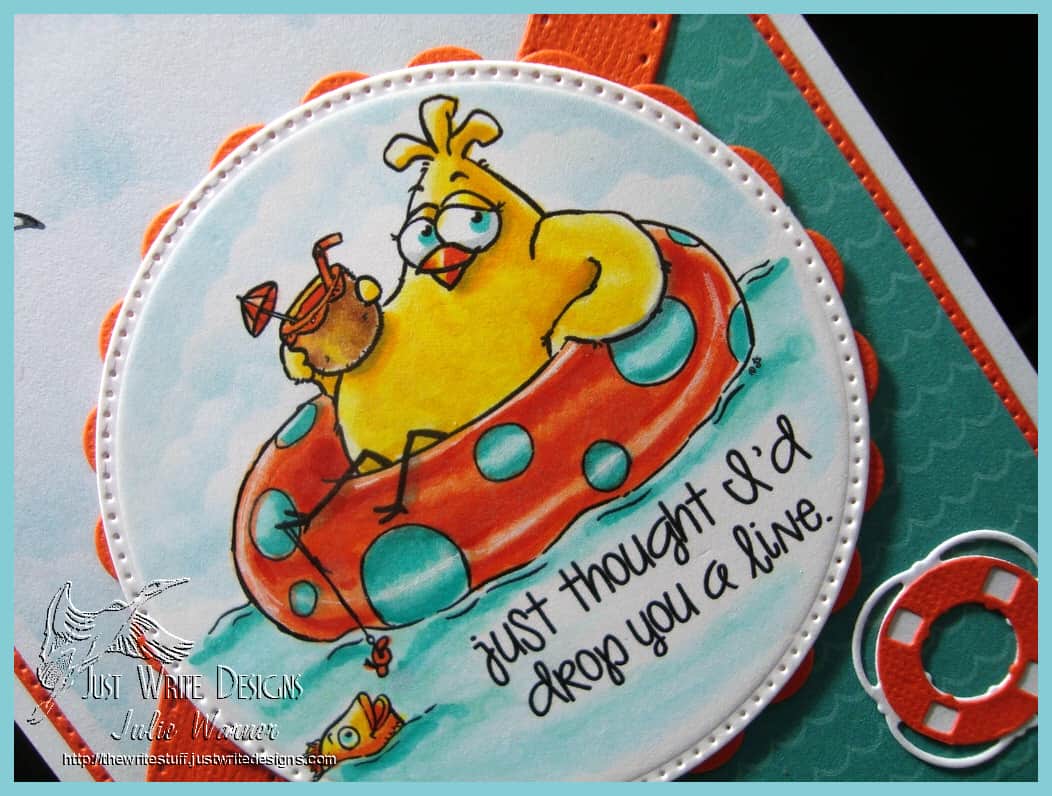
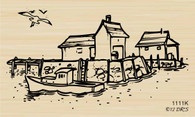
I printed out this cute image onto Hammermill digital card stock. I haven’t worked a lot w/ digis so it was a bit of trial & error until I got the size about right. Then it was die cut & I left the die in place when I colored it w/ Copics & sponged in my cloudy sky. The little seagulls were stamped & a life saver added in the corner. The rest of the card is per the sketch & the top white section was also sponged w/ a little cloud stencil I made w/ scallop scissors.
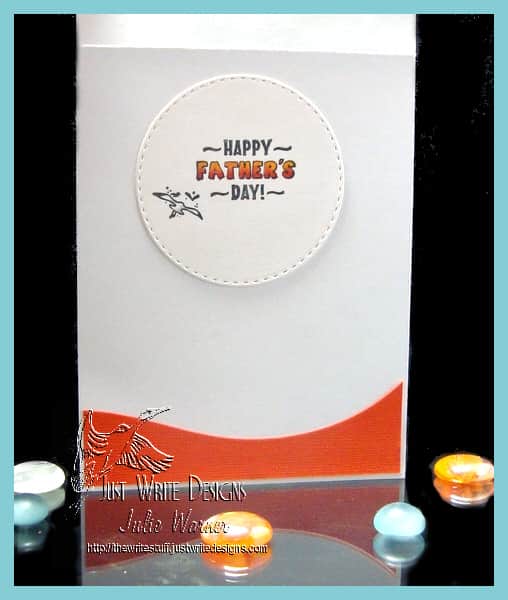
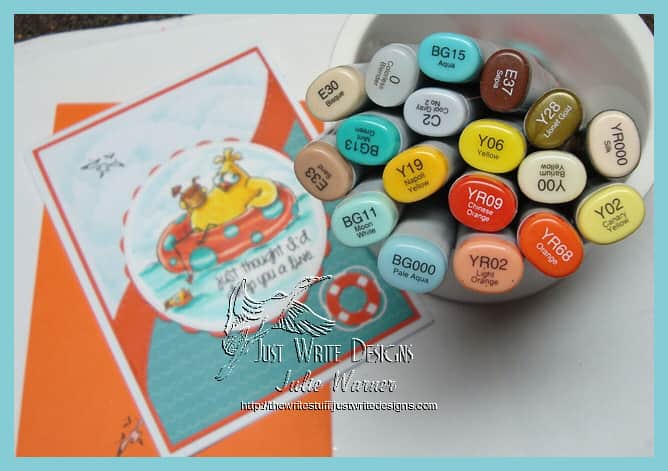
Here’s a look at the inside & below it are the Copics I used.
Thanks so much for stopping by!
I’m adding this to Simon Says -Wed Challenge, Animal Magic
Supplies:
Stamps: From the Heart Stamps (digi) – Inner Tube Chicken: DRS Designs- Seaside Dock (seagulls), (inside- Father’s Day greeting) |
Paper: Staples 110# white, Hammermill Digital, Core’Dinations canvas texture orange, dp (Pebbles- Fun in the Sun) |
Ink: Memento tuxedo black, Distress ink tumbled glass |
Accessories: ODBD Piereced Rectangles, Pierced Circles dies, Spellbinders matting basics B, Curved Borders dies, Impression Obsession Mini Nautical dies, Copic markers |
For the CAS (clean & simple) challenge (CAS277), we are to case a former CAS DT member, Harriet (hskelly). I chose THIS card of Harriet’s. I have that same image, but I used a different, similar one. I also changed the layout and colors.
The greeting was computer generated and printed onto card stock. I die cut a window out of the top section and stamped my scene on the cut out. A larger black panel was attached to the window/greeting section After die cutting the scene a little smaller, I attached it back into the window.
A cut out tree, gull and gull on a post were added. The finished card is 5.50 x 4.25 and these are the Copics I used.
Thanks so much for stopping by!
Stamps: Stampendous, Studio G (cut out palm tree & gull), Our Craft Lounge (gull on post) |
Paper: X-Press It white, black |
Ink: Memento tuxedo black |
Accessories: Copic markers, Spellbinders long rectangle & matting basics dies |
Don’t you love these beautiful peony images? I think they are just gorgeous and I couldn’t wait to color them. For my first card, I’m using the Unabashedly Upbeat Challenge (PPUPBEAT1) on the Power Poppy Blog. I thought it was an awesome album cover but for some reason I remembered it having some lime green, so I added it. Anyway, I like the lime green added to the mix and that’s my story and I’m sticking to it.
I played around with the images for quite a while since my images are digital and I’m not really used to using digital on a regular basis. Originally, I had the peonies and the greeting all on one page, layered on a copyright free script ledger image and a gradient background I made. You can see how it originally looked after I colored in the peonies on the image below. It looked ok, but a tad flat for me, so I printed out another background w/ just the ledger and gradient bg, fussy cut the original Copic colored peonies and put them together like you see above. I added a die cut black frame and die cut the greeting then attached my peonies on top using some dimensional silicone.
Supplies:
Stamps: Power Poppy – Peonies |
Paper: X-Press It white, black |
Ink: none |
Accessories: Copic markers, Spellbinders Resplendent rectangles, matting basics A & B dies, Gimp software (for making background) |
On my second card, I used the Sketch Challenge (PPSketch1) on Power Poppy blog. Again, since my images are digital, I printed out the peonies in a medium/large size and colored them with Copics. Usually I’ll just do an out of the box treatment on the image, but I wanted the peonies to be slightly elevated so I fussy cut them and attached them to a large white oval with foam tape. The green background was die cut w/ one of the matting basics dies then embossed for a little texture. I used the Perfect Paper Crafting mini rulers to cut the 1/16th white mat before adding it all to a die cut coral layer.
I had a little trouble with the two horizontal bands, and I actually ended up using the negative from a die cut flag and backing it with a textured white strip. Two Candi dots in slightly different green shades were added as a finishing touch.
Supplies:
Stamps: Power Poppy – Peonies |
Paper: X-Press It white, coral, moss green |
Ink: none |
Accessories: Copic markers, Spellbinders petite ovals, labels 16, matting basics A & B dies, Candi dots, MFT fishtail banner dies, Lifestyle/Quickutz embossing folder (Chevron set), Perfect Paper Crafting mini layers |
Thanks so much for stopping by!
Challenges: PPSketch1, PPUPBEAT1