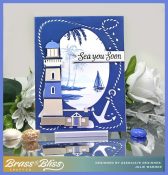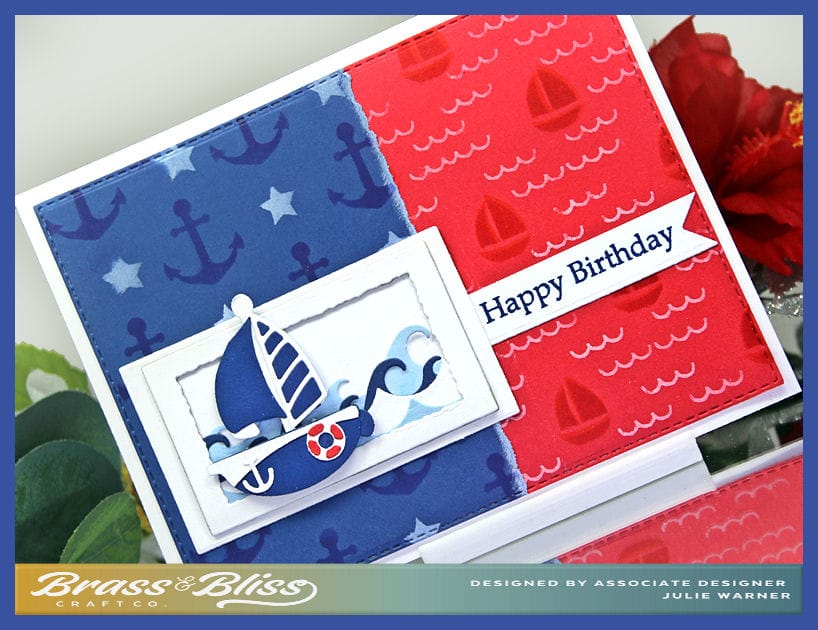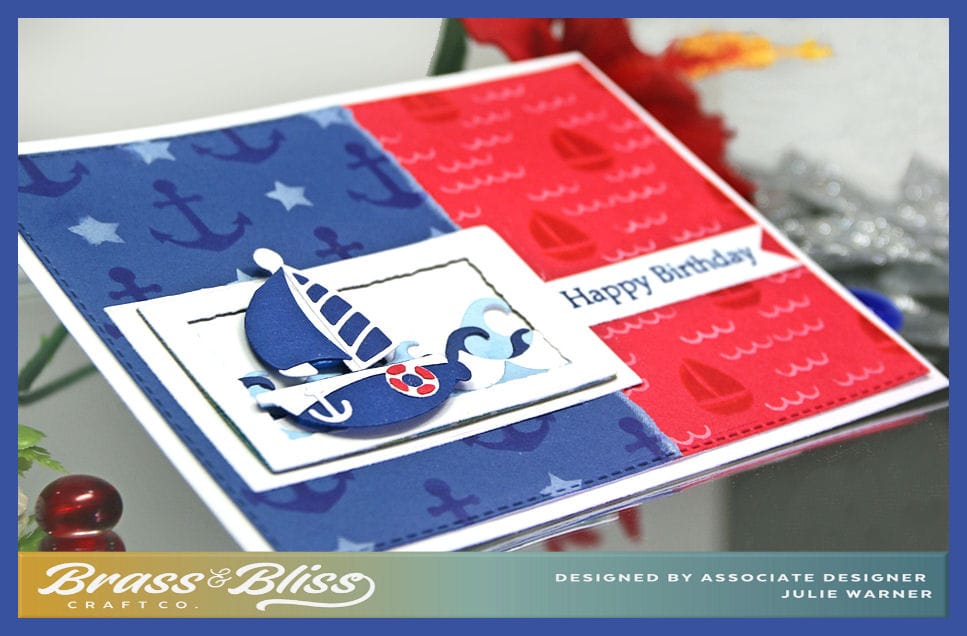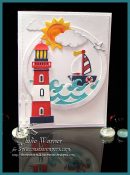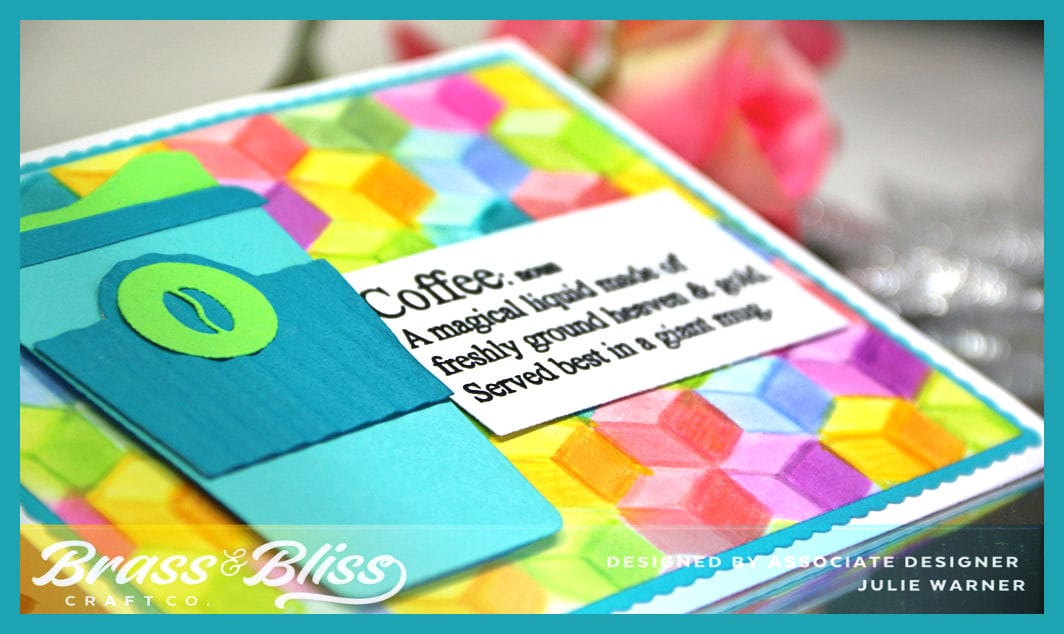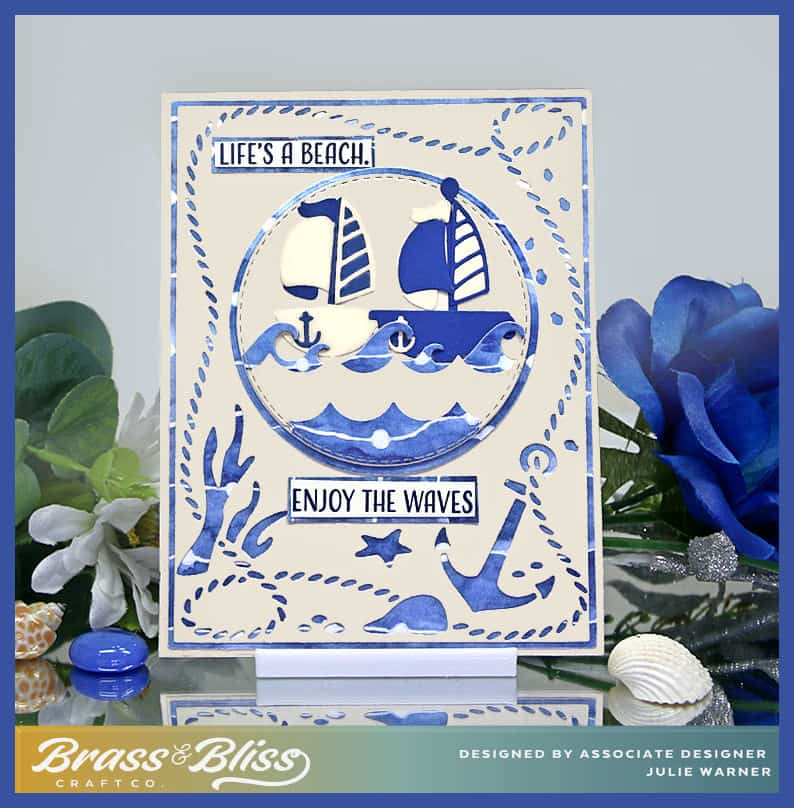
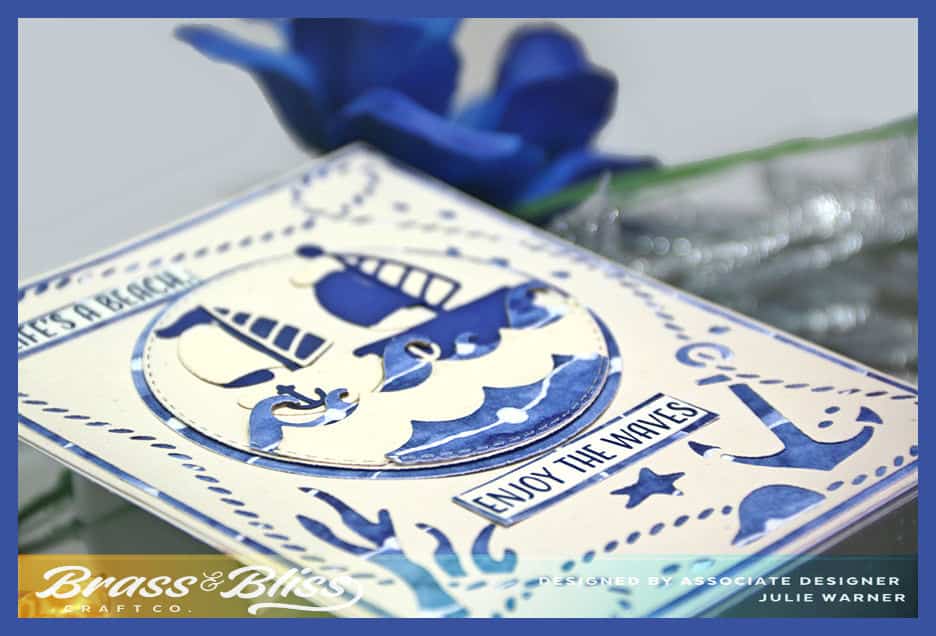
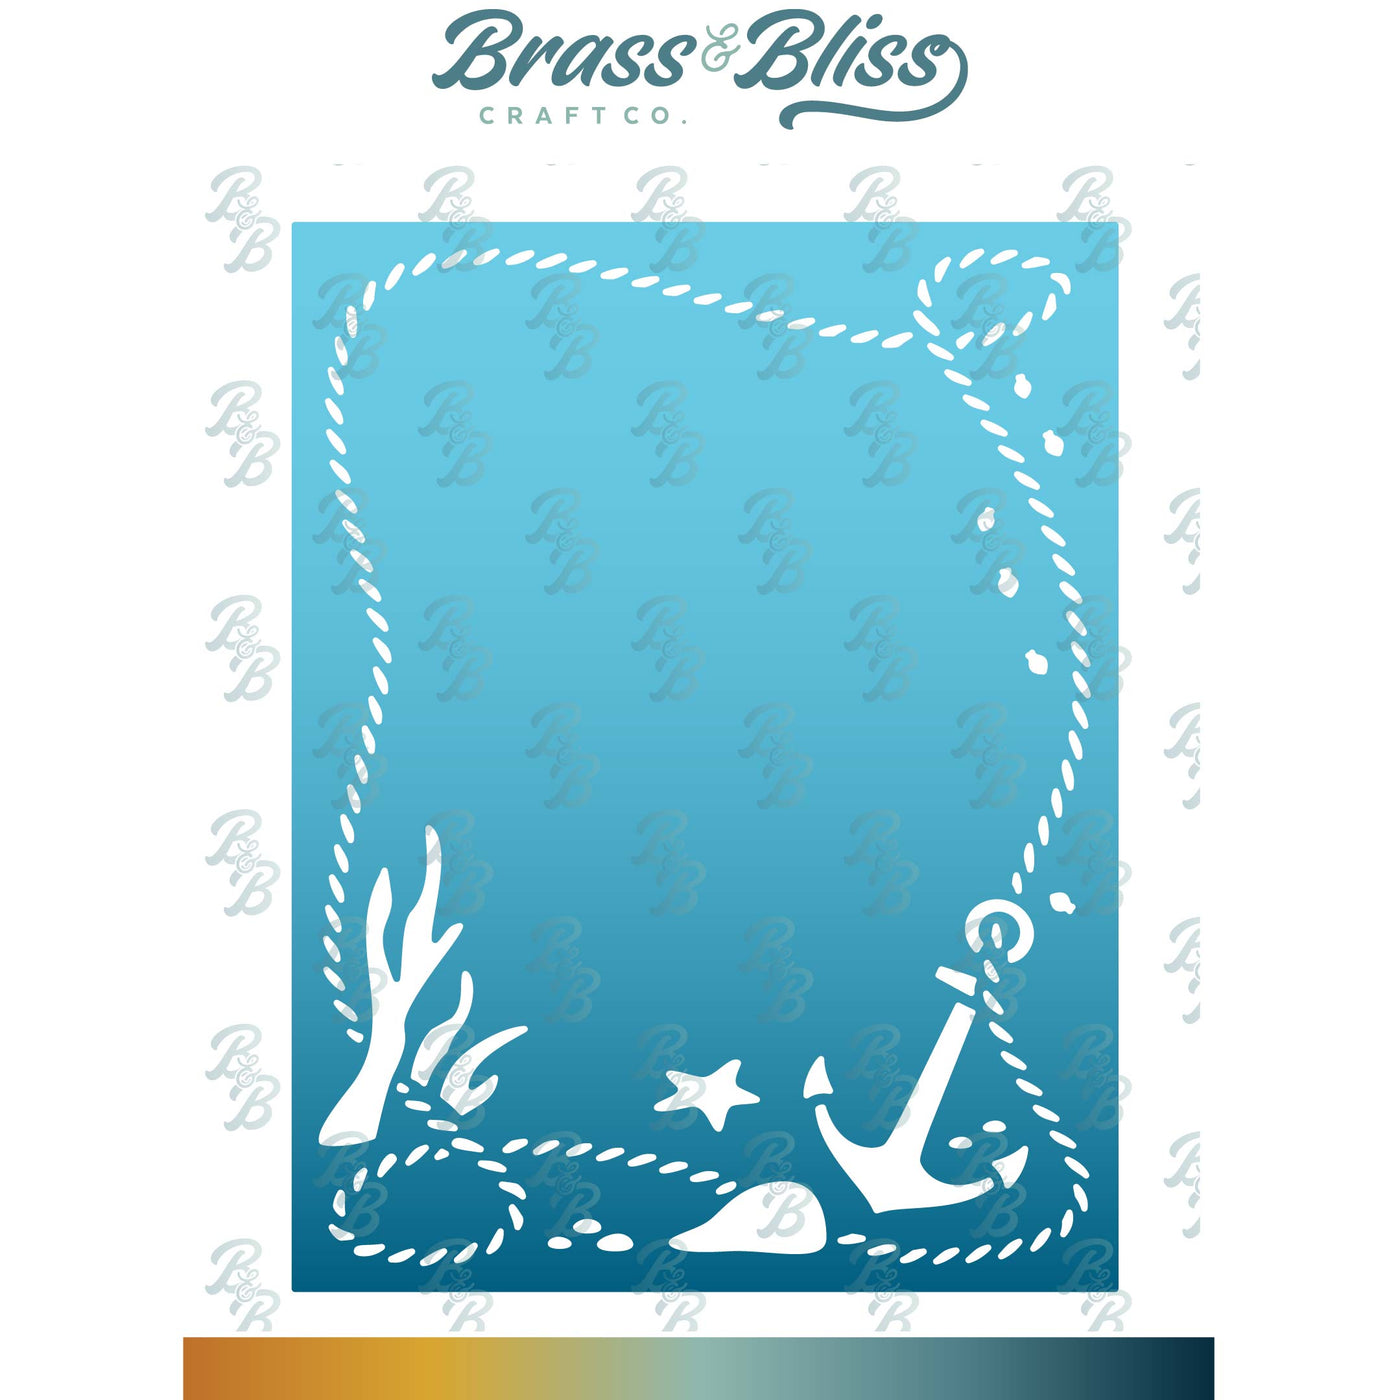
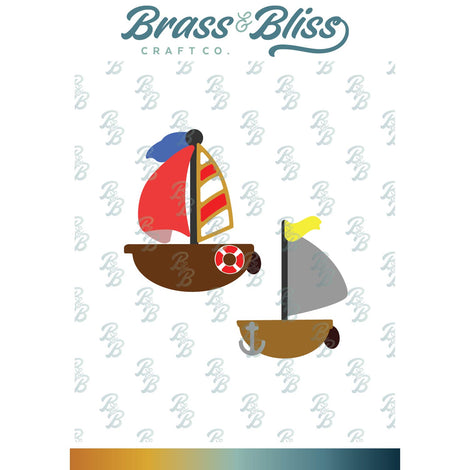
An all die cut card featuring cute little sailboats, a beautiful rope and anchor undersea frame and some lovely sea themed paper. The main color is a neutral sand with ivory and navy boat sails and a beautiful blue wavy pattern papaer behind it. It only looks complicated, but it’s actually pretty easy.
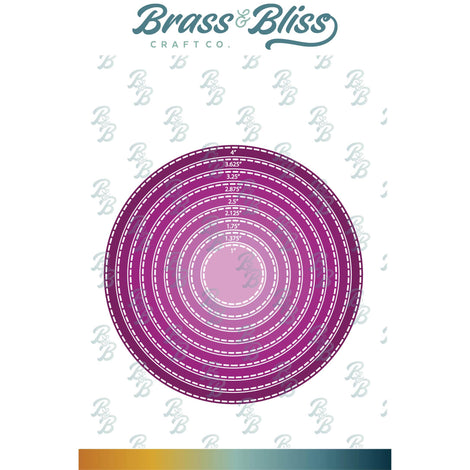
For the Inspiration Challenge, we are visiting The Other Aesthic & their Pinterest Board where I found THIS picture of some beach inspired pillows. I really liked the neutral w/ the navy. After die cutting the large frame, I trimmed it around the edges just a bit then attached it to a slightly larger piece of the blue designer paper. Helpful Tip: Before you attach the 2 pieces of paper together, line them up & die cut the larger circle out of the blue paper, in the section where the circle will go on top. Then cut the smaller circle out of the sand paper in the same area. When they are attached together, they will cover the missing circles in the top frame piece. It keeps you from having to use 2 pieces of paper. All the boat parts were cut out of ivory & navy & some waves were cut out of the blue and a small section of the sand color.

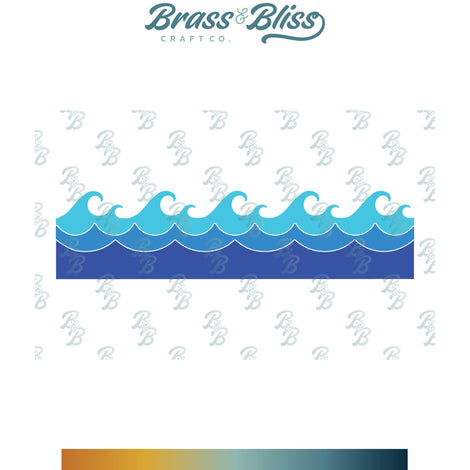
For the waves, after attaching them to the bottom of the circle, I ran it back thru the die cutting machine w/ the same stitched circle to trim the excess. The greeting was stamped onto a separate piece of ivory, trimmed closely, & split in half. I attached them to little rectangles of the blue designer paper & added them to the front as shown.
Thanks so much for stopping by!

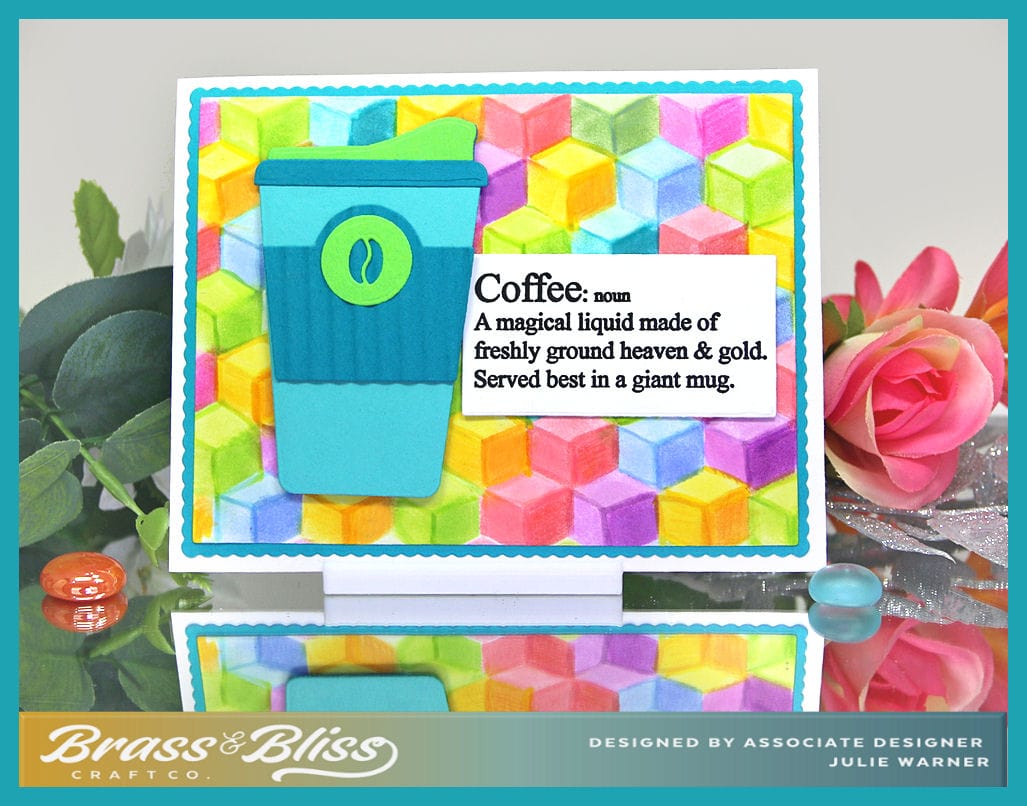
Supplies:
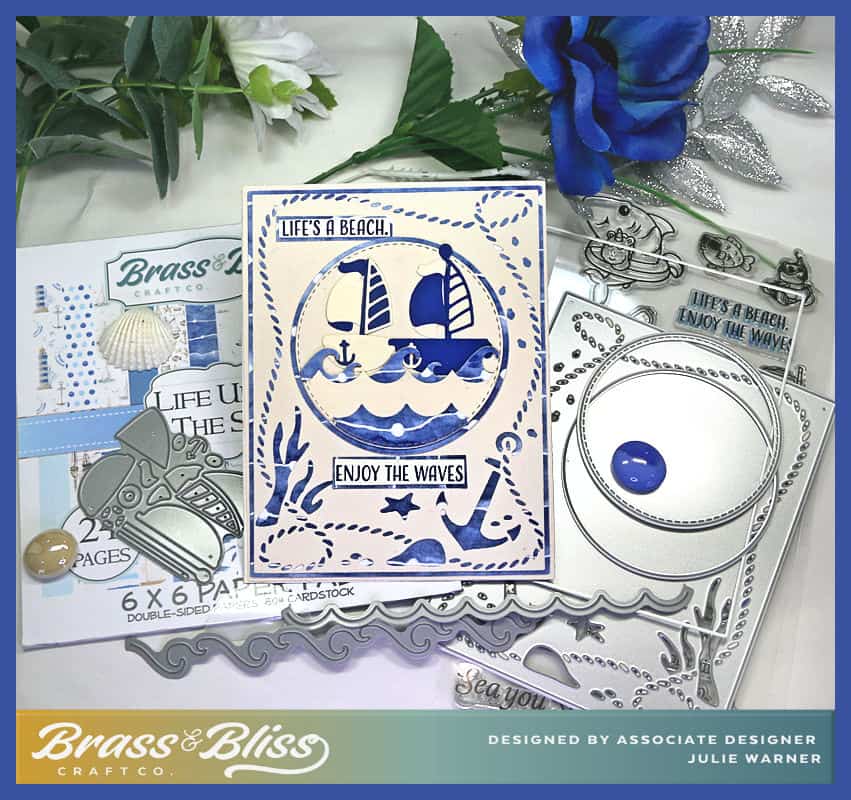
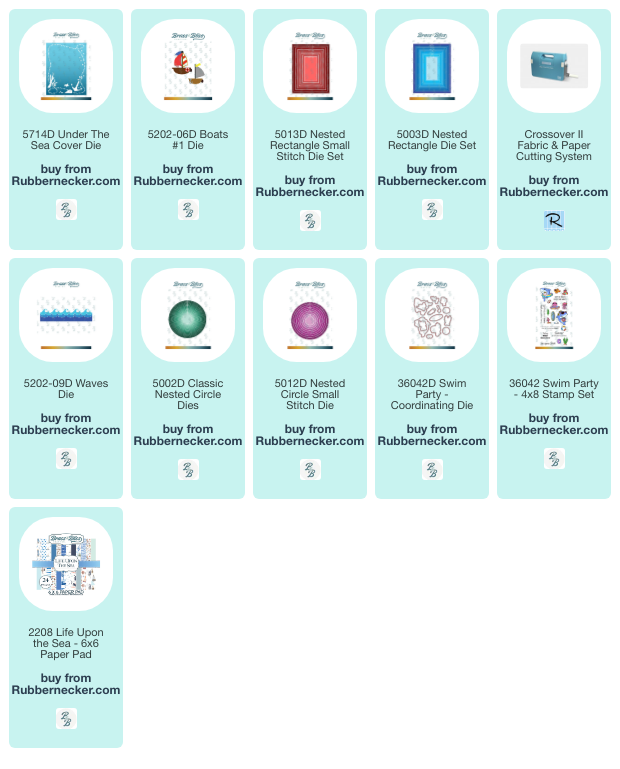
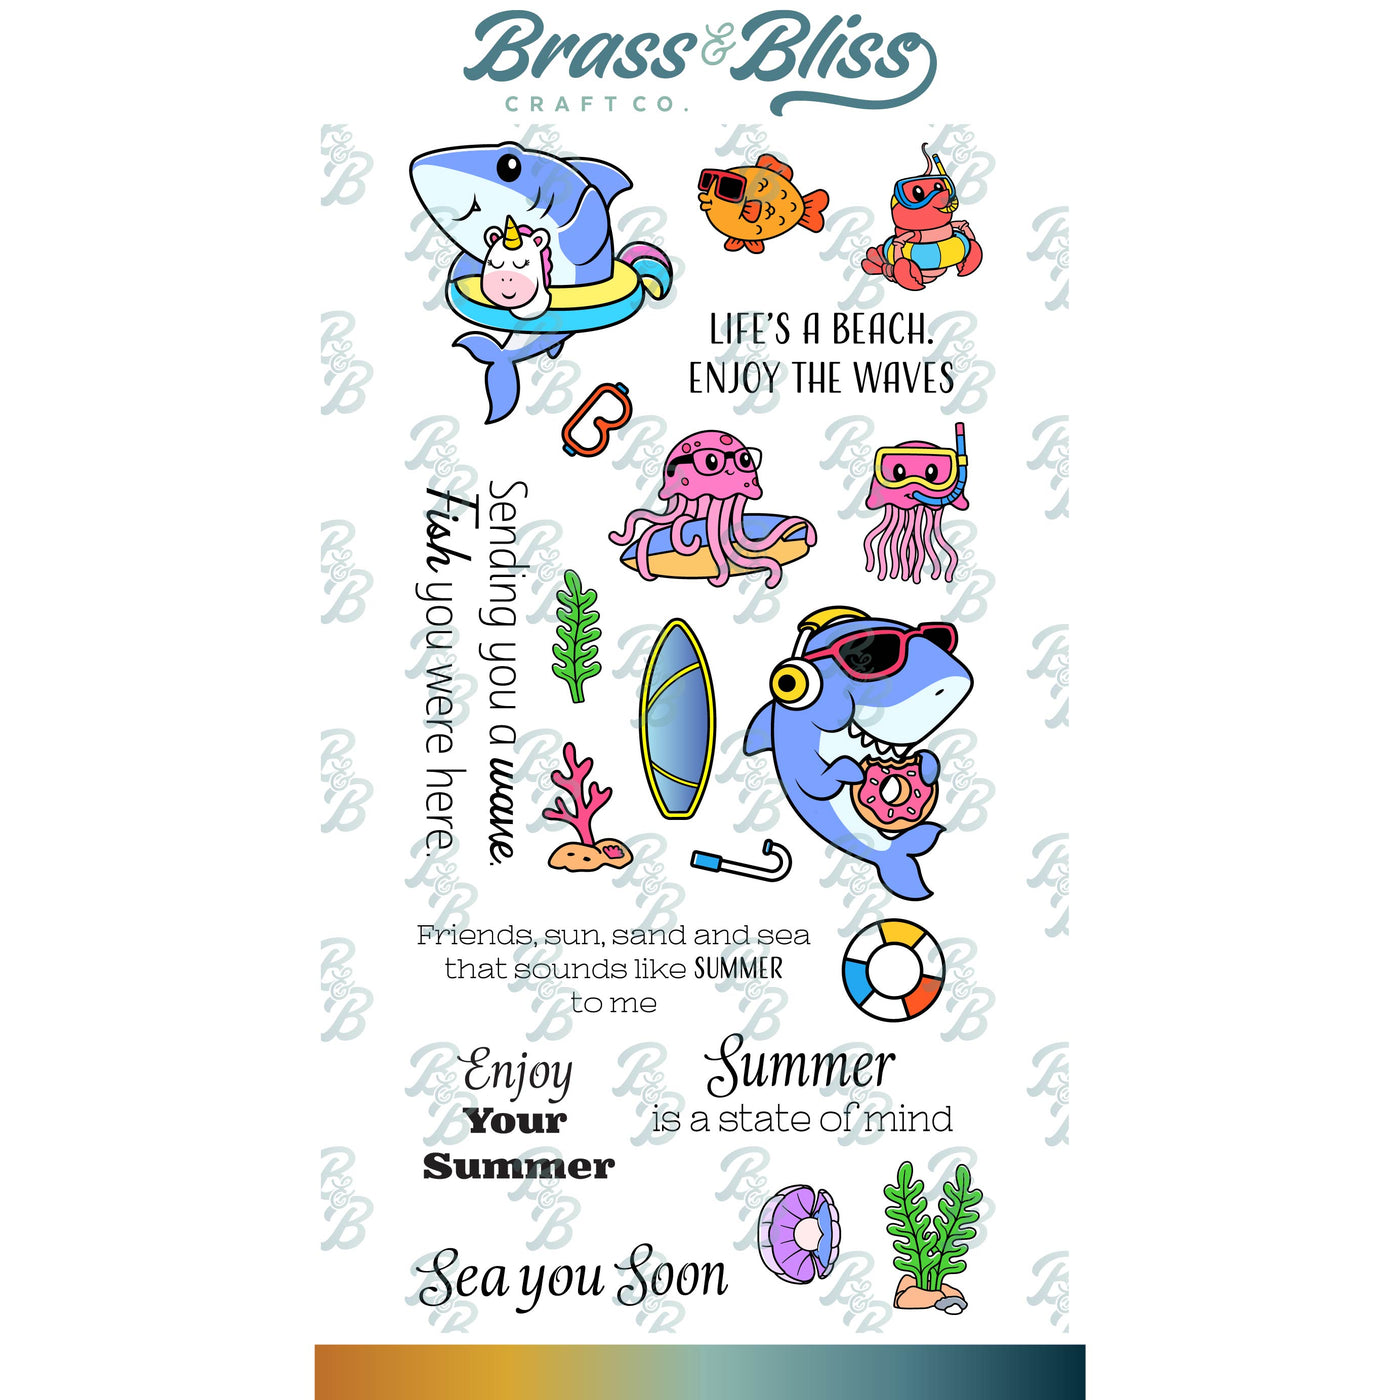
| Stamps: Brass & Bliss: Swim Party set (greeting) |
| Paper: ivory, sand, navy blue, Brass & Bliss: Life Upon the Sea paper pad |
| Ink: Versaclair Blue Belle |
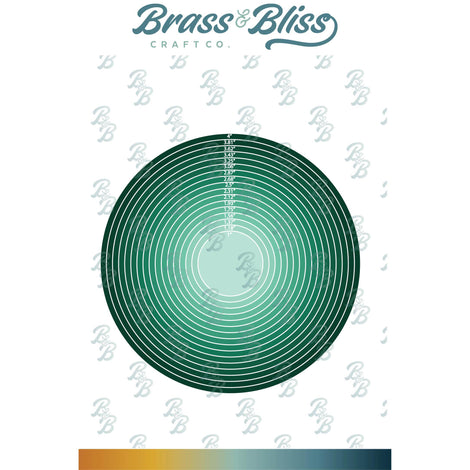
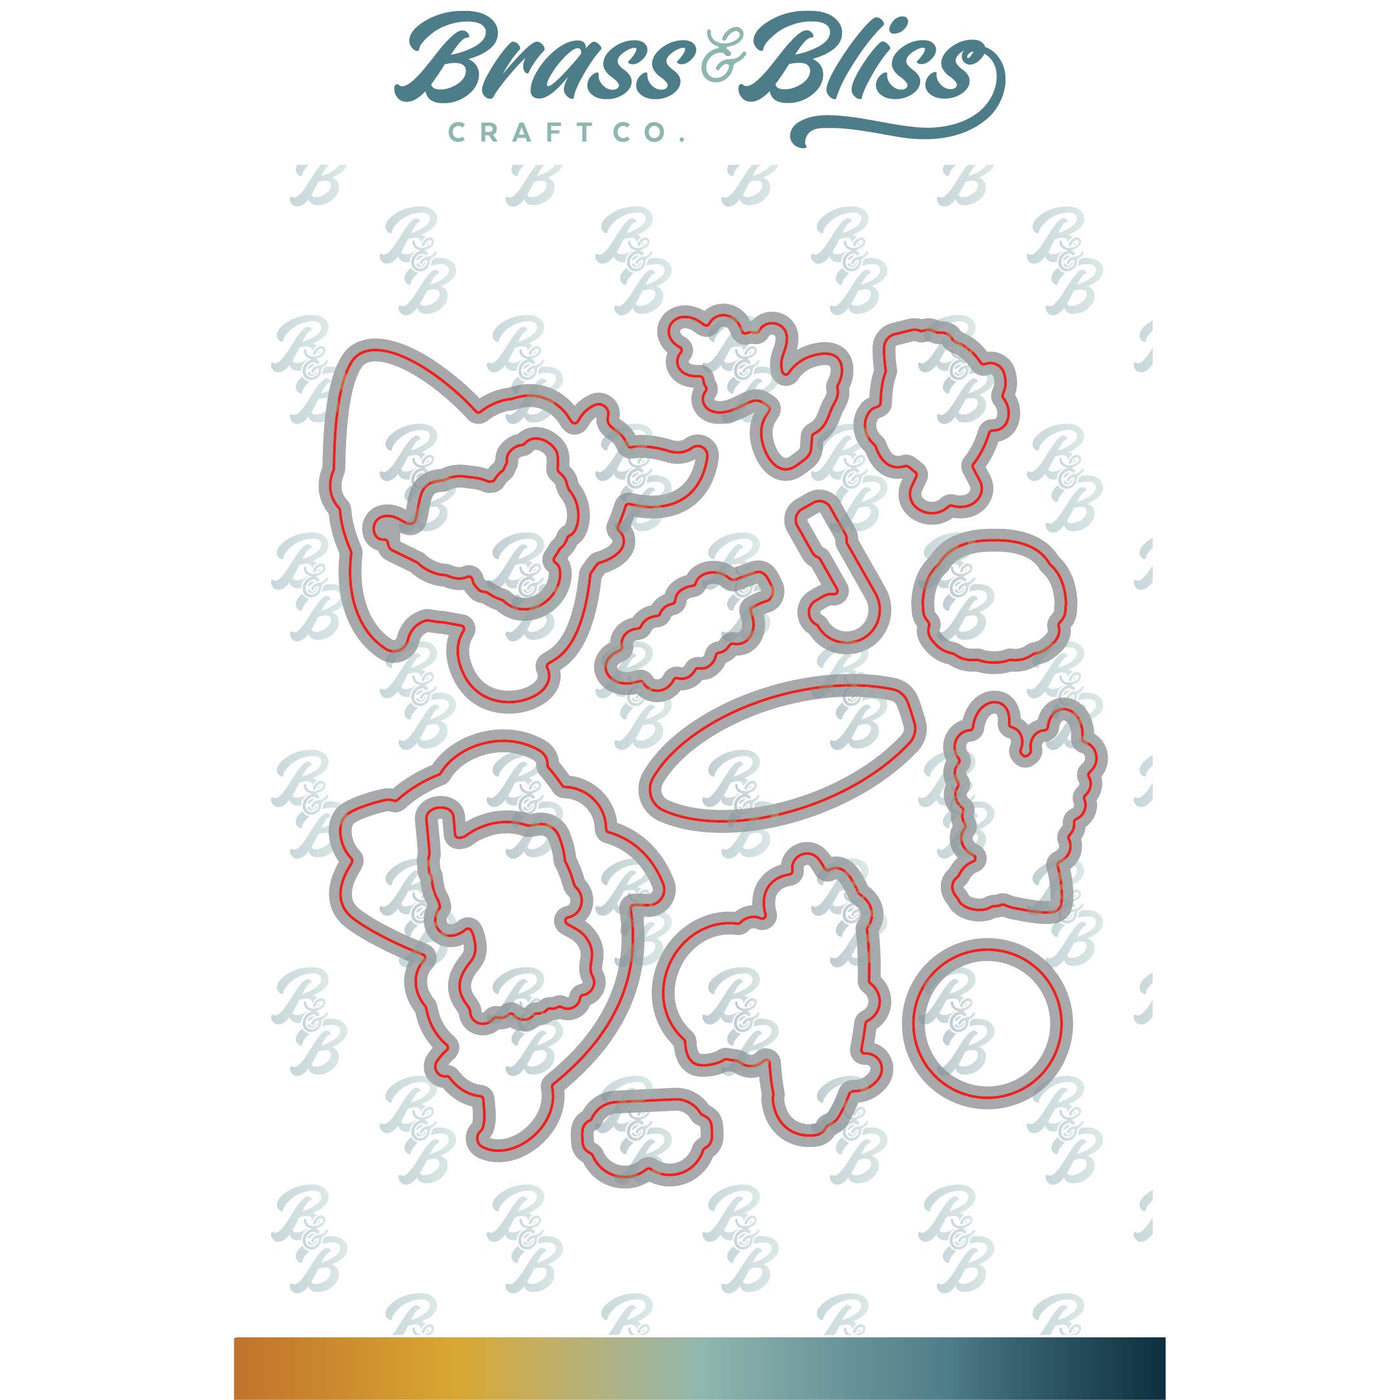
| Accessories: Brass & Bliss/Rubbernecker Stamps: Swim Party set, Under the Sea Cover, Boats #1, Rectangles, Circles, Stitched Circles, Waves dies, MISTI |
|
|
|
|
|
|
|
|

|

|

|

|

|
You might also like: