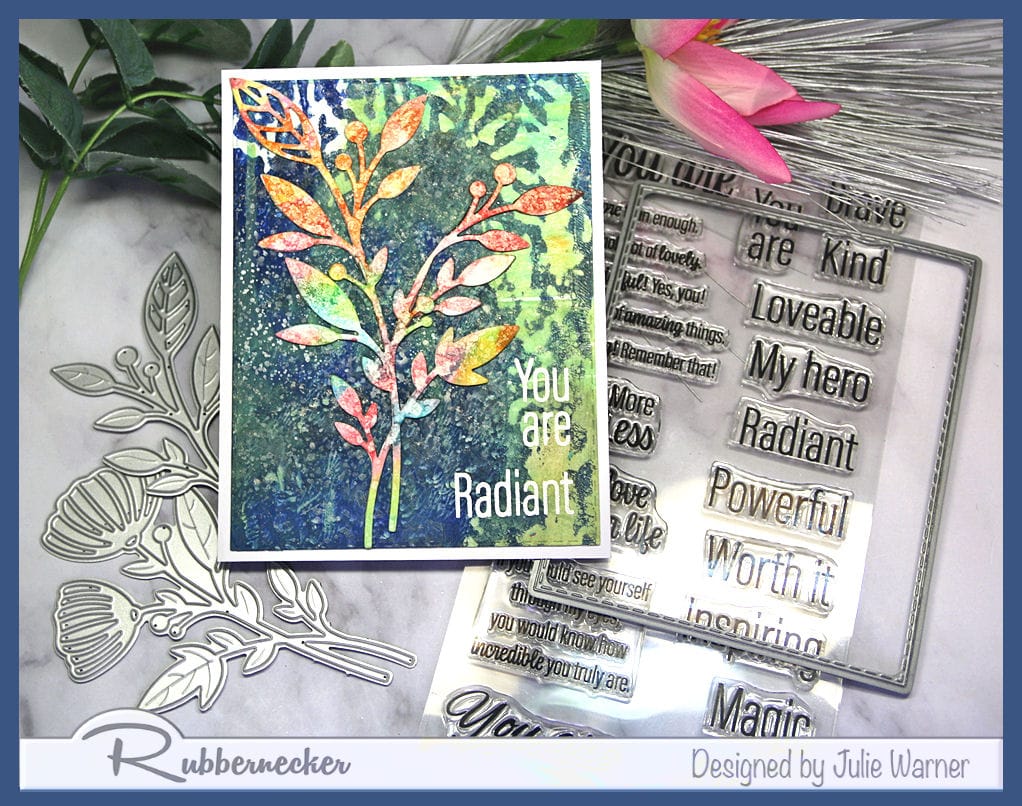
A fun, easy Valentine, Wedding, Anniversary or Birthday card with minimal coloring and a stencil background using translucent grit paste. Easy to customize using the colors of your choice. The hardest part is waiting for it to dry.

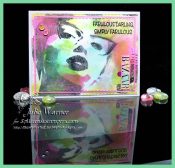
A big congrats to Deb, the newest Featured Stamper (FS888) on Splitcoast! She has a wonderful gallery & I chose THIS card to case. I kept the layout (mostly) & the hearts, but I used different images, dies & colors. I also changed the background to a stenciled one.

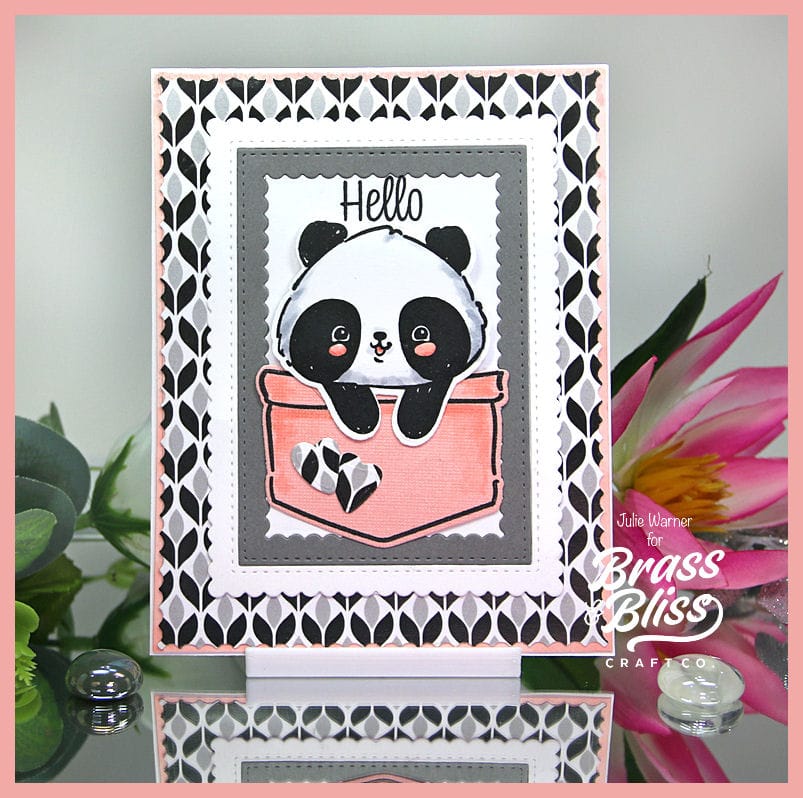
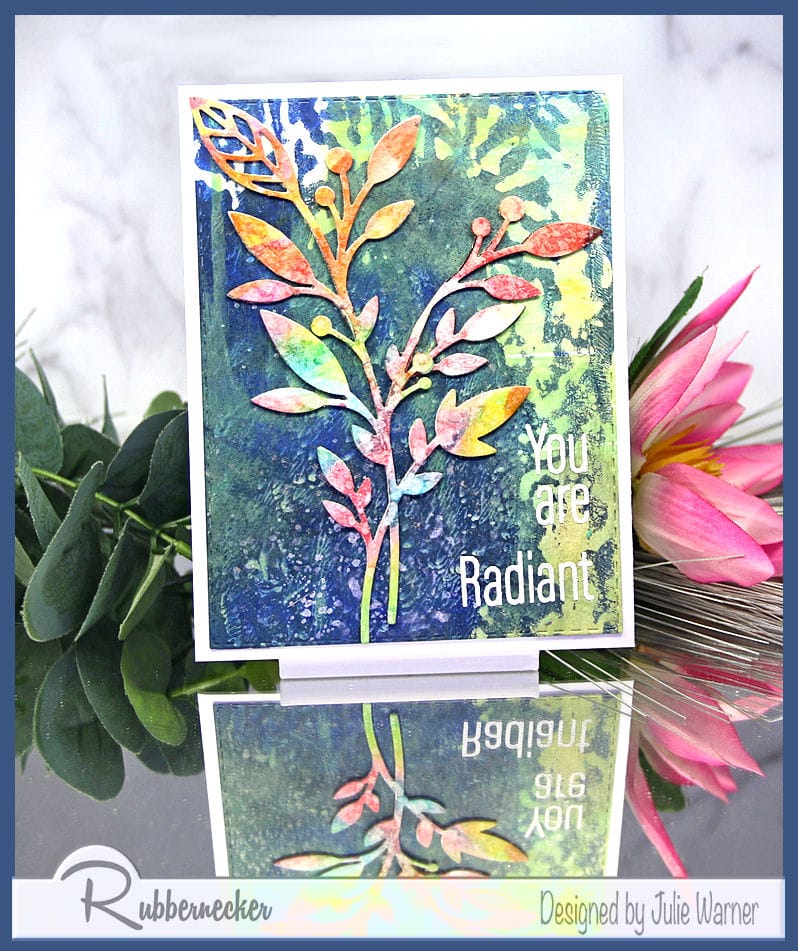
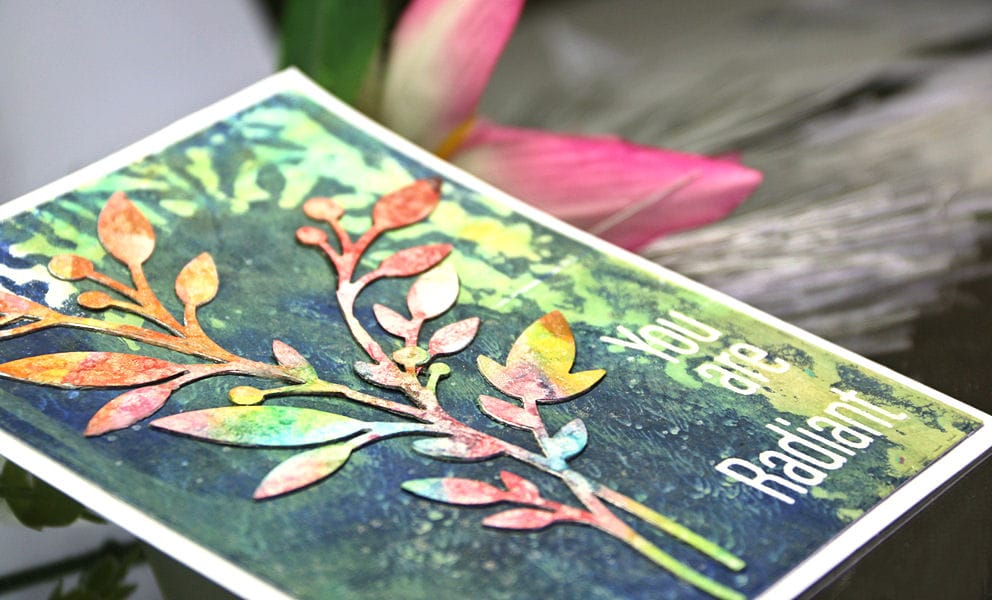
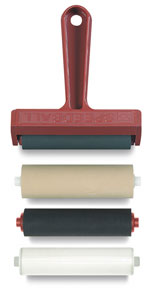
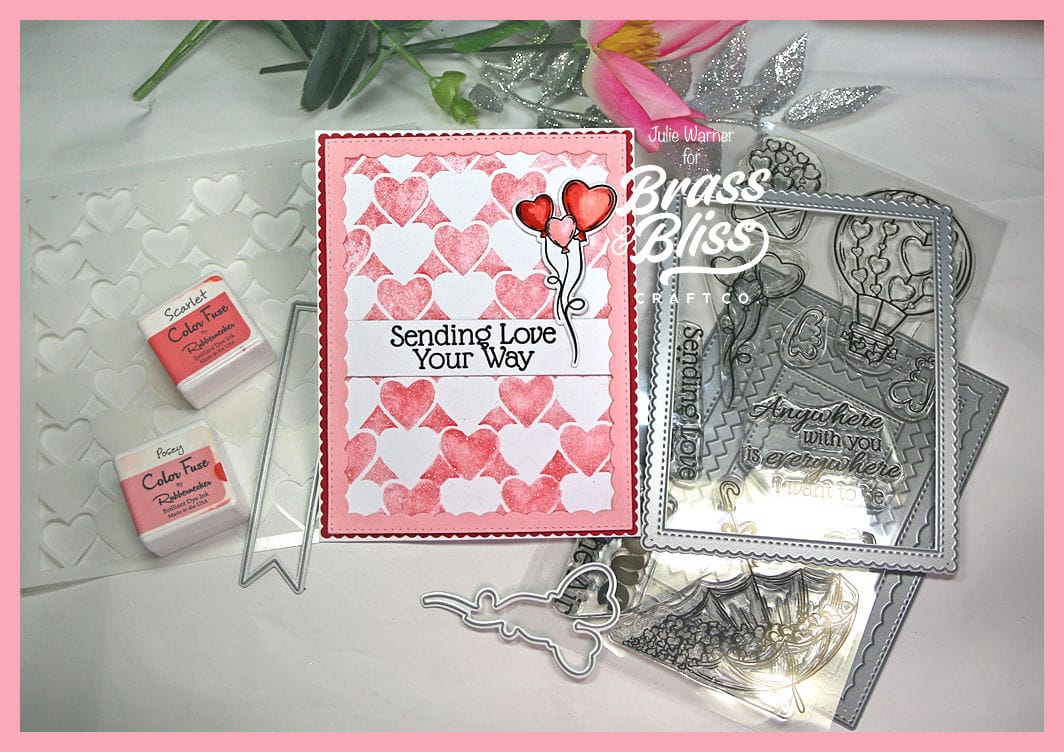
For my card, I started by placing the stencil on scratch paper & rubbing 2 colors of pinkish/red ink over the top. I didn’t try to blend it, just dabbed it in areas first the lighter color then used the darker color on the rest. I placed the stencil on top of white card stock, ink side UP, then used a palette knife & spread the grit paste in a thin layer. The paste picked up the ink from the top of the stencil as I spread the paste & it gave me a lovely varied color. There is a subtle glitter in this paste that’s more apparent in person. I carefully lifted the stencil & washed it right away so it wouldn’t adhere to the stencil. Then I let the background piece dry (about 20 minutes or so).
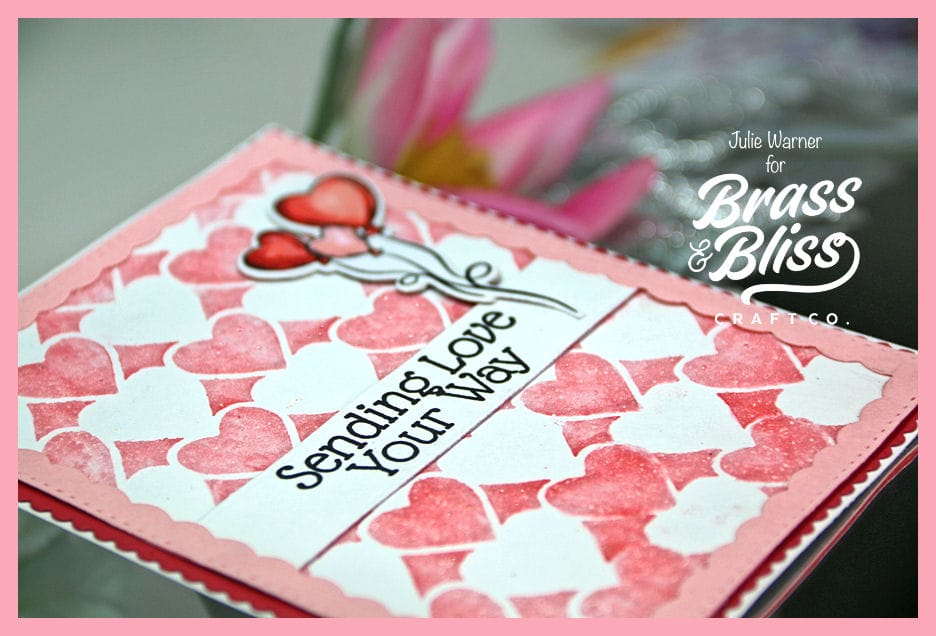
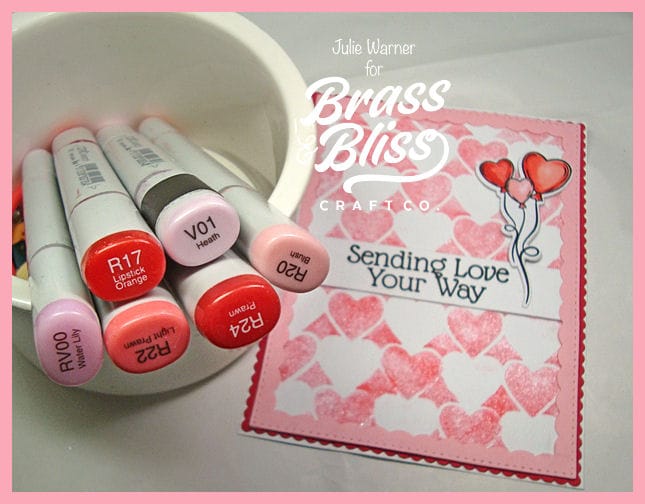
While it was drying, I stamped the greeting & die cut w/ the longest tag. The heart balloons were also stamped, colored & die cut. When dry, I attached a pink inside scallop frame around the heart bg, tucking the greeting tag under the edges, & layered a red outside scallop frame underneath it. The balloons were popped up just a bit.
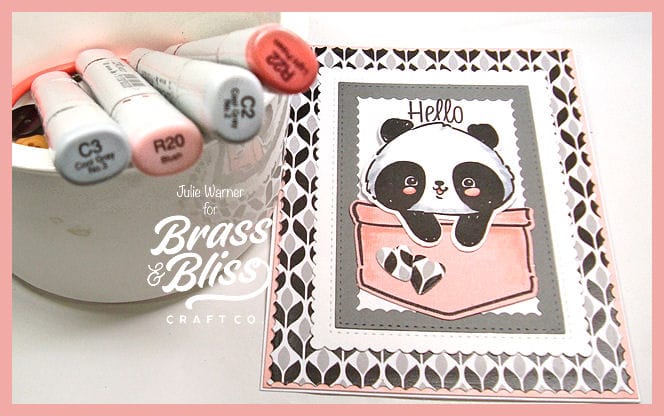
Here are the Copics I used for the balloons:
Thanks so much for stopping by!

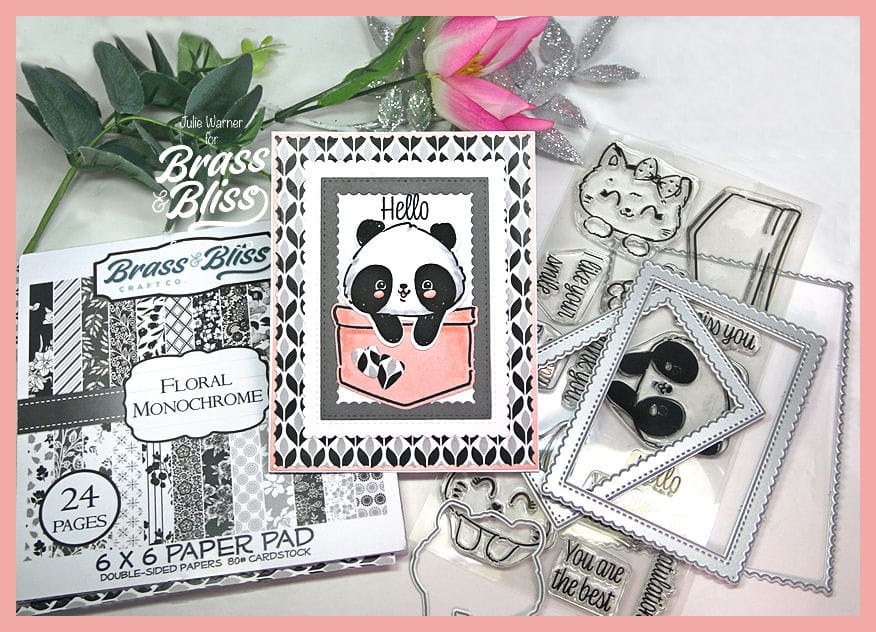
Supplies:
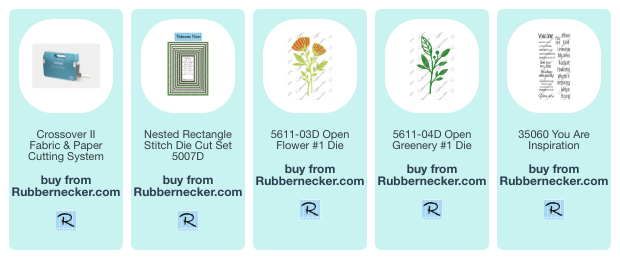
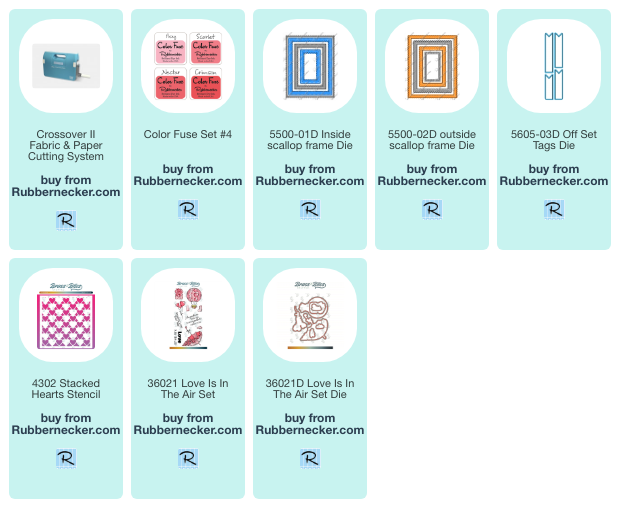
| Stamps: Brass & Bliss: Love is in the Air set |
| Paper: Staples 110# white, pink, red |
| Ink: Memento tuxedo black, Rubbernecker Stamps: Color Fuse inks set #4 |
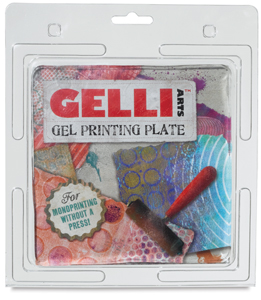
| Accessories: Brass & Bliss/Rubbernecker Stamps: Love is in the Air, Inside Scallop Frame, Outside Scallop Frame, Offset Tags dies, Stacked Hearts Stencil, Crossover II, Ranger Distress Translucent Grit Paste, Misti, Copic Markers |

|

|

|

|

|
You might also like:

![]()