• Tag Archives DRS Designs
  • Holiday Reds

    Holiday Red cu 05296
    Weekly-Favorite
    Today’s Inspiration Challenge (IC471) is for one of my favorite sites…Pendleton! We order from them frequently. For my first card, I chose THIS for inspiration. And since I really needed a couple of quick cards my hubby could send for business, both are clean & simple, using mostly (or all) die cuts. 
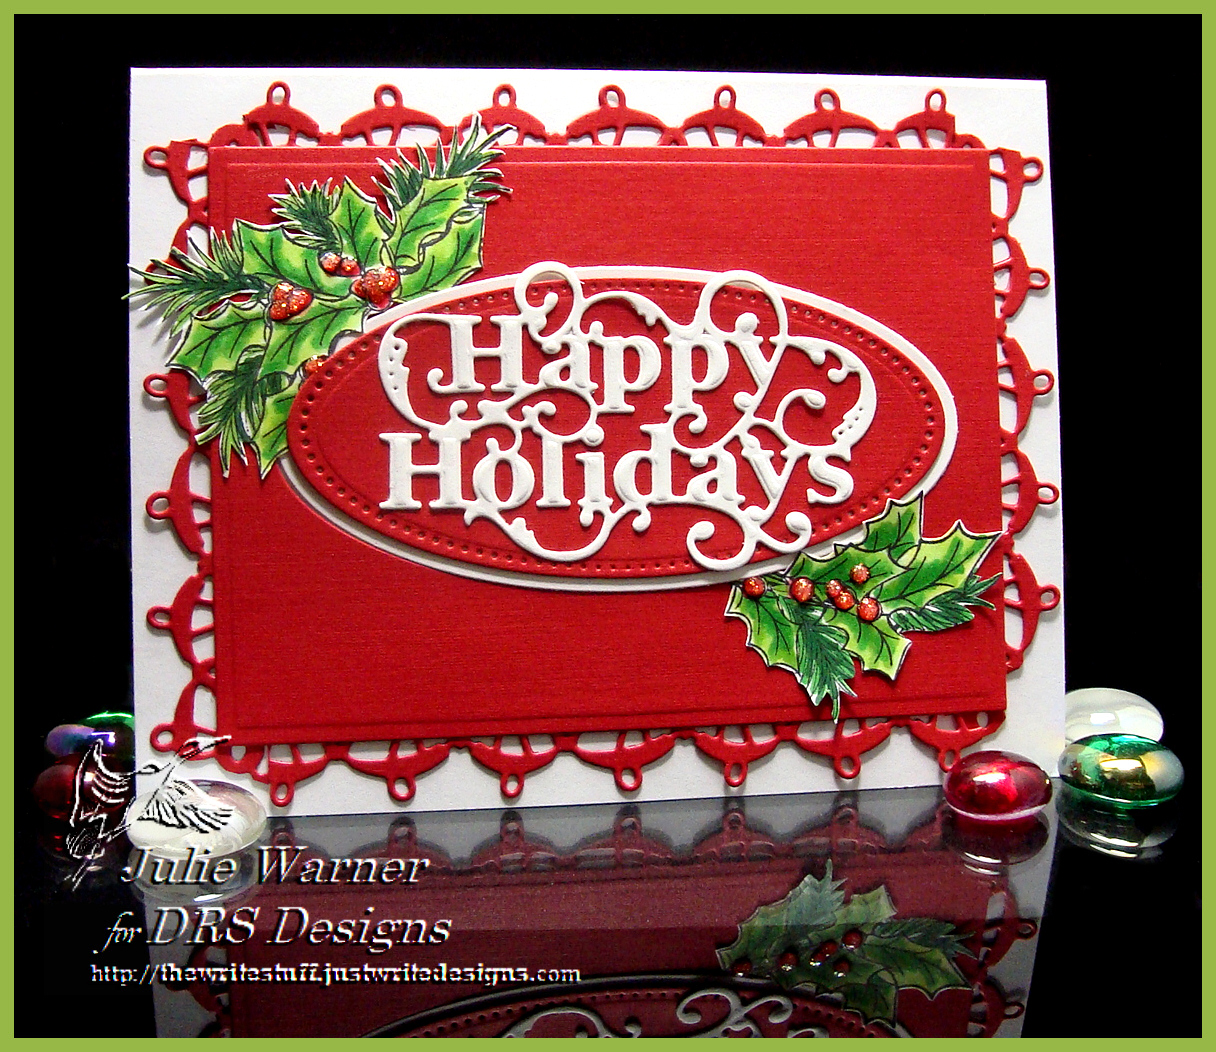
    Holiday Red 05294
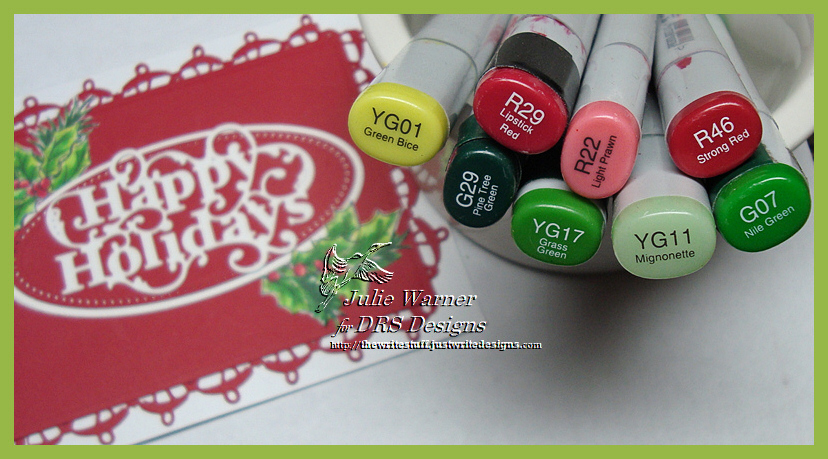
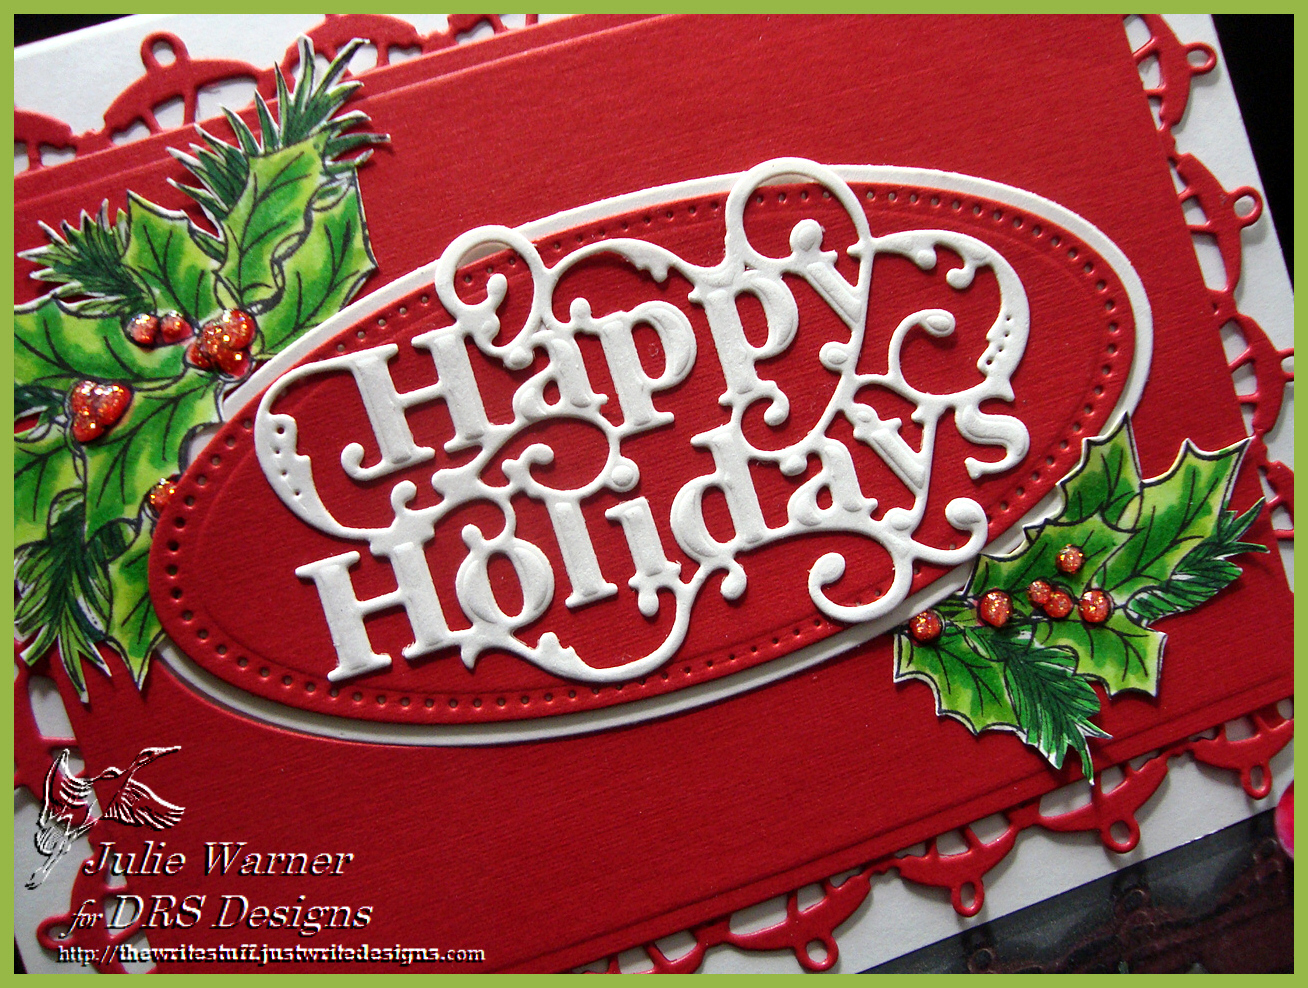
    After die cutting then assembling the oval, rectangle & crochet border, the greeting was die cut out of white & added on top. The holly on the two corners is the only stamped, colored & fussy cut addition. The finished card is 5.50 x 4.25 and these are the Copics I used for the holly.

    Holiday Red copics 05293
    Supplies:

    Stamps: DRS Designs- Merry Christmas Pine Oval
    Paper:  Neenah white, red linen
    Ink: Memento tuxedo black
    Accessories: Copic markers, Spellbinders A2 matting basics B, Radiant Rectangles (white pierced oval), Mega ovals & Happy Holidays dies, Cheery Lynn crochet border die, stickles

    Holiday Trees 05269
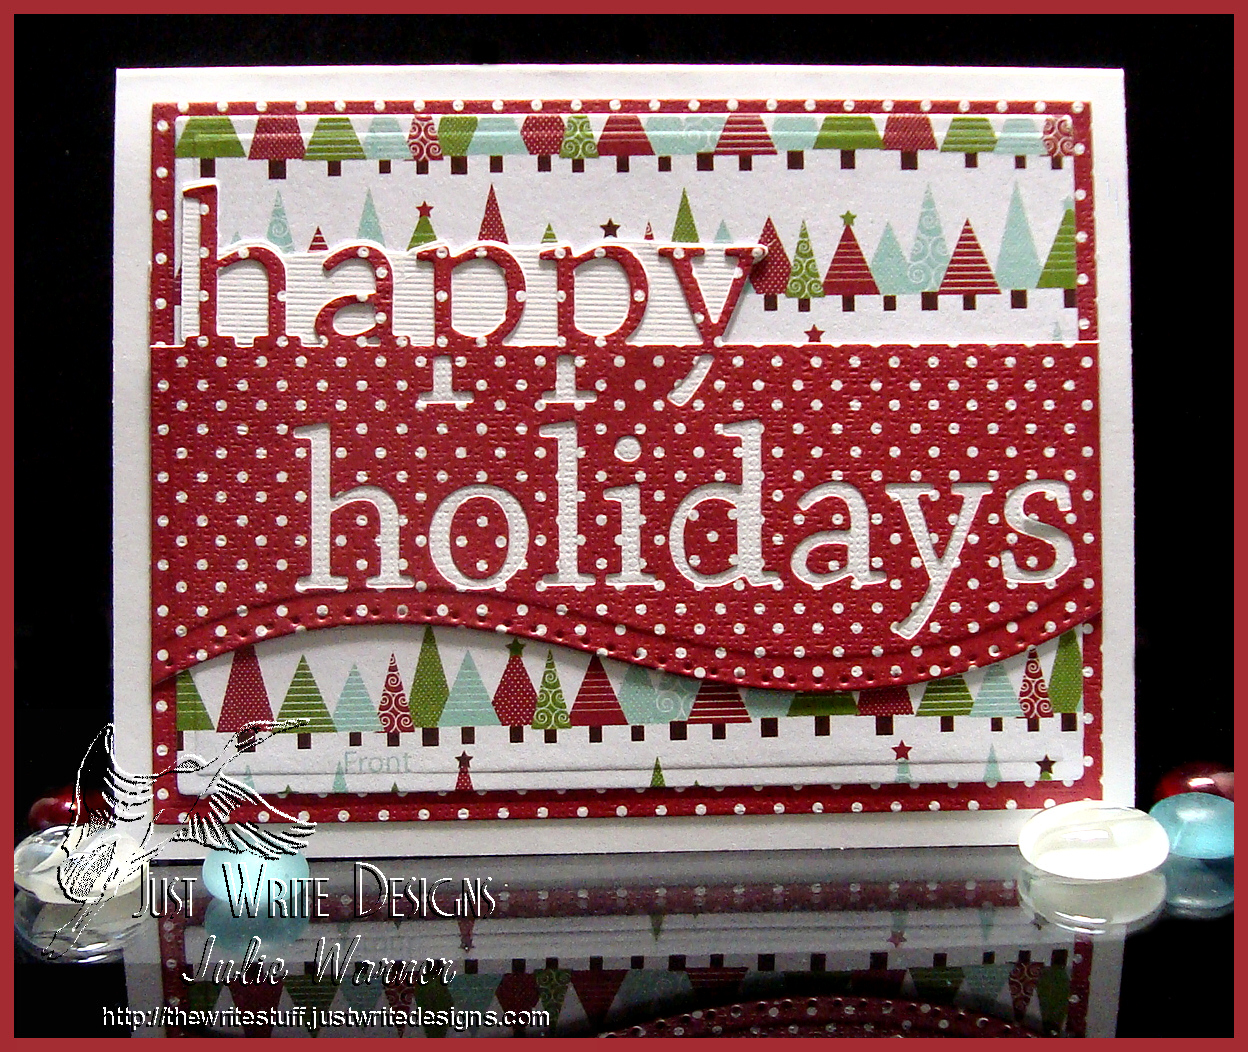
    This card was inspired by THIS Pendleton item and took only about half an hour to make 🙂 No stamping…it’s entirely die cuts. The red/white polka dot is from a box of blank Christmas cards and the tree paper is from a 6×6 paper pad. I backed the die cut words w/ a scrap of textured white I had so they would show up better. 

    Stamps: none
    Paper:  textured white, red/white polka dot (Paper Studio boxed cards) tree dp (American Crafts – Jolly)
    Ink: none
    Accessories:  Spellbinders A2 matting basics B, curved border dies, Memory Box happy holidays die

    I’m adding one more card to this post for a challenge today for Virtual Stamp Night on Splitcoast. This is for Sabrina’s VSNDEC14E Get Your Skates On!

    Let it Snow 04170
    This ice skates image is such a pretty one. On winter cards, I always look for ways to use it because I like it so much. And I think with the iced over pond in this image, they fit perfectly. I added some tops of pine trees in front of it so it would look like you’re seeing it through a window. And one of my favorite things…a pink winter sky. A few snowflakes, some sparkly stickles and the fun greeting finish it all. The card is 4.25 x 5.50 and these are the Copics I used.
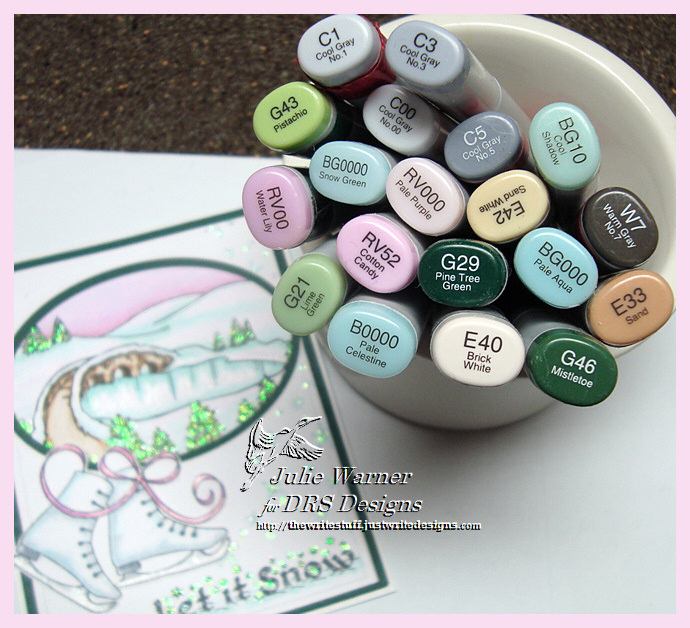
    Let it Snow copics 04169

    Supplies:

    Stamps: DRS Designs- Christmas Village Pond, Ice Skates, Snow Background, Let it Snow, Address Label Trees, Pine Tree Snowdrifts
    Paper:  white pine green
    Ink: Memento tuxedo black, Ancient Page neptune
    Accessories: Copic markers, Spellbinders petite oval & A2 matting basics A & B dies, stickles


    Thanks so much for stopping by!
    Julie2 sig


  • Ornaments 2 Ways

    Ornament WC cu 05097
    Weekly-Favorite
    Best of 2014!
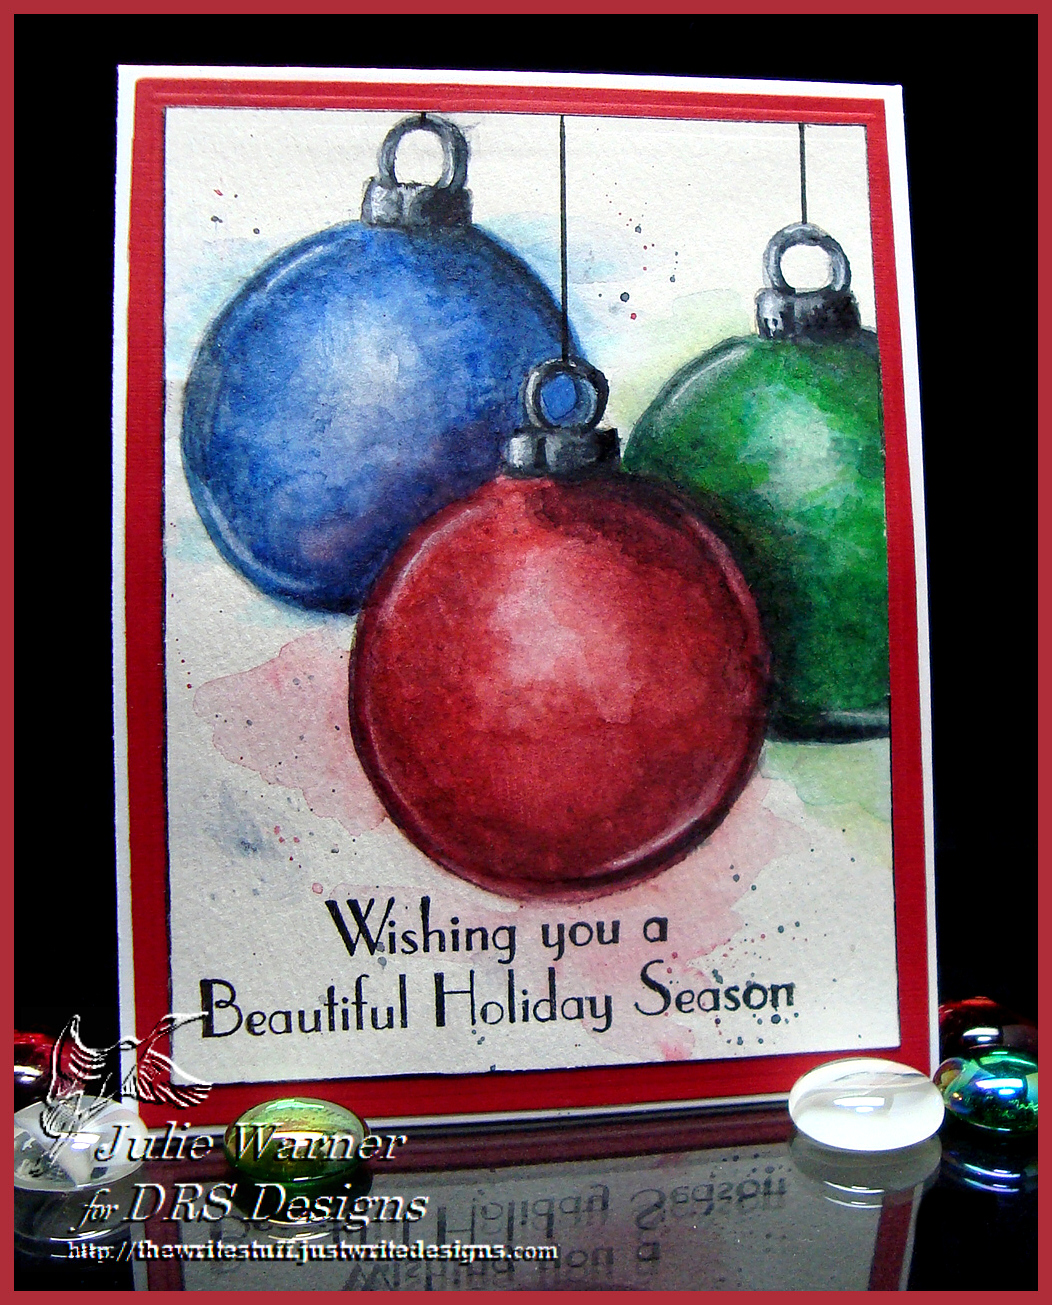
    For today’s Inspiration Challenge on Splitcoast (IC470), I chose THIS for my first card and THIS for my second. I’m actually using the same ornament image on both, just different techniques and I actually had to do “surgery” on my ornament image. I wanted a blank ornament but all I could find was this ornament which originally had a nativity scene inside, so I took a craft knife and carefully cut it out. On this triple ornament card, I saw a card Lydia posted on the SCS FB page of some free form water color ornaments and really liked it. I don’t remember who did it or how long ago it was, or I’d link it.

    Ornament WC 05091
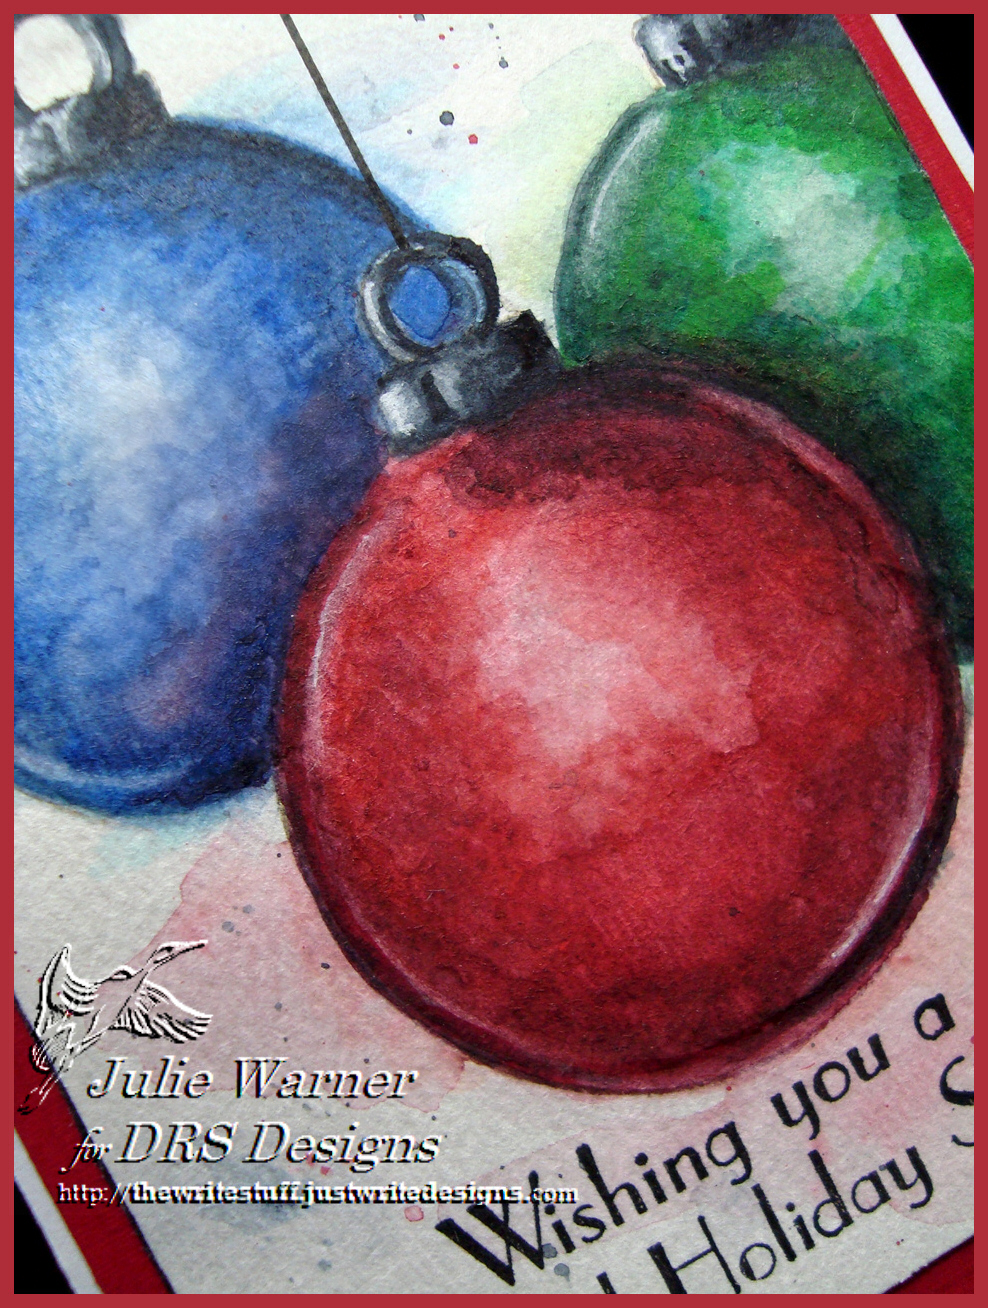
    So after the image surgery, I stamped the ornament, masked & stamped twice more using pumice ink (after stamping off once) onto water color paper. This w/c paper isn’t my fave..it’s a little rougher & grainer than what I usually use, but I couldn’t remember where I put the other paper. Anyway, the pumice ink after stamping off 1 time, just leaves a bare outline that pretty much disappears when all the coloring is finished. Now the coloring took me a quite a while because the color has to be painted in layers & allowed to dry in between. I’m not one to appreciate watching paint dry, so I helped it a lot w/ a heat gun. The splotchy, free form look is intended to be that way & I’m pretty satisfied with it. 

    I added a little splatter & went back w/ a fine line paint brush to remove some paint for the highlights along the edges then stamped the greeting & drew the lines to the ornament tops. The finished card is 4.25 x 5.50. 

    Red Ornament 05167
    Weekly-Favorite
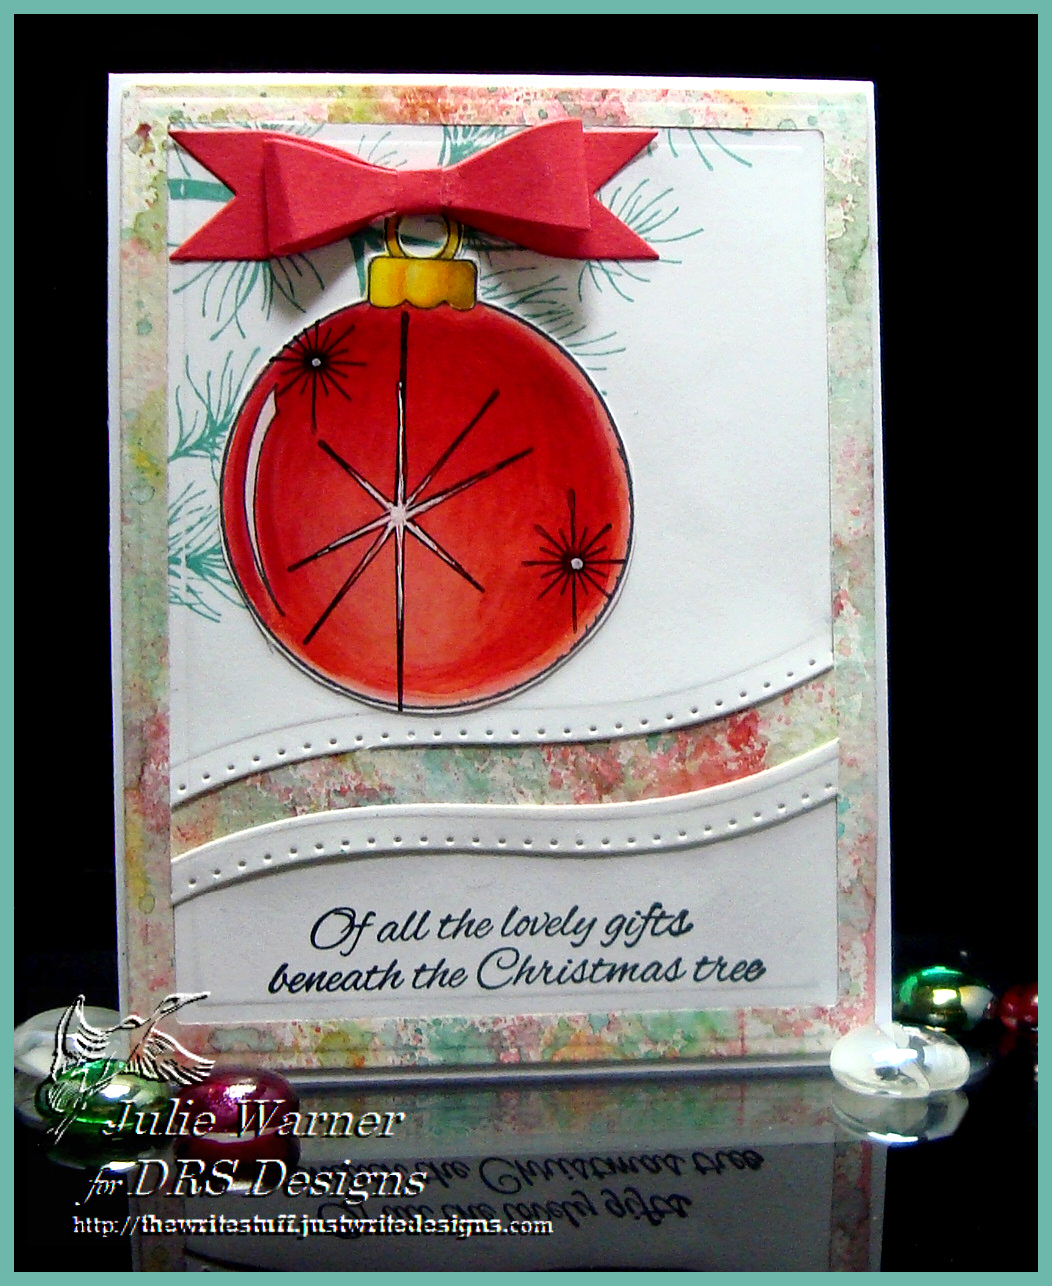
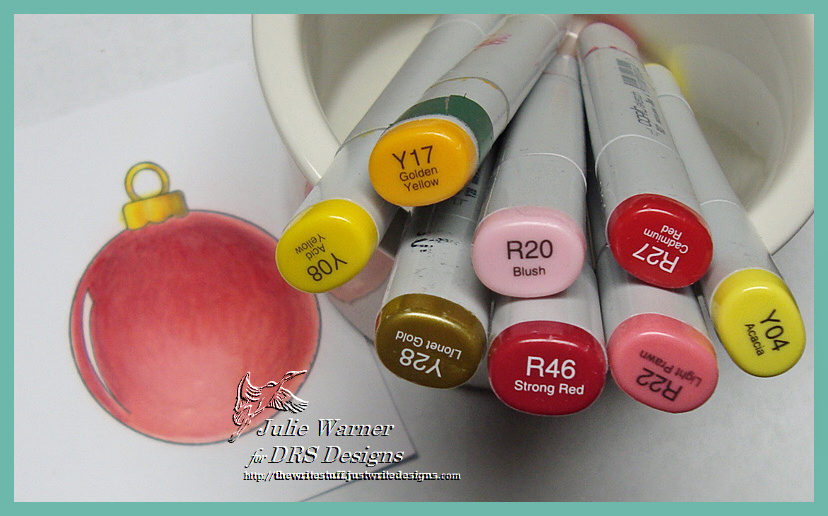
    For this card, I stamped the same surgically enhanced ornament w/ the black ink & colored with Copics. The stars were stamped on top and I used a white gel pen to fill the large one in then fussy cut it. The pine branches were stamped w/ the evergreen ink then I die cut the panel w/ one of the matting basics rectangles. I took a curved border die and cut off the bottom & attached the two parts on top of a  background I made a while back using distress inks, spritzing & w/c paper. I added another little curved border strip on top of the bottom section & stamped half of a greeting under it (the other half is on the inside).  A die cut red bow was added on top & these are the Copics I used.

    Red Ornament copcis05101
    Thanks so much for stopping by!
    Julie2 sig
    Supplies:

    Stamps: DRS Designs- (1. Triple Ornament card) Nativity Ornament, Beautiful Holiday Greeting (2. Red Ornament card) Nativity Ornament, Pine Bough, Lovely Gifts Christmas Greeting, Retro Starburst, 3 Wisemen Peace (for small star)
    Paper:  1. water color, red linen,  2. X-Press It, water color, red
    Ink: 1. Distress Ink pumice stone, Versafine onyx  2. Memento tuxedo black, Distress Ink evergreen bough, worn lipstick, spun sugar, pistachio, tumbled glass
    Accessories:  1. tube water colors, #10 round brush, #0 liner brush, Copic markers, Spellbinders A2 matting basics A & B    2.  Copic markers, Spellbinders A2 matting basics A & B, curved dies, white gel pen, Cheery Lynn Pretty Pretty Bows die


  • Starry Halloween

    Starry Halloween cu 04887
    A big congrats to Annette, the newest Featured Stamper (FS403) on Splitcoast! She has such a fun, fab gallery and I chose THIS card to case. I really liked the starry background w/ the greeting stamped all around it & the cute little images at the bottom so I kept those. I used different images, different colors and made mine a Halloween card since I needed one more.
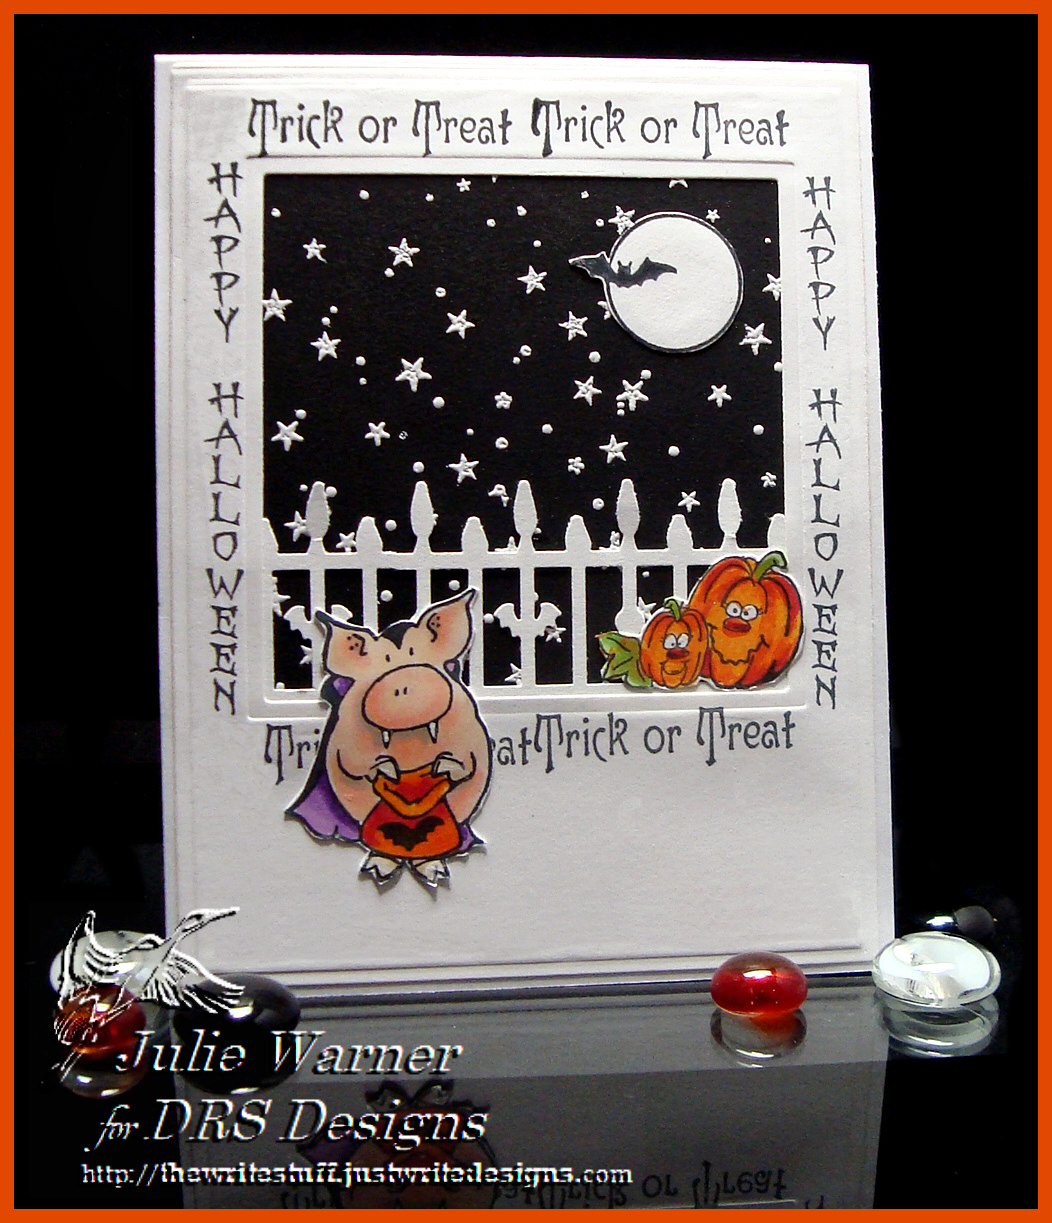
    Starry Halloween 04885
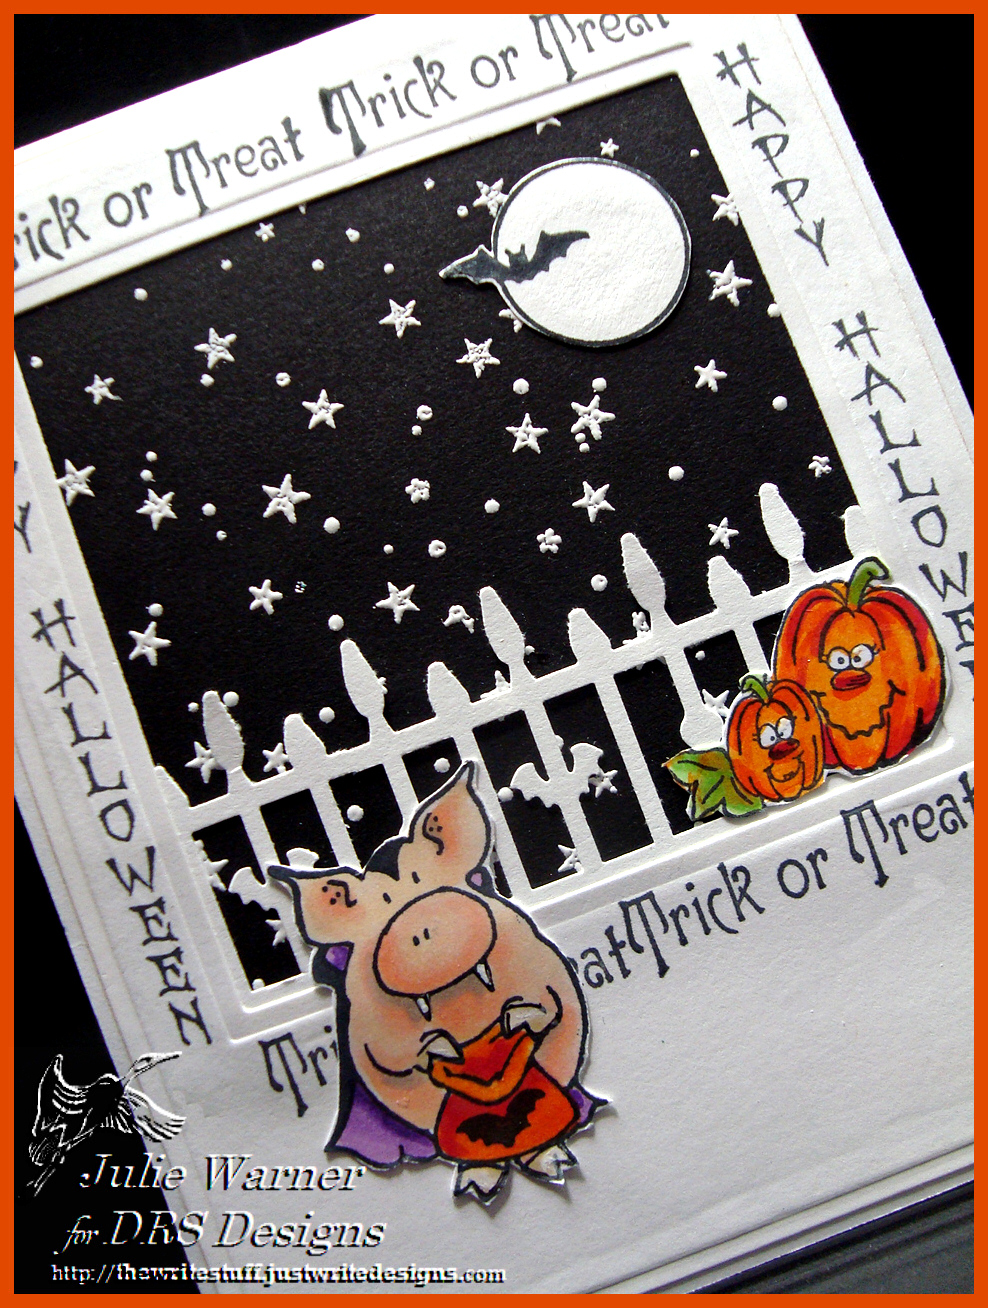
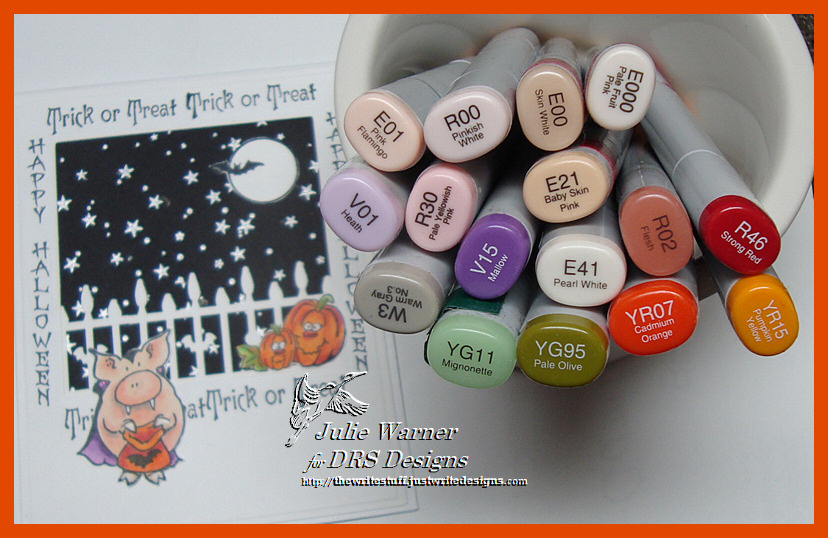
    On a black square, I white embossed the starry bg image then die cut a white frame to go on top. The two greetings were stamped around the frame and the little Count Porkula & two jack o’ lanterns were colored & fussy cut. I also added a cut out moon w/ bat and a punched bat fence on top of the starry bg. The finished card is 4.25 x 5.50 and these are the Copics I used.
    Starry Halloween copics 04884
    Congrats again, Annette! Thanks so much for stopping by! If you haven’t, be sure to check out the DRS Thursday Challenge. This week…So Thankful. Create a thanks, Thanksgiving, Give Thanks card. DRS images are not required so head on over and link up!
    Julie2 sig
    Supplies:

    Stamps: DRS Designs-  Count Porkula, Small Bat & Moon, Peculiar Pumpkin Patch, Starry Background, Vertical Halloween, Smell my Feet Greeting (1st line only)
    Paper: white, black
    Ink: Memento tuxedo black, Colorbox frost white pigment
    Accessories: Copic markers, white embossing powder, Spellbinders A2 matting basics A & square dies, bat fence punch (Martha Stewart)

    Â