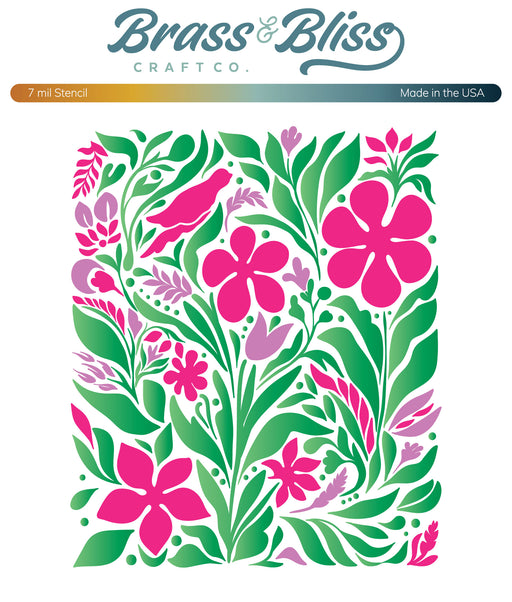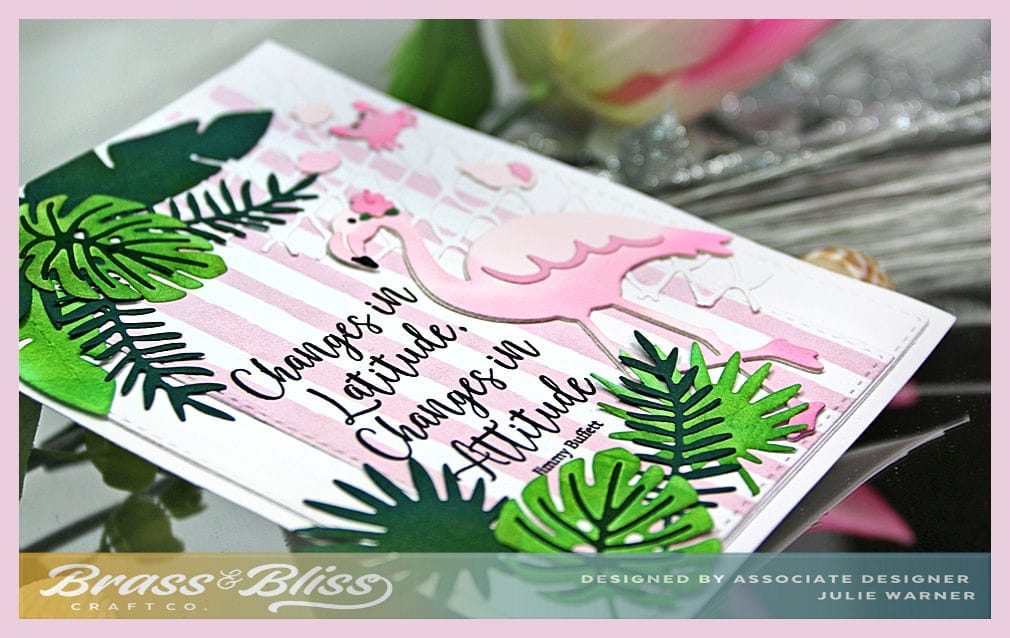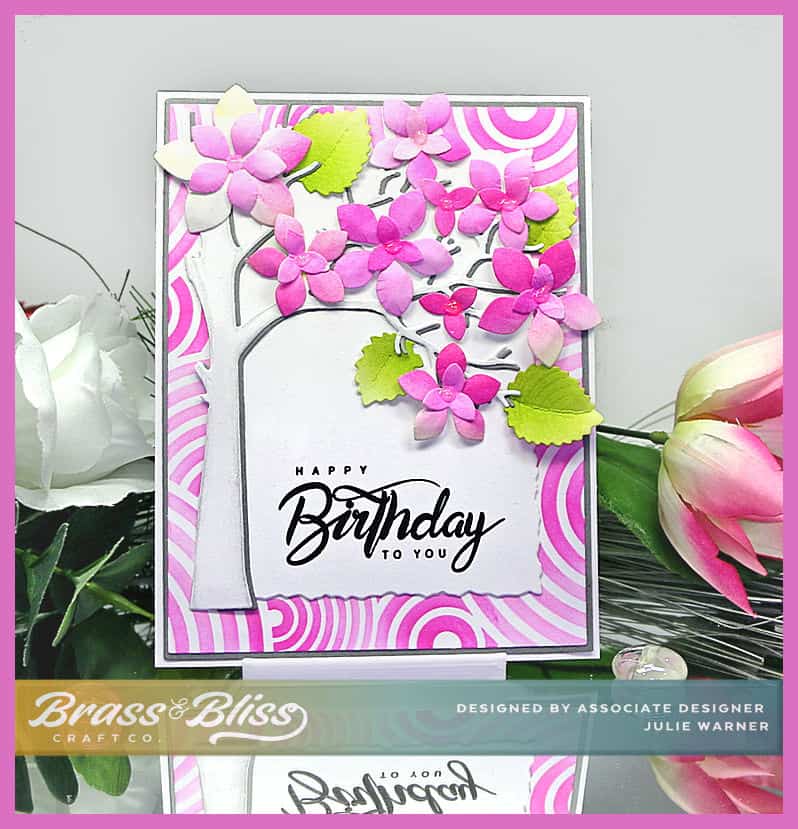

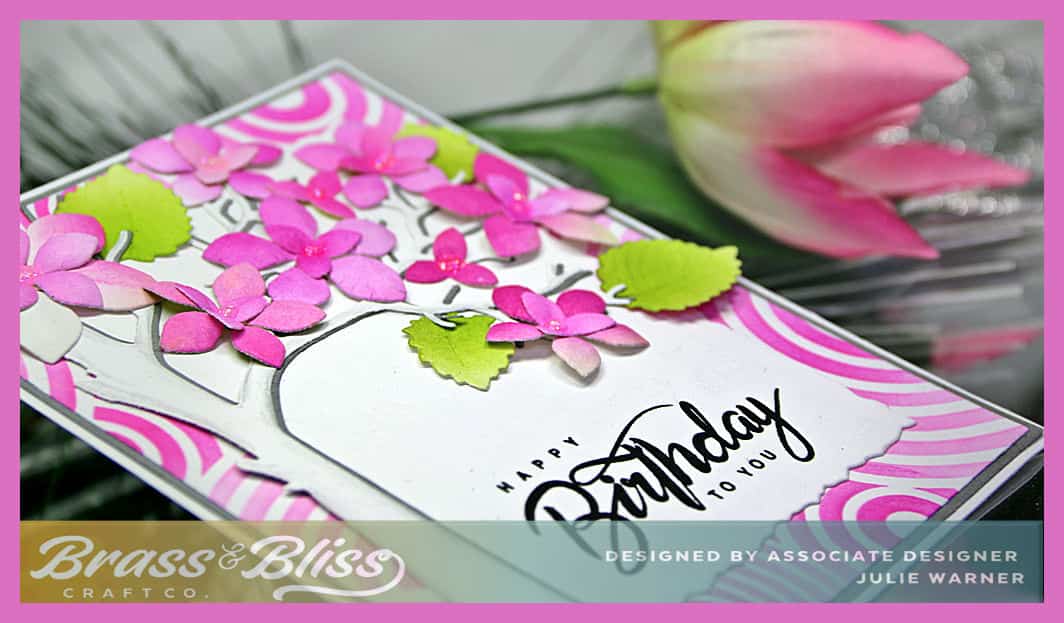
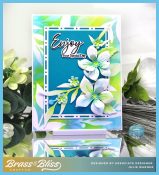
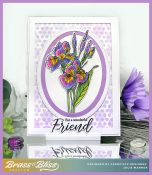
I have a happy, bright pink flowering birthday card to share today. The pink really came out lovely and the little bit of bright green really adds the perfect touch. This card is not hard to make. It only takes 1 stamp, 1 stencil, a few inks and a few dies to make this cheerful card.
Happy Independence Day! It’s my turn to host the Inspiration Challenge IC1022 & we are visiting Style Motivation & their Pinterest Board. I was inspired by THIS lovely picture. The pink flowers & white background really caught my eye.
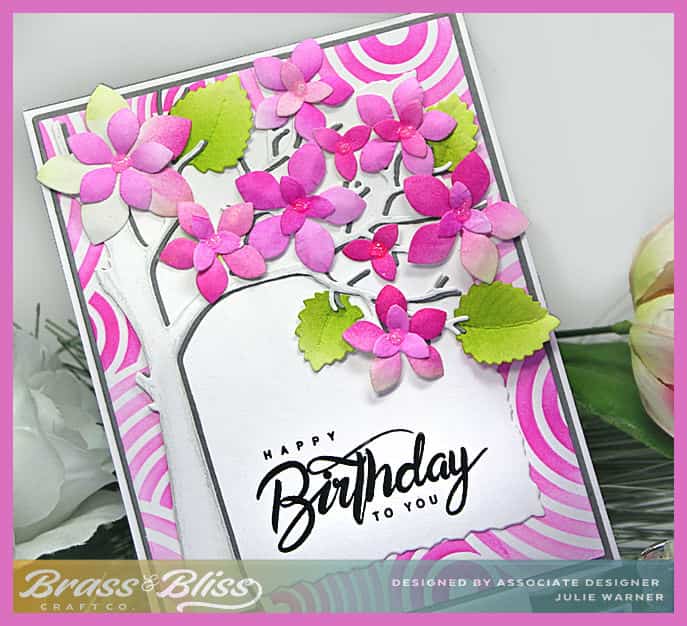
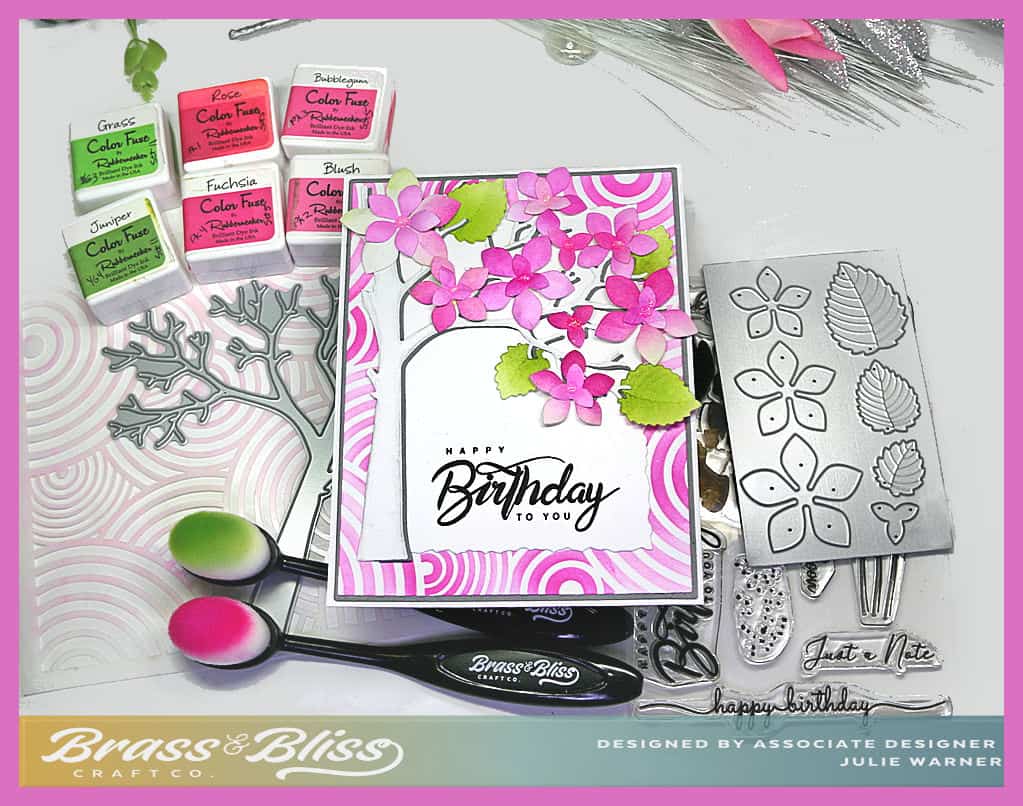
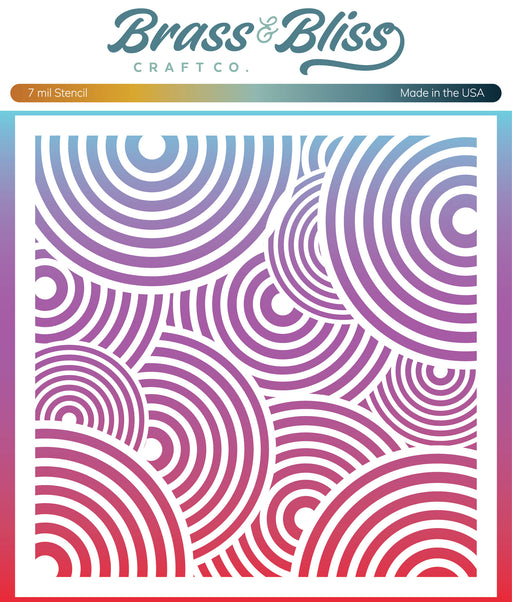
To make my card, I cut a large white panel then placed the stencil on top & blended the pinks, going from light on the outside of the circles to darker in the center. I had a white piece of card stock already cut with the deckle edge so I stamped the greeting on the lower part of it. The tree was cut out of white & I cut a second out of gray to offset for a bit of a shadow along one edge. I used the same gray to back the stenciled panel. I used the same pinks to blend another piece of white for the flowers & a small piece using the greens for the leaves. After die cutting these, I did a little shaping & attached them to the tree.
Thanks so much for stopping by!

Supplies: (click the names below the pictures to take you to the products)
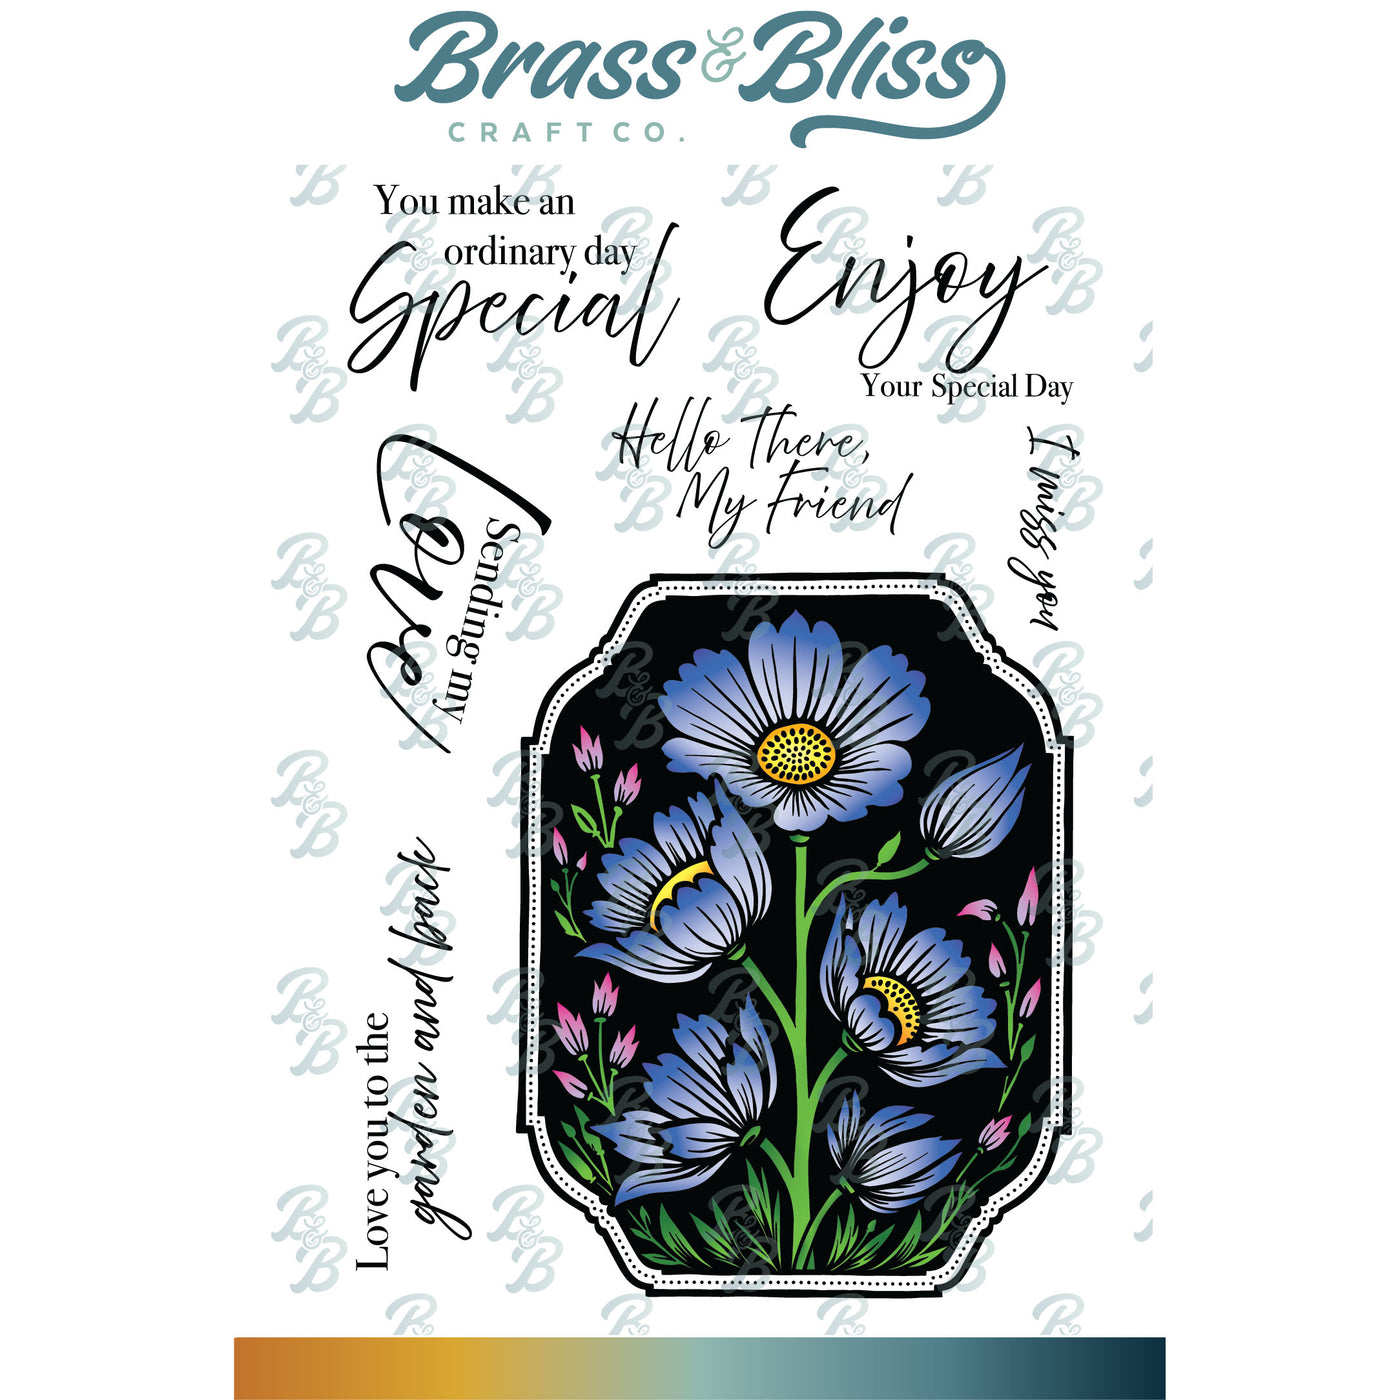
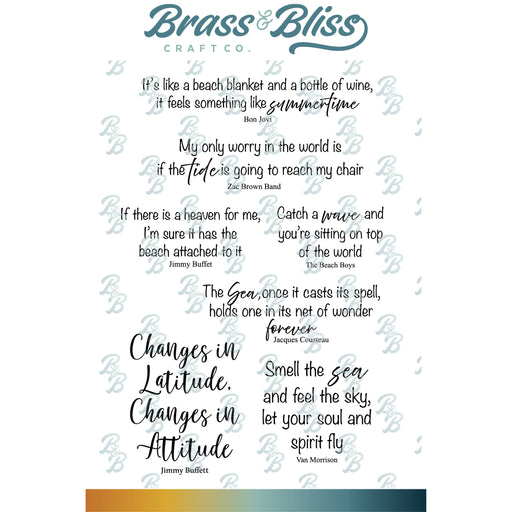
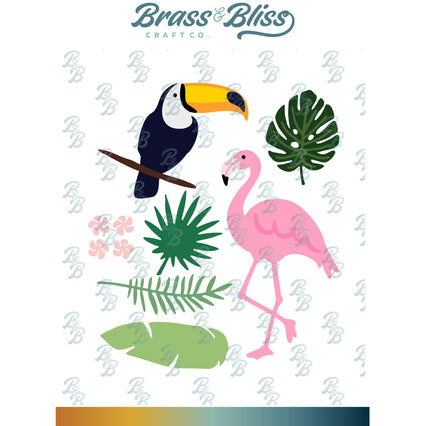
| Stamps: Brass & Bliss: Poppy Field set |
| Paper: Staples 110# white, gray |
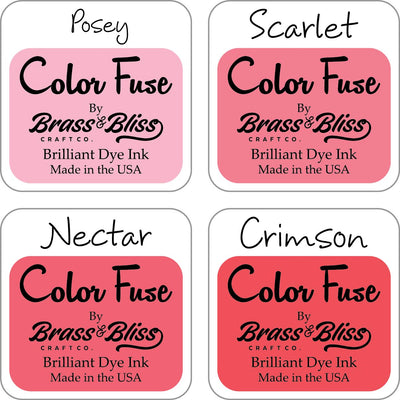
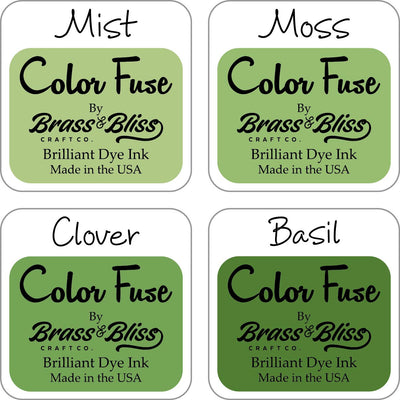
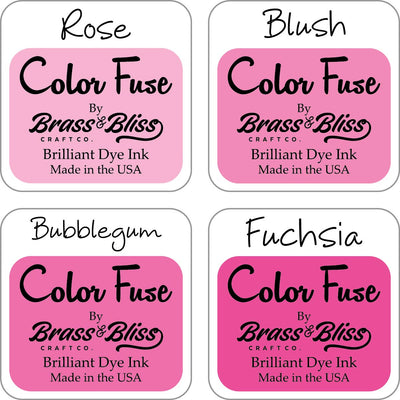
| Ink: Versaclair nocturne, Brass & Bliss: Color Fuse inks set #5, set #11 |
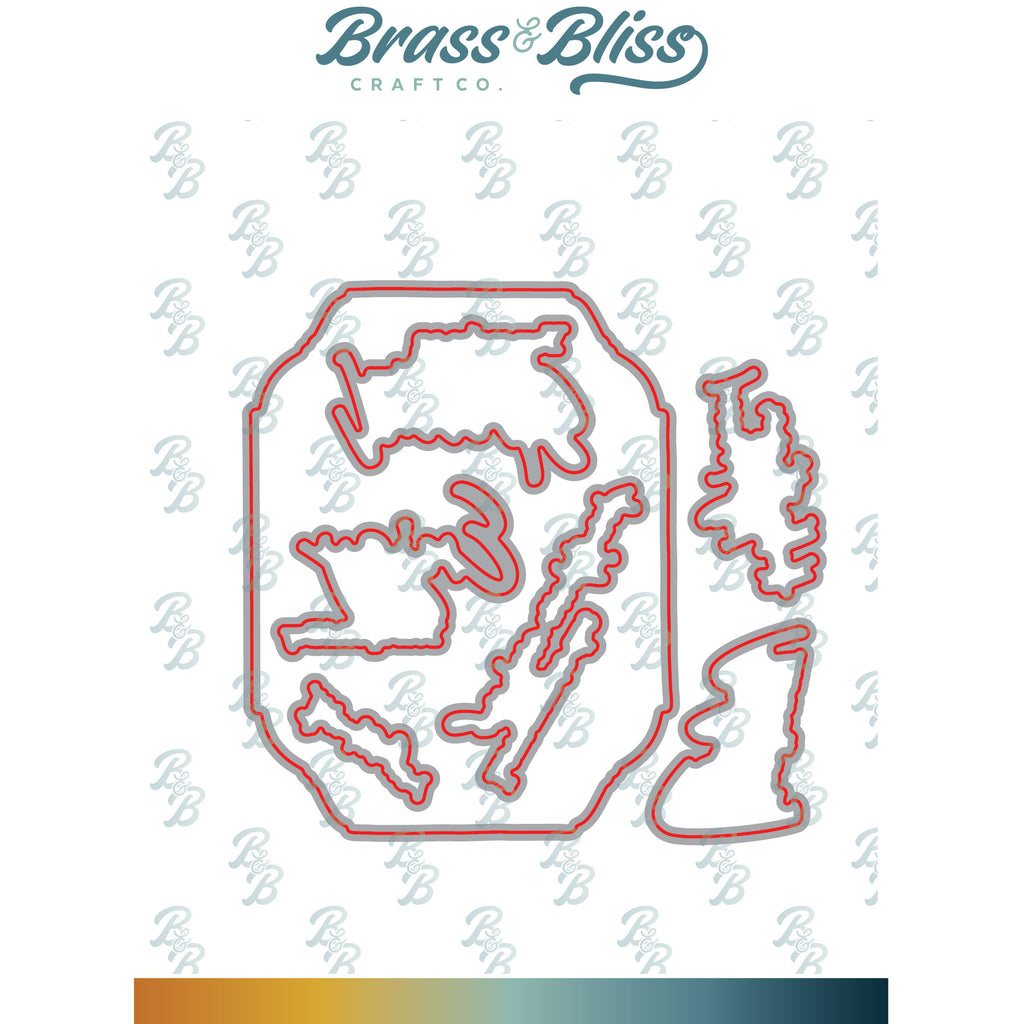
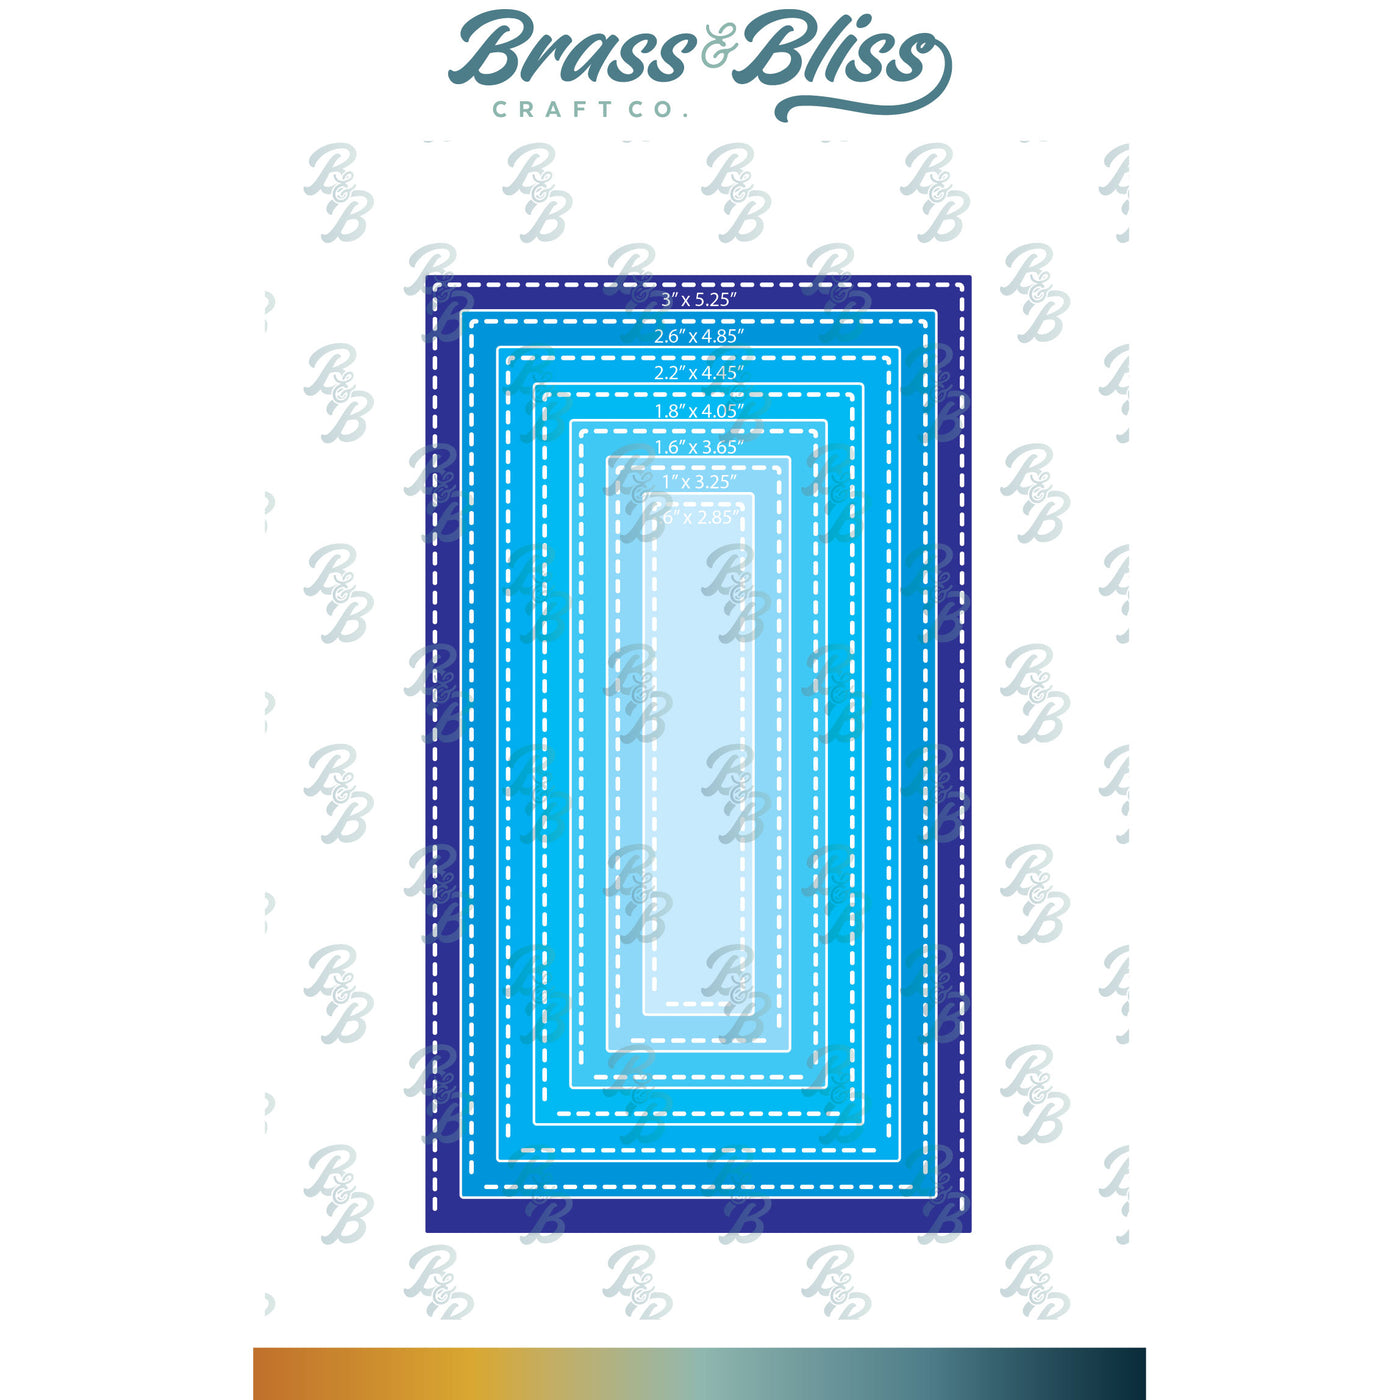
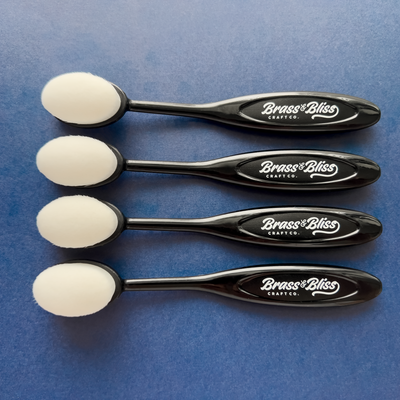
| Accessories: Brass & Bliss: Deckle Rectangles, Stackable Flowers/Leaves, Half Tree dies, Lg Blending Brushes, Misti |

|
|

|

|
|
|

|
|

|

|

|
|

|
You might also like:
![]()