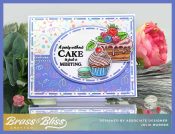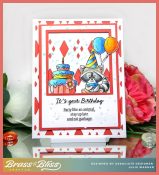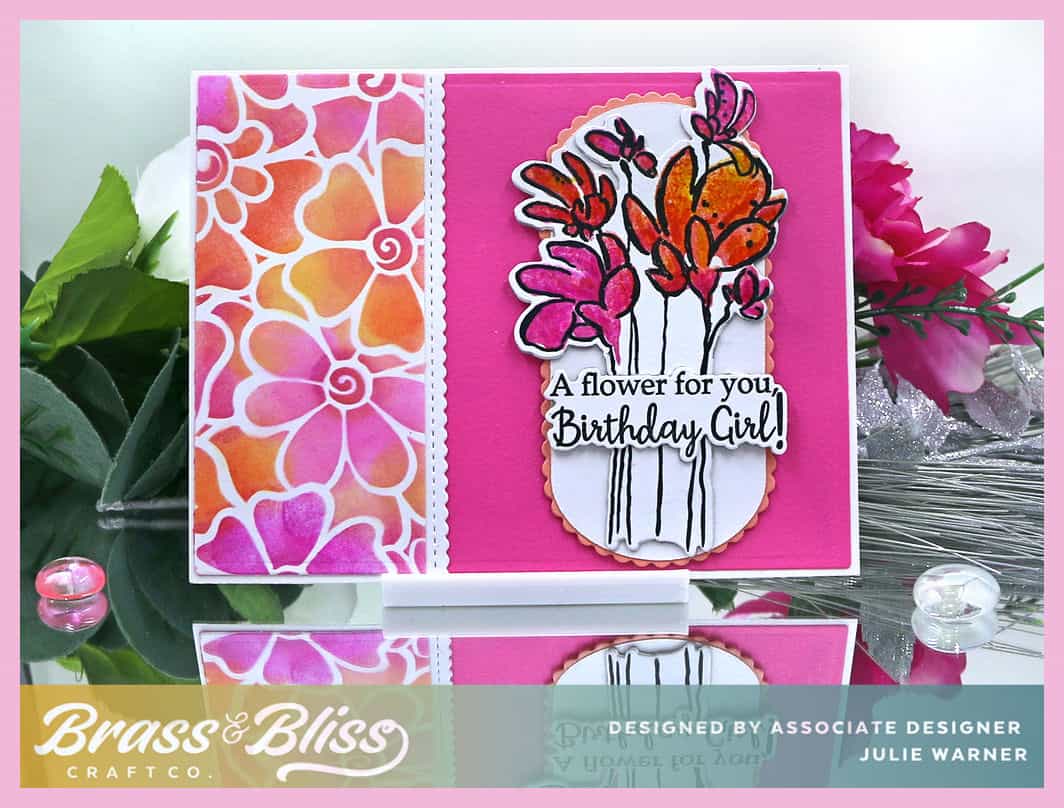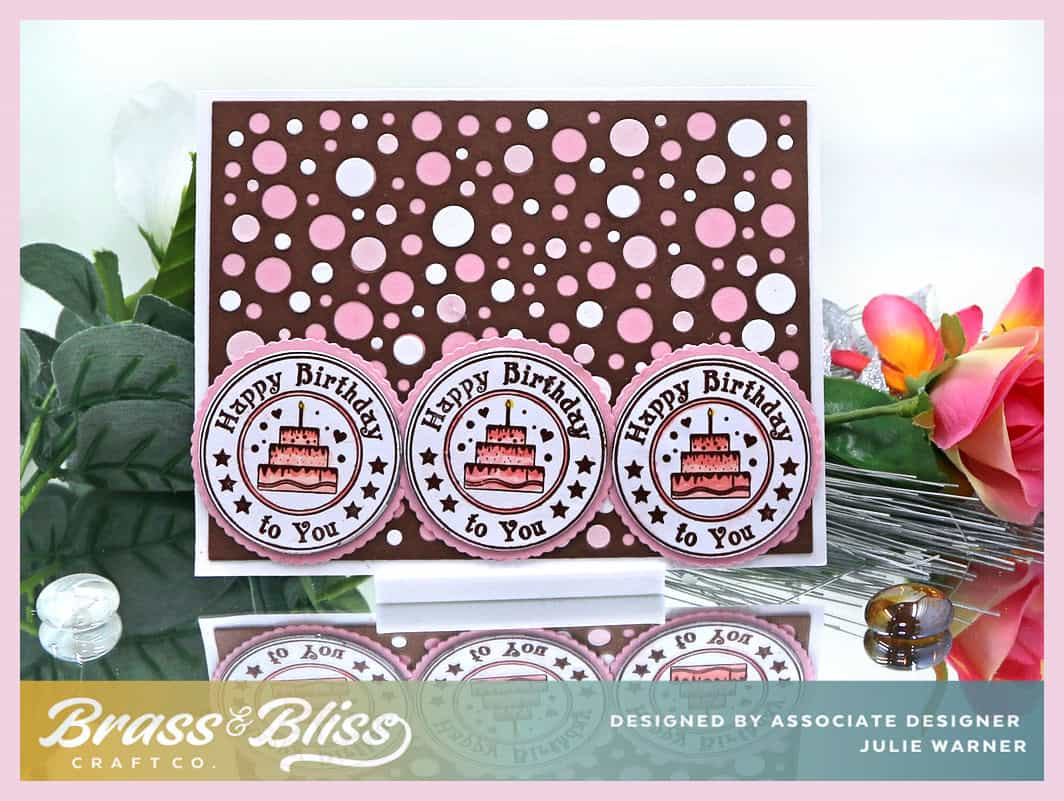
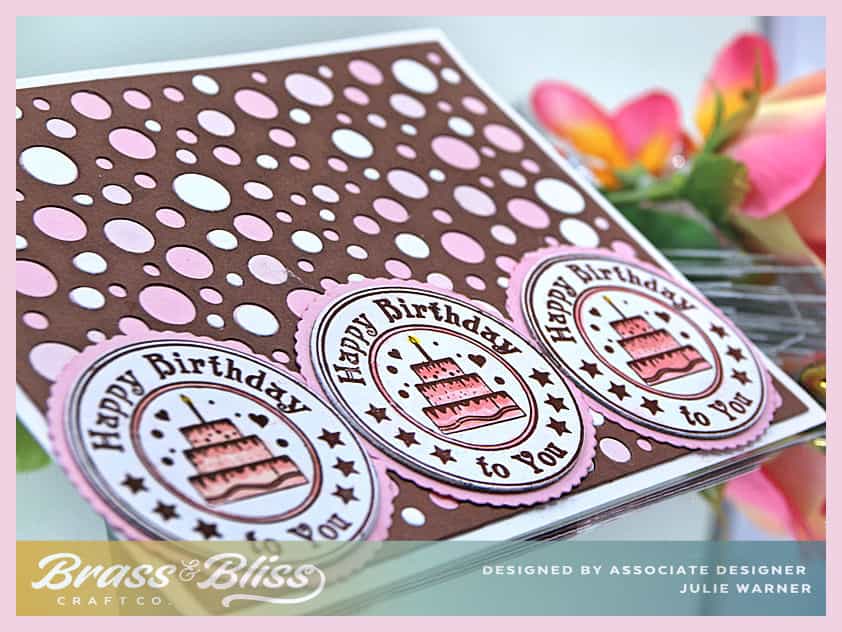
Today I have a fun birthday card that works equally well for guys or girls. Best of all, it’s easy to make, easy to customize to colors for the recipient, and there are a lot of these birthday circles to choose from in this set. All you need is a few dies and one stamp set.
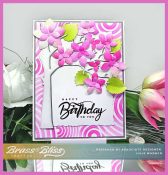
A big congrats to Michelle, the newest Featured Stamper FS994! She has a wonderful gallery & I chose THIS card to case. I kept the layout & colors, but used different images, dies & made my paper pieced background instead of using printed paper.
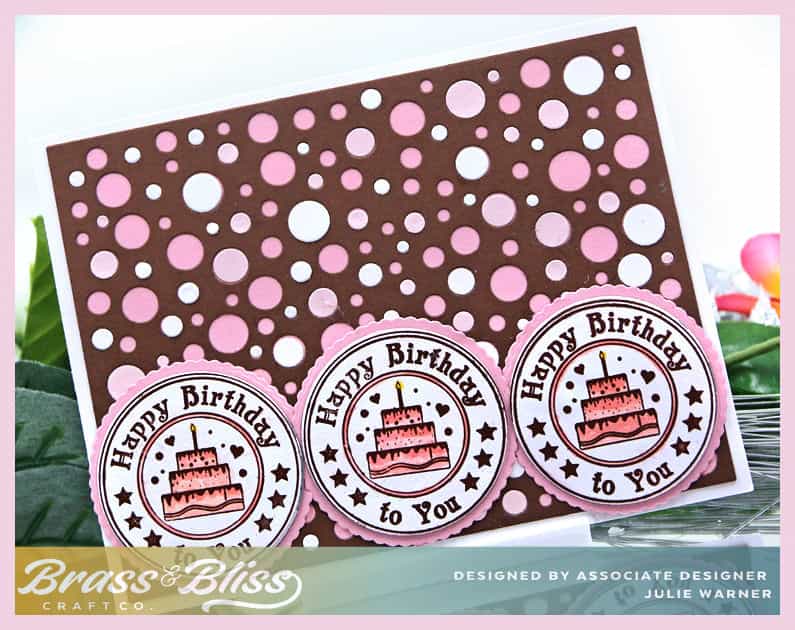
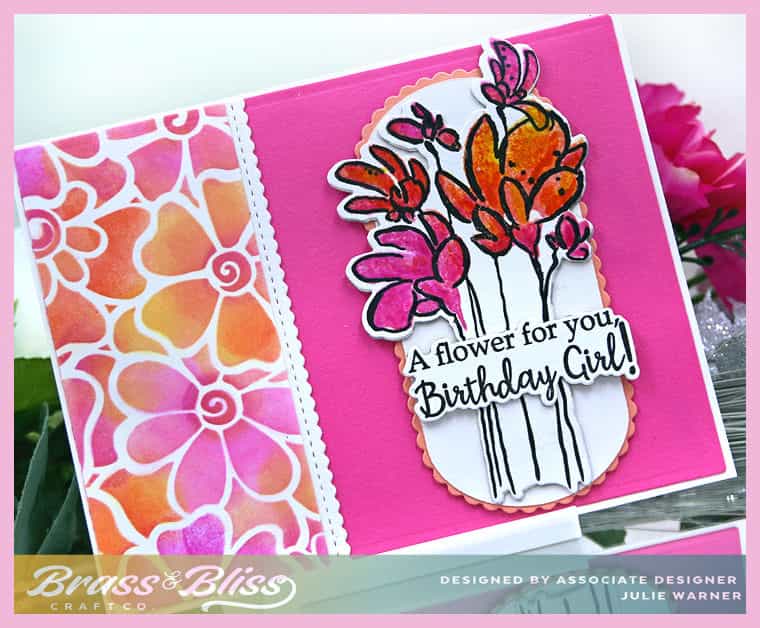
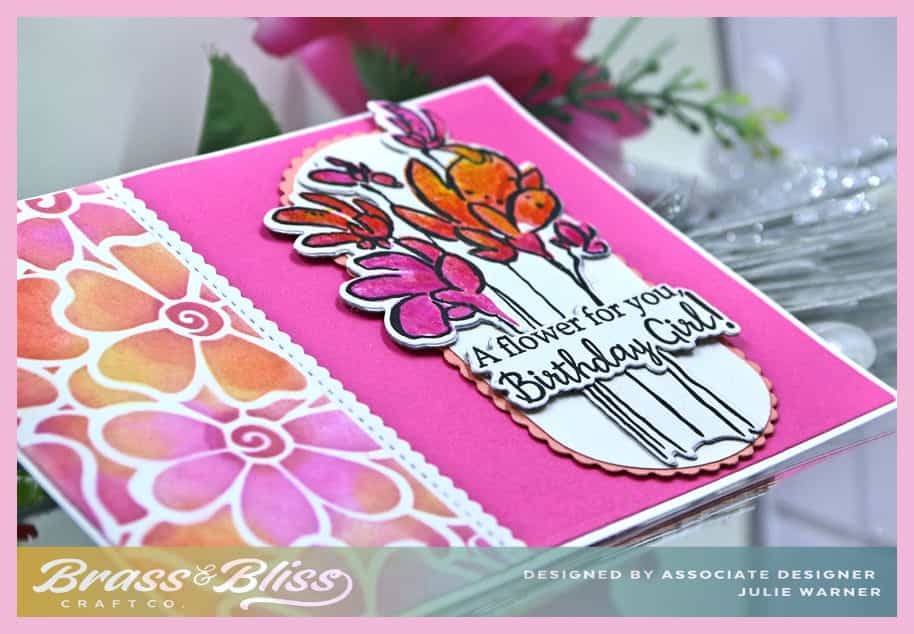
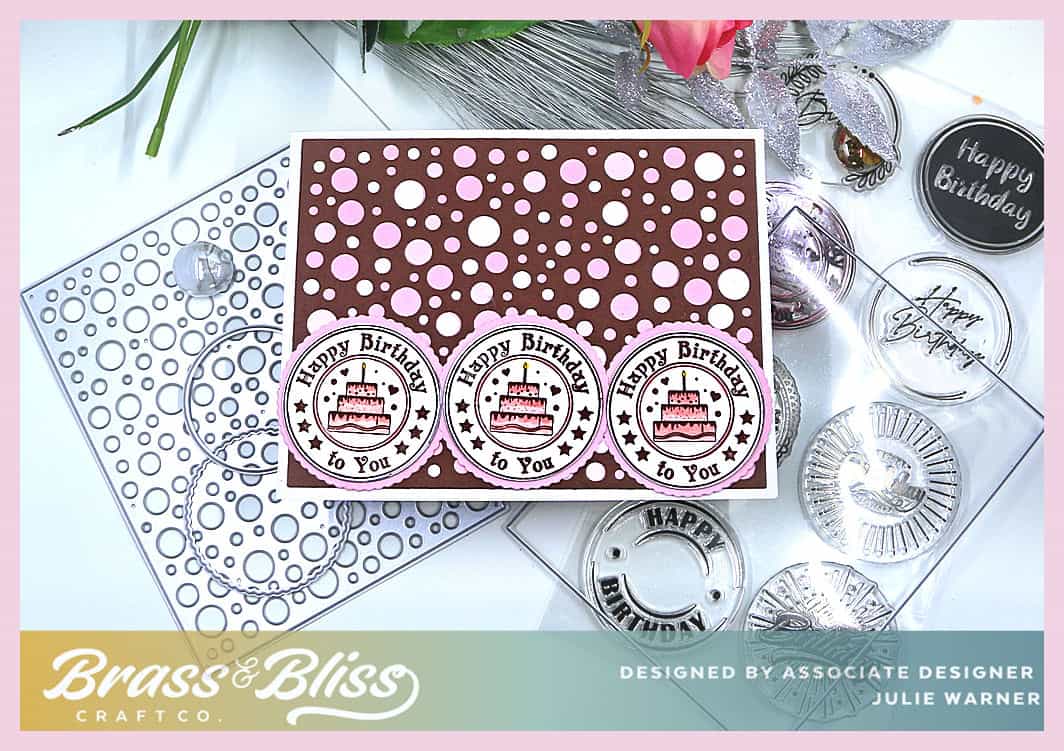
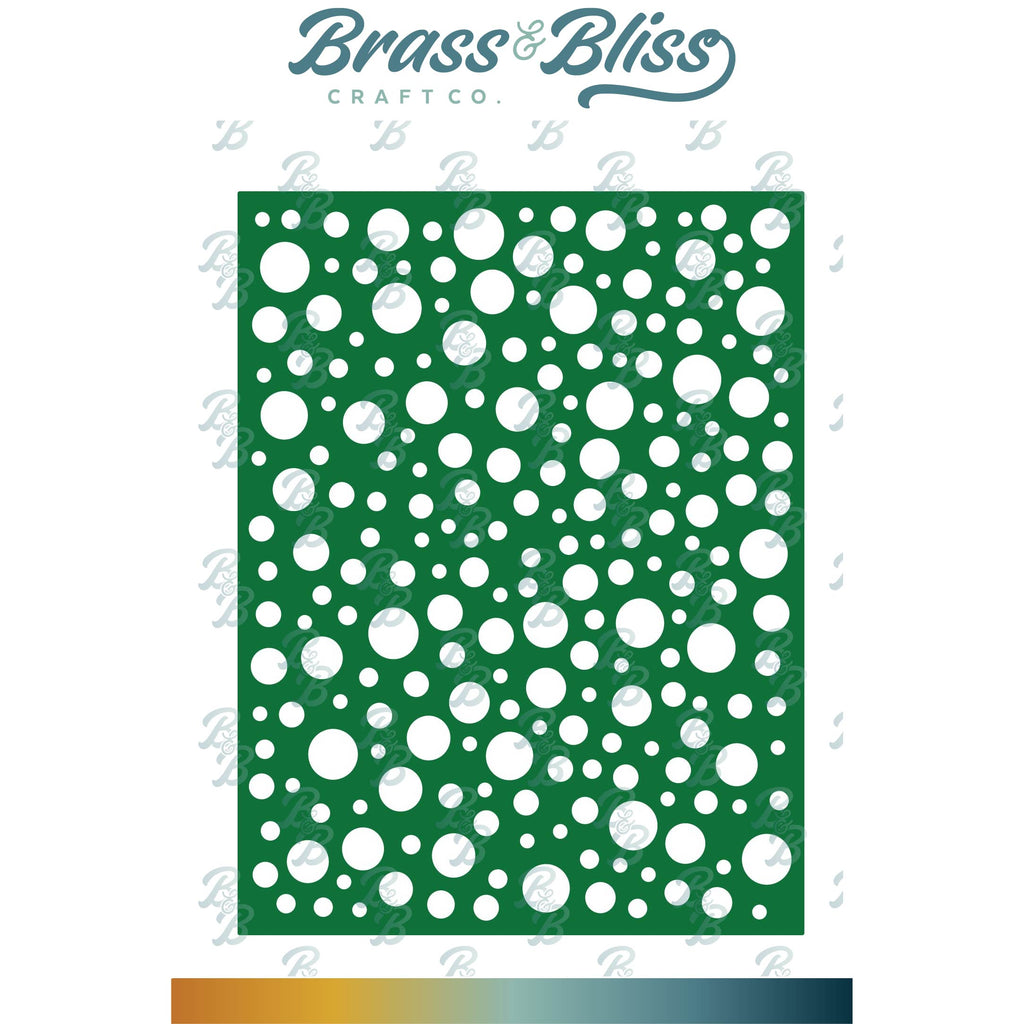
For my card, I stamped the birthday circles w/ brown ink, added just a bit of color to the cakes, then die cut them w/ a circle die. They are popped up one layer before I attached them to a slightly larger scallop circle die cut. The background was die cut w/ the Swiss Cheese cover in chocolate brown & attached to a piece of bubblegum pink. I pieced in some white circles & pale pink into some of the openings to mimic a multicolor polka dot paper. The birthday circles were attached at the bottom.
Thanks so much for stopping by!

Supplies: (click the names below the pictures to take you to the products)
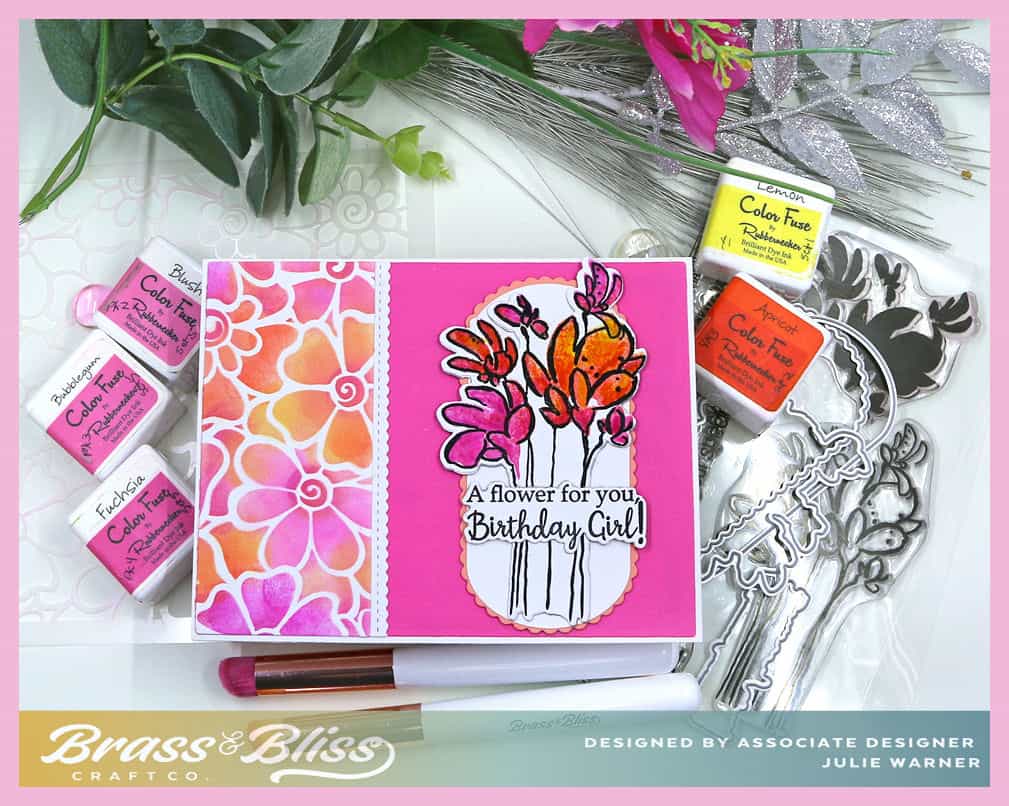
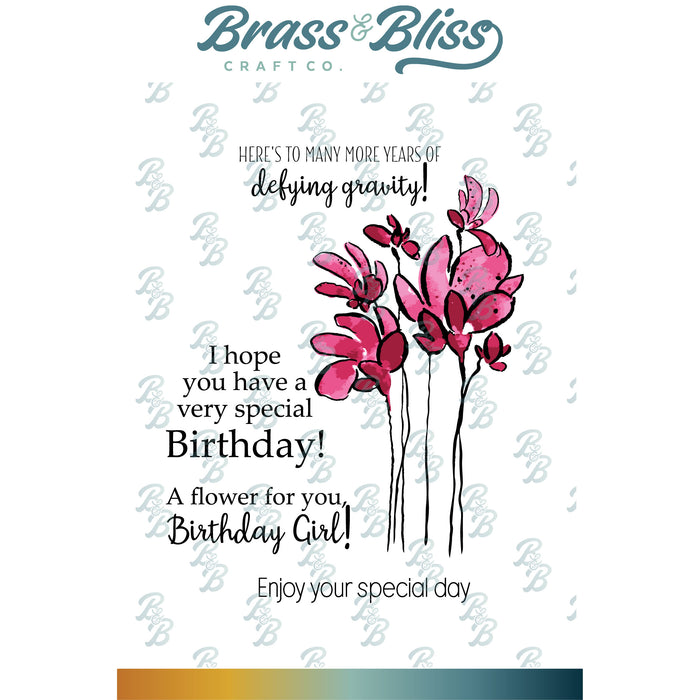
| Stamps: Brass & Bliss: Circle of Celebration set |
| Paper: Staples 110# white, chocolate brown, bubblegum pink, pale pink |
| Ink: Memento rich cocoa |
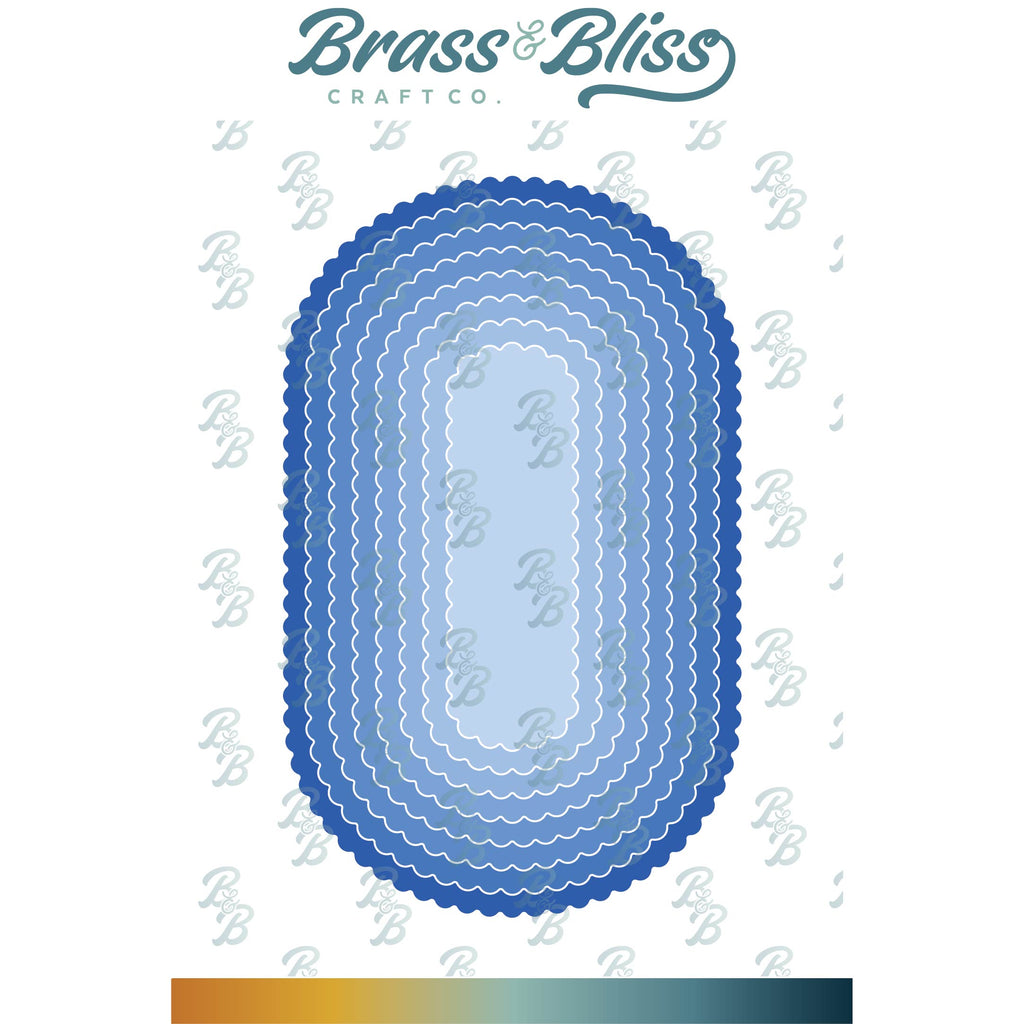
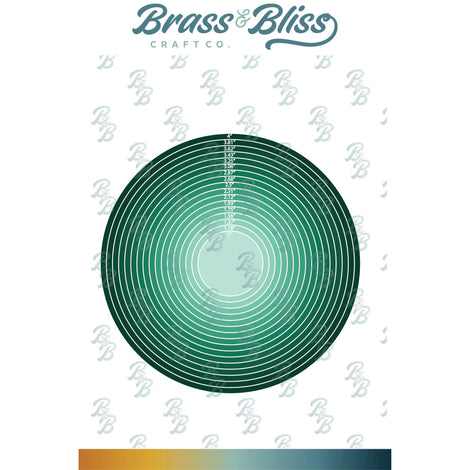
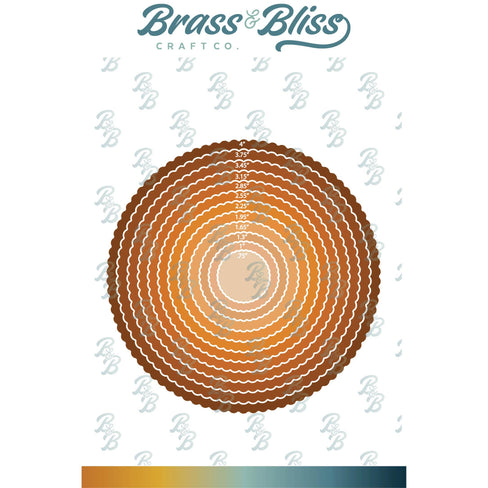
| Accessories: Brass & Bliss: Swiss Cheese Cover, Rectangles, Circles, Scallop Circles dies, MISTI, Copic markers |

|
|
|
|
|

|

|

|

|

|

|
You might also like: