• Tag Archives Splitcoast
  • SCS Challenge

  • ODBD April Release!

    Julie Warner - https://thewritestuff.justwritedesigns.com
    Welcome to the Our Daily Bread designs April release! Can you believe it’s already April? Well, you won’t believe this month’s release, either! We are talking some fabulous dies, papers and images! I am really loving this Vintage Flourish Pattern die! And the chalkboard background images are terrific!

    Prize Details:

    • Three winners will be randomly chosen from the comments left on the designers blogs to receive a $15 Gift Certificate to the ODBD Store, to be used toward the purchase of ODBD Stamps. 
    • You have until April 2, 2014 at 9:00 p.m. EDT to leave your comments! 
    • The Winners will be posted on the ODBD Blog on April 3rd, so be sure to check back there to see if you won!

     I kept picturing neon colors behind a black pattern so for my pair of neon birthday cards, I first colored half of an 8.5 x 11  piece of white card stock with a rainbow of fluorescent Copics mixed with a bit of neon Sharpies. On the one above, I did a  swirly hodgepodge and on the one below I  did rainbow stripes. Then I stamped the Chalkboard Fan background with versafine onyx.  I used versafine because I consistently get a better black coverage with large, detailed images like this one.  On the one above, I used the Vintage Flourish die to die cut the entire background, then die cut another out of white. I covered a piece of white paper with adhesive (just used my ATG big gun) and stuck the white version to it. Call me crazy, but I took all the neon piece (negative bits that are usually discarded) and pieced them into the corresponding spaces on the white version. Then I placed the die back over it and ran it through the embossing cycle again just to make sure it all stuck in place.  I used the largest center die to cut out the large neon center frame and used the smallest insert to cut the scrolly frame. So I actually got all of the neon pieces out of the one background! Not too shabby! The greeting was stamped w/ neon pink ink and the  frame w/ black then fussy cut.The white layer was stamped w/ black and die cut. 

    Julie Warner - https://thewritestuff.justwritedesigns.com
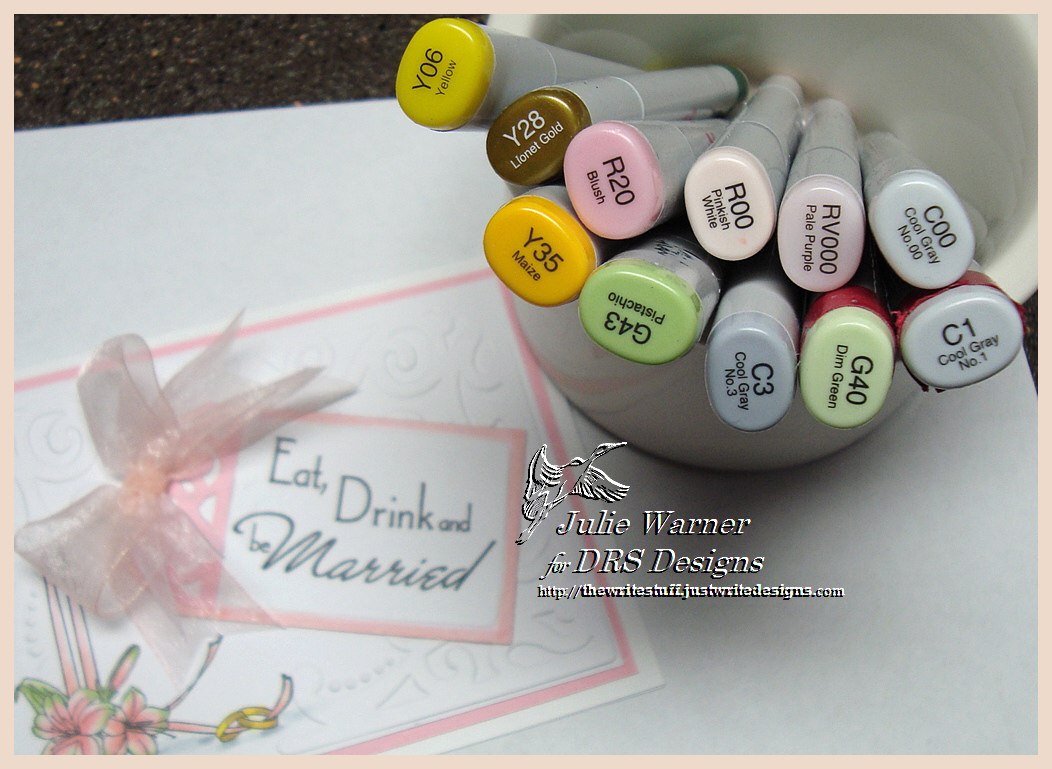
    This one was a bit simpler. I added a die cut white frame that I pierced all the way around and a smaller white frame that was stamped with black. The scrolly center was done the same as above except in white. So in reality, I actually was able to make two A2 sized birthday cards out of 1 piece of 8.5 x 11 white card stock (not counting the actual cards). Not too bad, considering all the parts and pieces! These are the Copics & Sharpies I used for both cards.Julie Warner - https://thewritestuff.justwritedesigns.com

    Thanks so much for stopping by! Please be sure to visit all of the DT blogs so you’ll be entered to win!

     Chris * Sandee * Grace * Stacy * Dawn * Julie * Lori * Cathy * 

    Sabrina * Silke * Wanda * Angie * Audrey * Lisa

    Julie2 sig

    Supplies:

    Stamps: Our Daily Bread designs Flourish Label Borders, Chalkboard Fan Background, Mini Tags 3
    Paper: X-Press It white
    Ink:  Versfine onyx, HA neon pink
    Accessories: ODBD Vintage Flourish Pattern die, Spellbinders A2 matting basics A dies, Copic fluorescent markers, Sharpie neon markers, paper piercing tool


  • Monochromatic Flowers & a Circle Challenge

    Julie Warner - https://thewritestuff.justwritedesigns.com
    I have a couple more cards to share today…first a couple of monochromatic cards. This first one is for the MIX61 challenge, monochromatic. I used shades of yellow..from pale to a dull yellow/gray. The large yellow background is actually a really big paint chip with 3 colors of pale yellow. So I’m hoping the paint chip (found item), ink, Copics, glitter glue and ribbon will be enough to fit in the “Mix”. After coloring my daisies, I added the greeting and a pen work frame around it and the right edge is a bit out of the box. The seam ribbon was colored w/ Copics and added to the handle.
    These are the Copics I used.
    Julie Warner - https://thewritestuff.justwritedesigns.com
    This next card was sort of a trial run for the one above. It is also monochromatic, but there’s not a real mix of stuff going on so it really doesn’t fit the “mix”. It does fit into the Free For All Challenge, circles! (F4A214).
    Julie Warner - https://thewritestuff.justwritedesigns.com
    This one is very CAS (clean & simple). I stamped the big bloom, masked it and stamped the writing along one side. I used pretty much the same Copics as the one above, minus the cool grays. The greeting was stamped on little strip and the two left side corners were rounded. I added 2 Candi dots in the upper right for a little balance.

    Thanks so much for stopping by! If you haven’t yet, please check out the DRS Thursday Challenge. This week, Leftovers Again? Use scraps & leftovers on your creation. DRS images are not required, so head on over and link up your creation!

    Julie2 sig

    Stamps: DRS Designs – Daisy Basket, Cheerful Smiles Greeitng,  Bloomin’ Huge Flower, Script Font Background, 1 Line Just a Note
    Ink:  Memento tuxedo black
    Paper: X-Press It white, warm gray
    Accessories:  Copic Markers, Candi dots, stickles glitter glue, seam ribbon, lg yellow paint chip, black Micron pen

  • Serendipity Tea Time Blog Hop!

    Julie Warner – https://thewritestuff.justwritedesigns.com

    Weekly-Favorite

    Tea-Time-Hop-Badge-1

    Welcome to the Serendipity Tea Time Blog Hop! 


    We know you’ll love these beautiful new Tea Time dies! The rose cut outs are just gorgeous and the shape and lines are fabulous. 

    The hop will run through midnight EDT, March 30, 2014. Just visit all of the Design Team blogs and one random winner will receive a $20 gift code off their next order!

    Julie Warner – https://thewritestuff.justwritedesigns.com
    For my card, I die cut the teapot & teacup in white, then lightly embossed them only on lt yellow card stock. I used yellow & yellow/orange Copic markers to add some additional color to the embossed yellow roses, then trimmed to fit under the white die cut versions. I came across a previously die cut white oval frame & used the same Copics to add color to match. I did the same with the larger, yellow/orange mat. The printed paper was added underneath for contrast. On the larger piece of designer paper, I stamped the tea border with the distress ink and added some of the yellow/orange color to it as well. The layout is a bit non-standard but I had some pieces of designer paper left from another project and didn’t want them to go to waste. One word of the tea border was stamped on white and I used a multi tag punch to punch out the one little “tea bag” tag to add to the cup. I added a printed navy Candi dot in the upper left for balance.

    Thanks so much for stopping by! Please stop by and visit all of the blogs so you’ll be sure to be in the drawing!

    Julie2 sig


    Supplies:

    Stamps: Serendipity Stamps – Tea Border
    Paper: X-Press It white, navy,  dp (Teresa Collins -Moments collection)
    Ink:  Memento tuxedo black, Distress inks in chipped sapphire, wild honey
    Accessories:  Serendipity Teapot & Teacup dies,  Copic markers, Spellbinders lg & sm petite oval dies. multi tag punch (McGill), Candi dot, Perfect Paper Crafts mini rulers & mat