
• Serendipity October Blog Hop!


    Cute Witch cu 07484
    Weekly-Favorite
    Welcome to the Serendipity October Blog Hop! We are showing off some fabulous new images & dies! If you arrived here from Jenny’s Blog ,  you are in the right place..if not, you may want to head over there first.
    10-2-15 Blog Hop Badge copy 

    The Prize – One $20 gift code will go to one random commenter from the blogs.  So be sure  to visit all the blogs because you don’t know which one the winner will be drawn from. You have through Sunday October 4 to leave comments on the blogs for a chance to win a $20 Gift Certificate to SS.  Mary will  announced a winner on Monday Oct 5. Special:  40% off the highest priced item in your cart when you use Code  “40fromhigh1015”.  Offer good Friday Oct 2 – Sunday Oct 4th.  We have something new…a “Stamp of the Month”. Each month a different image will be 50% off. This month- it’s the Wheel in Snow. Be sure to check out the great deals on the Clearance Stamps!
    Cute Witch 07479
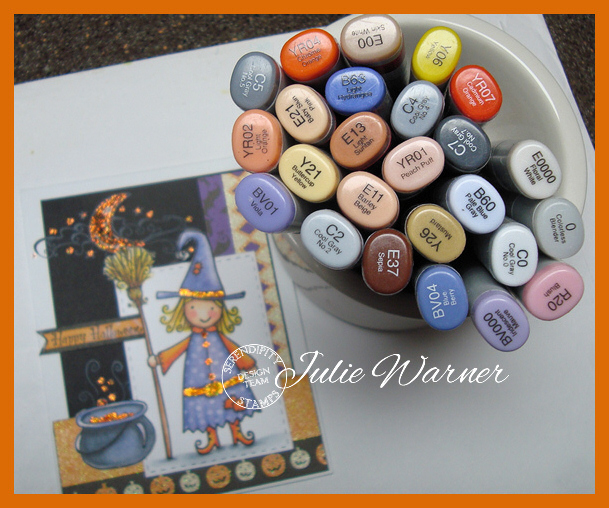
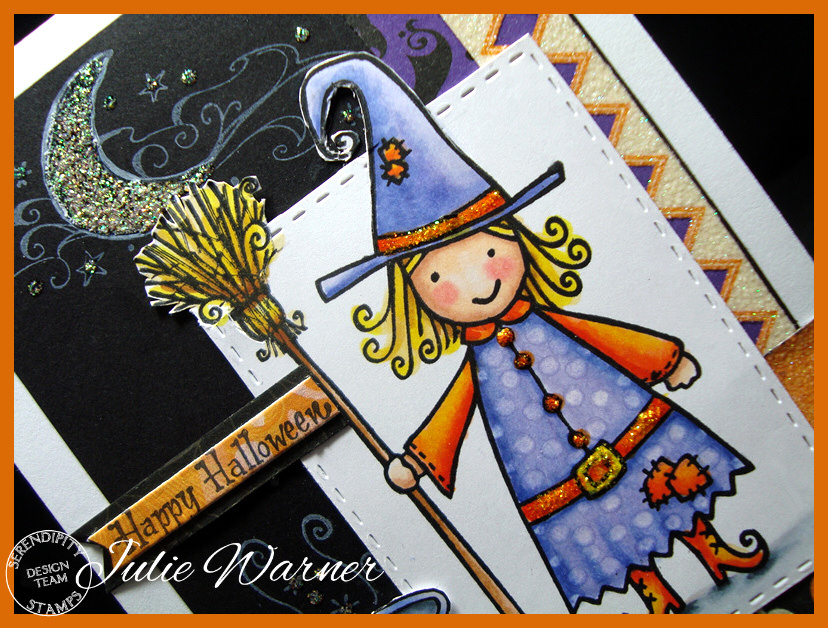
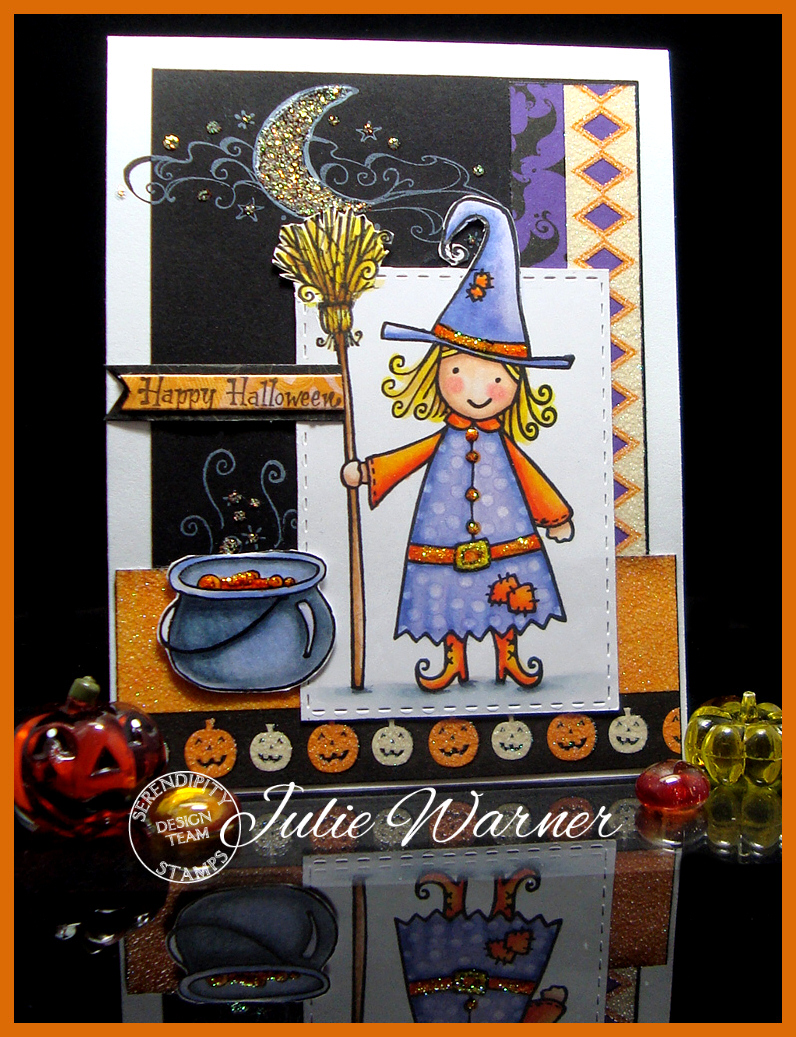
    For my first card, I put this super cute little witch from the Halloween Pops set into my Misti, stamped her with Memento & colored her with Copics. To add a little interest, I used the blender to add polka dots to her dress. Then I over stamped the image with Versafine (this really brings out the details!) & die cut with a stitched rectangle. I had to do a little out of the box treatment to keep from cutting off her hat & broom & I also trimmed the edges a little closer. The moon & top of the cauldron were stamped with white ink onto the black c/s & the dp strips are all from the same sheet…I just used a few areas of it. I added some orange stickles to her belt & hat band & crystal stickles to the moon.

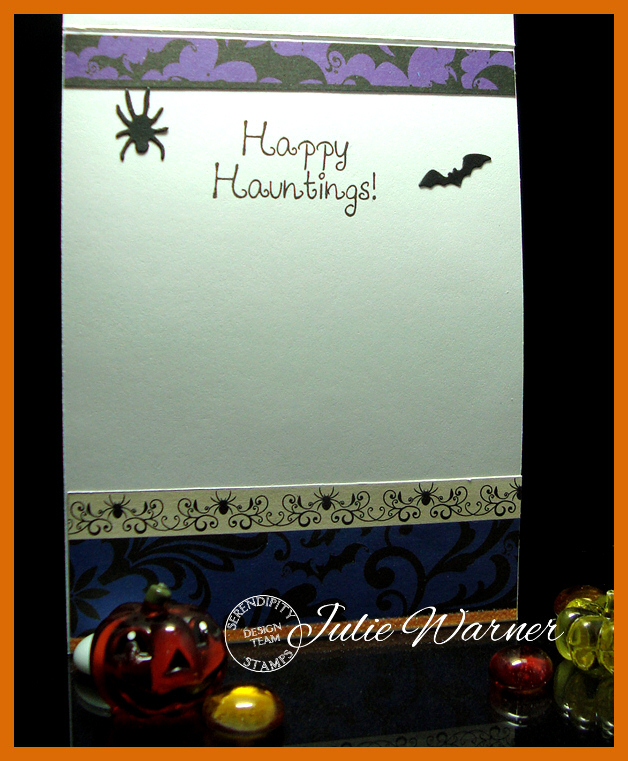
    Here’s a look at the inside, using leftover strips & below it are the Copics I used.
    Cute Witch inside 07487
    Cute Witch copics 07477
    Supplies:

    Stamps: Serendipity Stamps – Halloween Pops set, Happy Halloween
    Paper: X-Press It white, black, dp (Recollections – Midnight Magic)
    Ink:  Memento tuxedo black, Versafine onyx (to overstamp image after coloring)
    Accessories:  Serendipity Creepy Wreath die (inside), Spellbinders A2 matting basics A & B dies, MISTI, Copic markers, stickles, stitched rectangle dies, fishtail flag dies

    Hocus Pocus cu 07490
    Weekly-Favorite
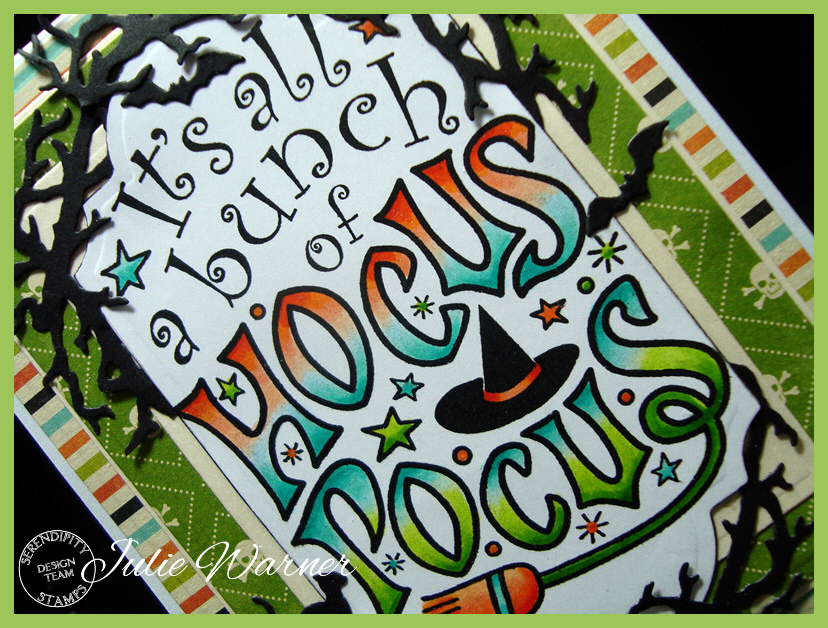
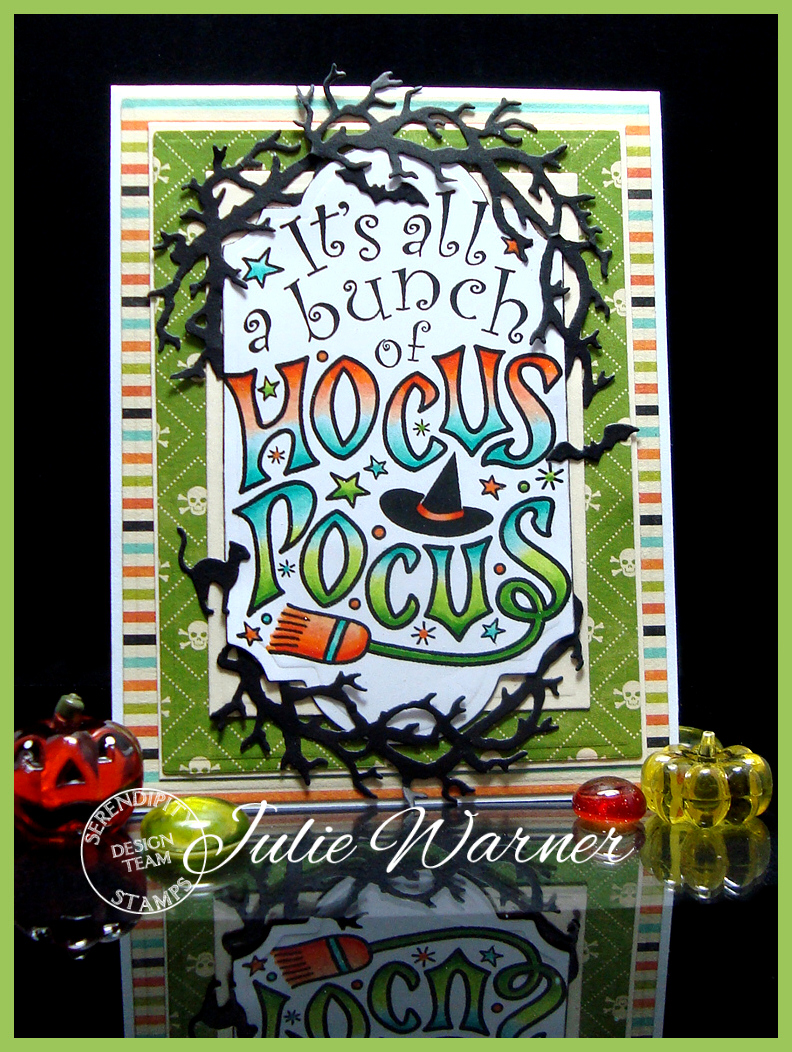
    For this card, I used the fun new Hocus Pocus image. Usually, I color first then see if I have paper to match, but I picked the paper first on this one so I could use Copics to go with it. I love open areas on words…it gives me a lot of opportunity to change the colors to suit. 
    Hocus Pocus 07489
    After stamping, coloring & over stamping, I die cut it..but I had to do a little resizing (pls click link for explanation) to make it fit, so the panel is now much longer than the actual die. It’s backed w/ a vanilla rectangle layer & I added some of the die cut Creepy Wreath on top & bottom. A few bats & a cat from the wreath set were also added.
    Hocus Pocus xcu07495
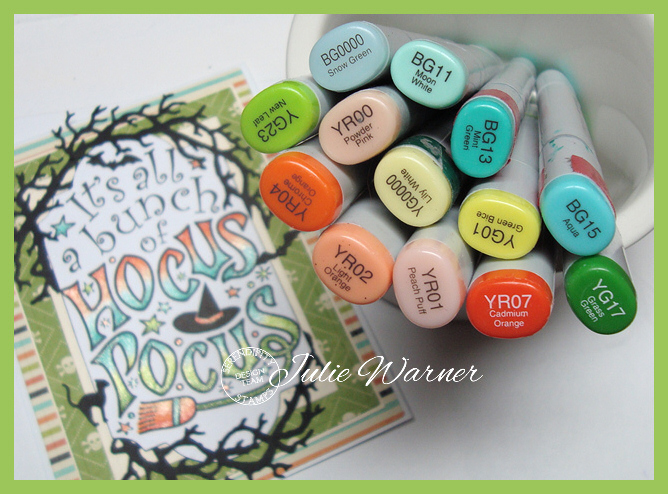
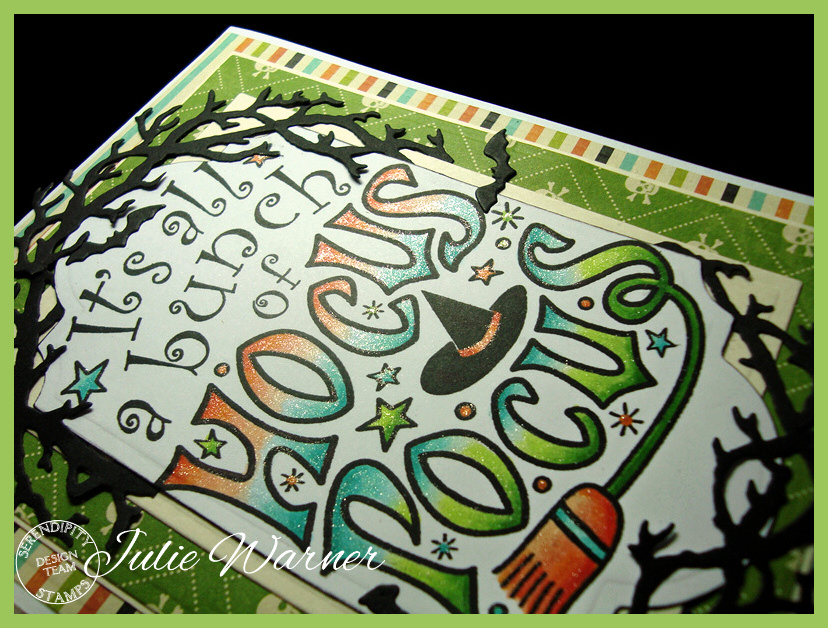
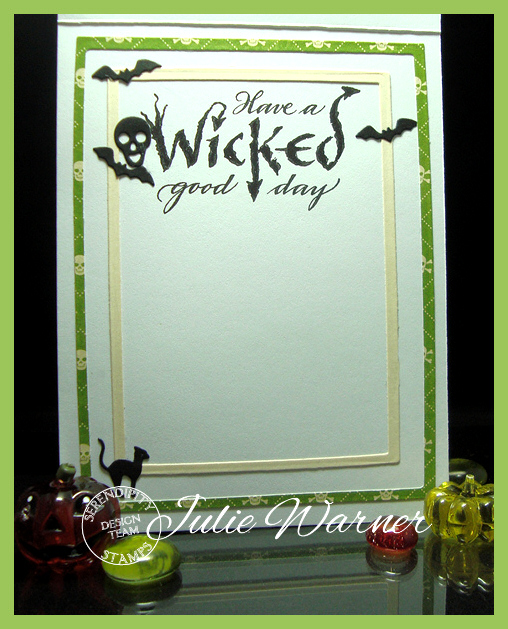
    You can probably see it better in the pic above..I added some Wink of Stella to the colored areas. I wanted a little sparkle but I didn’t want to cover all the coloring. Here’s a look at the inside & also the Copics I used.
    Hocus Pocus inside 07497
    Hocus Pocus copics 07478
    Supplies:

    Stamps: Serendipity Stamps – Hocus Pocus -(Wicked Good Day – inside)
    Paper: X-Press It white, ivory, black, dp (Jillibean Soup – Witches Brew)
    Ink:  Memento tuxedo black, Versafine onyx (to overstamp image after coloring)
    Accessories:  Serendipity Creepy Wreath die (inside), Spellbinders A2 matting basics A & B dies, MISTI, Copic markers, Wink of Stella

    Now I’ll send you on to Karen’s blog..I’m sure she’ll have something fabulous to show you!

    Please be sure to visit all of the DT Blogs to increase your chance of winning! Here’s the order in case you get lost.


  • Season’s Greetings Ornament

    Red Ornament cu 07008
    CAS-Favorite Weekly-Favorite
    For today’s Ways to Use It Challenge (WT551), use greenery, and Hope You Can Cling To (HYCCT1501C), split the difference (have greeting split the image). 
    Red Ornament 07009
    The top image on my card actually comes this way…with the greeting splitting the greenery & I added the ornament under it. After placing the greeting image in my Misti, I stamped it w/ Memento, colored with Copics,  over stamped w/ Versafine, then die cut w/ a pierced rectangle die. I didn’t want the piercing to include the band where the actual greeting is, so after using the outside die on the entire panel, I added the piercing die but only placed the upper cutting plate as far as the lower greeting band & applied pressure. I turned the image around & placed the upper cutting plate only as far as the top band. I like how it almost looks like a separate band, but it’s all one piece. The ornament was stamped the same way as the greeting, but I masked it & stamped the big starburst inside before coloring & over stamping. It was fussy cut & added to the panel.

    These are the Copics I used.
    Red Ornament copics 07003
    Thanks so much for stopping by! Please be sure to check out the DRS Thursday Challenge …Heavy Metal (use something metallic). DRS images are not required & there’s a nice prize up for grabs. 
    Julie2 sig

    Supplies:

    Stamps: DRS Designs-   – Simple Ornament, Season’s Greetings Holly Spray, Retro Starburst
    Paper: Neenah white, dk green
    Ink:    Memento- tuxedo black, Vesafine onyx  (for over stamping)
    Accessories:  Spellbinders A2 matting basics A & B, pierced rectangle dies, Misti, 


  • ODBD October Release Blog Hop!


    Weekly-Favorite
    Welcome to the Our Daily Bread designs October Release! We have some gorgeous Christmas images, dies & paper for you this month!


    For my first card, I gold embossed the two background ornaments & die cut w/ the matching dies. The left ornament also has a gold embossed Flourished Alphabet letter J.  The top ornament was die cut w/ the other topper die out of the same paper as the main layer. I used the largest Matting Circle die to cut the center & since the snowflake paper only has the flakes around the border, I arranged the circle opening near one corner so it would look like the flakes are circling the bottom. I used more of the snowflake paper for the gold embossed greeting & Leafy Edged Border topper. A Candi dot was added on top of the center ornament & coated w/ gold stickles & I also added some Wink of Stella on the metallic gold c/s behind the top ornament.Here’s a look at the inside. 

    Joyeux Noel inside 07435Supplies:

    Stamps: ODBD -Christmas Tunes, Elegant Embellishment set, Flourished Alphabet
    Paper: vanilla, pale gold metallic,  dp (ODBD – Christmas Collection 2015)
    Ink:  Encore Ulitmate metallic gold pigment
    Accessories: ODBD Elegant Embellishments, Ovals, Flourished Star Pattern, Leafy Edged Border, Vintage Flourish Pattern, Vintage Label dies, Spellbinders A2 matting basics A & B dies, detail gold embossing powder, gold Wink of Stella pen, gold Stickles, Candi dot


    Weekly-Favorite Weekly-Favorite
    My second card will have you singing Christmas Tunes!  I’ve been humming them ever since I started this card. I just love a cream & gold Christmas card with lots of gold embossing, so that’s what I’ve done here.

    After gold embossing the Christmas Tune, it was die cut w/ the matching Vintage Label die & the brushed gold metallic backing layer was die cut using a die from the Vintage Flourish Pattern die set. The largest gold layer was die cut with the Flourished Star Pattern largest die. The top background was a little trickier since it’s 3 layers & the top 2 are divided in 3. I first cut the cream layer, divided it but pushed the layers together to gold emboss the different Snowflakes on top & cut the bottom using the Leafy Edged Border die. I attached 3 gold layers behind them & carefully lined up the bottom & cut again. The largest faintly patterned dp  layer was cut to match the bottom curve.

    I used a different Leafy Edge Border to cut the cream colored border running under the greeting then stacked the gold embossed Snowflakes in the lower right. The top 2 snowflakes were fussy cut & each flake is elevated just a little from the one underneath. So it has a bit of dimension but is still, definitely mailable.

    Here’s a look at the inside with more stamping & some leftover pieces from the front die cuts.

    Christmas Snowflakes inside 07447Supplies:

    Stamps: ODBD –  Christmas Tunes, Sparkling Snowflakes
    Paper:  ivory, brushed gold metallic, dp (Anna Griffin)
    Ink:  Encore Ulitmate metallic gold pigment (Brilliance gold & Versafine sepia on inside)
    Accessories: ODBD  Snowflakes, Flourished Star Pattern, Leafy Edged Border, Vintage Flourish Pattern, Vintage Label dies, Spellbinders A2 matting basics A & B, detail gold embossing powder

    Please be sure to visit & comment on all the DT Blogs! It will be much appreciated & definitely increase your chance of winning!

    Sandee * Julie * Cathy * Amy * Dawn * Lori *

     Robin T. * Lisa * Angie * Chris * Grace * 

    Sabrina * Silke * America * Loretta * Robin C.

    Thanks so much for stopping by!
    Julie2 sig