For the Inspiration Challenge today (IC505), I was inspired by THIS mug. This is also for several Dare to Get Dirty Challenges…Dina’s, Sandee’s & Mine! The details are HERE, but you’ll need to be a Fan Club member…it’s easy, just click to find out how.

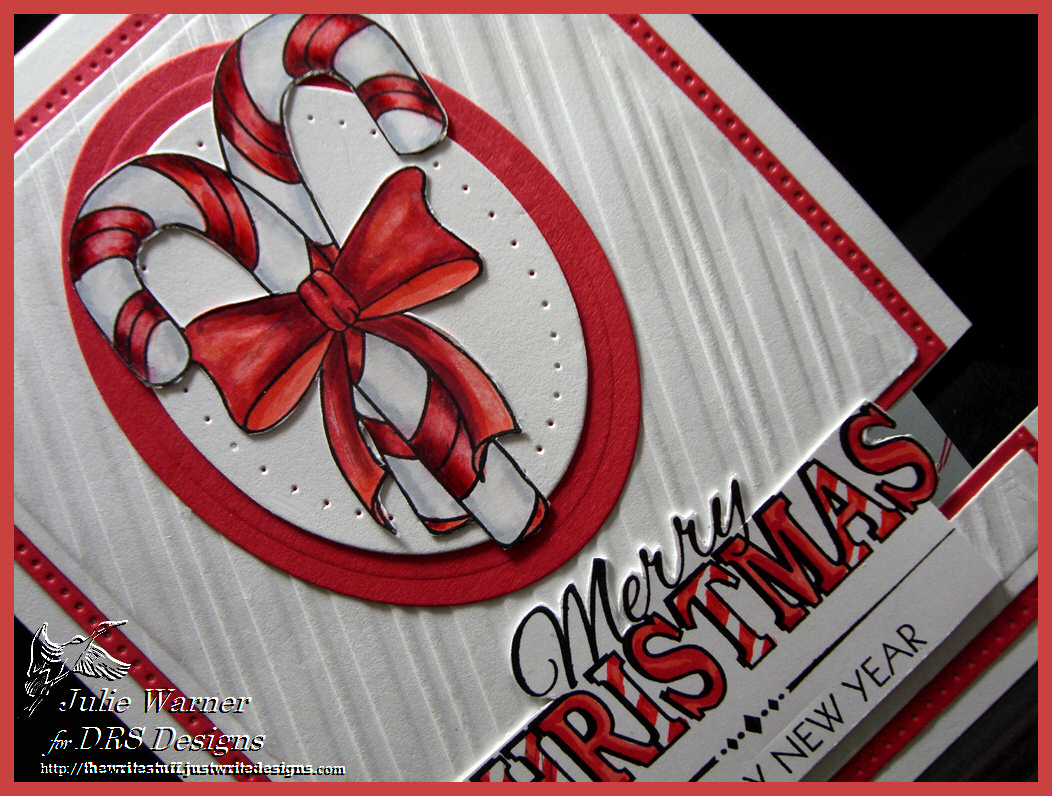
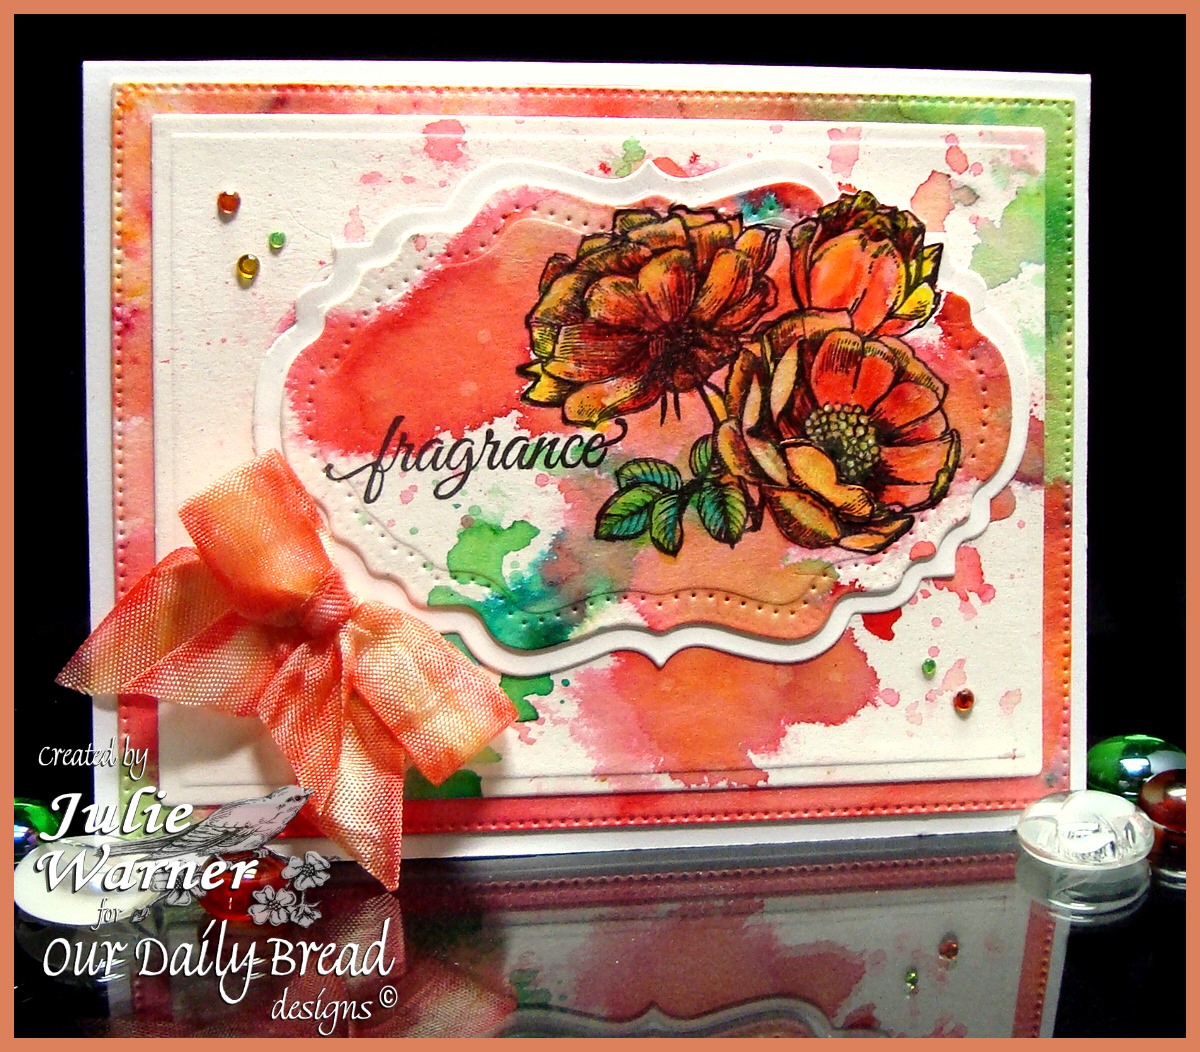
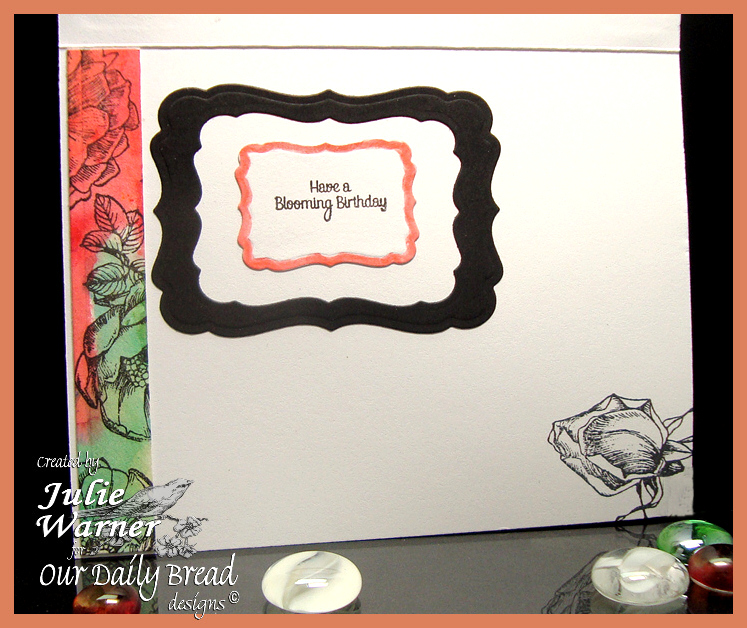
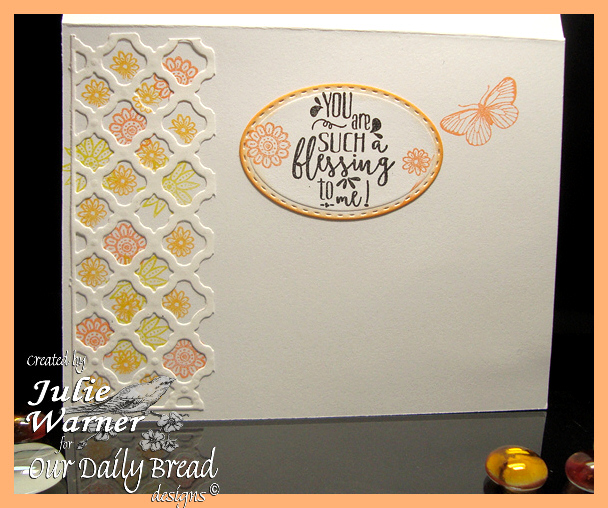
I wanted to try something a little different for my card…a divided panel using the greeting as the bridge. I’ve seen it done using die cut letters, so I gave it a try using a stamped greeting. It worked pretty well..it just took a little fancy fussy cutting. The large panels were die cut then I determined how much to remove behind where the greeting would fit. After removing this piece, I attached the top & bottom sections to the greeting. The candy canes were also fussy cut & added to the die cut ovals.
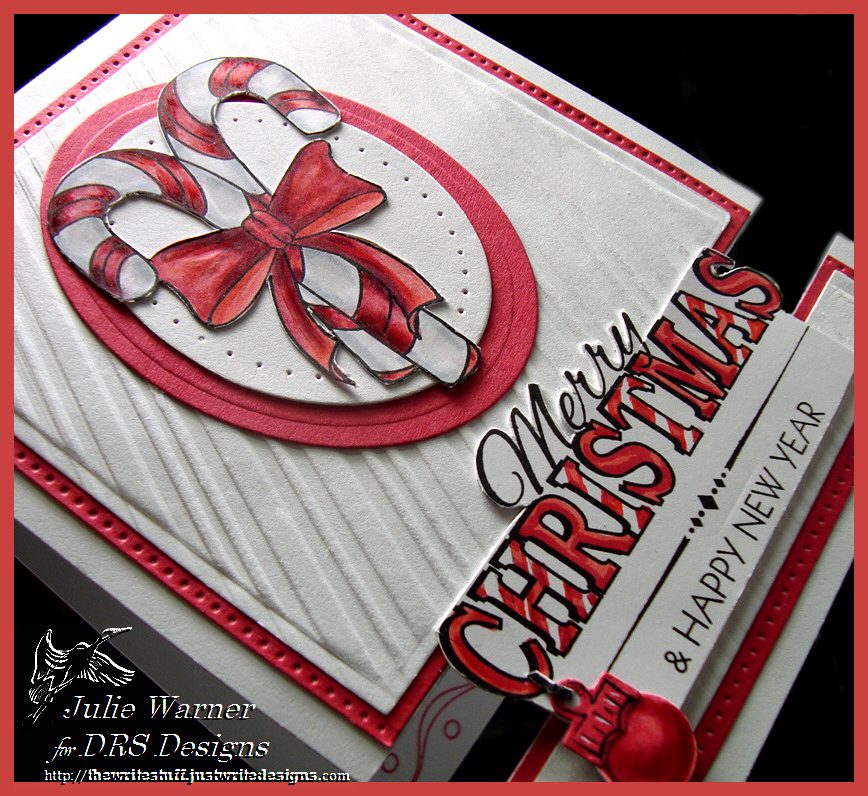
The little ornament topper was die cut & I used Copics to color a circle for the ornament then punched it w/ a circle punch.
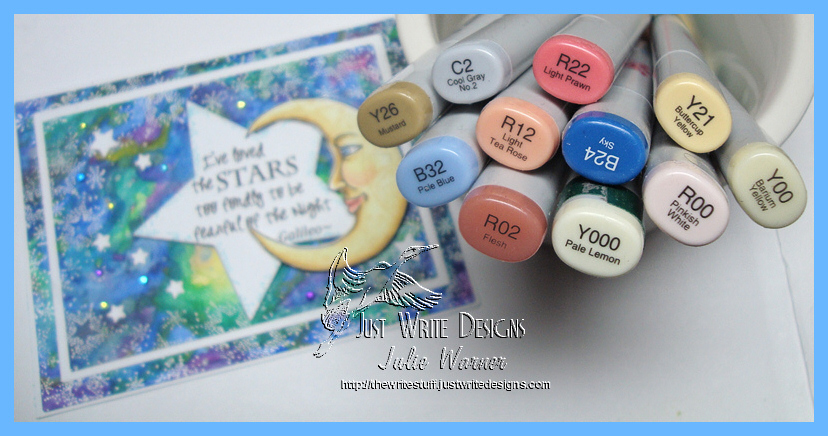
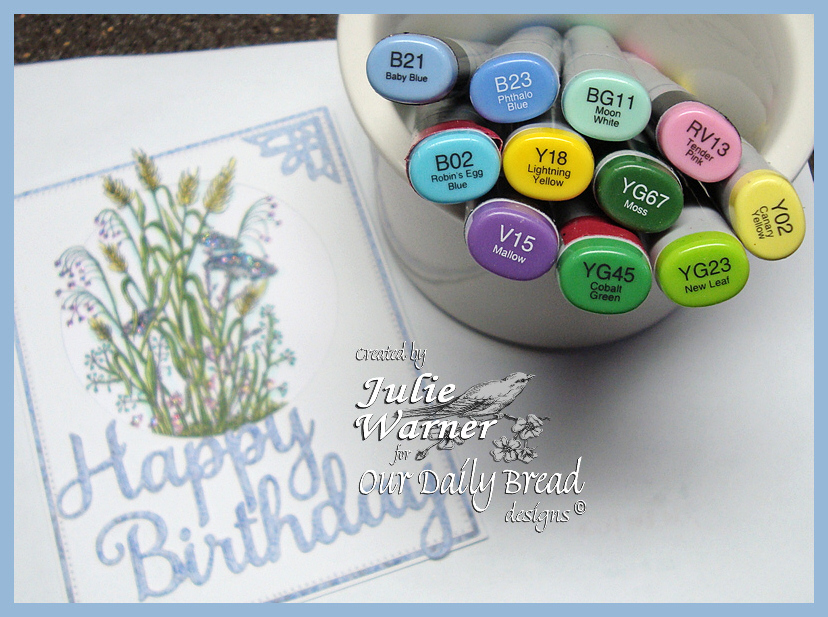
These are the Copics I used.

Thanks so much for stopping by! Don’t forget to check out the DRS Thursday Challenge…I Can Feel It (use Dry Embossing). DRS images are not required & there’s a nice prize up for grabs!

Supplies:
| Stamps: DRS Designs- Candy Canes, Merry Christmas Greeting (new!) |
| Paper: Neenah white, X-Press It white, red |
| Ink: Memento tuxedo black |
| Accessories: Copic markers, Spellbinders A2 matting basics A & B, ovals, pierced ovals dies, ODBD Flourished Star Pattern & Circle Ornament die, Cuttlebug candy cane embossing folder, circle punch |
