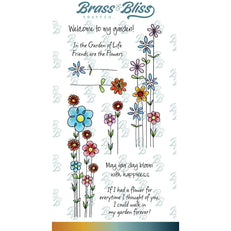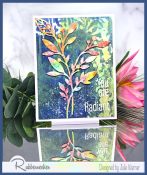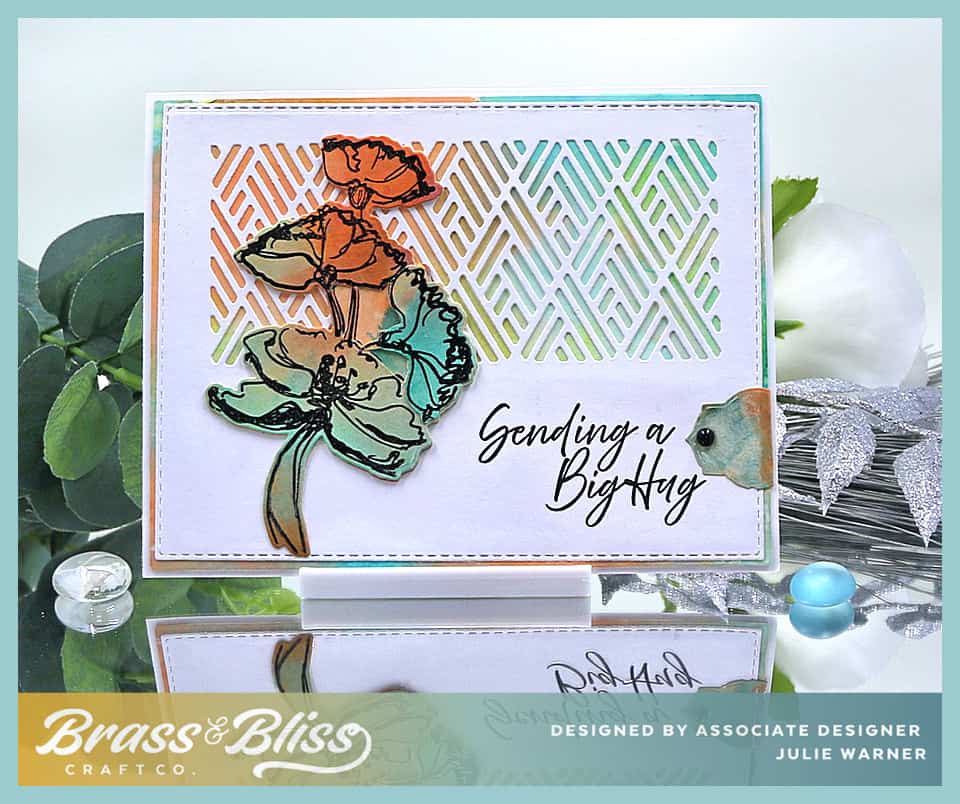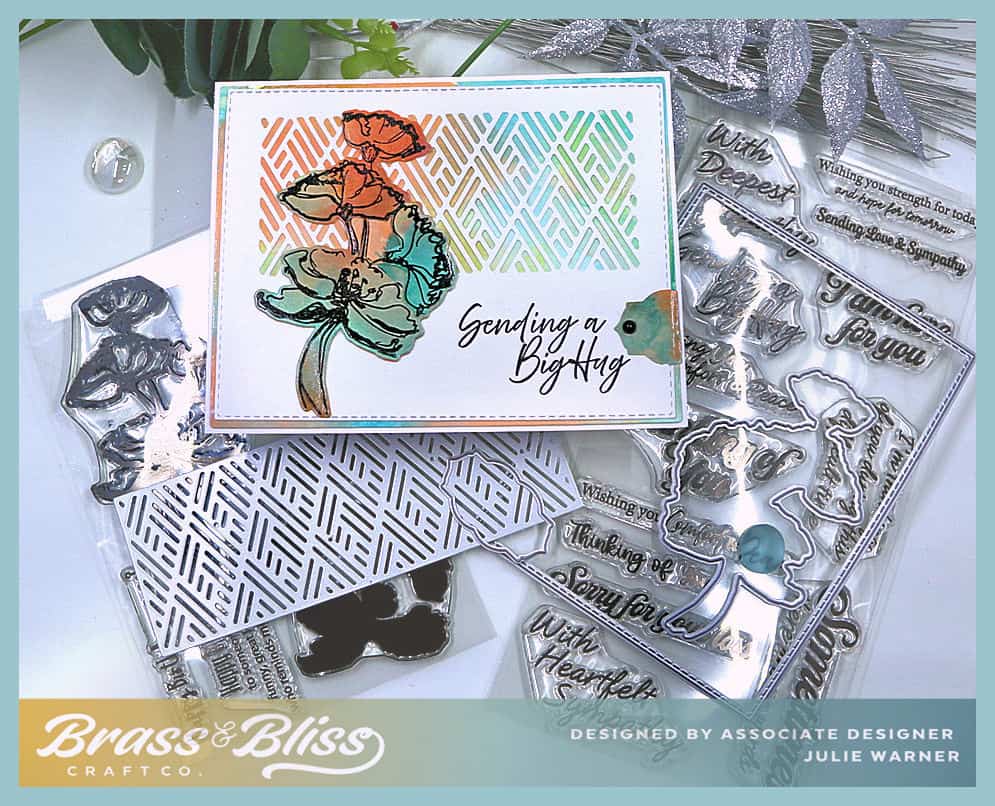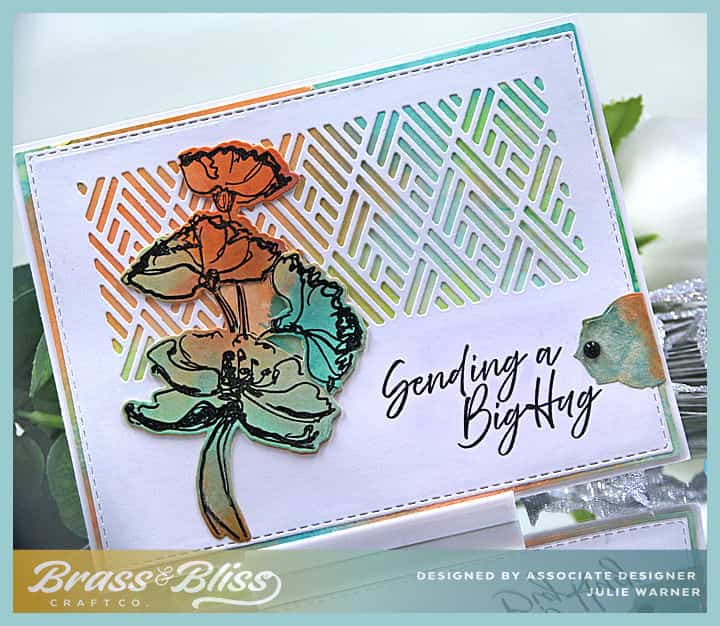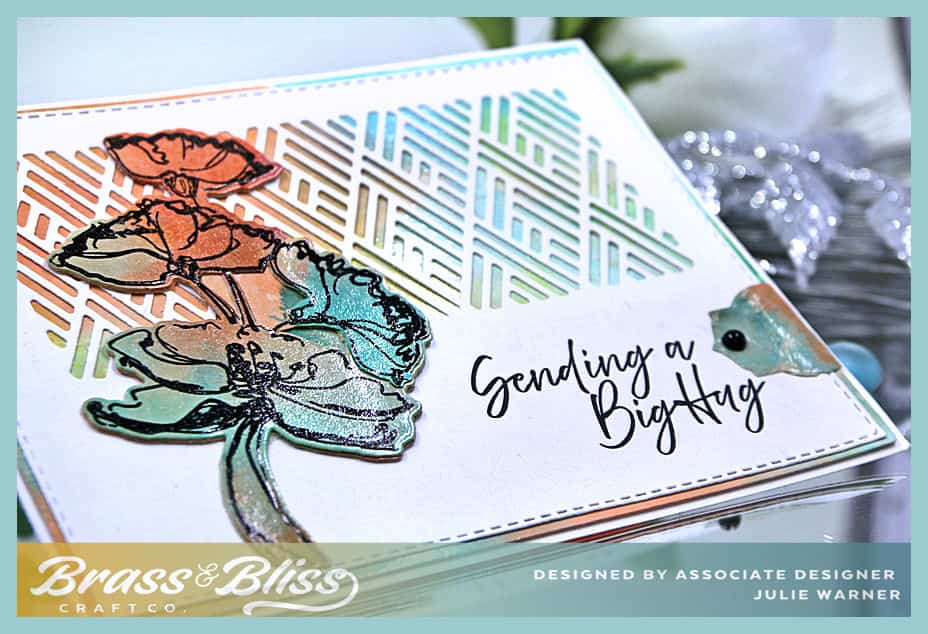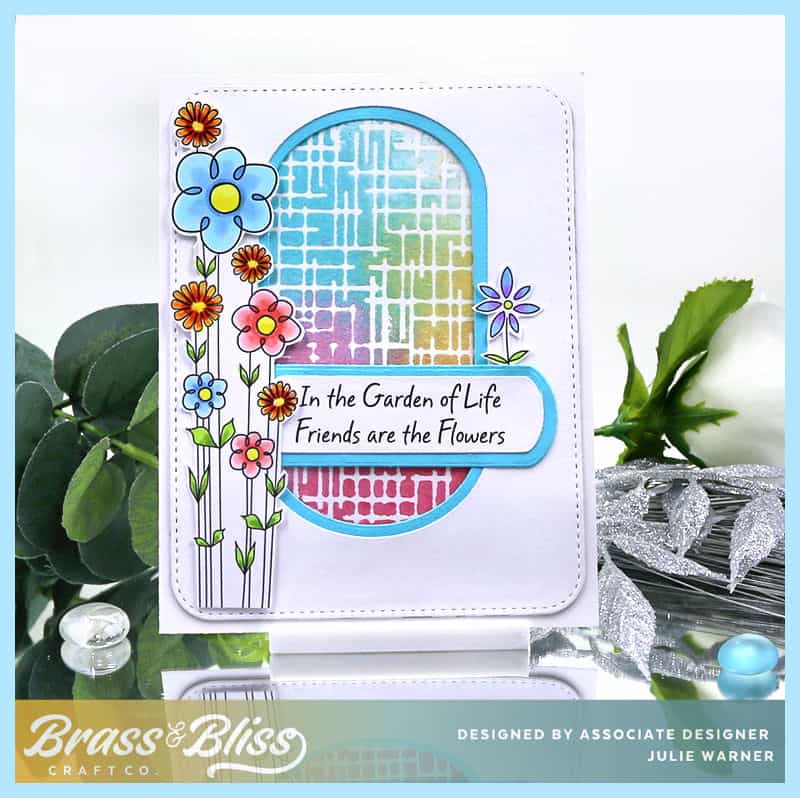
Looking forward to spring flowers? It may be a while here, but I have some pretty sketch flowers to brighten the day. It sure to bring a smile to the recipient and it would be perfect as a birthday, get well or just thinking of you.
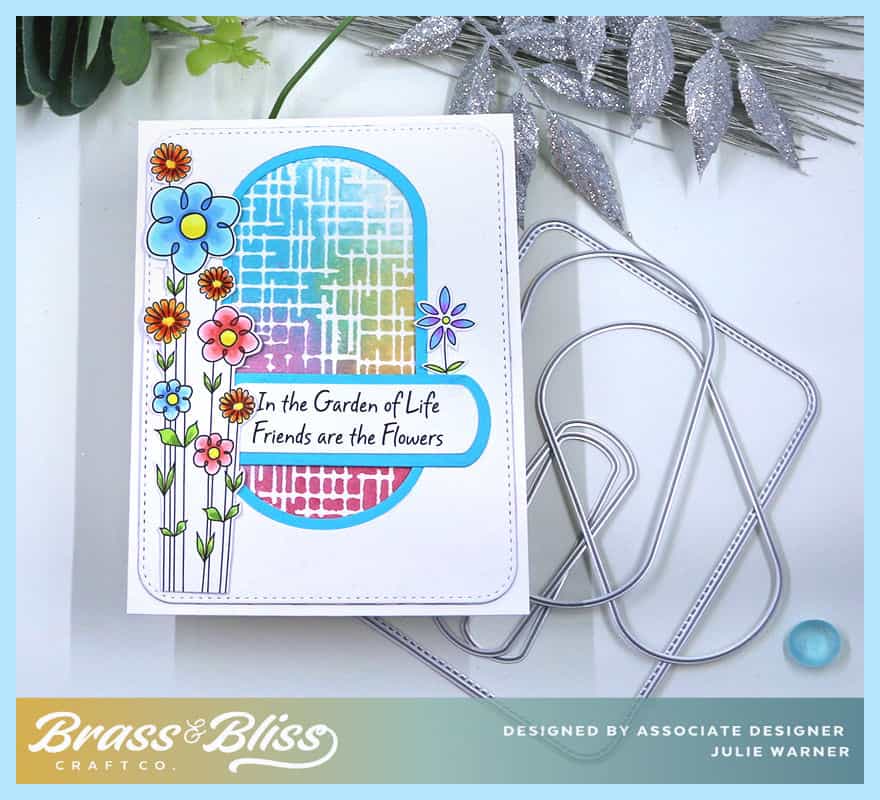
A big congrats to Arlene, the newest Featured Stamper FS988! She has a sweet gallery & I chose THIS card to case. I kept the multicolor background but put it inside the center shape instead of around, I kept the colors & spring theme but used flowers outside the shape instead of a bunny inside.
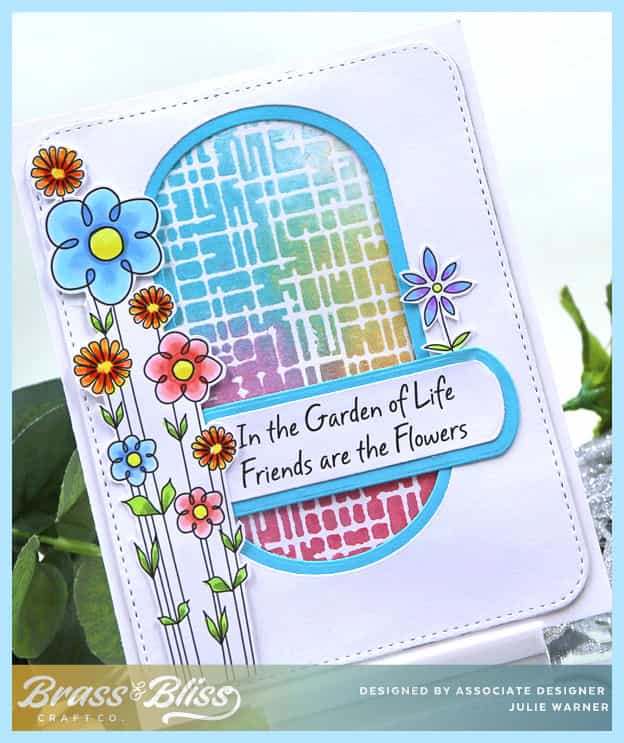
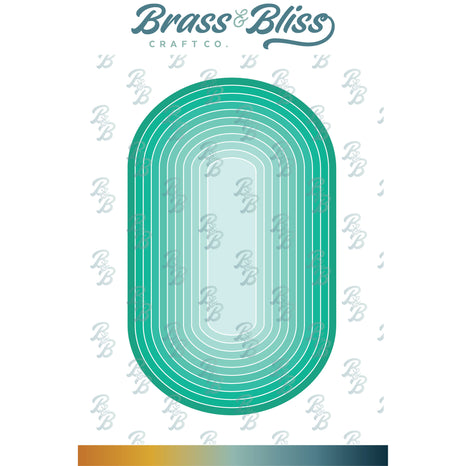
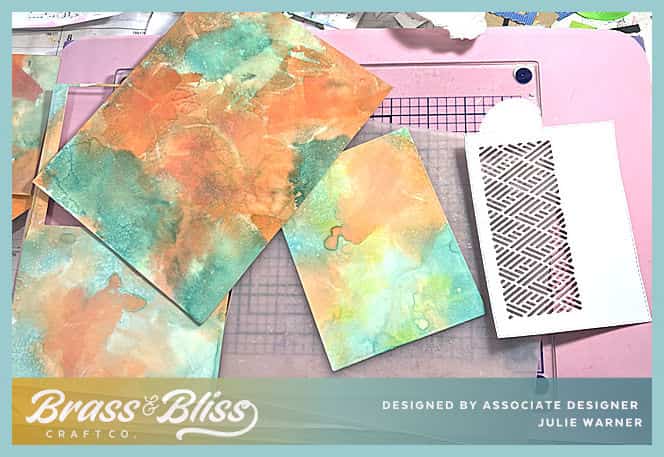
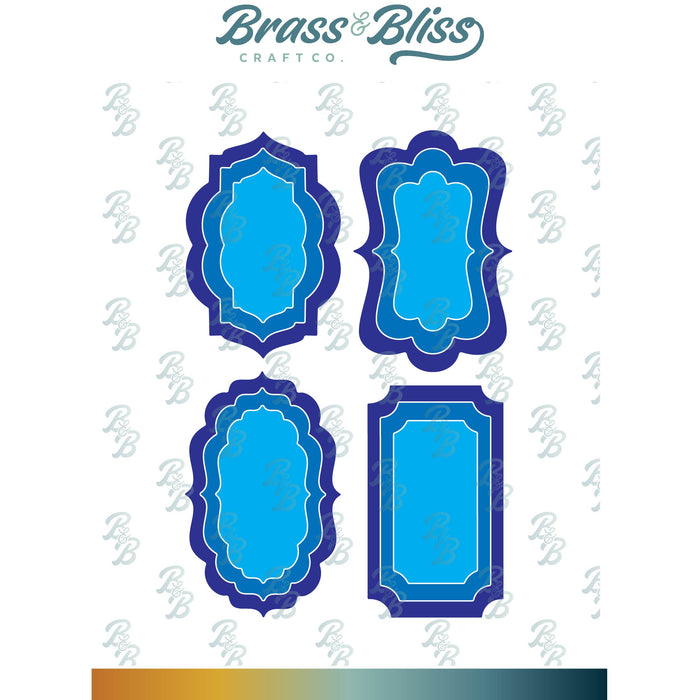
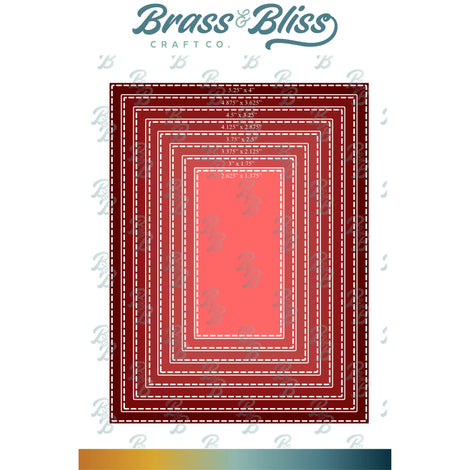
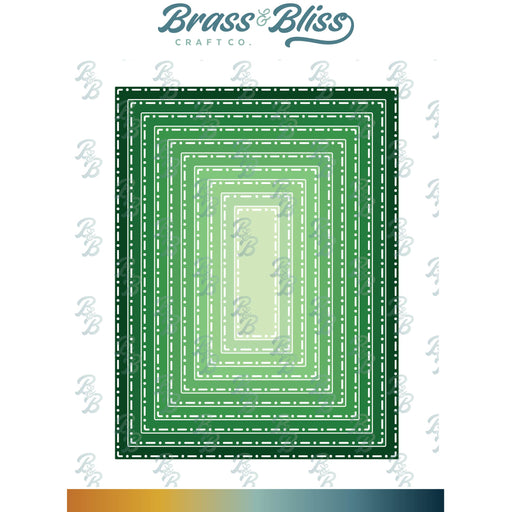
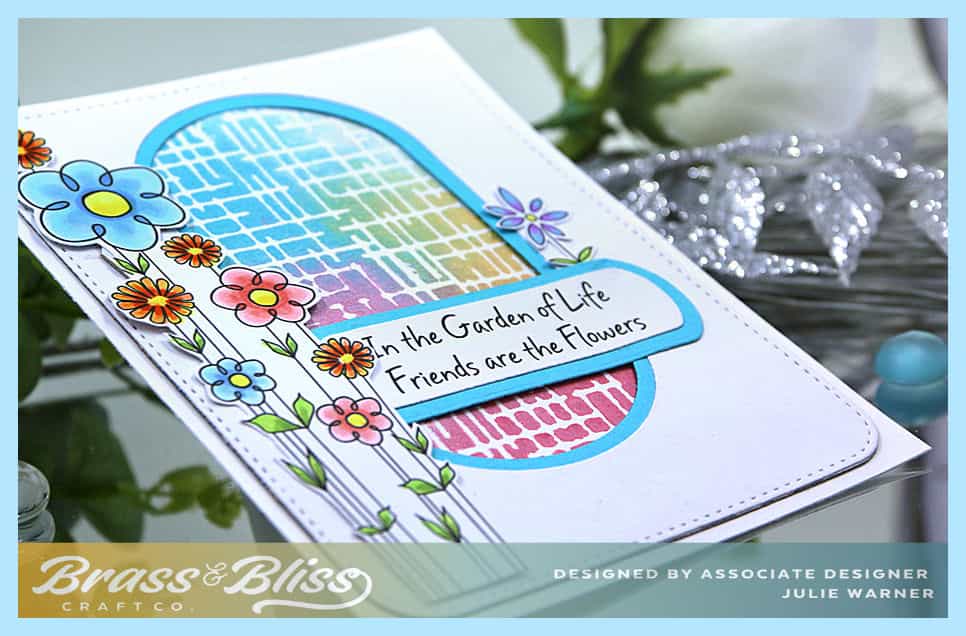
I had colored these flowers quite a while ago & today was the day I used them. The multicolor inset is also something I made quite awhile ago & the colors fit in w/ my tall skinny flowers. It was made by spritzing the inside of a grid embossing folder w/ shine sprays which have a nice shimmer to them. The paper was placed inside the spritzed folder. closed then rubbed by hand. I found you can also run it thru the Sizzix if you take away all the shims so that it doesn’t really emboss, just presses the folder to the paper. I die cut a white panel first w/ a rounded rectangle then used a swanky oval to cut out the center. I used the next size smaller oval to cut a bright blue layer to border the inside. The smallest ovals were used for the greeting. The flowers were fussy cut. Parts of the greeting & flowers are popped up to even them out since they’re on different levels in places.
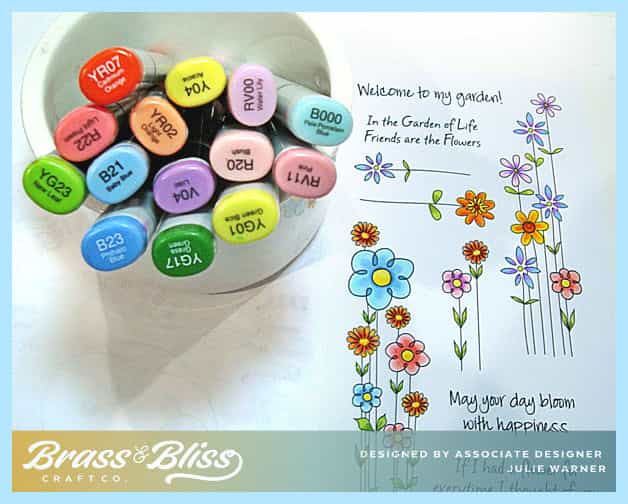
Here are the Copics I used for the flowers:
Thanks so much for stopping by!
Supplies: (click the names below the pictures to take you to the products)
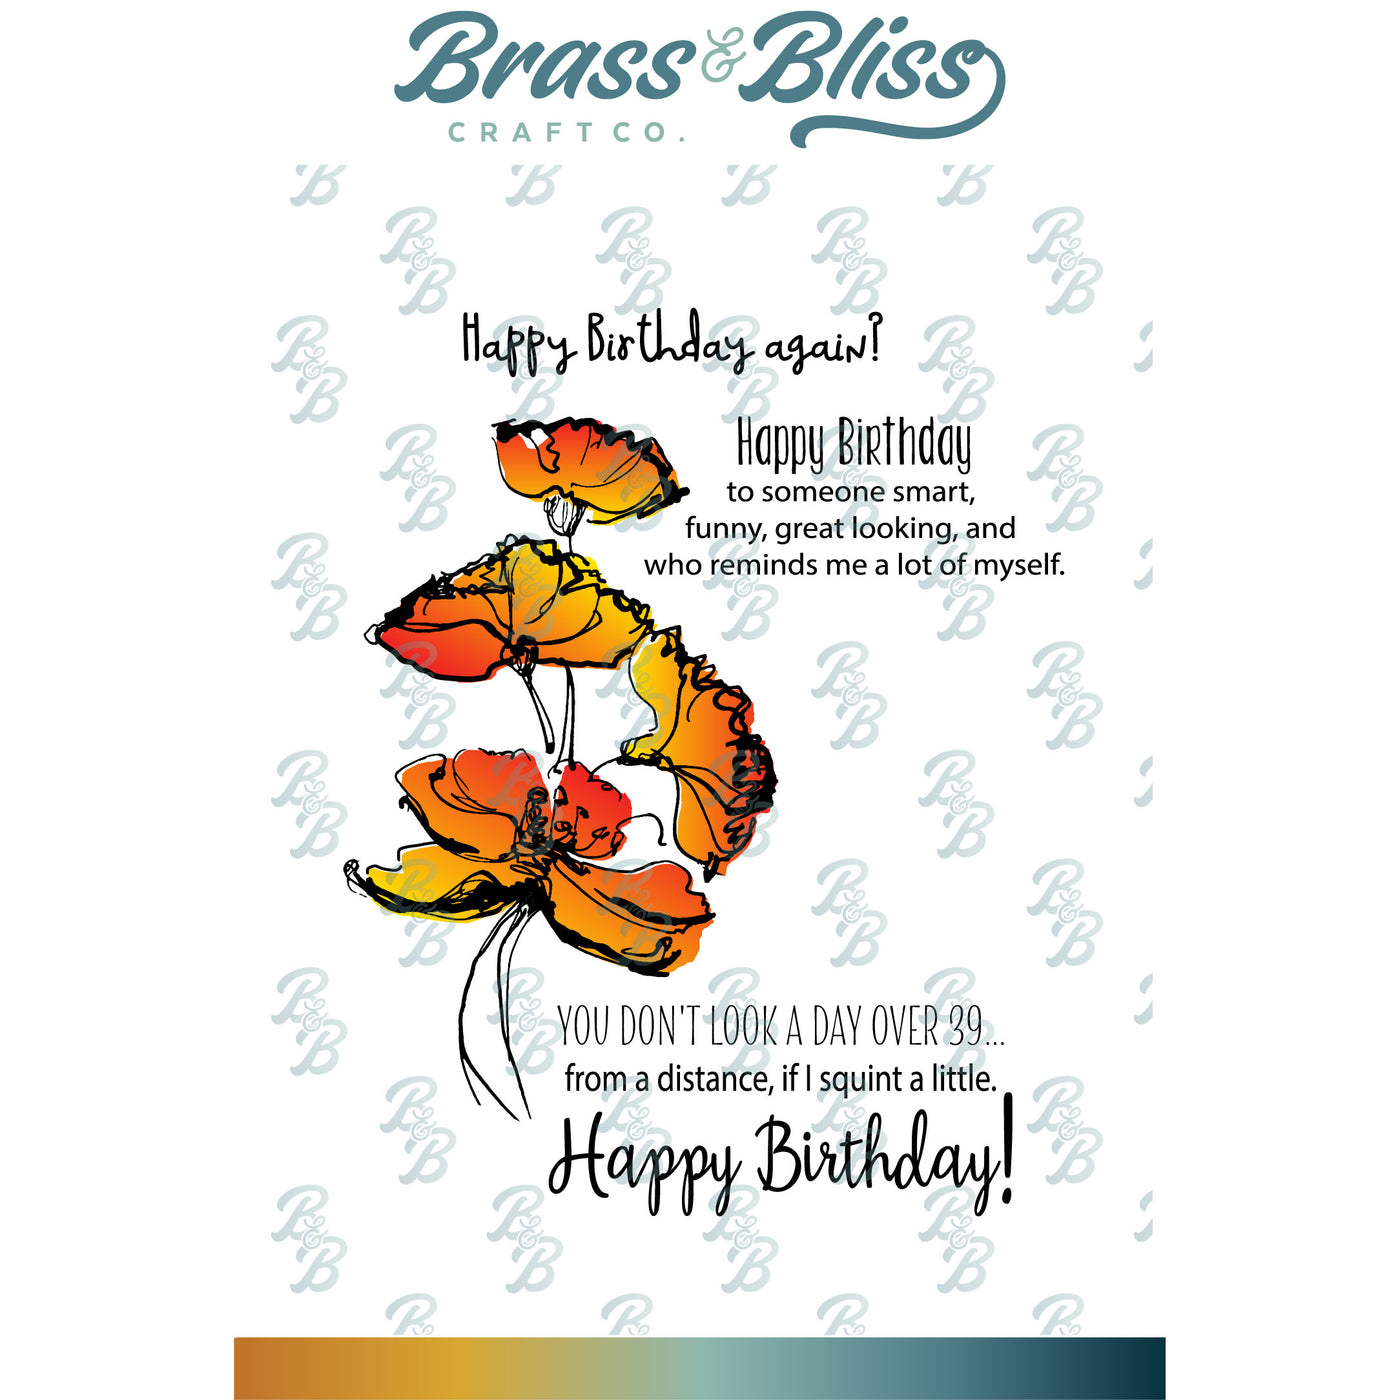
| Stamps: Brass & Bliss: Sketch Flower #1 set |
| Paper: Staples 110# white, bright blue |
| Ink: Memento tuxedo black |
| Accessories: Brass & Bliss: Rounded Rectangle Stitch, Swanky Oval dies, MISTI, Copic Sketch Markers, Heidi Swapp shine spray, Sizzix Grid embossing folder |

