• Tag Archives Easter
  • Serendipity SSCB#40 pt 2 – All You Need is Love!

    Bunny Love cu 05686
    Weekly-Favorite
    SS Button_design team_res
    Welcome to the February Challenge for Serendipity Stamps! This month the challenge is All You Need is Love! You can get all the details over on the Serendipity Challenge Blog.  For the Design Team, we have the added challenge of using vellum. The sale this week is  Buy 3, Get the 4th one free sale!  It runs through  2/25.   The lowest priced item in the cart is free! And as always, we have a  have a gift certificate up for grabs to a random player.
    Bunny Love 05685
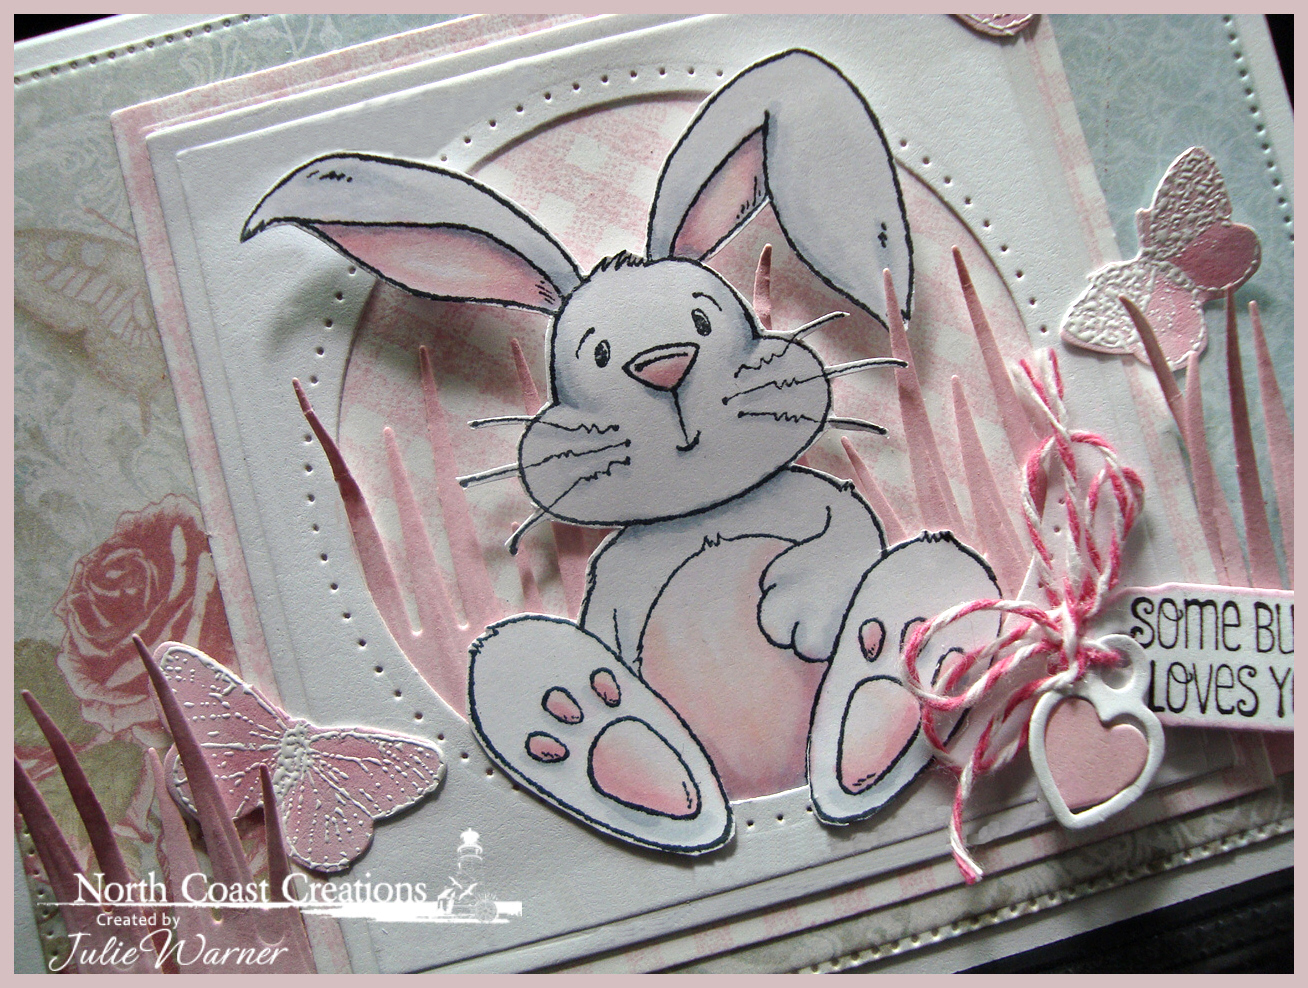
    All you need is Bunny Love! While I love the look of vellum, it can be a little hard to handle and even harder to attach. With my large vellum overlay, it ended up looking a little wavy (one of the features of vellum after it’s been heat embossed, lol). It doesn’t look anywhere near this wavy in person, but the camera captures things the naked eye doesn’t always see. So anyway, I die cut the vellum with a pierced rectangle then white embossed the Easter Flower Corner in the lower left and colored it with Copics on the back side. The greeting was also white embossed and I put a white die cut Bunny under the vellum but on top of the pink checked paper. I fussy cut a dk pink bunny to put behind the white one so the check pattern wouldn’t show through the cut outs. It just looked better. I added a white Daisy Garden die cut on top & a few satiny sequins to finish it.

    Here’s the inside.
    Bunny Love inside 05693
    And these are the Copics I used.
    Bunny Love copics 05684

    Supplies:

    Stamps: Serendipity Stamps – Easter Flower Corner 842F, Somebunny Loves You 1243D
    Paper: Neenah white, dp (unknown), white vellum
    Ink:  Colorbox frost white pigment
    Accessories:  Serendipity Daisy Garden die, Bunny, Happy & Easter dies, Spellbinders A2 matting basics A & B, pieced rectangle dies, Copic markers, white embossing powder, sequins 

    Please be sure to stop by and comment on all the DT blogs to increase your chances to win!

      Thanks so much for stopping by!
    Julie2 sig


  • North Coast Creations February Release!

    NCC Pink Bunny cu 05569
    Weekly-Favorite
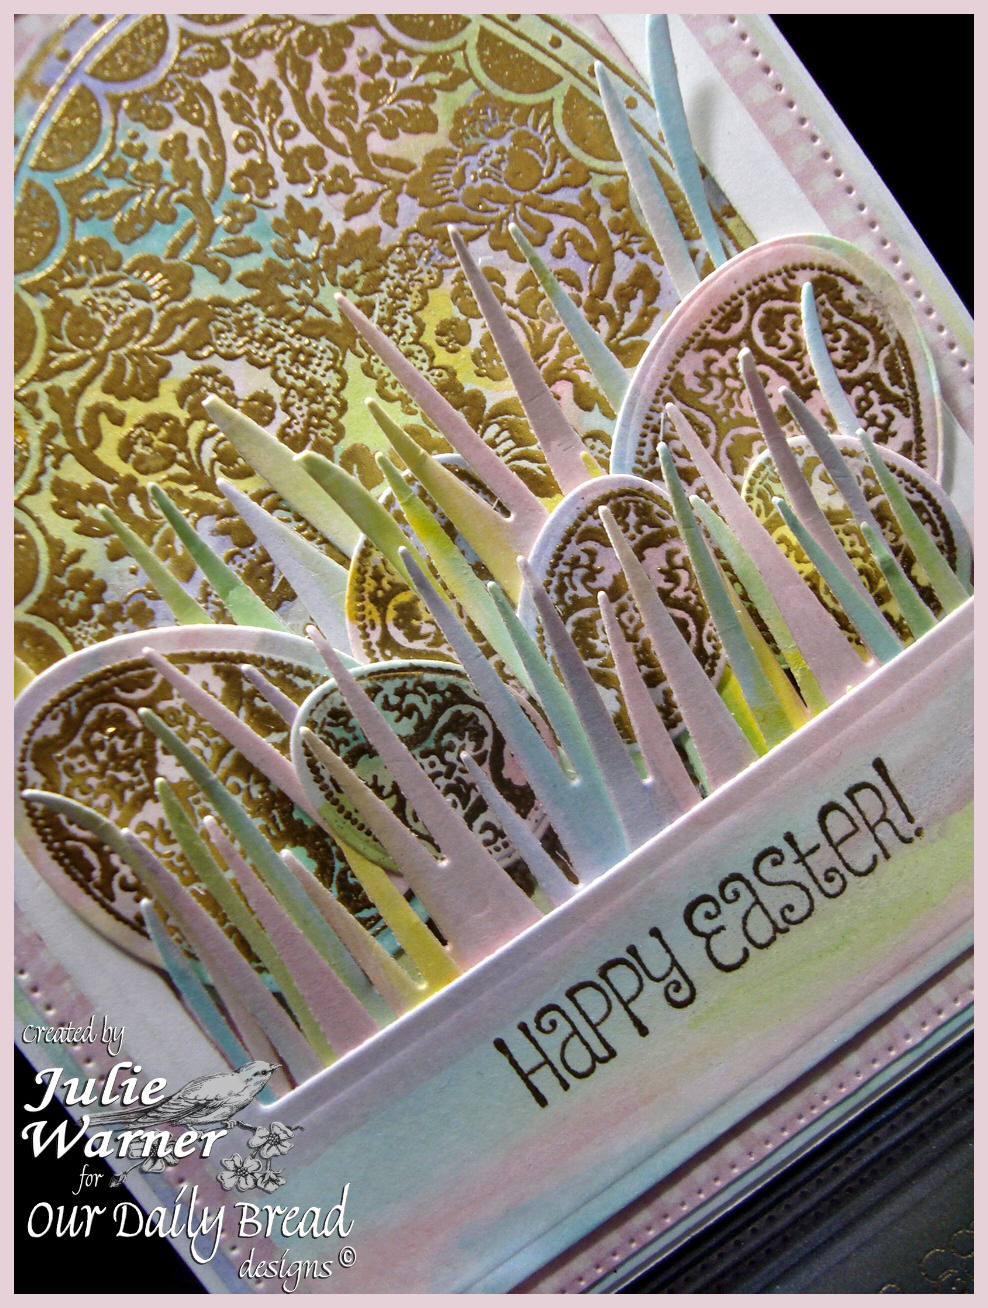
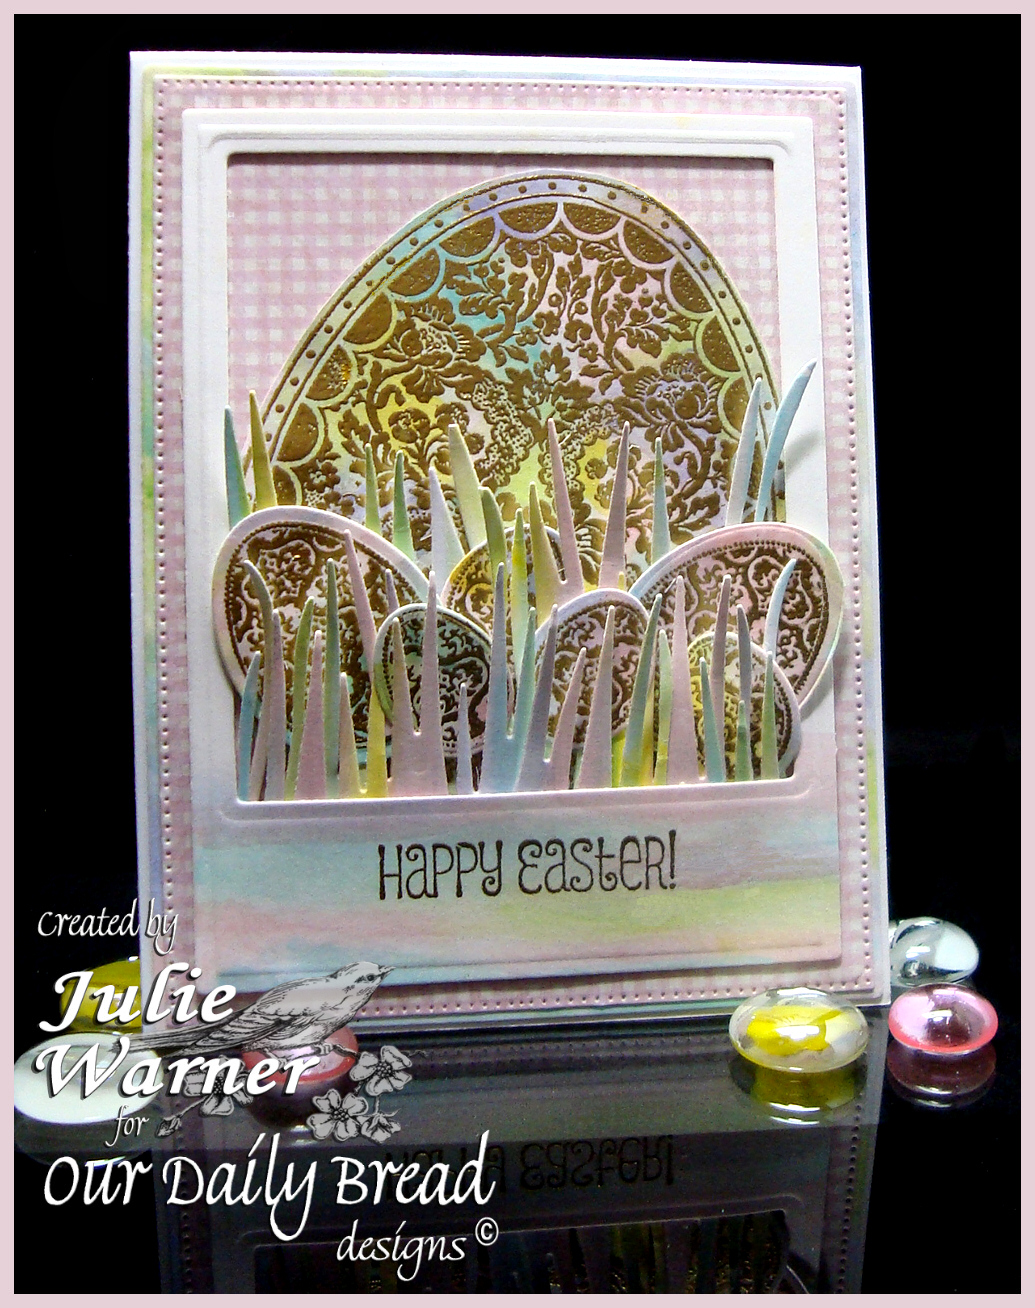
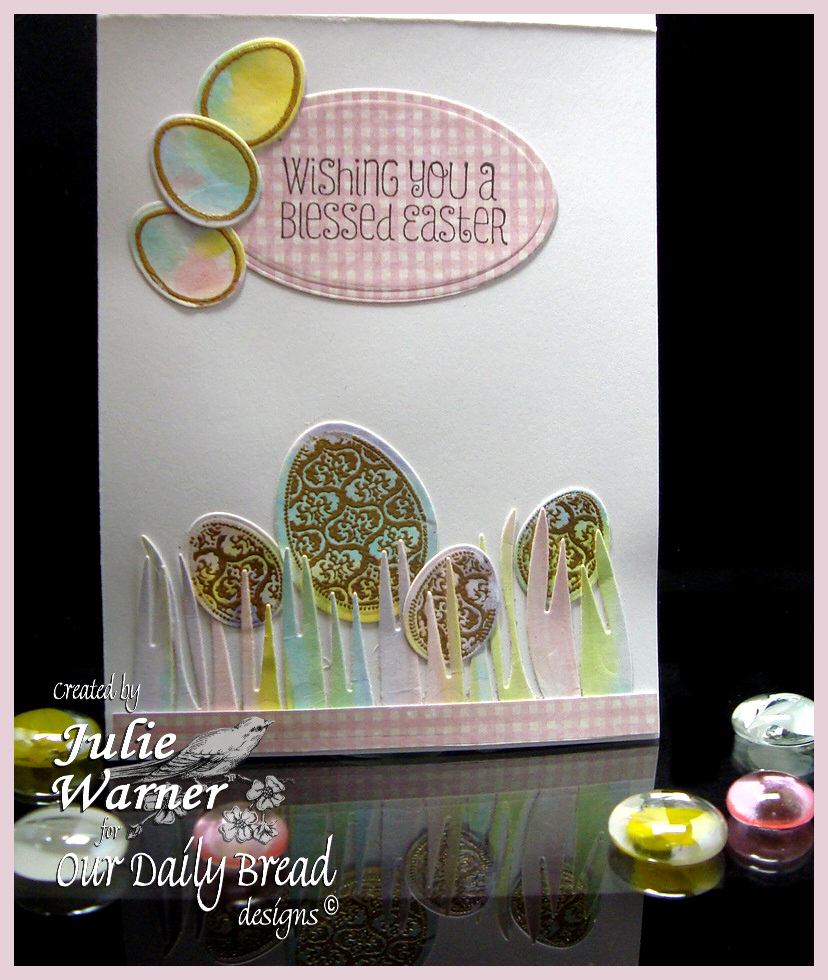
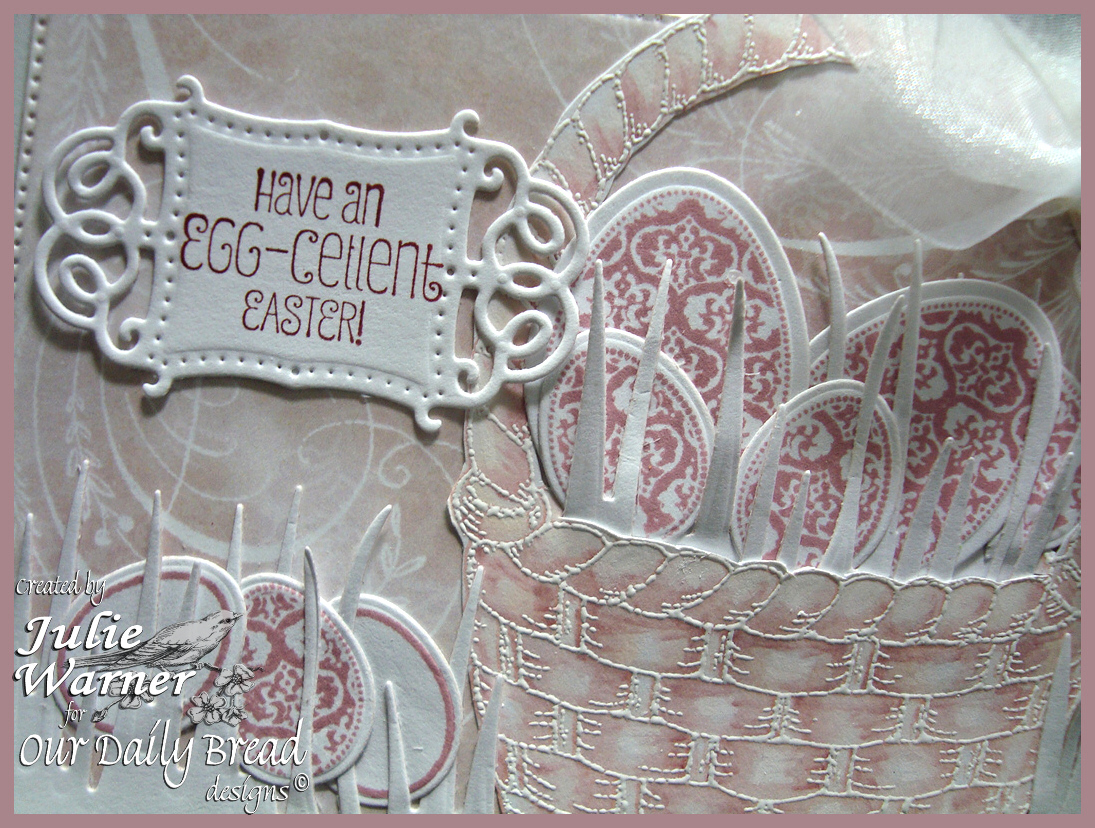
    Welcome to the North Coast Creations February Release! We have some really wonderful images for you this month! Sssssshhhh… don’t tell…we are also giving you a little sneak peek at a couple of fabulous new dies from Our Daily Bread designs (the Eggs & Grass Border dies). They will be available with the March 1st ODBD release! 

    Prize Information: 

    Just for commenting on the Design Team Blog Posts, you have a chance to win a $10 NCC Gift Certificate, good towards the purchase of NCC Stamps. You have until February 17, 2015 at 10:00 PM EST to leave a comments on the participating designers blogs for a chance to win! Two random winners will be selected from the comments left on the designers blogs, the winners will be announced on the NCC Blog on February 18, 2015, be sure to check back there to see if you have won!

    NCC Pink Bunny 05568
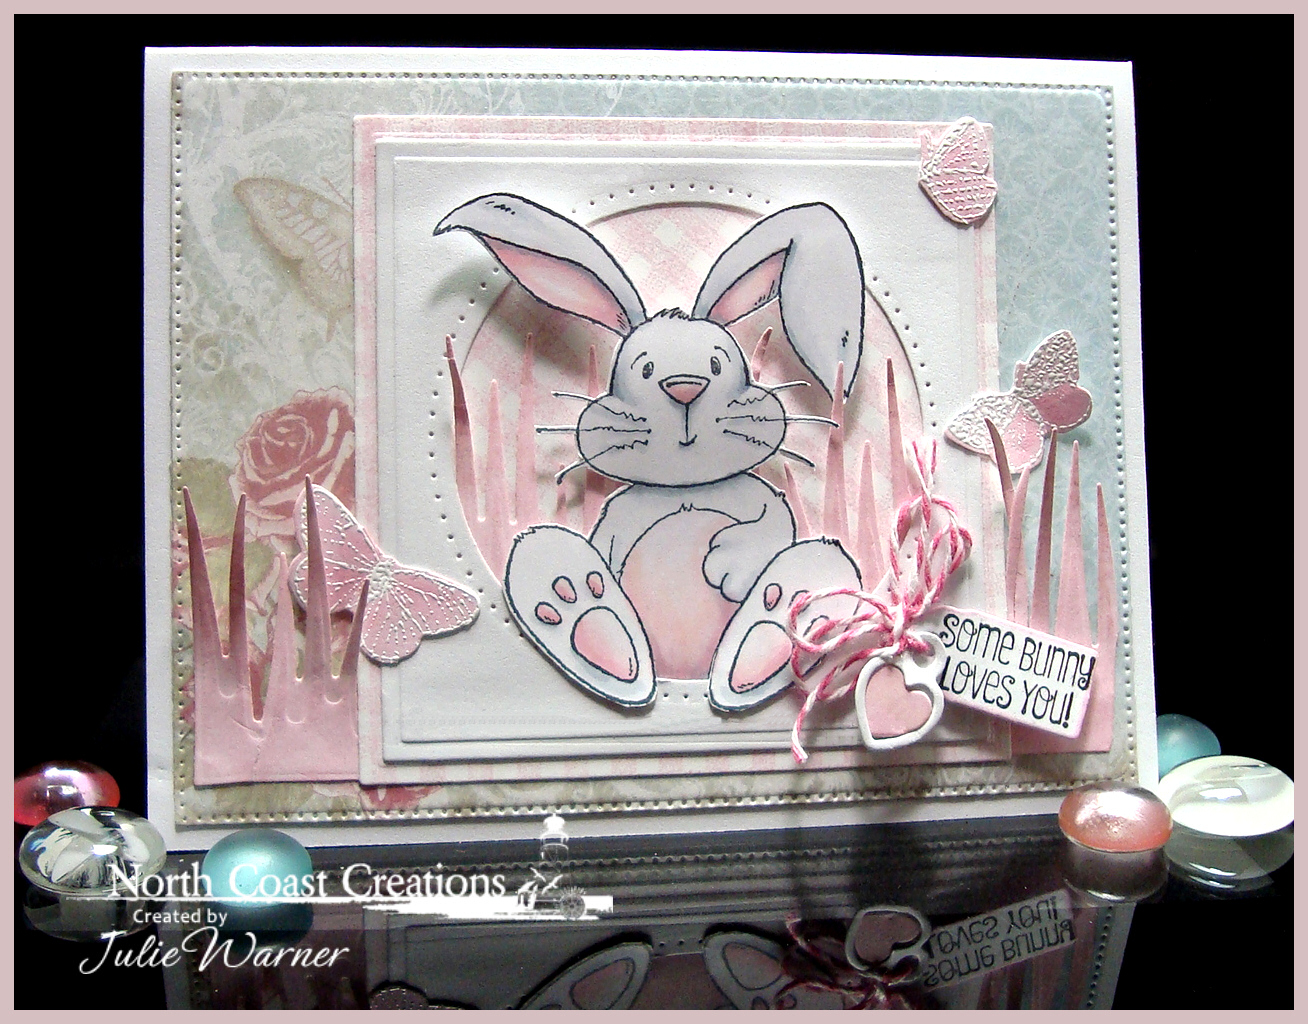
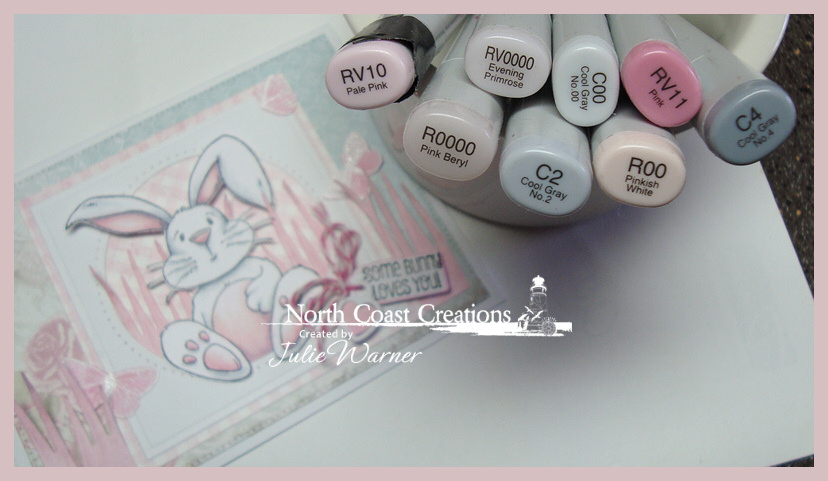
    For my first card, I used the super cute Hippity Hoppity set. Don’t you just love the expression on the bunny’s face? When I think of Easter bunnies, I immediately think of pink & white. Nothing like a little fluffy white bunny with pink ears, feet & belly! I know white can be a hard color to try & shade, but if you use just a little light cool gray, it will make a huge difference. Use cool grays because on white, warm or neutrals will tend to look a little dirty. So after coloring my bunny, I used a little out of the box (click for tutorial) treatment so his ears wouldn’t be chopped off, lol. For the background I die cut an ODBD Vintage Flourish Pattern background & also the layer behind the bunny out of white. I used the pink ink to sponge from the bottom up on both so they would be darker pink at the bottom & fade to white at the top. I also sponged pink on some of the die cut small eggs. I combined two of the set greetings on the large egg & added the die cut grass. Two of the smallest Aster die cuts were sponged in the center & added on either side. These are the Copics I used.

    NCC Pink Bunny copics05565
    Supplies:

    Stamps:  North Coast Creations – Hippity Hoppity
    Paper:  Neenah white, X-Press It white
    Ink:  Memento tuxedo black, Distress ink angel pink
    Accessories: ODBD Vintage Flourish Pattern, Vintage Label, Asters dies, Eggs & Grass Border dies,  Copic markers, Cuttlebug Swiss dots embossing folder

    My second card uses the beautiful Pansies set.
    NCC Eastertime Hello cu 05578
    I went with purple pansies since that color is most prevalent in my area. They are so dramatic & velvety! I stamped the pansies twice, colored them then fussy cut them and some of the petals on the top pansy to pop up on top.
    NCC Eastertime Hello 05577
    The pansies are attached to a purple die cut Quatrefoil Design . I die cut the green layer w/ the solid outline, then cut another Quatrefoil pattern out of it to get the frame. Both are attached to a white layer I cut w/ the solid die then embossed w/ the pattern die. The large white background was die cut using the Quatrefoil Pattern die. I used the largest of the Flourished Star Pattern die to cut the large purple mat then added a frame I die cut out a piece of designer paper from the Christian Faith paper collection.

    Supplies:

    Stamps:  North Coast Creations – Pansies
    Paper:  Neenah white, X-Press It white, purple, moss green, dp (ODBD Christian Faith collection)
    Ink:  Memento tuxedo black
    Accessories: ODBD Flourished Star Pattern, Quatrefoil Pattern, Quatrefoil Design dies,  Copic markers, Spellbinders A2 matting basics A & B, petite oval dies, stickles

    Please be sure to stop by and comment on all of the DT blogs to increase your chances to win!

    Julie * Lisa * Dawn * Sandee * Patricia * 

    Lori * Angie * NCC Blog
    Thanks so much for stopping by!
    Julie2 sig


  • Serendipity February Blog Hop!

    Easter Ducks cu 05653
    Weekly-Favorite

    02-03-15-Blog-Hop-Badge

    Welcome to the Serendipity February Blog Hop! We are showing off some beautiful new dies & images! If you arrived here from  Jenny’s Blog ,  you are in the right place..if not, you may want to head over there first.

    The Prize – One $20 gift code will go to one random commenter from the blogs.  So be sure  to visit all the blogs because you don’t know which one the winner will be drawn from.

    For a second chance to win – like us on Facebook and share the ad about the hop.  One person who does both will be selected to win a second $20 gift certificate.  If you already like us on FB all you have to do is share the ad with a friend.  Click on the “share” link under the photo. 

    Visitors can leave comments through Feb 16 and the winner will be announced on Mary’s blog on  Feb 17.

    Easter Ducks 05651
    My first card features the gorgeous new Daisy Garden die & Daisy Border die along with the wonderful Easter die. I paired them with the sweet little Three Ducks image. Recently, Mary (Serendipity Stamps owner) and I had a little discussion about marbled paper. I have quite a stash of paper I hand marbled a long time ago and since every piece is one of a kind, I made color copies to use and I came across one of my favorite pieces so I used it for this card. Here’s a look at the copy before I cut it and used it. I thought the colors would be wonderful for an Easter card.
    Easter Ducks paper 05639
    In order to die cut the ducks, I had to do a little out of the box technique (tutorial HERE). The top part was a little trickier…when I die cut the Daisy Garden die, I lined up the die to determine where to cut the pierced rectangle out of the remainder. I did it this way because I wanted the marbled paper to show through the Daisy Garden die and I didn’t want to have to hand cut it. I did the same with the turquoise layer. Worked perfectly! I paper pieced the little Easter eggs on the image out of some more of the marbled paper.  Here are the Copics I used.
    Easter Ducks copics 05642
    And on the inside, I used a little of the left over marbled paper and the leftover negative of the die cut Easter.
    Easter Ducks inside 05659
    Supplies:

    Stamps: Serendipity Stamps – Three Ducks, Happy Christmas (Happy on inside)
    Paper: X-Press It white, turquoise, copy of hand marbled paper
    Ink:  Memento tuxedo black, Colorbox sea crystal chalk ink (inside)
    Accessories:  Serendipity Daisy Garden die, Daisy Border die & Easter die, Spellbinders pierced rectangle, radiant rectangle (pieced long oval), & mega oval dies, Copic markers

    My second & third cards, I actually started for challenges on Splitcoast but didn’t finish right away so here they are! Promise, I wasn’t trying to be an overachiever!
    Sick Puppy cu 05647
    Weekly-FavoriteBest of 2015 SCS
    I love this cute little Sick Puppy image. After stamping and coloring him, I had an idea to cut him out and have him perched in a window opening. I die cut the white panel w/ a rectangle die then cut the pierced circle and placed the puppy on the edge and added the greeting below him.
    Sick Puppy 05643
    A Daisy Garden die was added, half on, half under the top. The background is a mono print background I made a while back (tutorials HERE and HERE). These are the Copics I used.
    Sick Puppy copics 05638
    Supplies:

    Stamps: Serendipity Stamps – Sick Puppy, Heard You’re One Sick Puppy
    Paper: X-Press It white, mono print background
    Ink:  Memento tuxedo black, Versafine onyx (greeting)
    Accessories:  Serendipity Daisy Garden die, Spellbinders A2 matting basics A & B, pieced circle dies, Copic markers

    For the last card, I had to stick it on the end because I made it for my hubby for Valentine’s Day. He has a feed that shows the beginning of my blog posts on his home page, so if it’s on top, he’ll see it before I want him to.
    So Lucky cu 05619
    I had the hardest time with this one..I love the dies, but I couldn’t figure out what to put with them. Then on Monday, there was a challenge to use your embossing folders to “stamp” an image. I had this Queen of Hearts embossing folder so I inked it and “stamped” it onto white. No embossing, just used it to stamp.
    So Lucky 05618
    I added the layered Poker Chips die cuts, the Lucky die, and I cut apart the S from the Sweet die and a trimmed “a” from the Imagine die to make my So word. Here’s a look at the inside.
    So Lucky inside 05624
    I used the IN also from the Imagine die combined with the Love die, more poker chips and Happy Valentine’s Day.

    Supplies:

    Stamps: Serendipity Stamps – Happy Valentine’s Day II
    Paper: X-Press It white, red linen, black, dp (Glitz- Black & White)
    Ink:  Memento tuxedo black, Distress ink barn door, worn lipstick (to ink the embossing folder)
    Accessories:  Serendipity Poker Chips die,  Lucky die,  Sweet die, Imagine die, Love die, Spellbinders A2 matting basics A & B, black grosgrain ribbon, Cuttlebug Queen of Hearts embossing folder (Love is in the Air set)

    Thanks so much for stopping by! Now, you’ll need to hop on over to Karen’s Blog. Please be sure to visit and comment on all the team blogs to increase your chances to win! Here’s the order in case you get lost.
    Thanks so much for stopping by!
    Julie2 sig