

Today we are taking another look at the North Coast Creations February release! Don’t you just love the cute bunnies & beautiful flowers? Perfect for all your Easter & Spring cards!
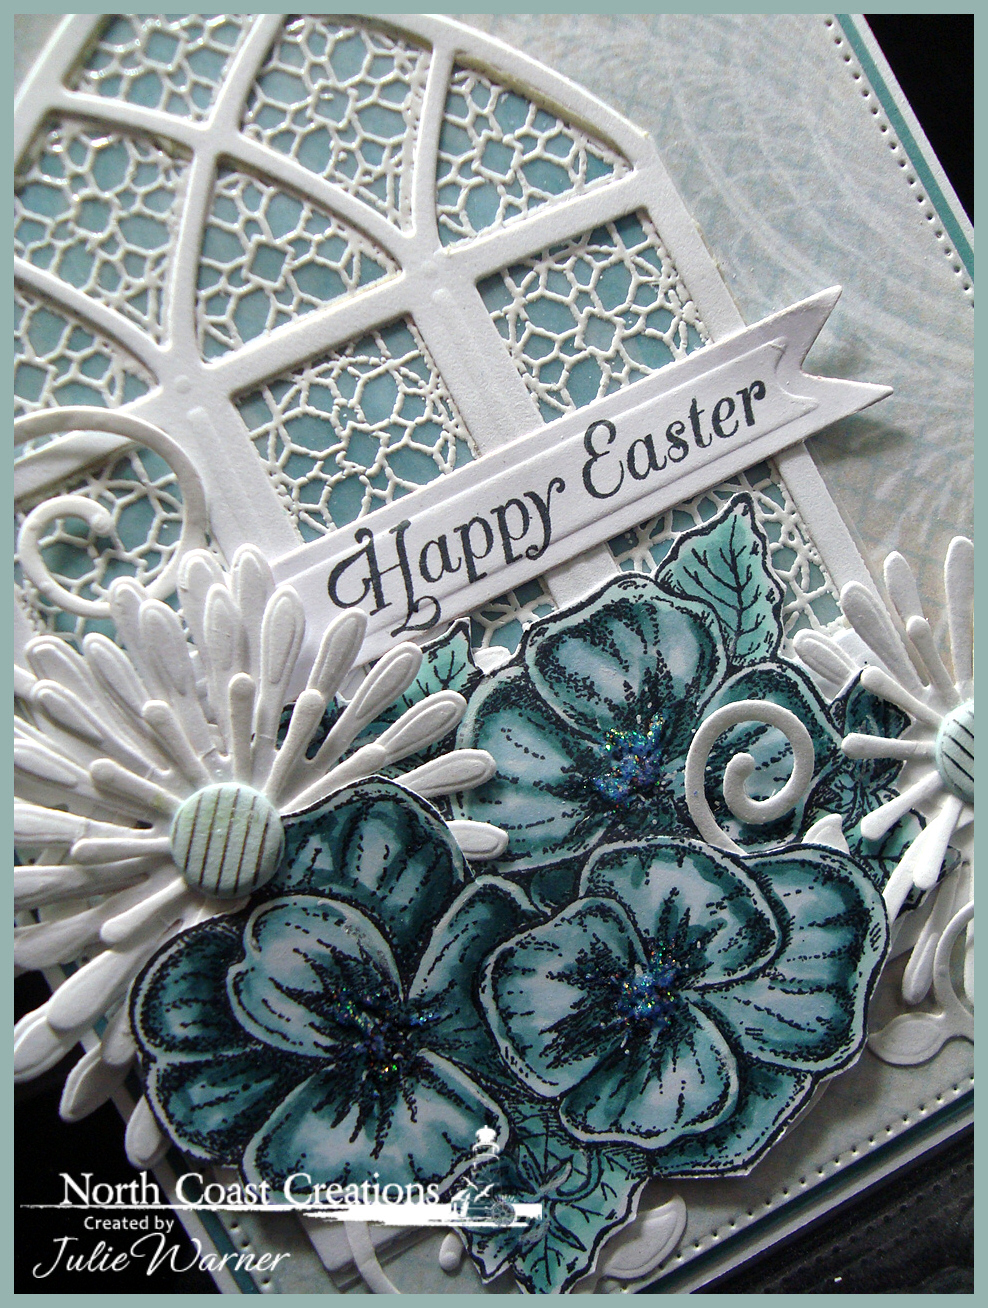
For my first card, I used the lovely Pansies image & since I wanted to use some of this beautiful Shabby Rose paper from ODBD, I used my Copics to color them in unconventional colors then fussy cut them. A lot of times when I’m figuring out a design for a card, I’ll get a semi-finished picture in my head of what I’m going for. Sometimes the finished project looks pretty close, but more often it morphs quite a lot as I work with it. This card looks almost exactly as I pictured it which is a bit unusual but very welcome!
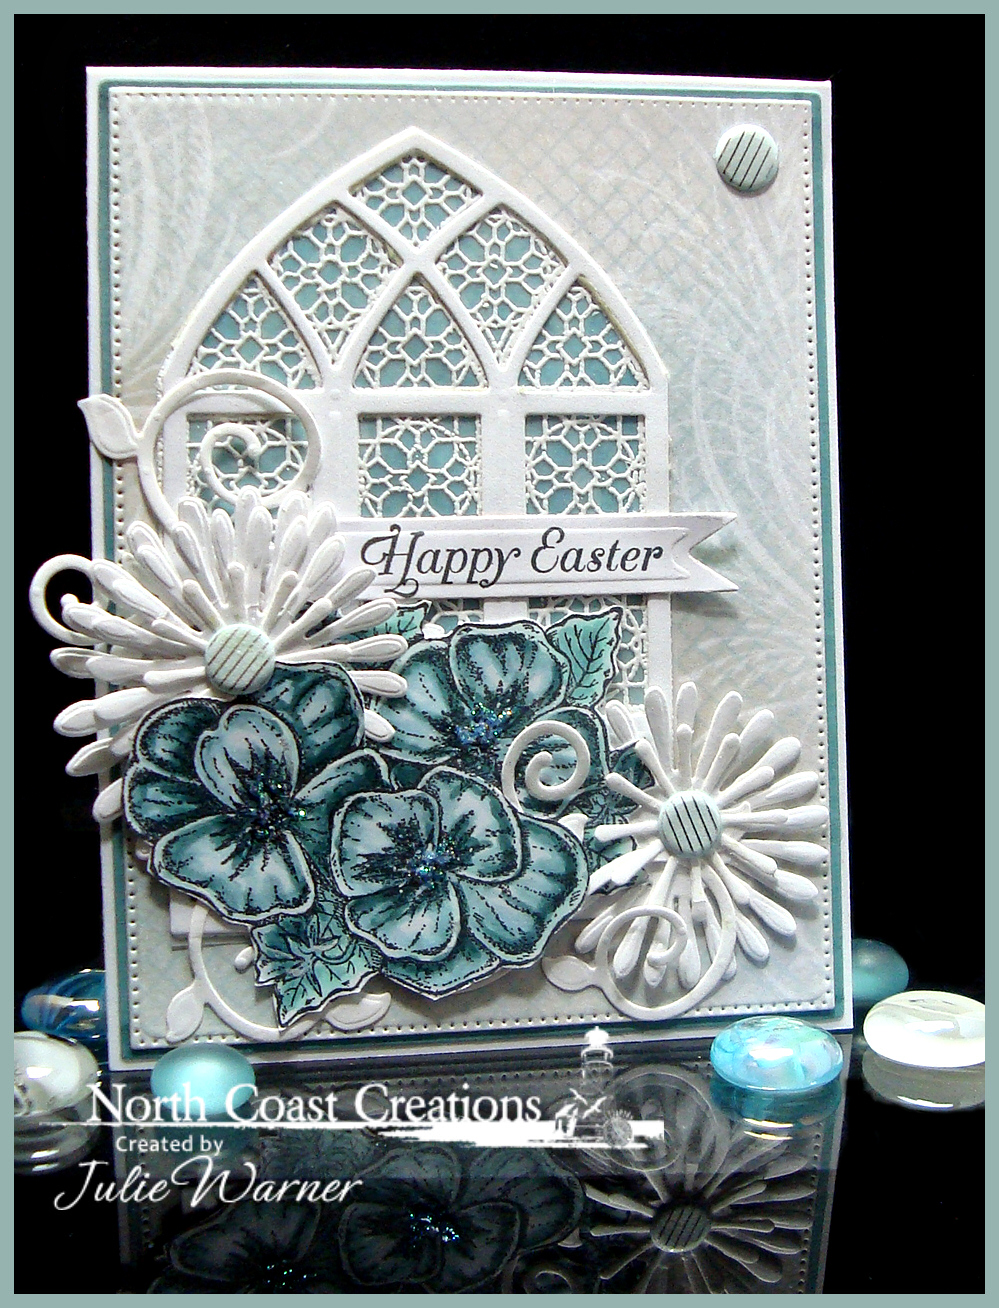
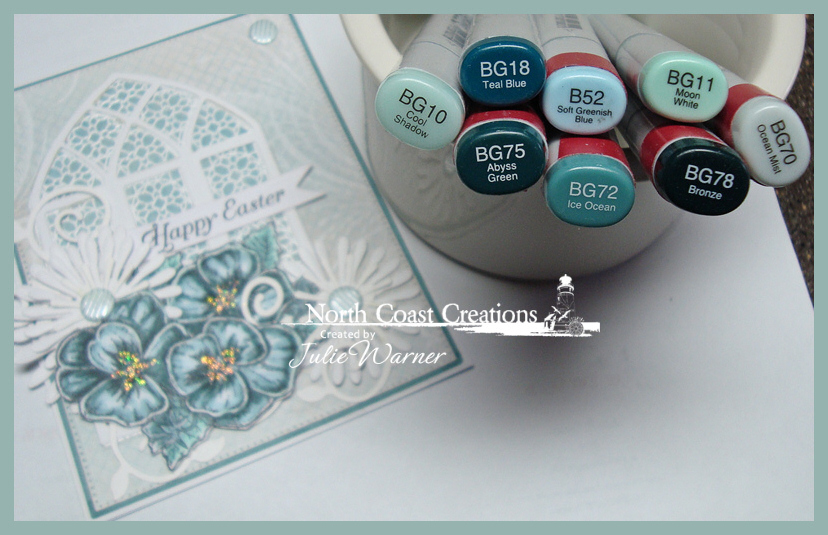
For the Cathedral Window, I die cut a white frame, then white embossed the Marble Window onto vellum, colored it on the back side w/ a blue/green Copic, cut around it & attached it underneath the white frame. The white Asters & Fancy Foliage vines were die cut and added around the pansies. I used the largest die of the Flourished Star Pattern dies to die cut the beautiful Shabby Rose paper for my big background. For the largest layer, I used one of the darker Copics to color a matching frame then added a few Candi dots & a little Stickles to the pansy centers. These are the Copics I used.
Supplies:
| Stamps: North Coast Creations – Pansies, Our Daily Bread designs – Cathedral Window Marble |
| Paper: Neenah white, X-Press It white, dp (ODBD – Shabby Rose paper), vellum |
| Ink: Memento tuxedo black, Colorbox frost white pigment |
| Accessories: ODBD Asters, Fancy Foliage, Flourished Star Pattern & Cathedral Window dies, Copic markers, Spellbinders A2 matting basics A & nested pennant dies, stickles, Candi dots, white embossing powder |
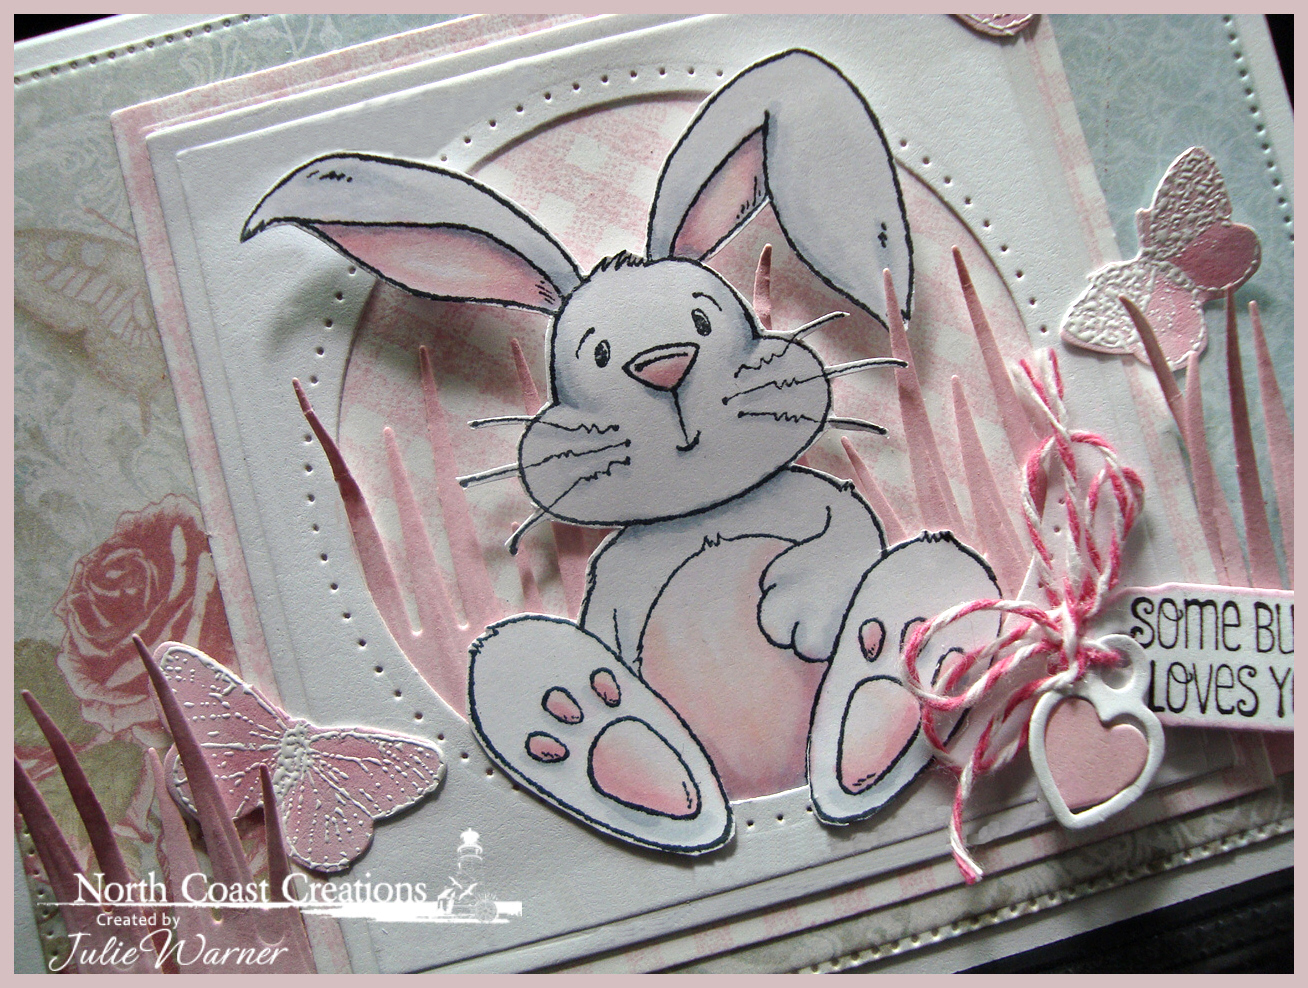
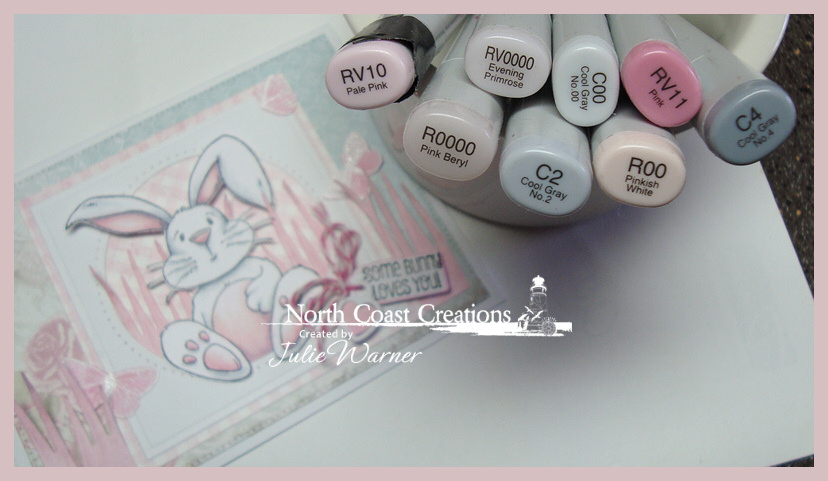
My second card uses the super cute bunny from the Hippity Hoppity set. I colored & fussy cut him then placed him so it looks like he’s sitting inside the circle of a little window. On the piece behind the window, I stamped the ODBD gingham background w/ the pink ink. I wanted the opening behind him to be on the diagonal but the rest to be square w/ the frame, so after I die cut it to fit around the square, I used a circle die to cut out the inside, rotated it, then put it back. I added some die cut grass, sponged w/ the same pink ink, behind him and also behind the frame.

The greeting was stamped & die cut along w/ a little heart charm & tied with some baker’s twine. To finish, I white embossed the butterfly branch, then sponged the pink on it & die cut w/ the matching die. I trimmed off a few butterflies for the front & put more of them on the inside (below).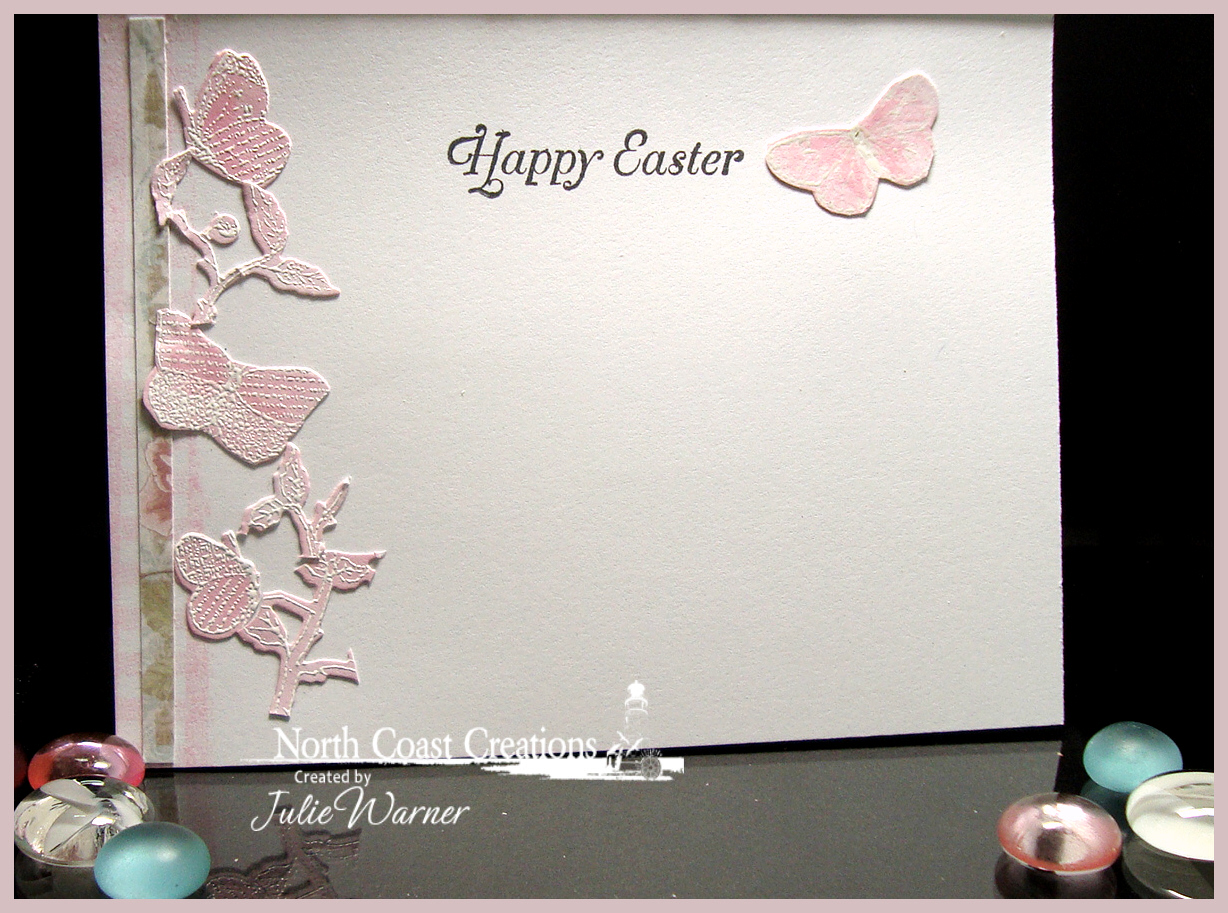
These are the Copics I used.
Supplies:
| Stamps: North Coast Creations – Hippity Hoppity, Our Daily Bread designs– Butterfly Branch, Gingham Bg |
| Paper: Neenah white, X-Press It white, dp (ODBD – Shabby Rose paper) |
| Ink: Memento tuxedo black, Distress ink angel pink, Colorbox frosted white pigment |
| Accessories: ODBD Butterfly Branch, Mini Tag, Flourished Star Pattern & Grass Border dies, Copic markers, white embossing powder, Spellbinders circles, squares & pierced circle dies |
Please be sure & visit all of the DT blogs for more, fabulous inspiration!
Julie * Lisa * Sandee * Lori * Patricia *
Thanks so much for stopping by!


Julie, you have blown me away again!!! LOVE your first card…gorgeous colors, love the stained glass technique on the Cathedral Window, love the layered flowers and dies with the beautiful pansies….a total WOWZA card! Your 2nd with the adorable bunny looks fabulous in pink and I love the added butterflies and little heart tag!! HUGS!!
WoW….wow! your first card is just over.the.top GORGEOUS!! I came this close >< to using the window too, glad I didn't…….it couldn't have stood up to yours! I love your creativity!!!
The second is just too darn cute!!!
These are so pretty Julie. I love the gorgeous blue hues of the first card. So pretty with the window as the backdrop to the flowers. Great dimension too. Fun bunny card – love his floppy ears! He’s so pretty in pink.
Are these dies compatible with the cuttlebug??
Hi Paula,
These dies are compatible with any machine that will accept Spellbinders dies. I don’t have a Cuttlebug but it is my understanding that Cuttlebug will accept Spellbinders dies. So you should be good to go!
Here’s a link to the Spellbinders site which gives the sandwich for using these dies with a Cuttlebug.
https://www.spellbinderspaperarts.com/ckfinder/userfiles/files/Spellbinders%20Die%20Compatibility%20Chart.pdf
Julie
Wow, a beautiful elegant first card and and an adorable second card. I love your work. You rock my world!
Oh wow!!! Julie the pansies with that gorgeous cathedral window is a stunning combination! And your bunny card is adorable!!!
Two fabulous cards!
wow! I love that cathedral window, it is stunning. And love that adorable bunny.
Stunning cards, Julie! Love how you used the Cathedral Window along with the Pansies!