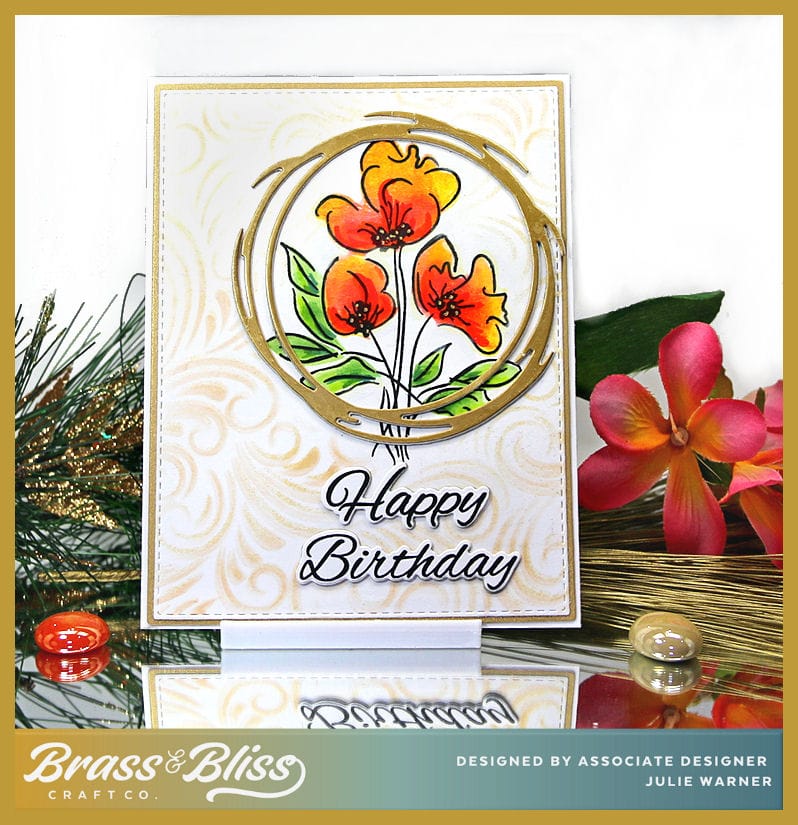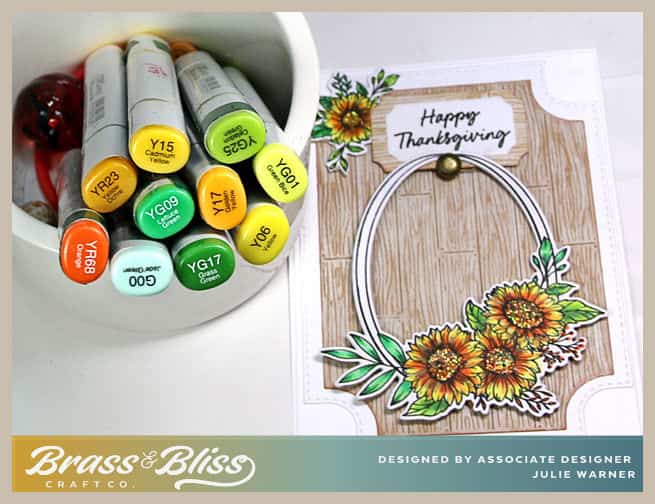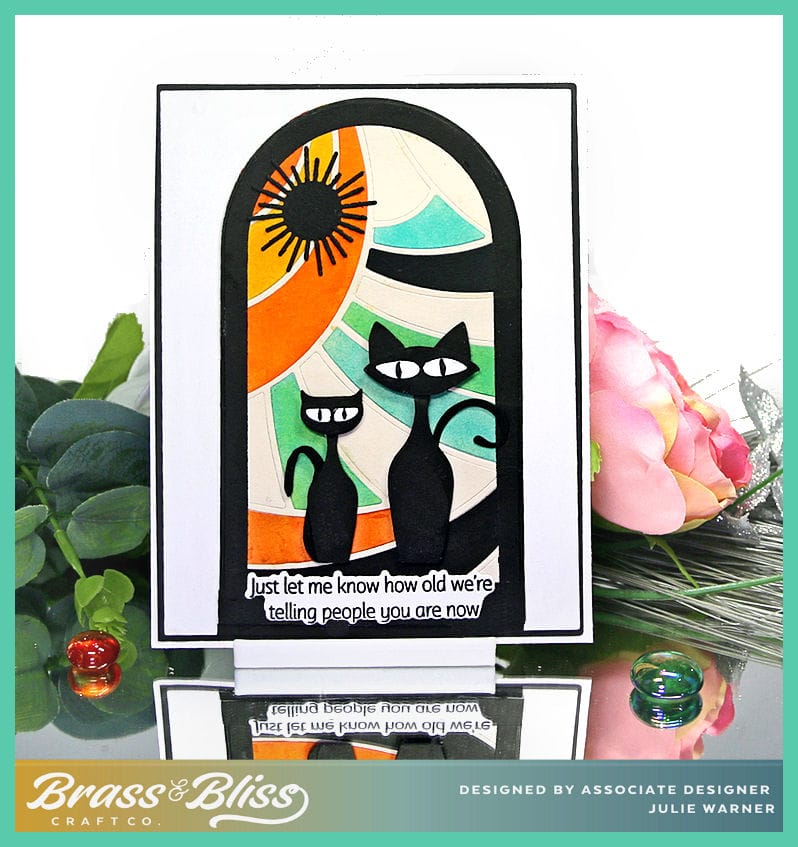

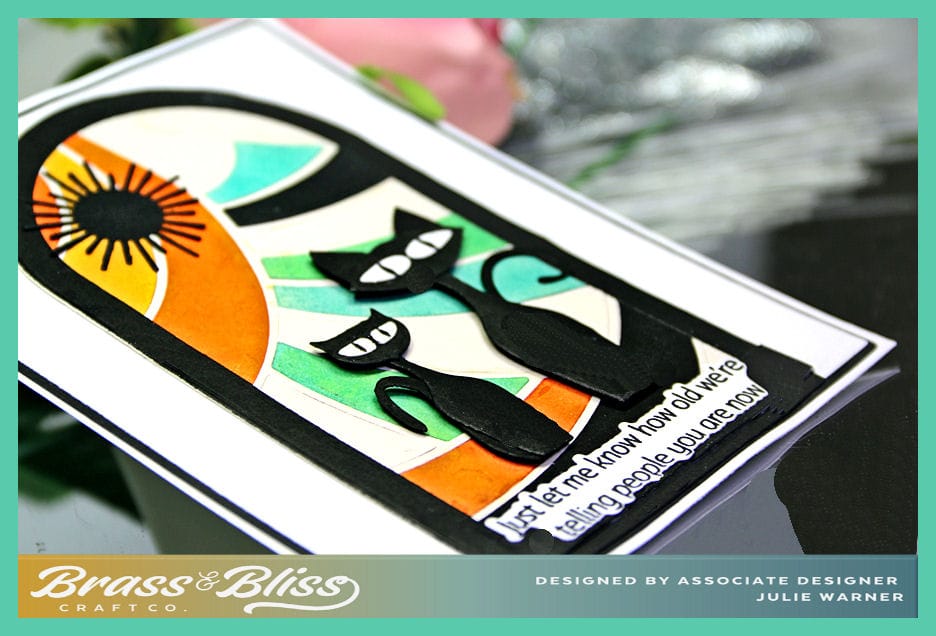
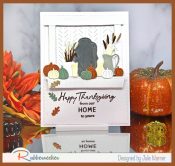
Today I have a die cut, paper pieced, mid-century mod birthday card. The two cool cats were put together with an assortment of dies and the background is a partial sunrays stained glass die with only some of the pieces colored in. It has a real 50’s-60’s vibe to it.
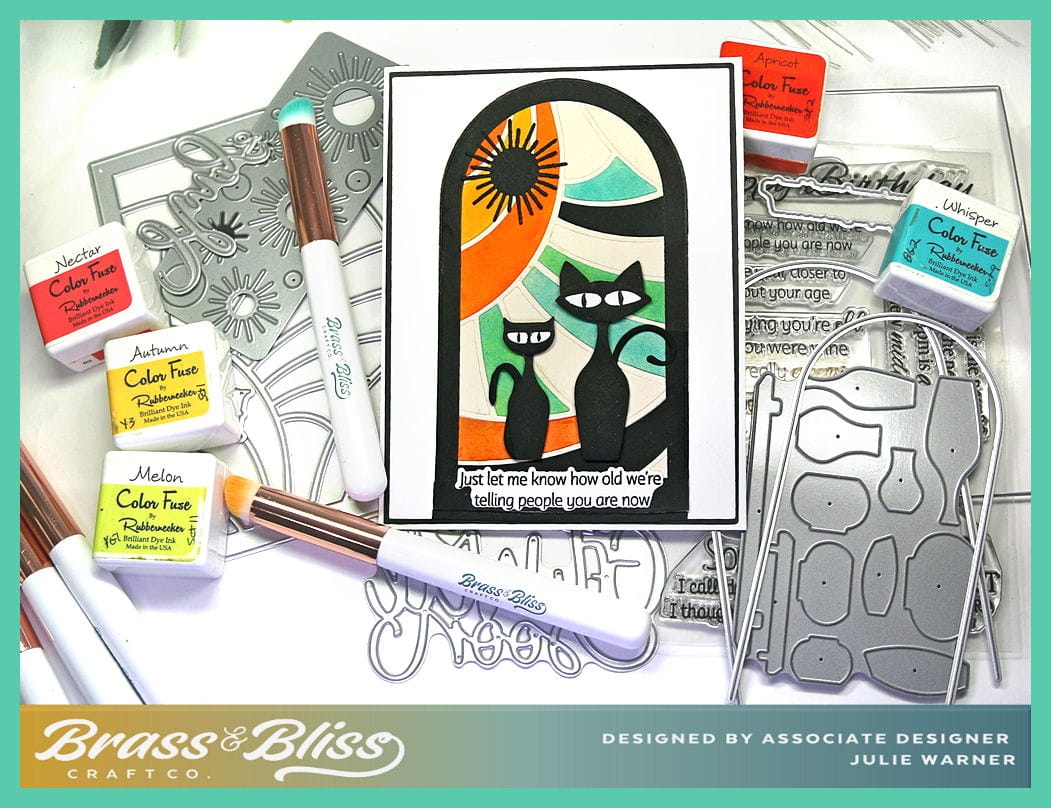
For the Inspiration Challenge IC997, we are visiting a site called Kate McEnroe & her Pinterest Board. I was inspired by THIS picture. I really love the atomic cat look & my only problem was figuring out a way to create this pair of cool cats. I’ll admit, I had to look through a lot of dies to come up with some to piece together.

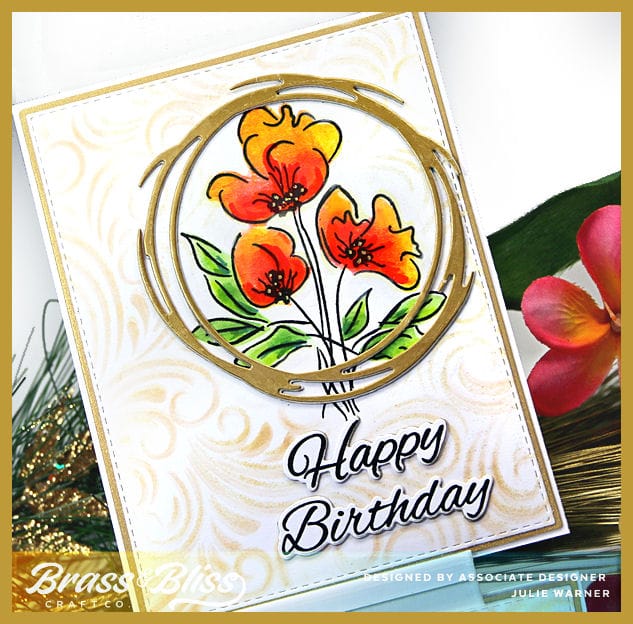
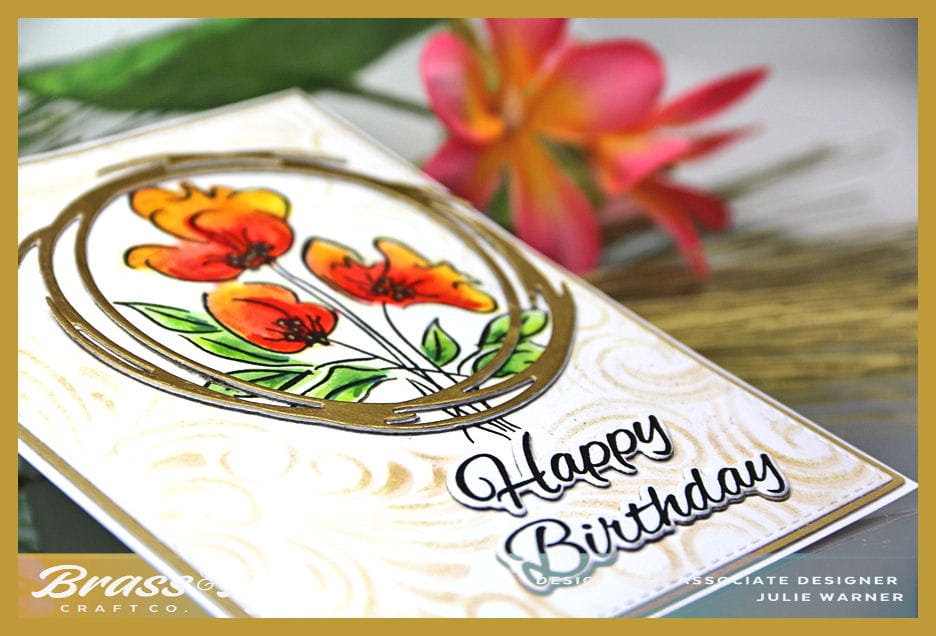
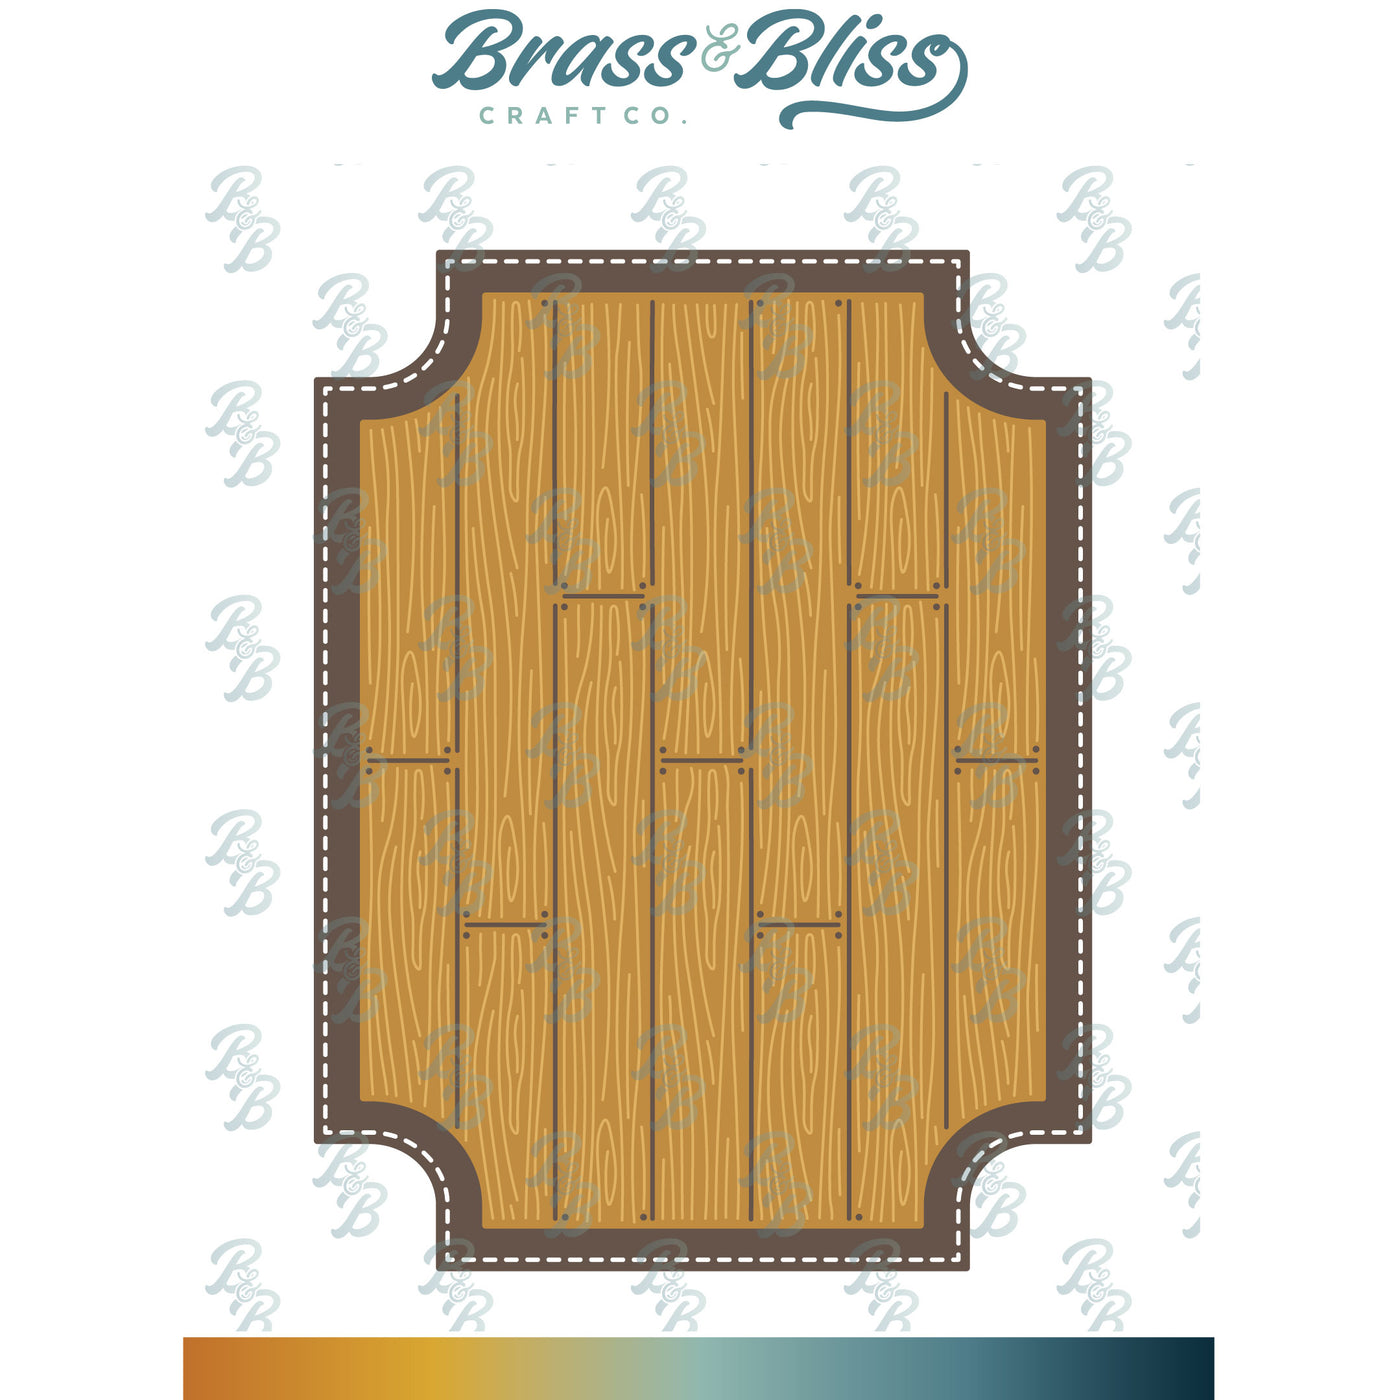
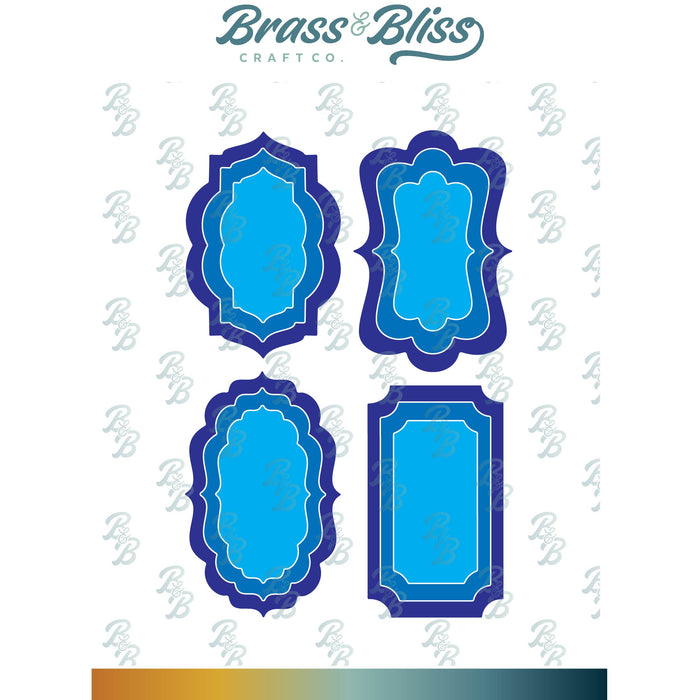
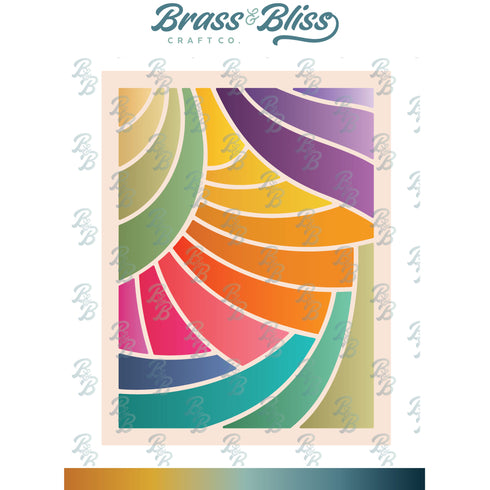
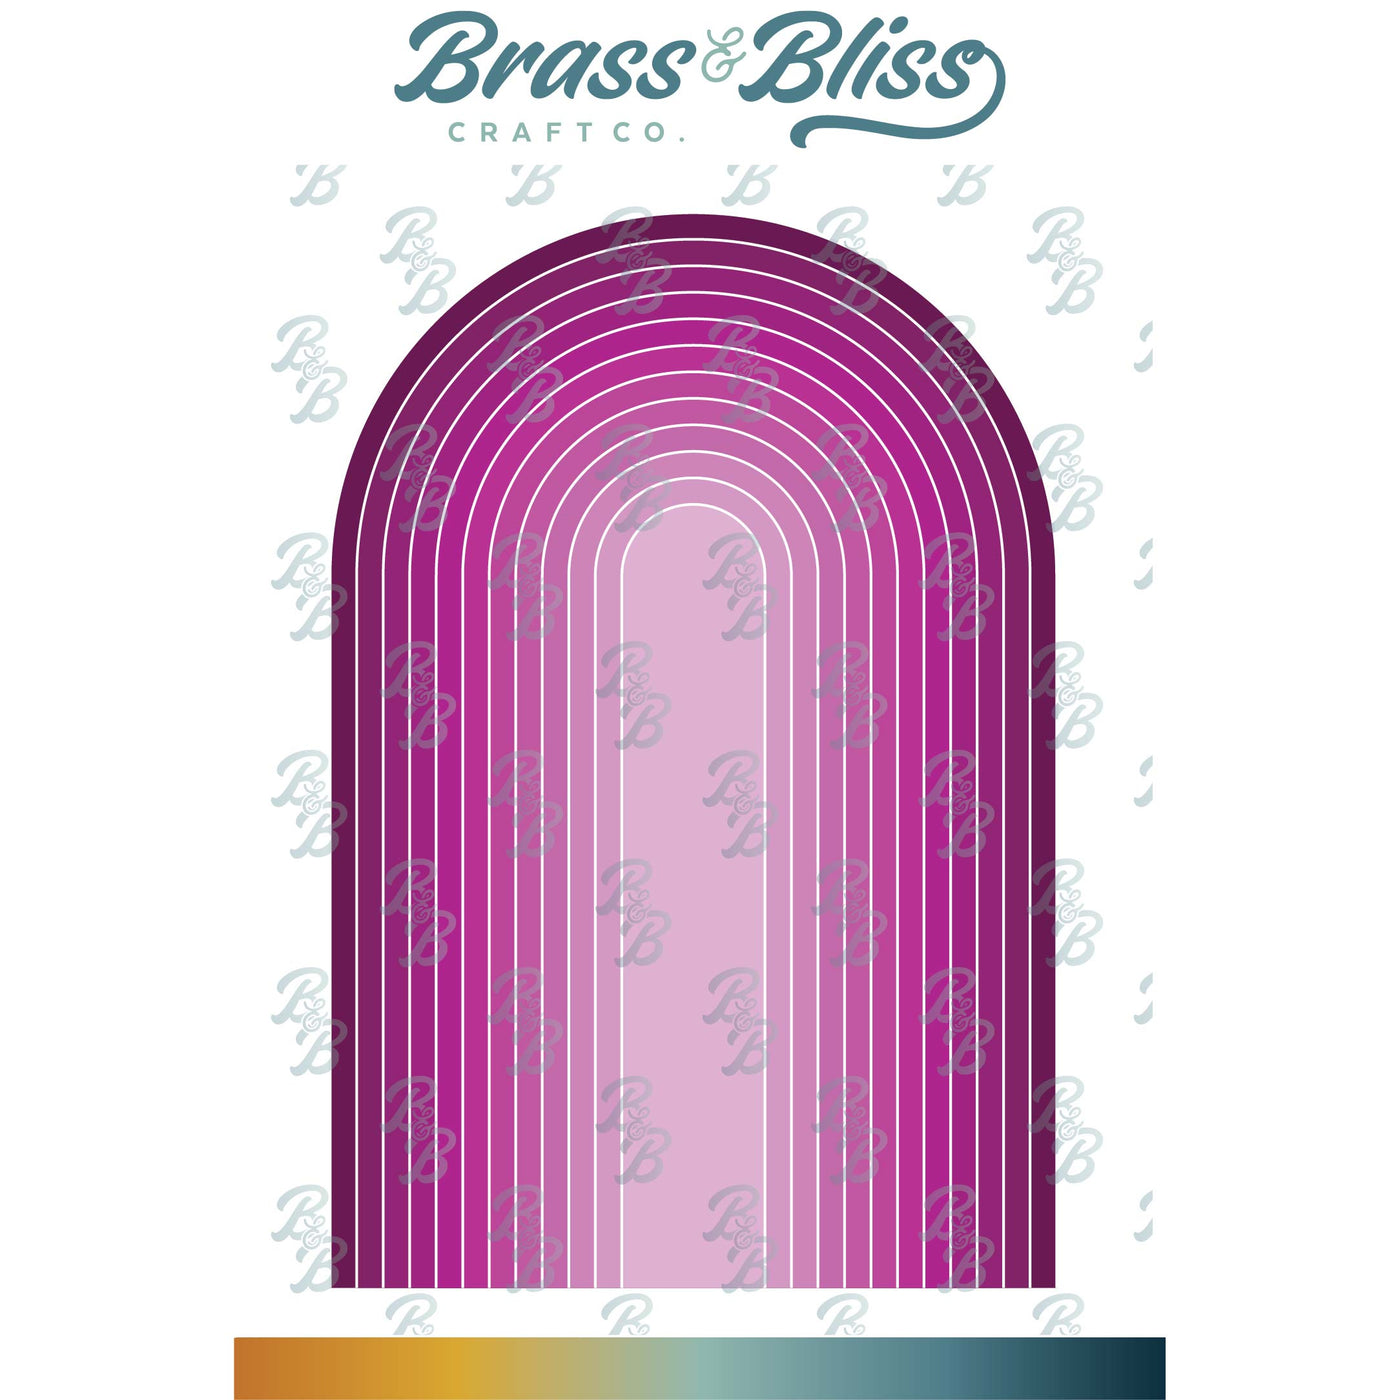
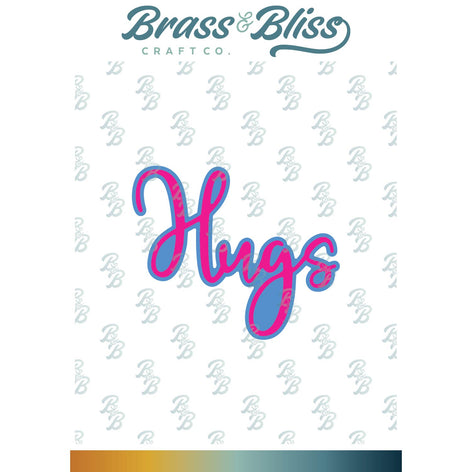
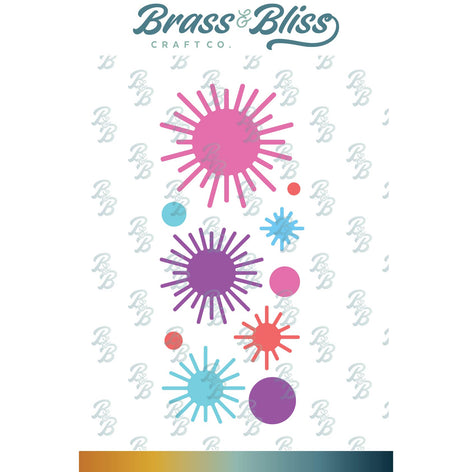
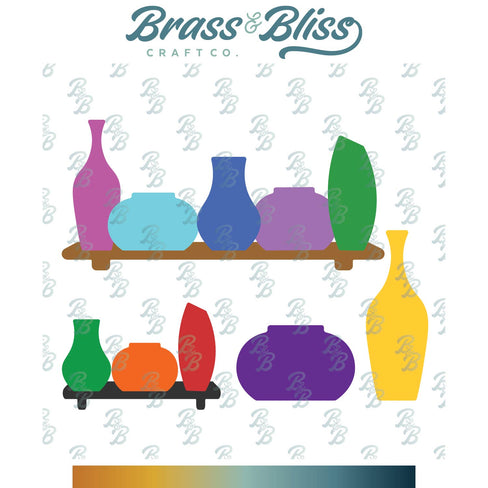
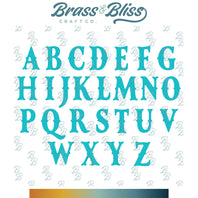
To make the cat bodies, I used a large & a small vase, since the shape was so similar. The tails were the curliques from the Get Well Soon die. The head on the small cat is actually a letter D from the Vintage Alpha set turned sideways w/ white in the center. For the large cat head, I just cut a pointy oval shape then added the punch outs from the Hugs die. A black marker was used to add the vertical pupils. The ears on the large cat are just triangular pieces. The Sunrays background was cut out of ivory & I used ink to color in some of the pieces. A pointy flower die was used for the sun shape. The black frame was made w/ 2 arched dies. After attaching it on top of the background I used the larger one to cut it the same size as the frame.
Thanks so much for stopping by!

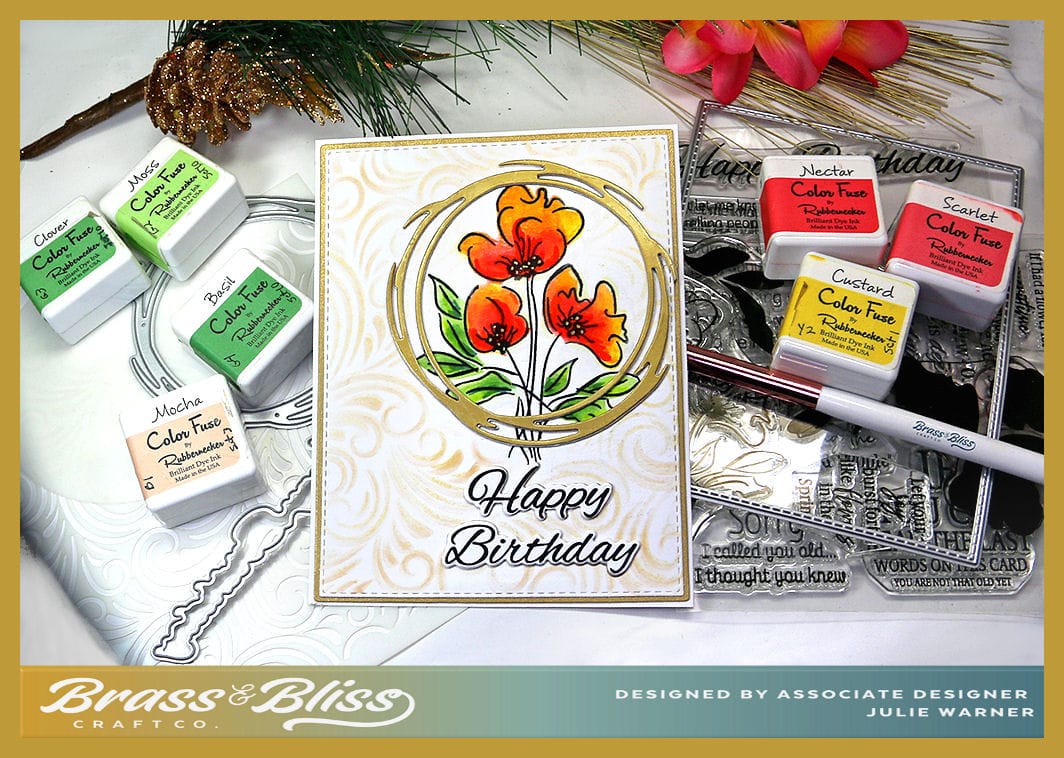
Supplies: (click the names below the pictures to take you to the products)
| Stamps: Brass & Bliss: I Thought You Knew set |
| Paper: Staples 110# white, ivory, black |
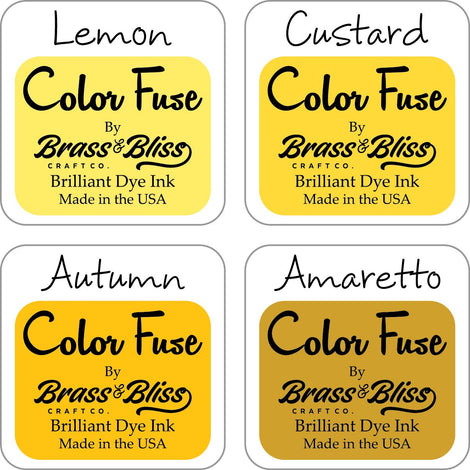
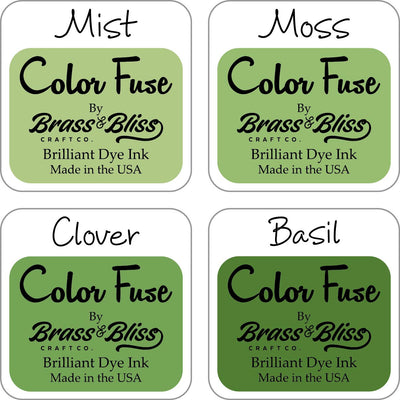
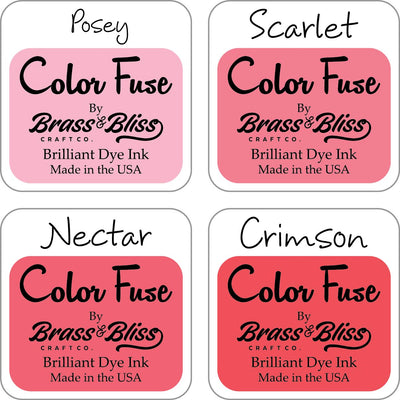
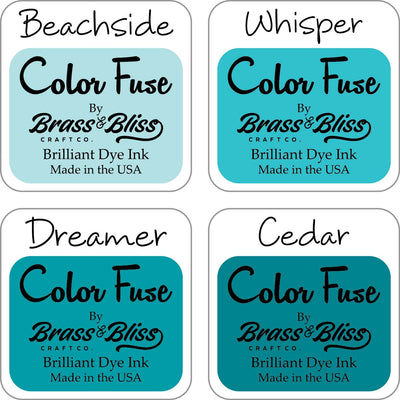
| Ink: Memento tuxedo black, Brass & Bliss: Color Fuse inks set #2, set #4, set #9, set #11 |
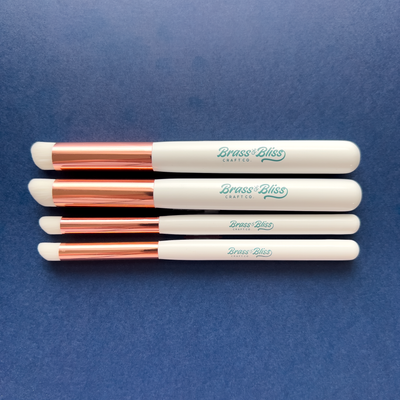
| Accessories: Brass & Bliss/Rubbernecker Stamps: Sunrays Stained Glass, I Thought You Knew set, Stacked Arches, Vintage Alphabet, Hugs w/ Shadow, Get Well Soon, Mixable Flower stack, Vases & Shelves dies, Detail Blending Brushes, Misti |
|

|

|
|
|

|
|
|

|

|
|
|
|
|
You might also like:

![]()