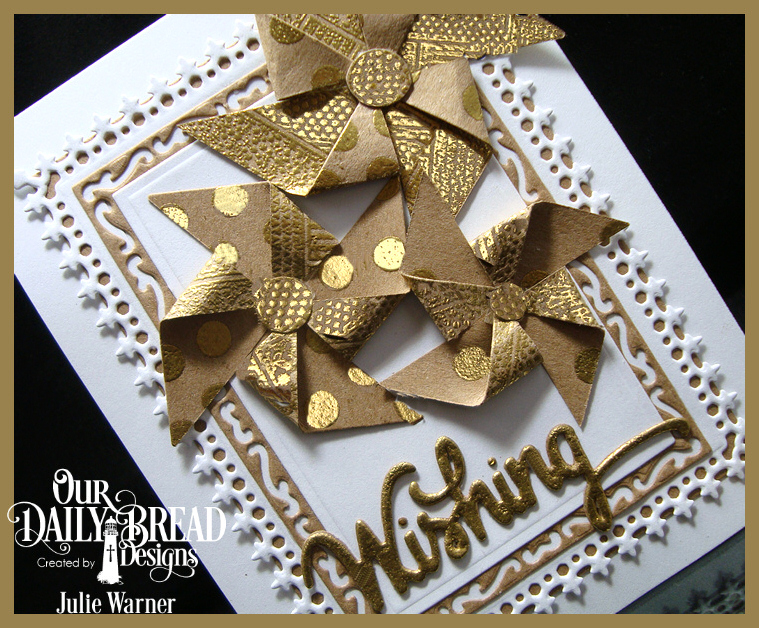
A big congrats to Simone, the newest Featured Stamper (FS478) on Splitcoast! She has a wonderful gallery with beautiful CAS designs! There are several I picked to case, but I kept coming back to THIS one. I just love the 3 little pinwheels so I kept that, but I used different images, added more layers & left off the gems.
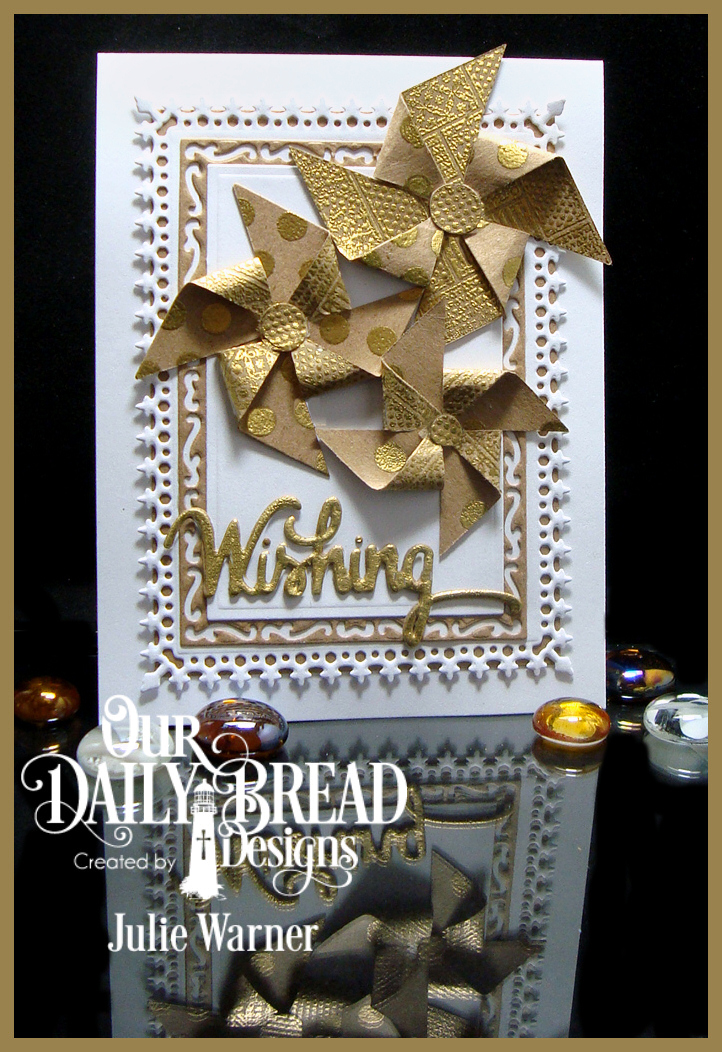
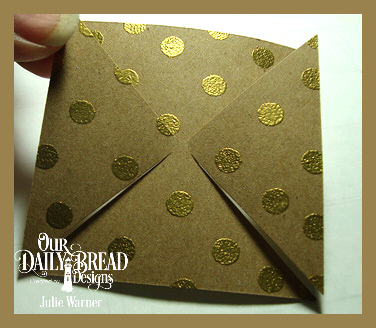
To make my 3 pinwheels, I die cut 3 sizes of squares out of kraft c/s then gold heat embossed the Log Cabin Quilt on one side of all three. On the reverse sides, I used a pencil eraser to make the gold polka dots.
I shared my easy method of making pinwheels from a square shape in THIS post, but basically, just cut from the 4 corners in to almost the center as shown below. (The first is the Log Cabin side, the pic below it is the reverse side w/ the pencil eraser dots.)
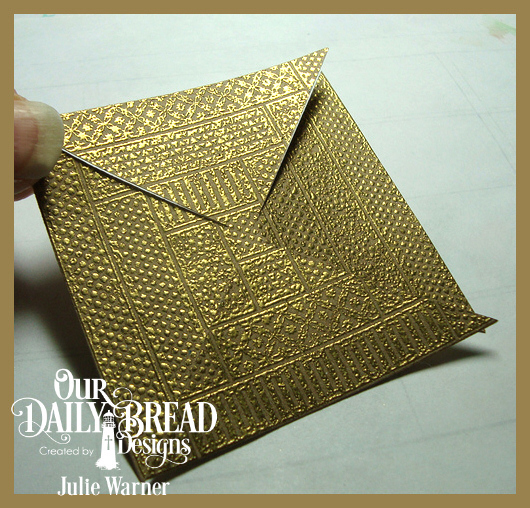
After you have the corners cut, just bring one point of each side in to the center & attach. It doesn’t matter which you start w/, just make sure to fold the same point on each side.
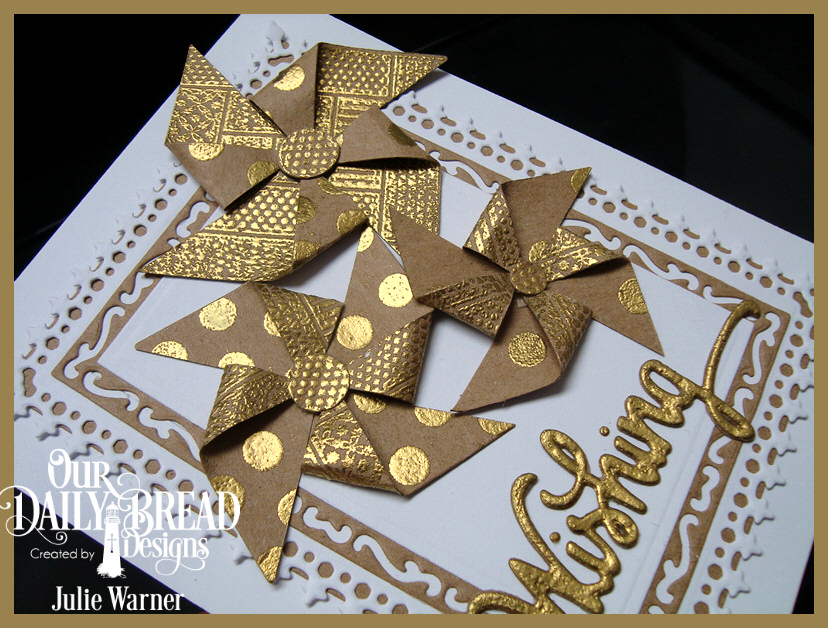
After I die cut all the layers & the greeting, I inked up the greeting & gold embossed it, too. I also gold embossed the center of the Dresden Quilt image then used different sized circle punches & added these to the centers of my pinwheels.
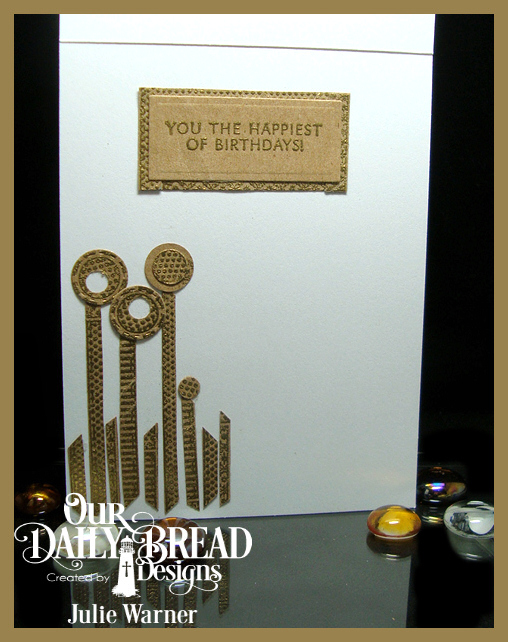
Here’s a look at the inside using some leftover strips & circles.
Congrats again, Simone! Thanks so much for stopping by!

Supplies:
| Stamps: Our Daily Bread designs – Log Cabin Quilt (retired), Dresden Quilt Stamp (retired), (inside –Wishing Words) |
| Paper: Staples 110# white, kraft |
| Ink: Encore Ultimate Metallic Gold pigment |
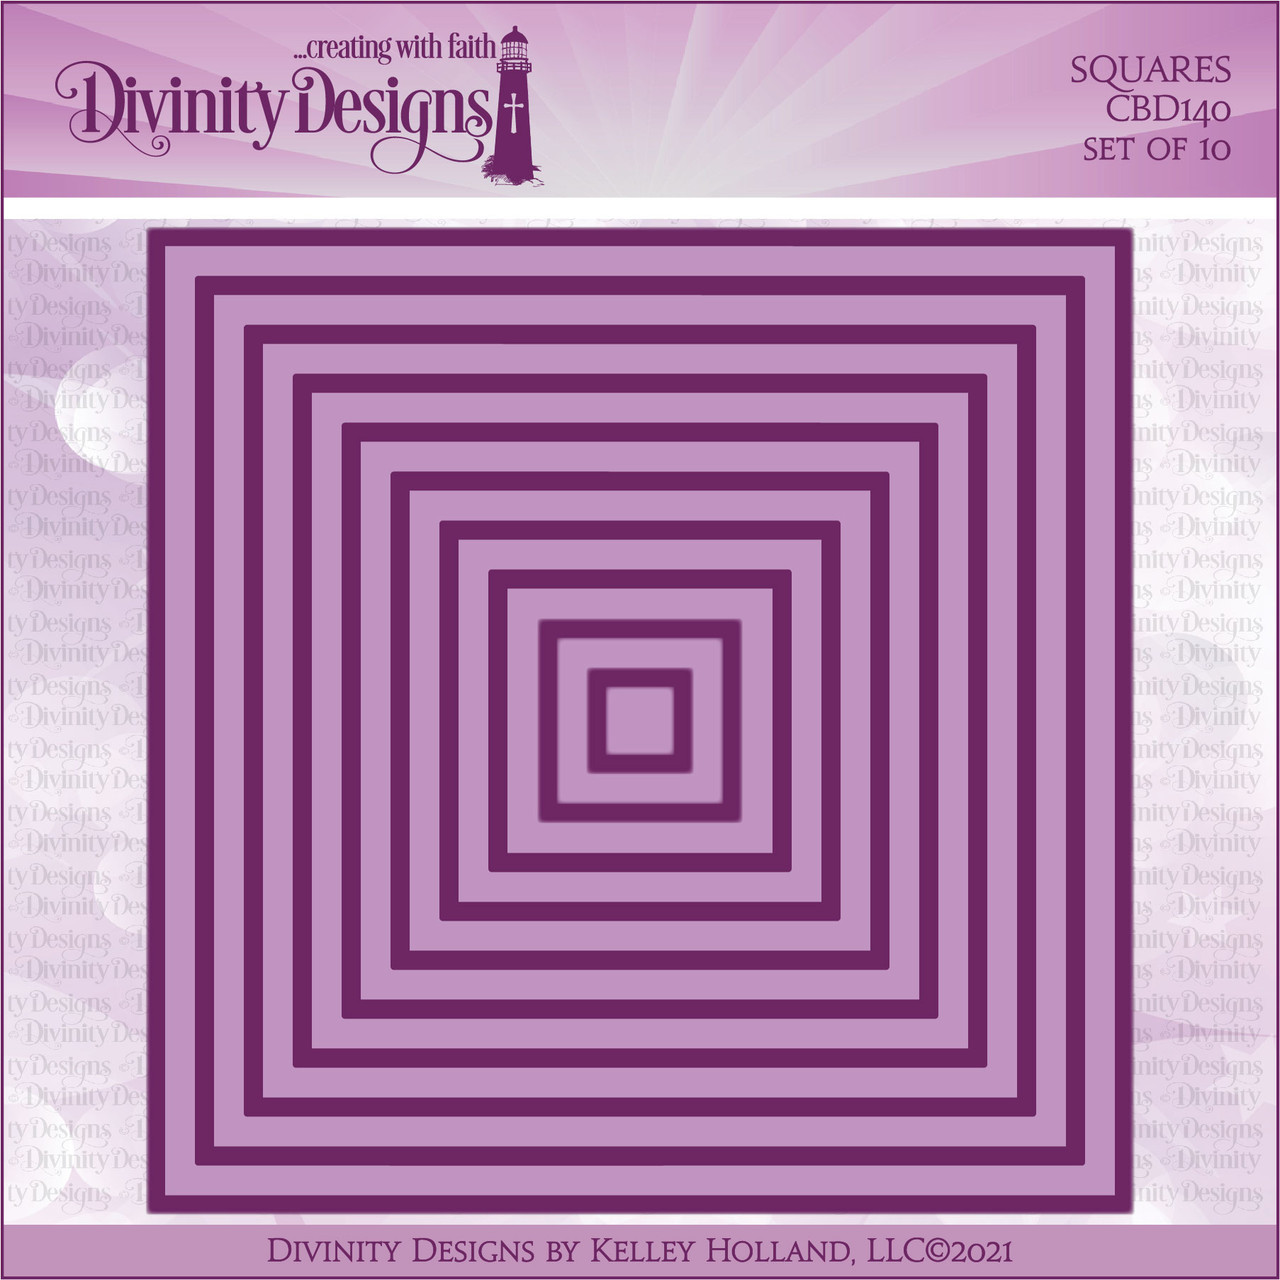
| Accessories: ODBD Double Stitched Rectangles, Squares, Rectangles, Lavish Layers, Wishing dies, detail gold embossing powder, multi circle punch |

|

|

|

|
|

|

|

|

|

|


HOW PRETTY JULIE! I was WONDERING where you got the gold patterned paper! LOL What a SUPER JOB you’ve done on this! 😉