 Judging from Fan Club response so far, Dare to Get Dirty 2010 is a hit! And it’s a lot of fun. Not only do the FC Members get a chance to play in the dirt with the past and present Dirty Girls, they get to ask us questions or chat with us in the DTGD Forum. We still have more challenges – all the way thru Friday!
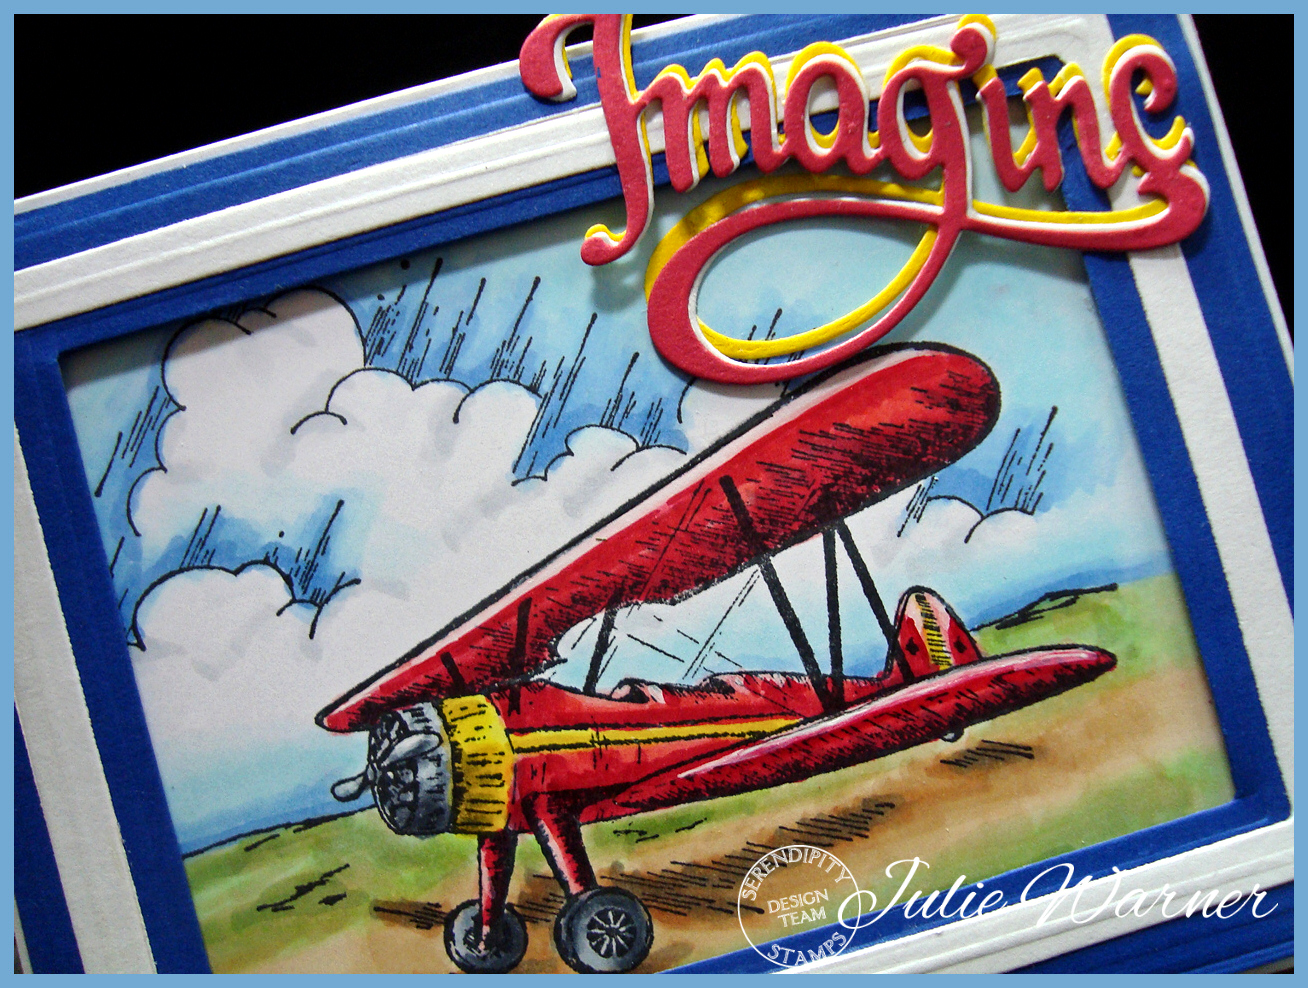
Today, I’m hosting a DTGD challenge and also made a sample for my friend Cindy Haffner’s DTGD challenge! So I have a twofer today. (You can click any image to make it larger.)

This first card is for my challenge DTGD10justwritedesigns02.
All images are DRS Designs.
I just love these ladybugs! I stamped the ladybug stack twice, die cut one with a Mega Oval, sponged the background and drew a few grass sprigs. The second one, I colored the ladybugs with marker, cut them out and popped them up just a smidge on top of the base image. I used the same oval die to draw a slightly larger frame on black c/s and hand cut it.
The greeting was also die cut w/ a long rectangle (it was resized) and sponged w/ lt blue ink while the die was still in place. I used an embossing folder on the green panel. After stamping and coloring the ladybug border, I cut the bottom with a Quickutz scallop border and sponged as before. I cut another scallop border out of black and offset it. The front of the 4.25 x 5.5 (A2) card was stamped w/ the ladybug background and colored as before. I made 3 black Faux Brads and attached them.
Supplies:
stamps: DRS Designs
paper: white, black, green
ink: Ancient Page coal, Memories soft baby blue & soft green
accessories: Tombow markers, Spellbinders mega oval & long rectangle dies, Quickutz scallop border, Cuttlebug Welcome Baby combo (used the emboss folder only)

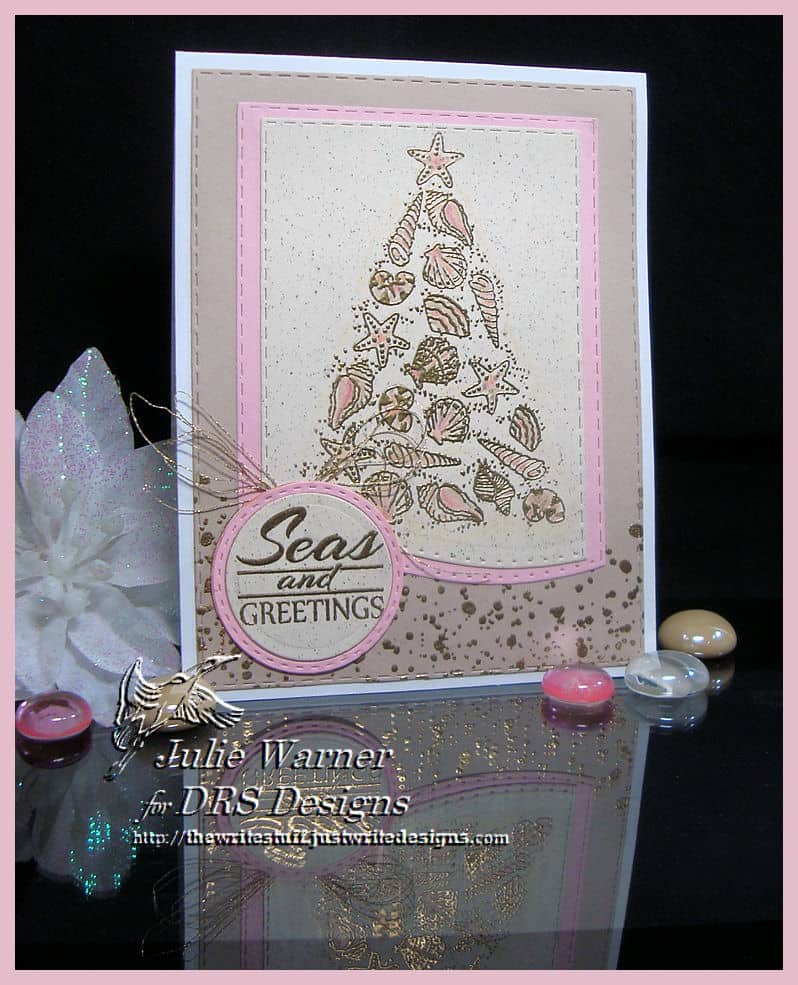
This second card is for Cindy Haffner’s challenge DTGD10cindy_haffner.
All images and embossing powders are Sparkle N Sprinkle.
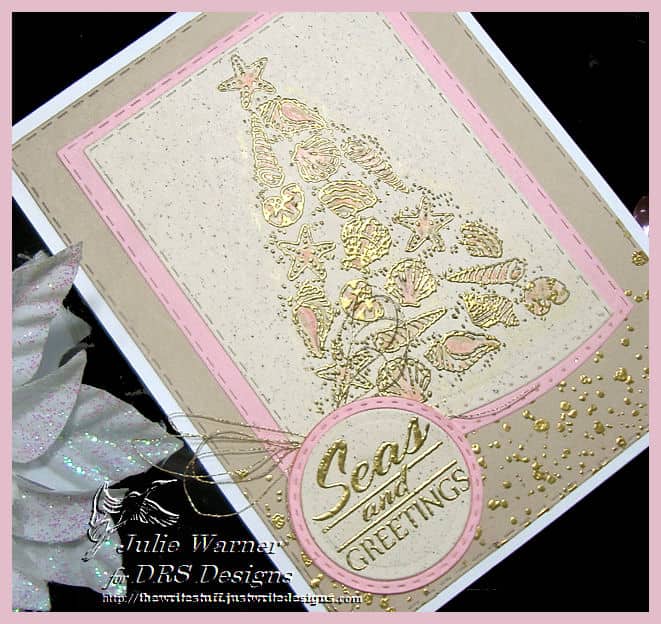
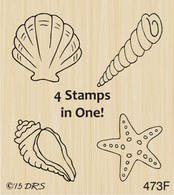
For this one, I stamped and embossed the seashore circle first w/ white on the teal and again w/ teal on the white. I die cut the center only of the teal and the entire circle of the white one. The smaller teal is popped up slightly on top and I cut a bigger teal circle to back the two. The white panel has the upper corner punched with a deep edge punch and the center lower section punched w/ a small border punch. I used a Cuttlebug border to emboss the flourish across the center.
The teal elements were die cut using the Spellbinders Symbology set. I left the die in place, sponged on white ink and embossed w/ the vanilla ice ep. I cut the ends off the two fan like elements and attached them under the embossed strip. An 1/8 inch hole punch was used on the parts I cut off and I glued the 3 tiny circles under the lower punched border. I used a small pencil eraser to dot the white ink on a teal scrap and embossed it then placed these circles under the upper punched corners. I made 2 vanilla ice embossed faux brads and attached them to the upper corners of the teal panel.
Supplies:
stamps: Sparkle N Sprinkle
paper: white, teal
ink: white & teal pigment inks
accessories: Vanilla Ice & Poolside embossing powders, Spellbinders lg circles & Symbology dies, Cuttlebug organic flourish border, Martha Stewart daisy fan punch, small border punch, 1/8 & 1/4 inch hole punches
Thanks so much for stopping by! I hope you’ll drop by Splitcoast and check out all the fabulous challenges. You’ll need to be a Fan Club Member to view them. So if you’re not a FC Member, why not join? It’s less than most magazine subscriptions and way more fun.

SaveSave


