Posts Tagged ‘Perfect Paper Crafting’
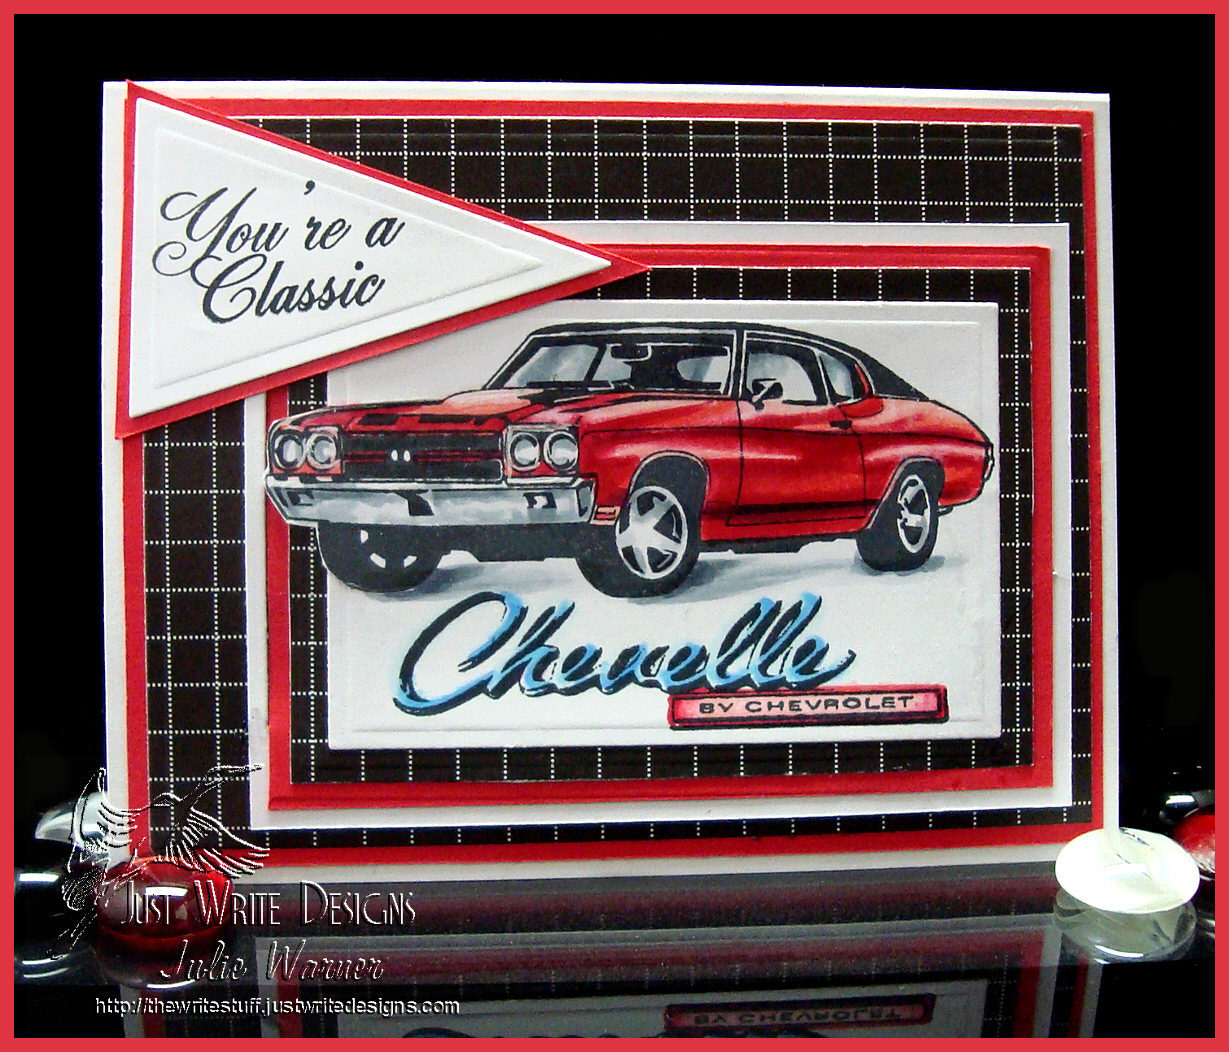
A big congrats to Katlyn, the newest Featured Stamper (FS385) on Splitcoast! What a wonderful gallery, full of colorful creations! I needed a masculine card so I chose THIS card to case. I kept the car theme and black background but used different images, red instead of orange and left off the ribbon.
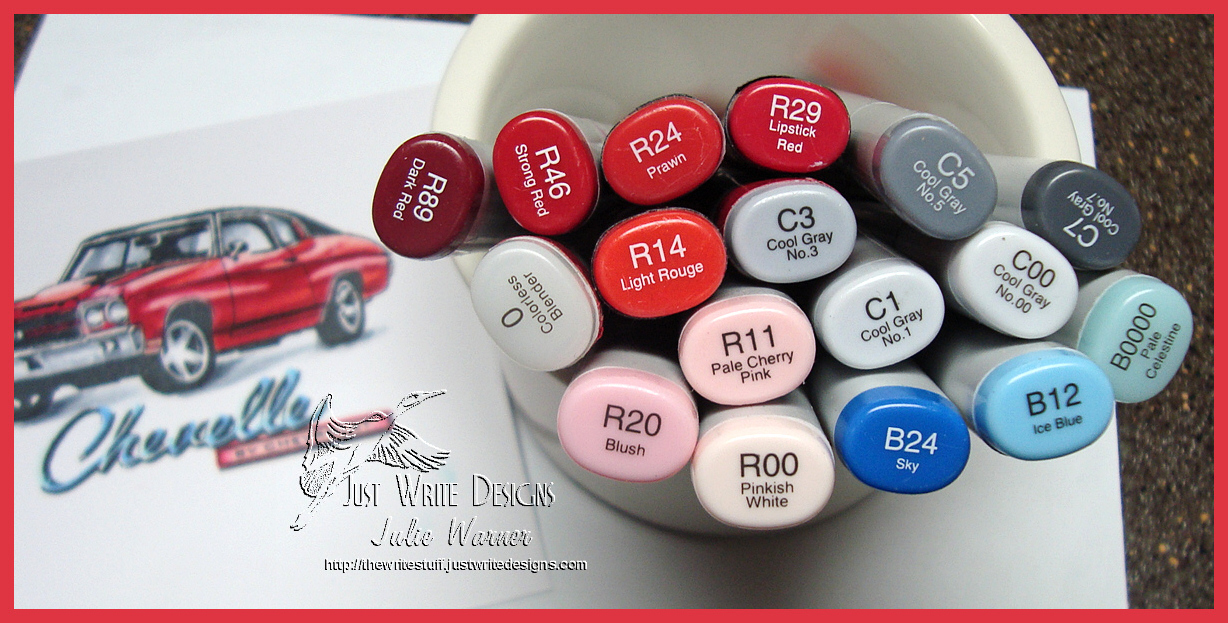
I recently received this image and couldn’t wait to color it. And I found out, cars are HARD to color! So many surfaces and angles for light to hit, it’s really an exercise in light direction and shiny surfaces! It took quite a while to color and a number of red Copics. I did a little of my out of the box when I die cut it, then added more die cut layers of dp, red & white. I used a nested pennant for the greeting. The finished card is 5.50 x 4.25 and these are the Copics I used.
Congrats again, Katlyn! Thanks so much for stopping by!
Supplies:
Stamps: Deep Red Stamps- Chevelle, Sparkle N Sprinkle – Classic greeting |
Paper: X-Press It white, red, black check dp (Recollections) |
Ink: Memento tuxedo black |
Accessories: Copic markers, Spellbinders matting basics A & B, & nesting pennant dies, Perfect Paper Crafting Layers Mini, |
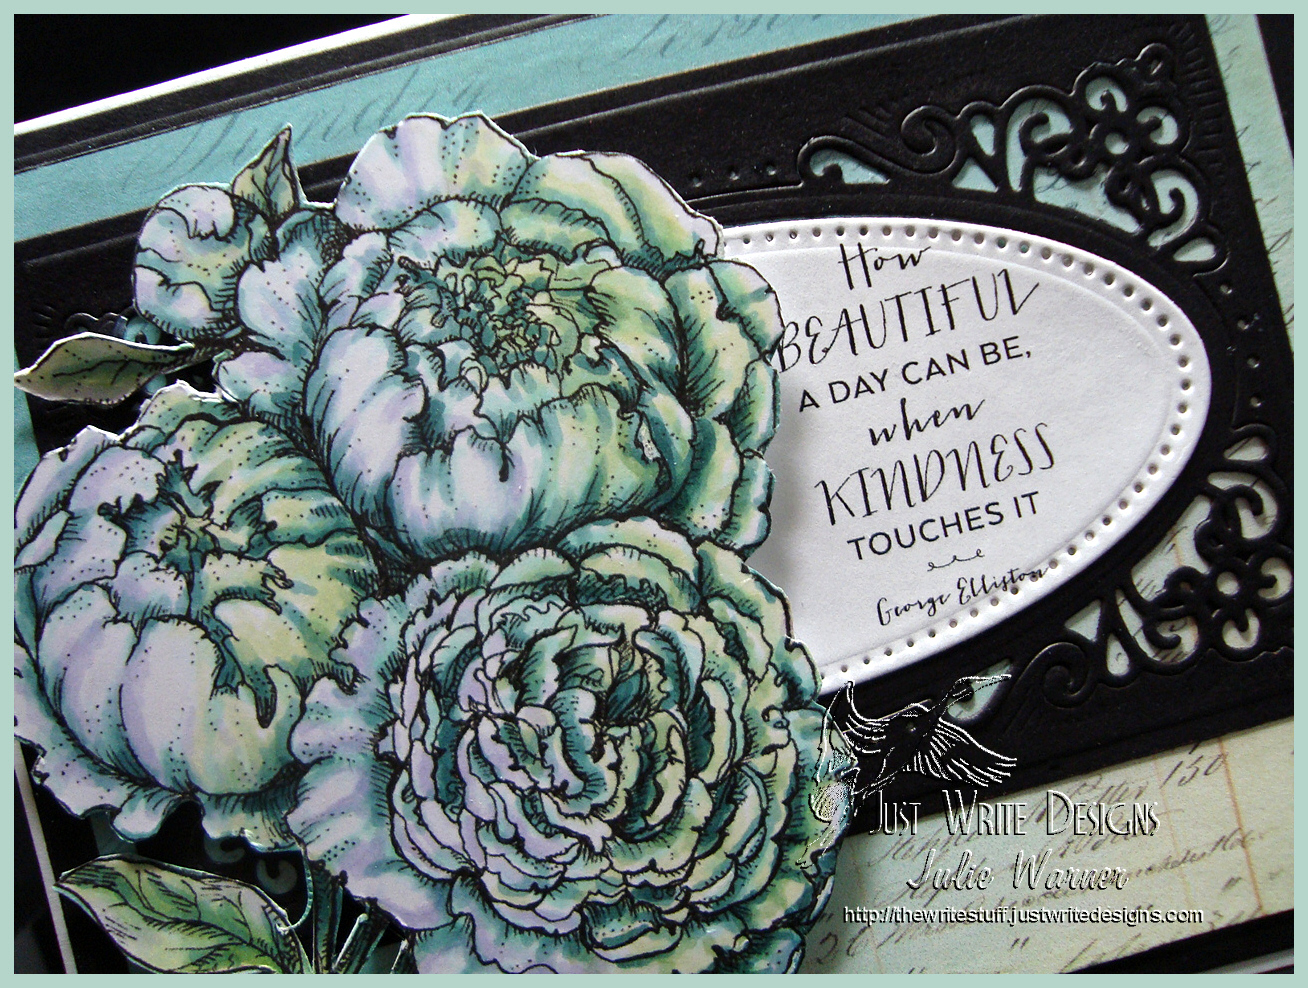
Don’t you love these beautiful peony images? I think they are just gorgeous and I couldn’t wait to color them. For my first card, I’m using the Unabashedly Upbeat Challenge (PPUPBEAT1) on the Power Poppy Blog. I thought it was an awesome album cover but for some reason I remembered it having some lime green, so I added it. Anyway, I like the lime green added to the mix and that’s my story and I’m sticking to it.
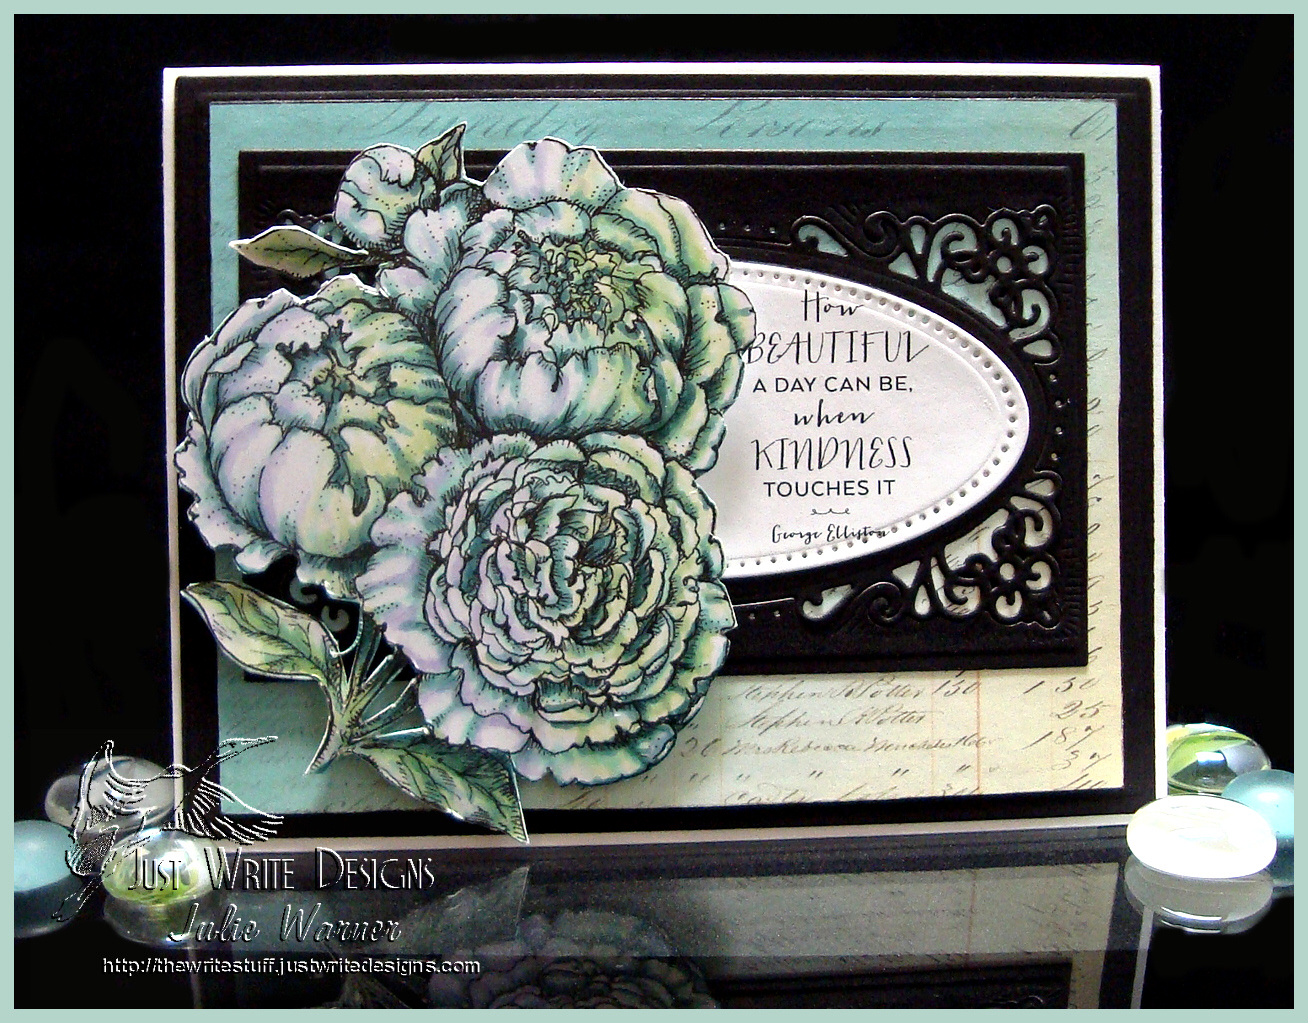
I played around with the images for quite a while since my images are digital and I’m not really used to using digital on a regular basis. Originally, I had the peonies and the greeting all on one page, layered on a copyright free script ledger image and a gradient background I made. You can see how it originally looked after I colored in the peonies on the image below. It looked ok, but a tad flat for me, so I printed out another background w/ just the ledger and gradient bg, fussy cut the original Copic colored peonies and put them together like you see above. I added a die cut black frame and die cut the greeting then attached my peonies on top using some dimensional silicone.
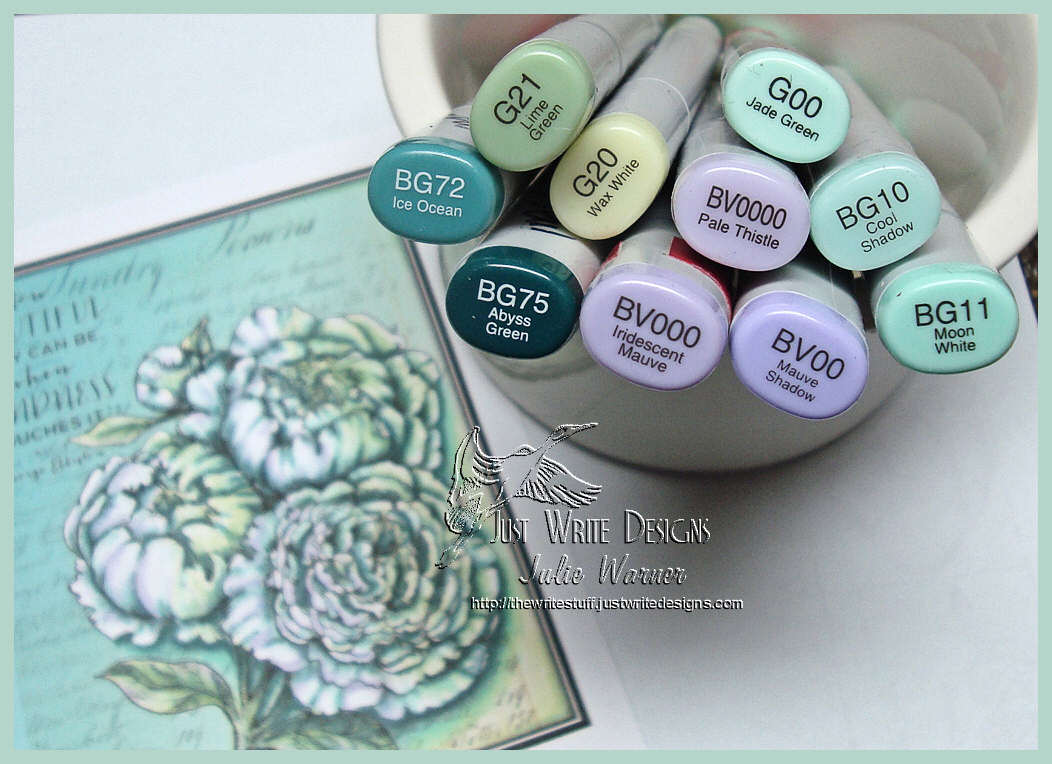
Supplies:
Stamps: Power Poppy – Peonies |
Paper: X-Press It white, black |
Ink: none |
Accessories: Copic markers, Spellbinders Resplendent rectangles, matting basics A & B dies, Gimp software (for making background) |
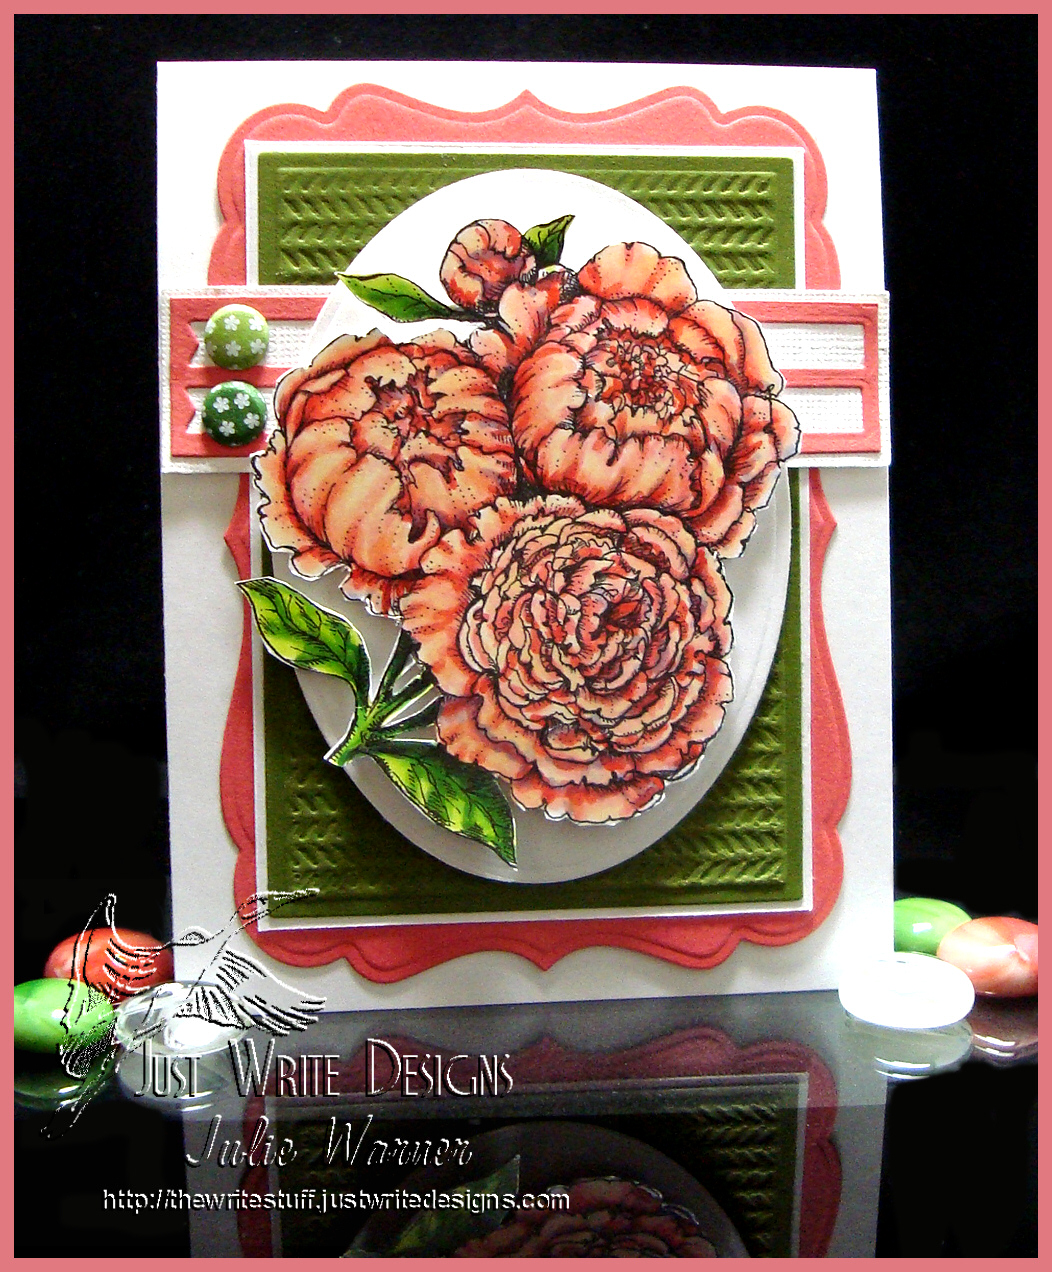
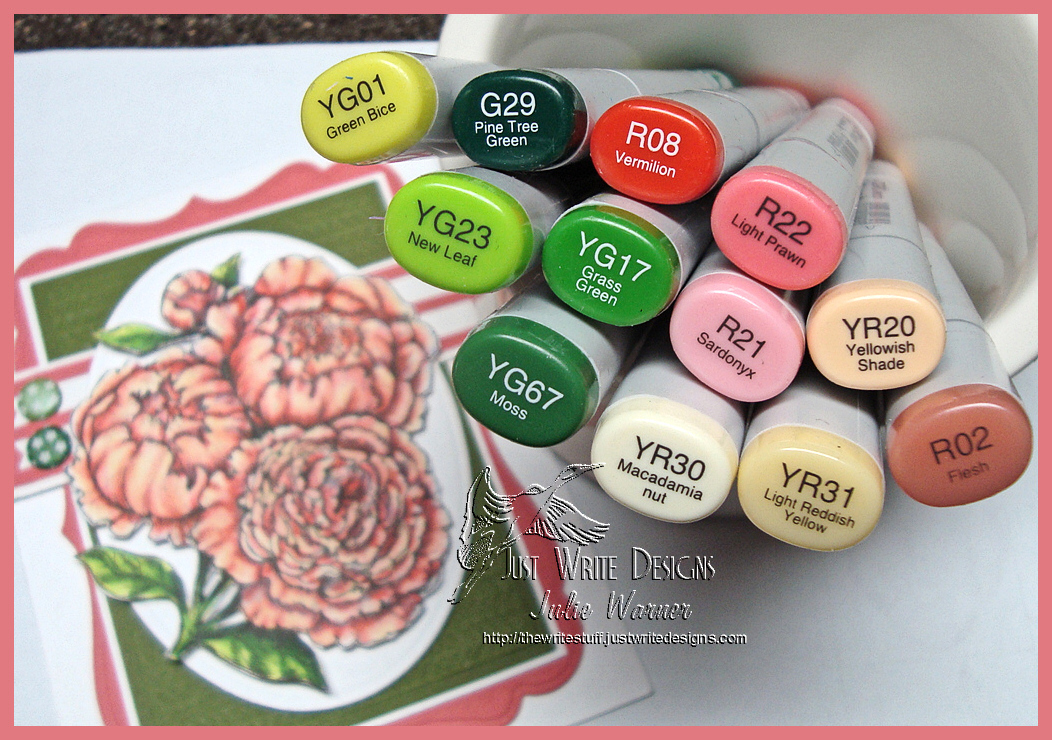
On my second card, I used the Sketch Challenge (PPSketch1) on Power Poppy blog. Again, since my images are digital, I printed out the peonies in a medium/large size and colored them with Copics. Usually I’ll just do an out of the box treatment on the image, but I wanted the peonies to be slightly elevated so I fussy cut them and attached them to a large white oval with foam tape. The green background was die cut w/ one of the matting basics dies then embossed for a little texture. I used the Perfect Paper Crafting mini rulers to cut the 1/16th white mat before adding it all to a die cut coral layer.
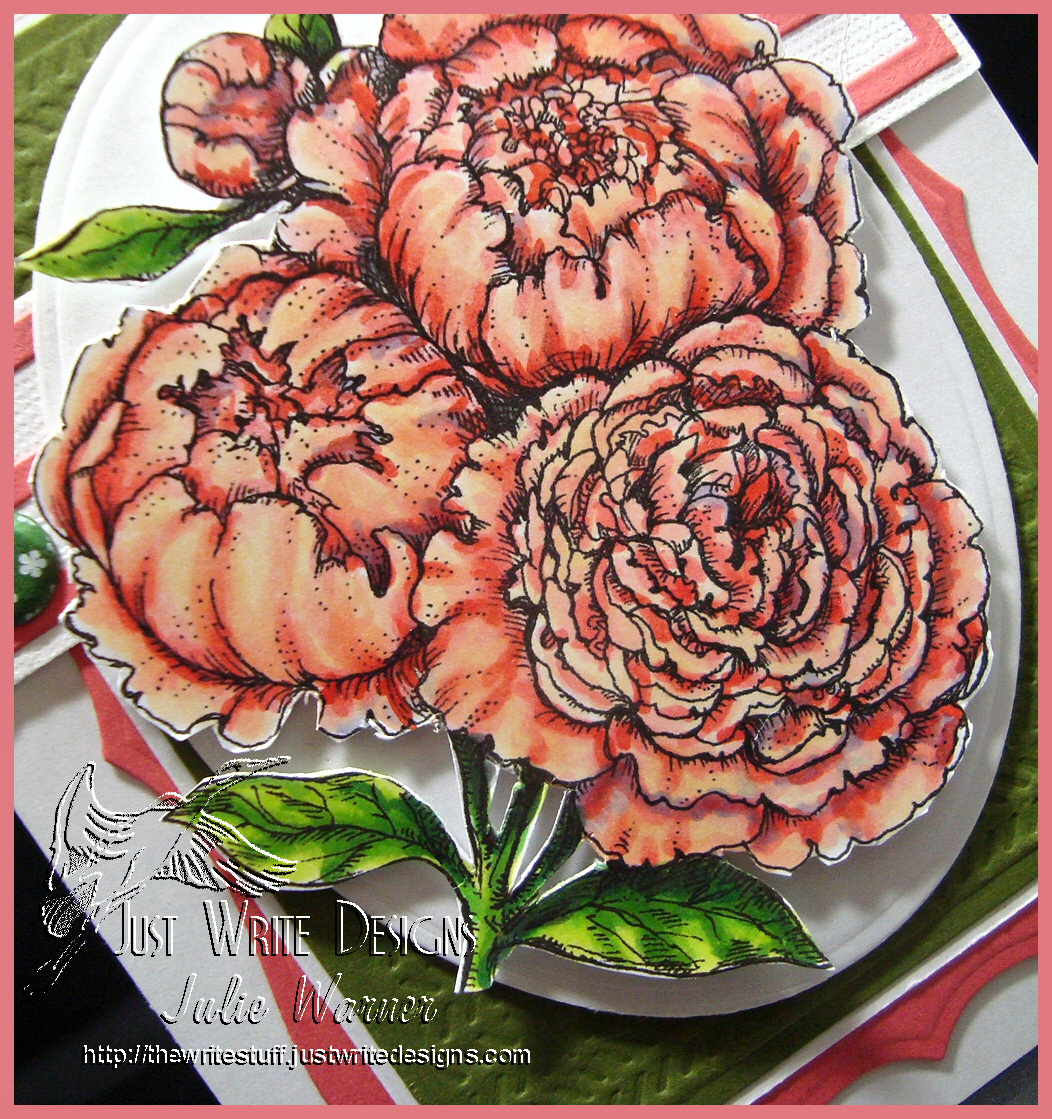
I had a little trouble with the two horizontal bands, and I actually ended up using the negative from a die cut flag and backing it with a textured white strip. Two Candi dots in slightly different green shades were added as a finishing touch.
Supplies:
Stamps: Power Poppy – Peonies |
Paper: X-Press It white, coral, moss green |
Ink: none |
Accessories: Copic markers, Spellbinders petite ovals, labels 16, matting basics A & B dies, Candi dots, MFT fishtail banner dies, Lifestyle/Quickutz embossing folder (Chevron set), Perfect Paper Crafting mini layers |
Thanks so much for stopping by!
Challenges: PPSketch1, PPUPBEAT1
- $20 gift code to one person who has commented on ALL the blogs
- To enter to win leave a comment through midnight Sunday 4/27.
- Winner will be posted on Mary’s blog Monday 4/28

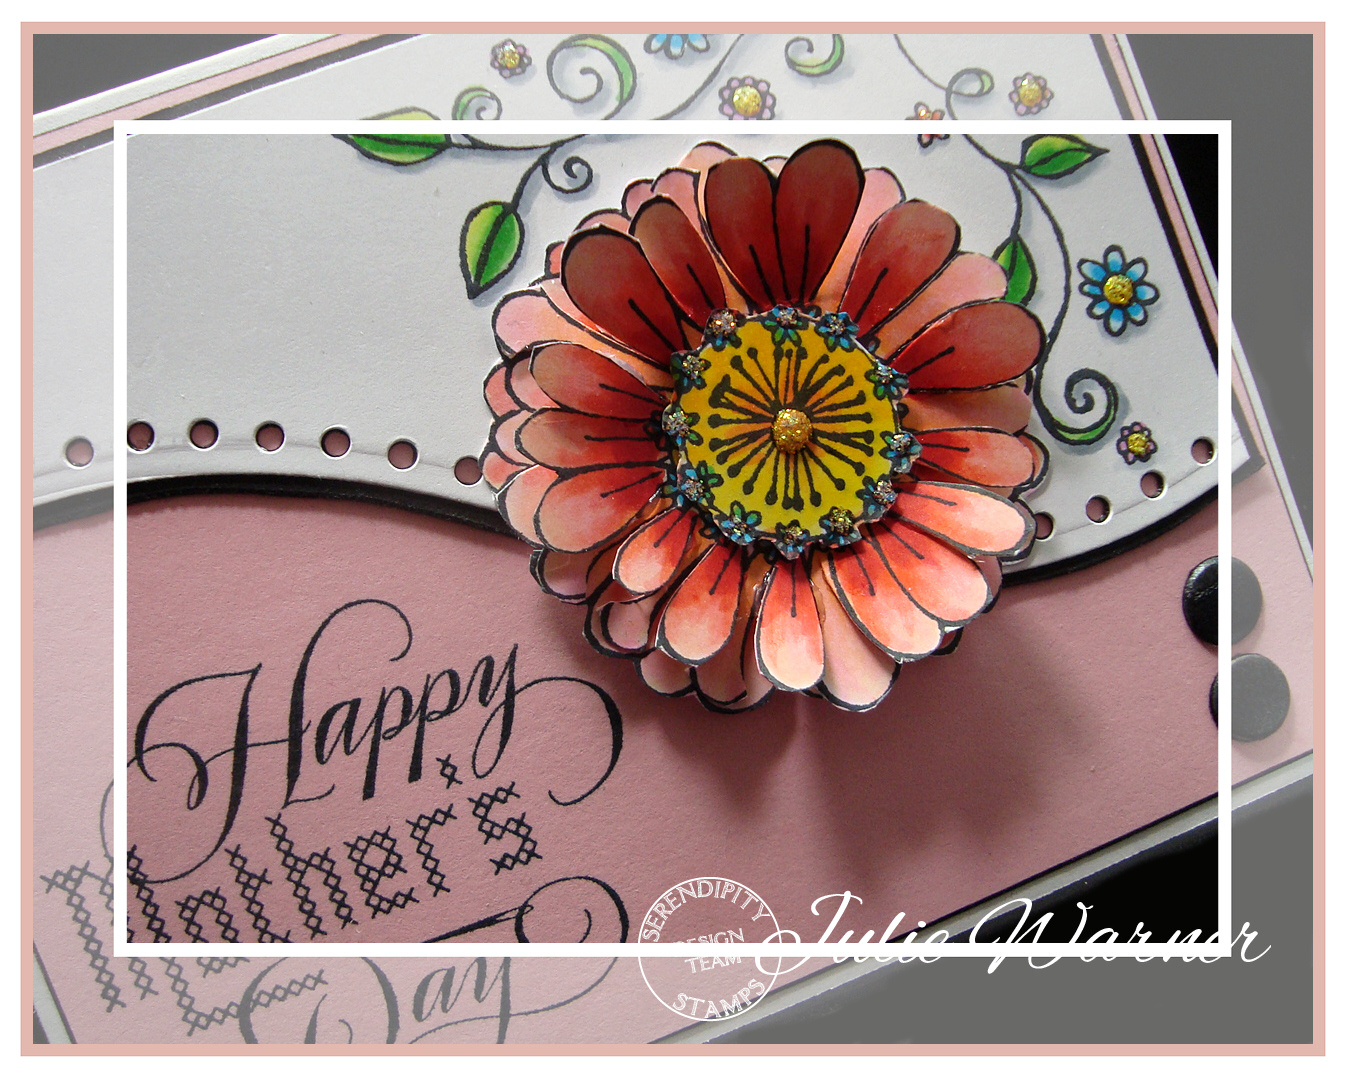
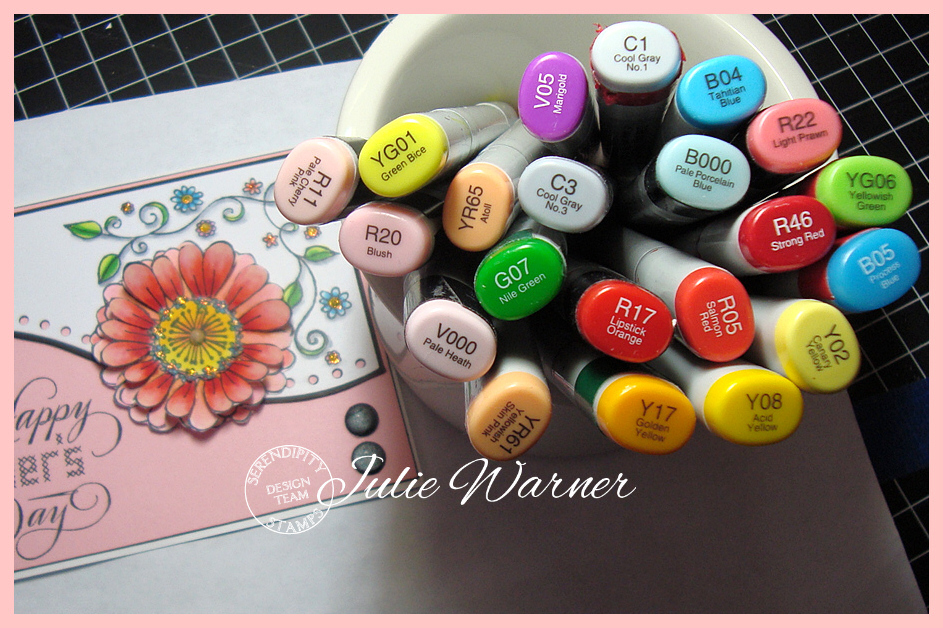
Stamps: Serendipity Stamps – 1304M Flower Pops, 1305E Flower Corner, 1303E Happy Mother’s Day. |
Paper: X-Press It white, pink, black |
Ink: Memento tuxedo black |
Accessories: Copic markers, Spellbinders curved border dies, stickles, Japanese screw punch, Candi dots, black Permapaque marker, dimensional silicone adhesive |
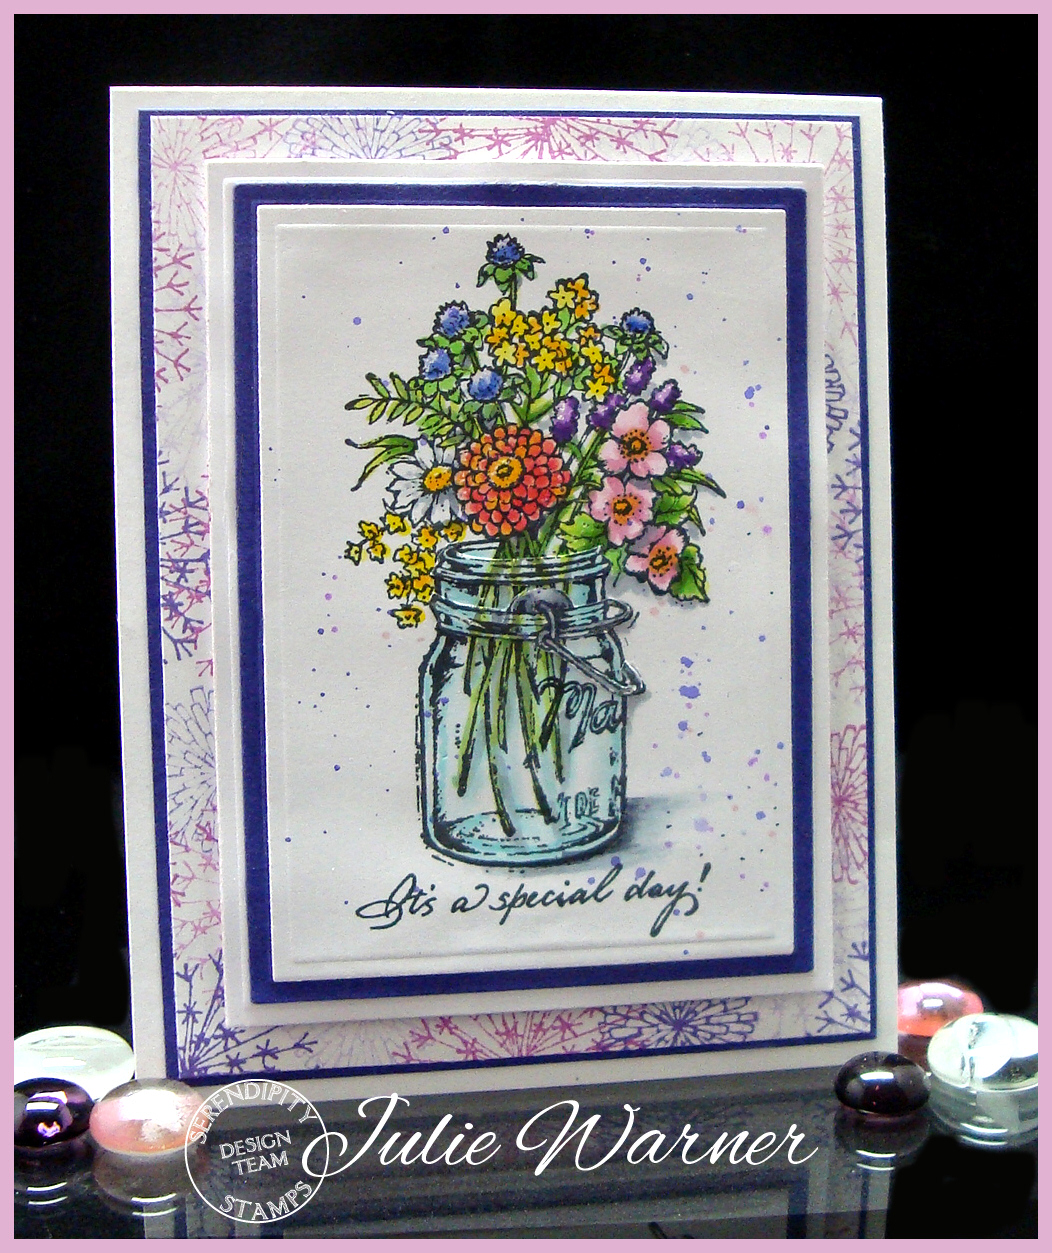
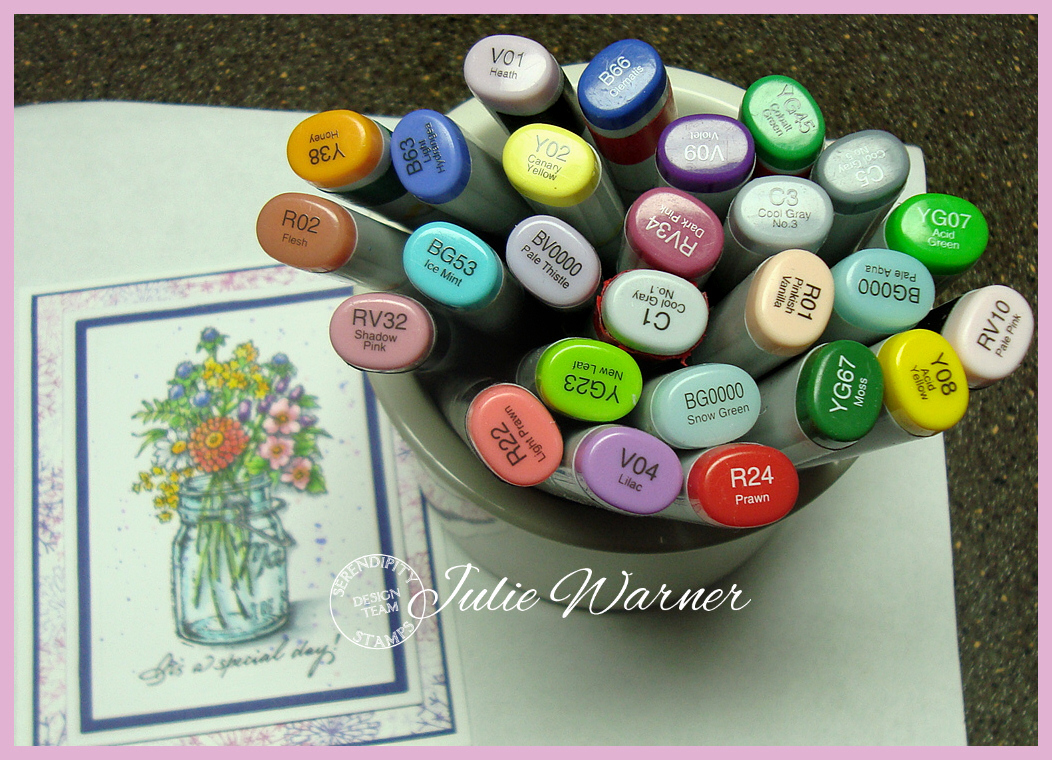
My second card features the new 1307 Mason Jar, 1306F Wildflowers and the Dandelion & Puff flowers from the 1304M Flower Pops set.

This was just a tad tricky to put the flowers in the jar and have it look “correct”. I first stamped the flowers and masked the stems before stamping the mason jar on top. I stamped just the top of the mason jar on a separate piece and after coloring everything, I cut out the 2 horizontal bands of the jar and attached them on top of the corresponding area on my base image. I added a little splatter and the greeting (469J). On the background, I stamped the 2 flowers using the grape & posy inks and I used generational stamping with these…meaning I stamped them more than once before reinking. Here are the Copics I used for this card.

Stamps: Serendipity Stamps – 1307 Mason Jar, 1306F Wildflowers, Dandelion & Puff flowers from 1304M Flower Pops set, Everyday Small Words 469J |
Paper: X-Press It white, dk violet |
Ink: Memento tuxedo black, grape jelly, lilac posy |
Accessories: Copic markers, Spellbinders matting basics A & B dies, Perfect Paper Crafting mini rulers |
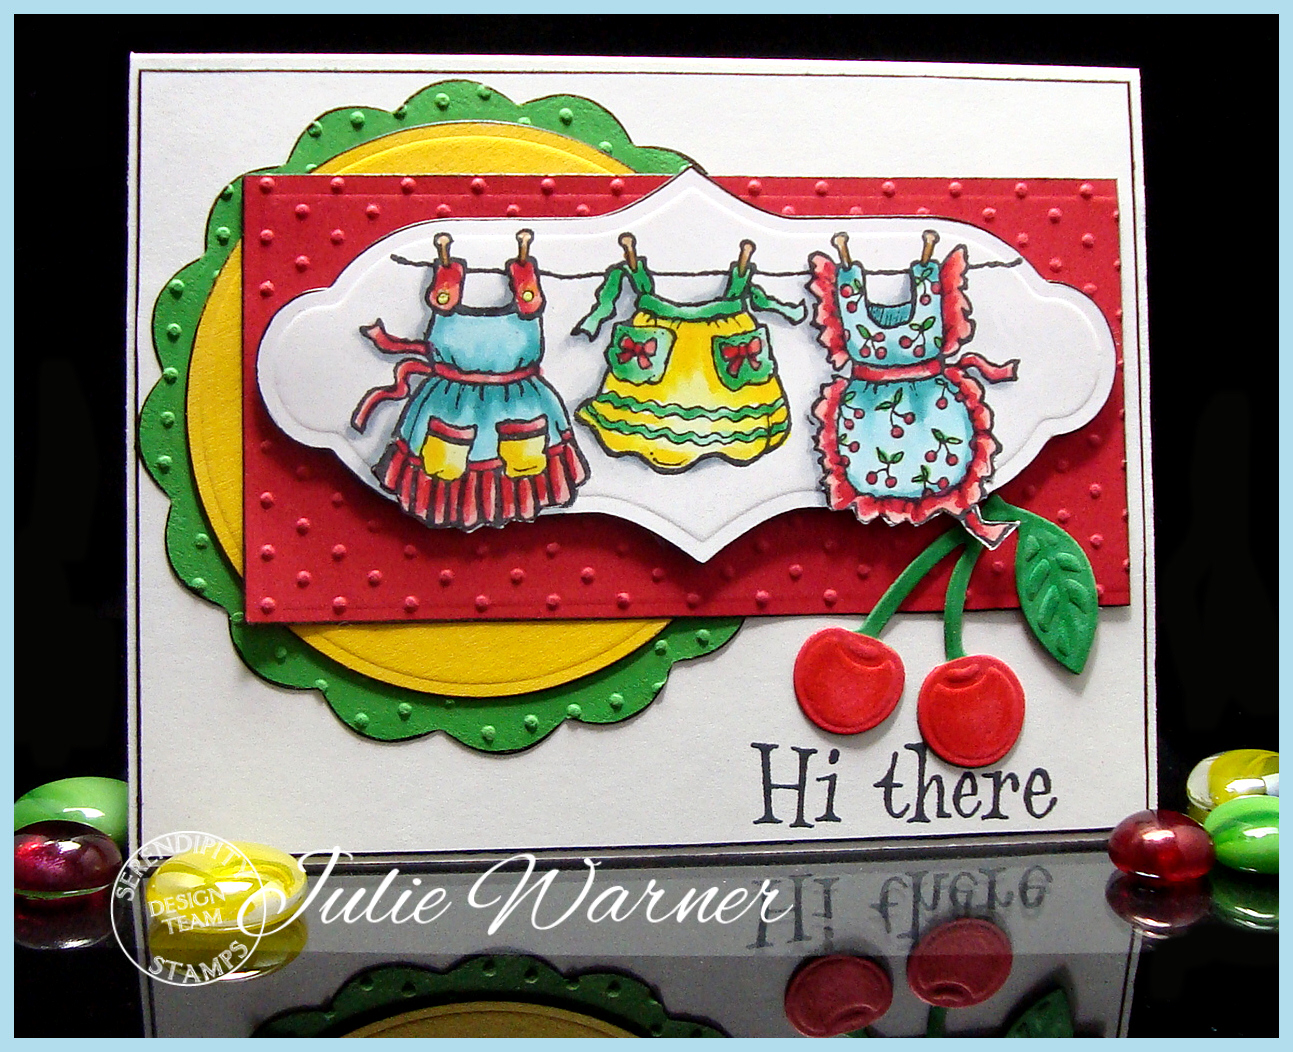
My third card is one I posted earlier and you will also find it HERE.


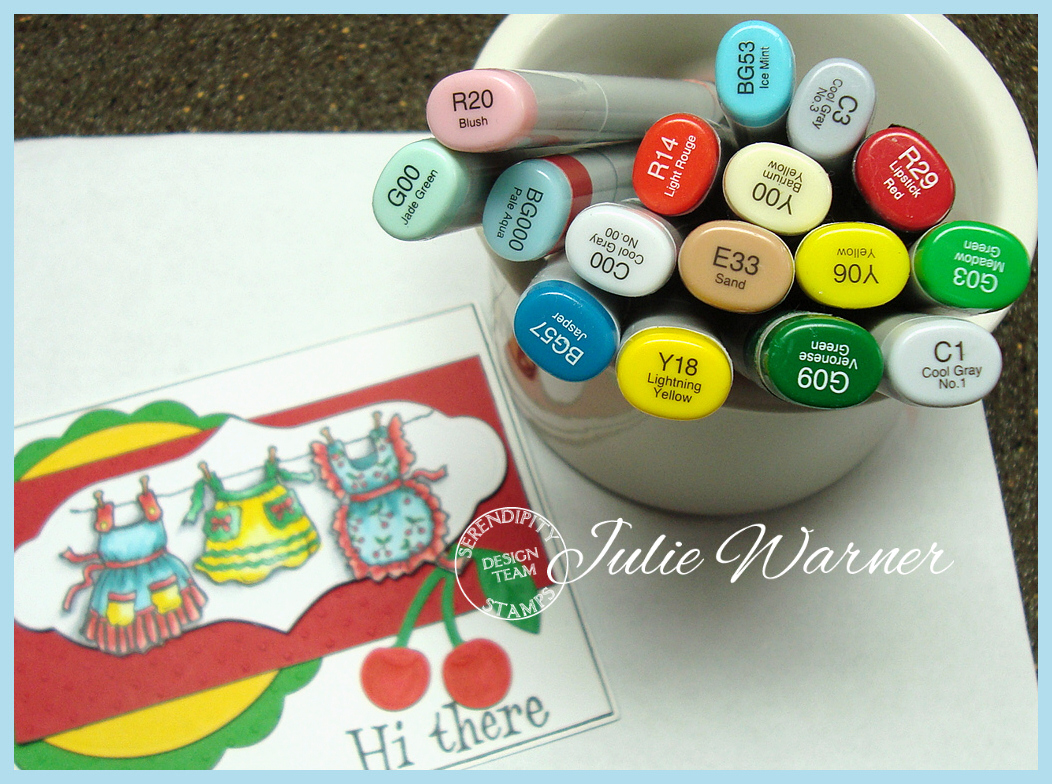
After stamping and coloring the aprons image, I used my out of the box technique to die cut it. I used more dies for the red, yellow & green layers and also an embossing folder on the red & green layers. I edged the panels with a black marker and stamped the greeting & added a die cut pair of cherries. These are the Copics I used for this.
Stamps: Serendipity Stamps – Hi There, Aprons 1308F |
Paper: white, red, yellow, green |
Ink: Memento tuxedo black |
Accessories: Copic markers, Spellbinders long rectangle, circles, labels 33 & fresh fruit dies, Quickutz stacking flower dies, Cuttlebug embossing folder (Swiss dots), black Permapaque marker |
Thanks so much for stopping by! Now I’ll send you onto your next stop…
Karen’s Blog. Here is the entire list if you lose your place.
Julie Warner (you are here!)