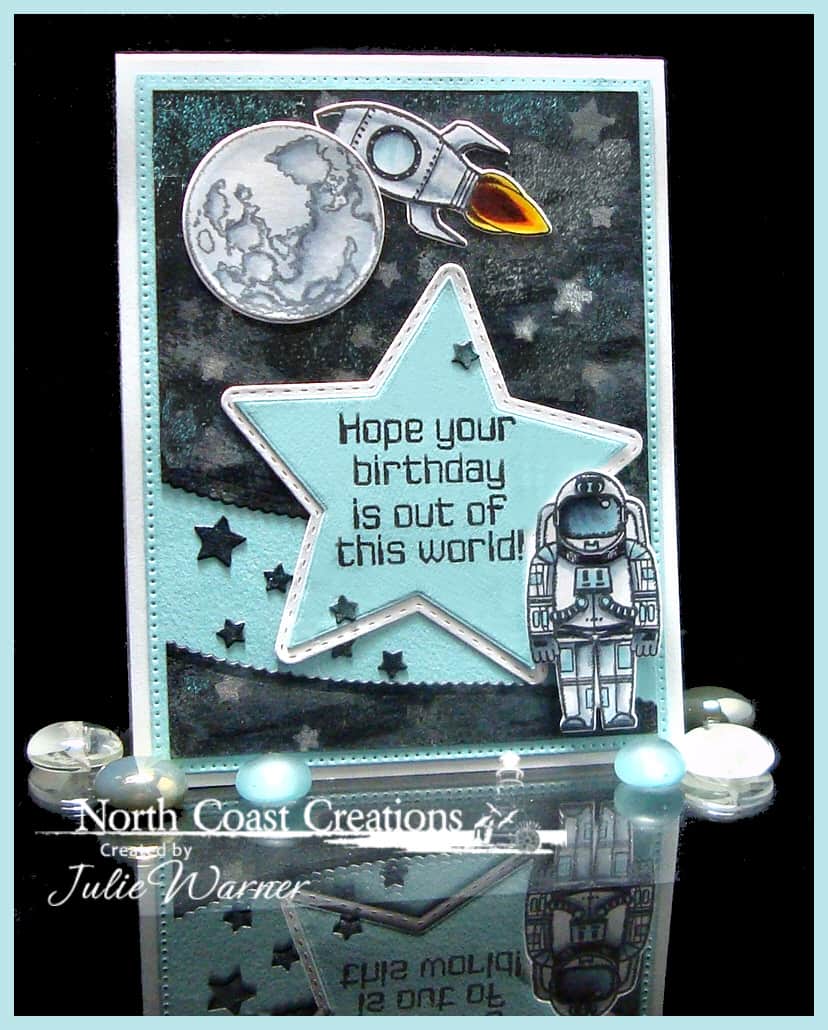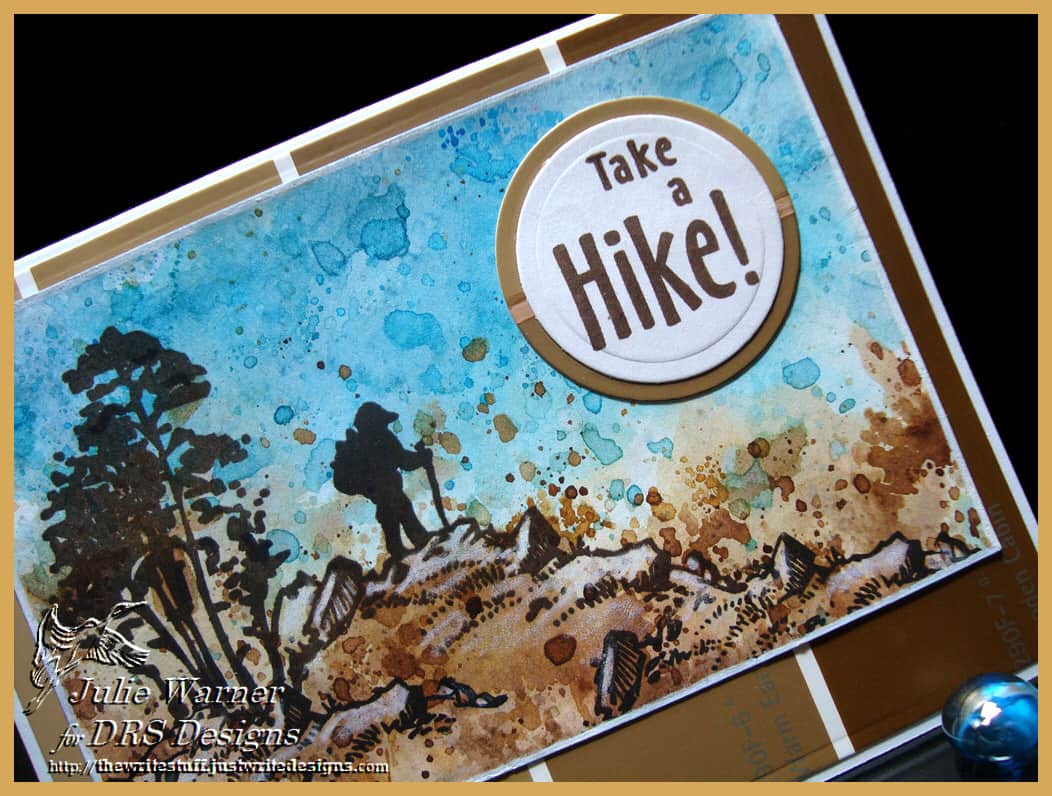


For today’s Inspiration Challenge (IC603), I chose This scrapbook page. I don’t really do scapbooking so mine is a card 😀 but I liked the silhouette images against the sky. 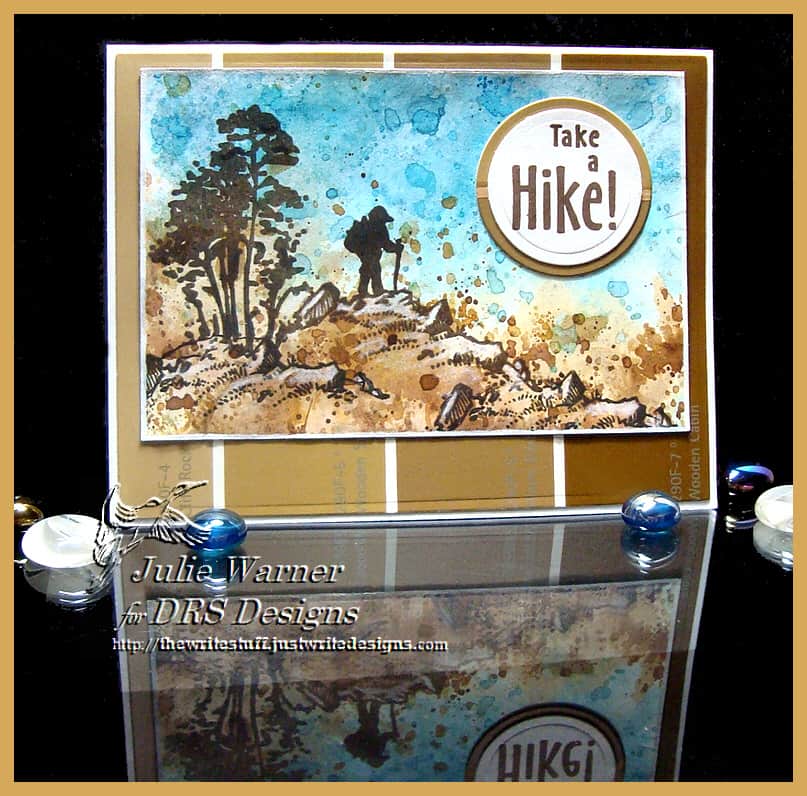
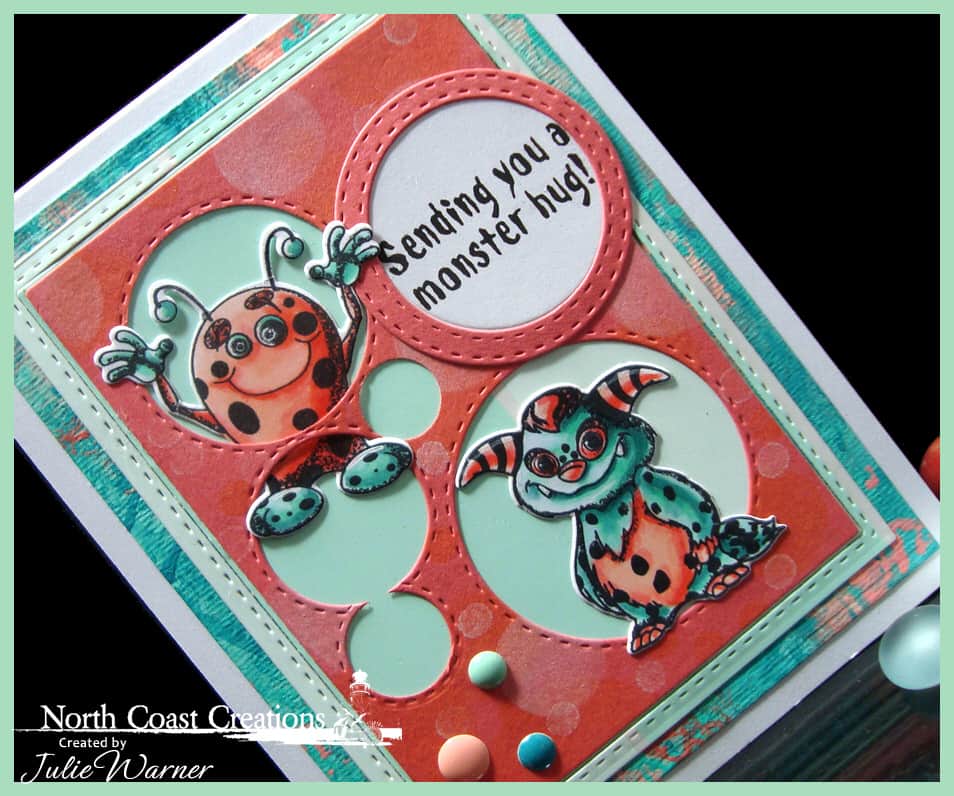
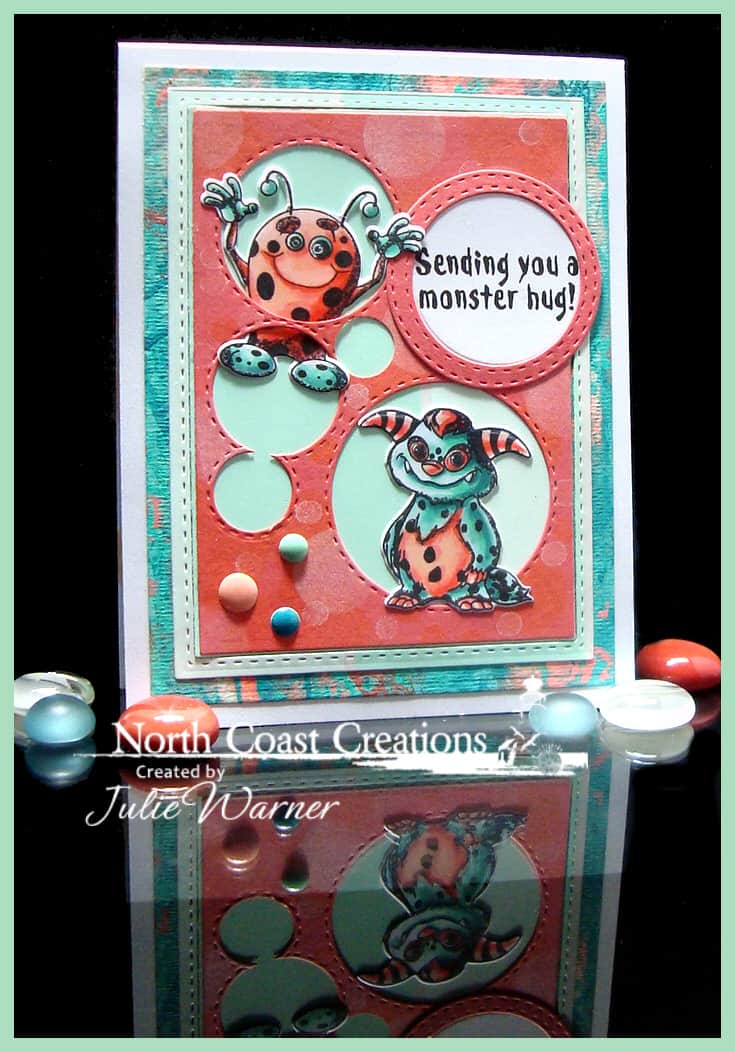
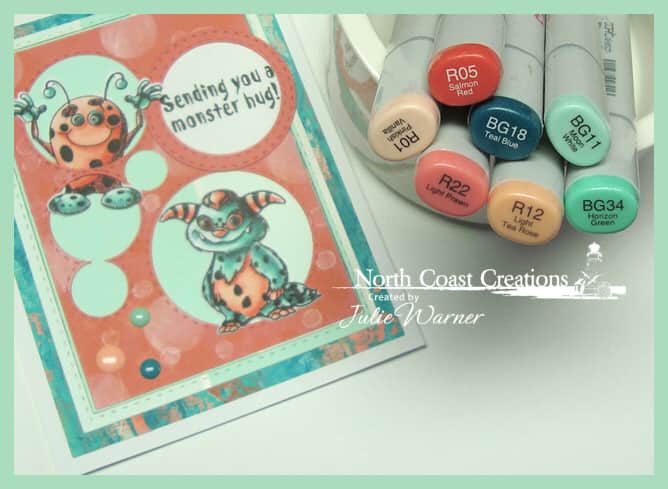
For the background, I used the Wrinkle Free Distress technique by smooshing the brown Distress inks onto my craft sheet, misting pretty heavily, then pressing mostly the bottom half of my water color paper on top. (Repeat this until you get the coverage you want.) After wiping the sheet off, I repeated this for the top half of my paper using the blue inks. Since watching paper dry is not one of my strong suits, I dried it w/ my heat gun then put into my Misti and stamped the hiker & trees w/ the sepia Versfine. I had to stamp them each about 2 or 3 times to get a good impression on this watercolor paper. I used a white marker to edge the panel & the white Prismacolor pencil to highlights to some of the rocks. I had a large brown paint chip & I liked the names of the colors so I let them show at the bottom. The greeting was added on a circle & backed w/ a larger circle from the paint chip.
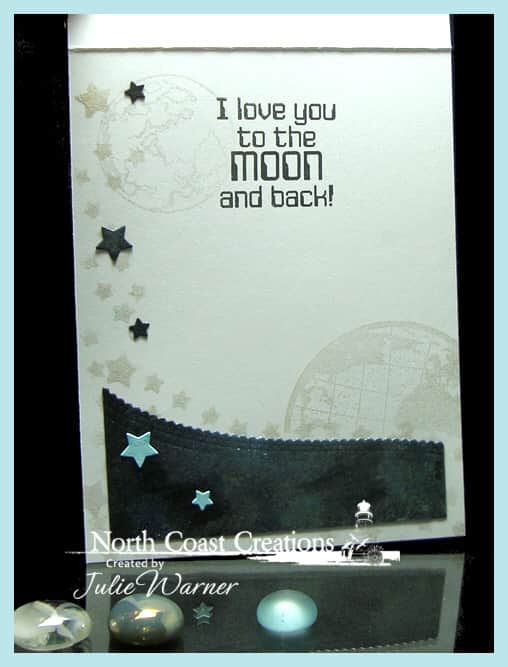
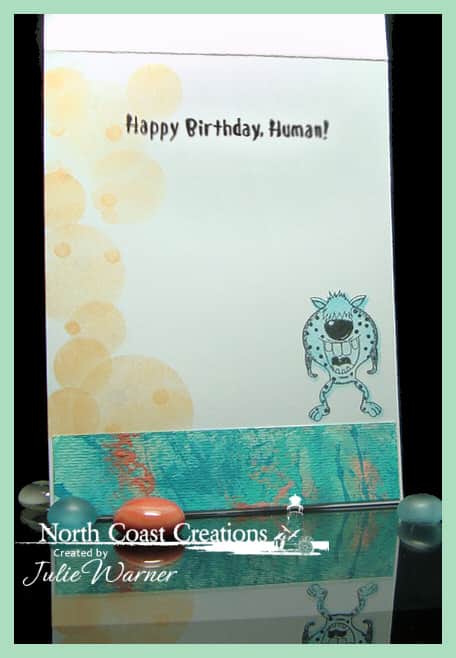
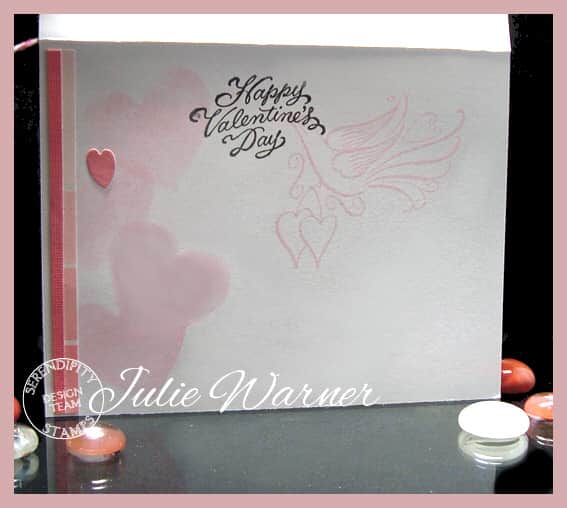
Here’s a look at the inside.

Thanks so much for stopping by! Have a great weekend!

Supplies:
| Stamps: DRS Designs –Silhouette Hiker , Silhouette Bg Trees , Take a Hike (inside- Happiness Retirement ) |
| Paper: Staples 110# white, watercolor, brown paint chip |
| Ink: Versafine vintage sepia, Distress inks gathered twigs, frayed burlap, stormy sky, salty ocean (Memento rich cocoa used on inside) |
| Accessories: Misti, Spellbinders A2 matting basics A & B, lg & sm circles dies, white Permapaque marker, white Prismacolor pencil, craft sheet, mini mister |

|

|

|

|

|
|

|

|

|

|
|

|

|

|

|

|

|

|