
Welcome to the North Coast Creations January Release! We have some fun, Fun, FUN new images & dies for you this month & you’ll want them all! Space & aliens are so hot right now & these are just too cute for words, so sit & take a look.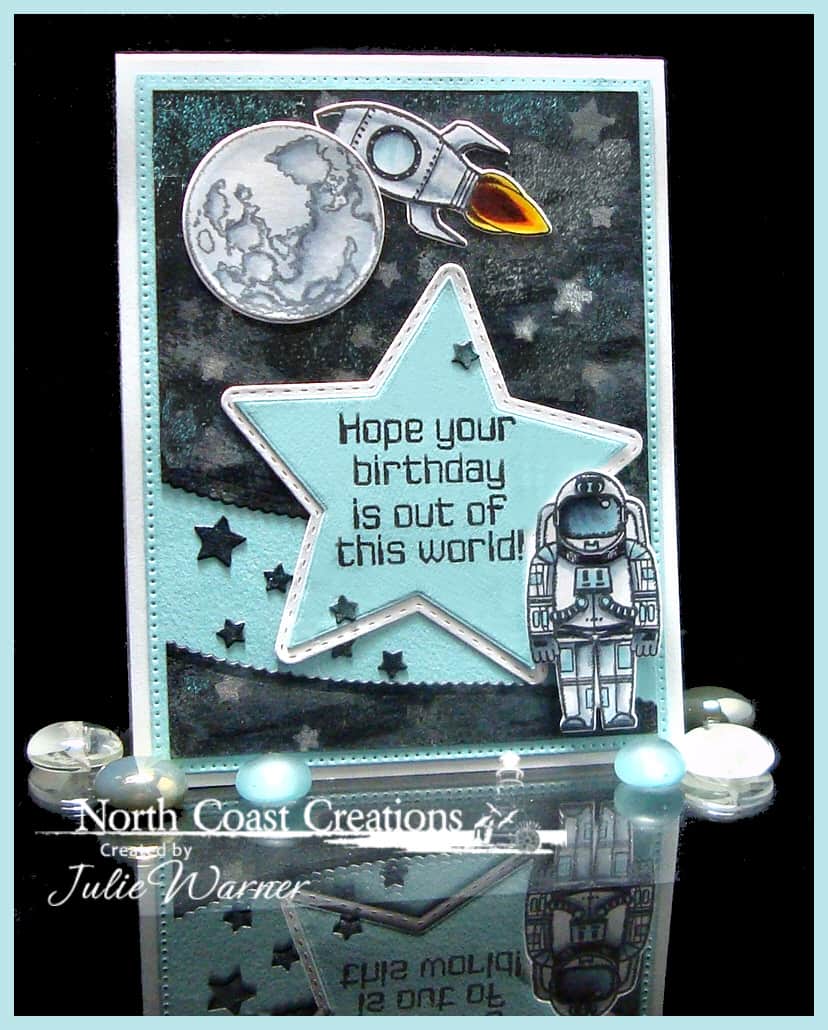
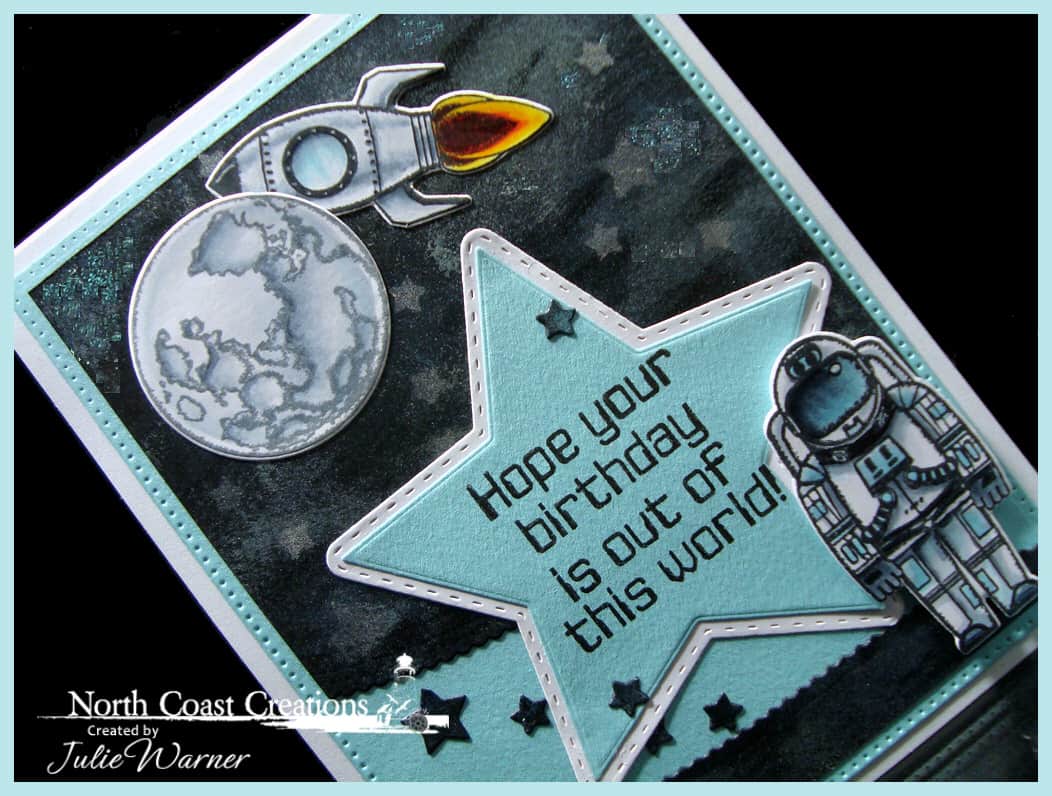
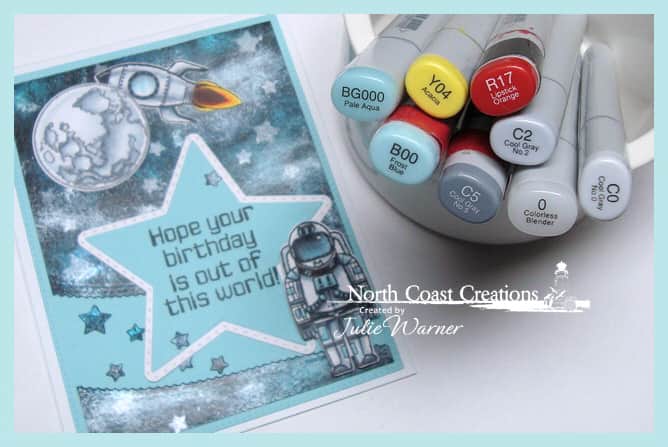
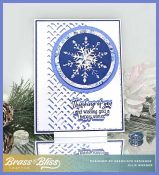
On my space card, I wanted a shimmery, deep space look to highlight the white of the moon, spaceship & astronaut. I used to live in Houston, TX which happens to be Space City & if you’re ever there, be sure to check out the NASA Space Center…it’s amazing! Anyway, for my background, I started w/ black & since I wanted it shimmery, I dug out some long neglected Opalite inks & a stippling brush & added the Milky Way looking areas. I used the Sparkling Stars dies to cut a reverse mask then sponged the stars onto the area w/ the platinum ink.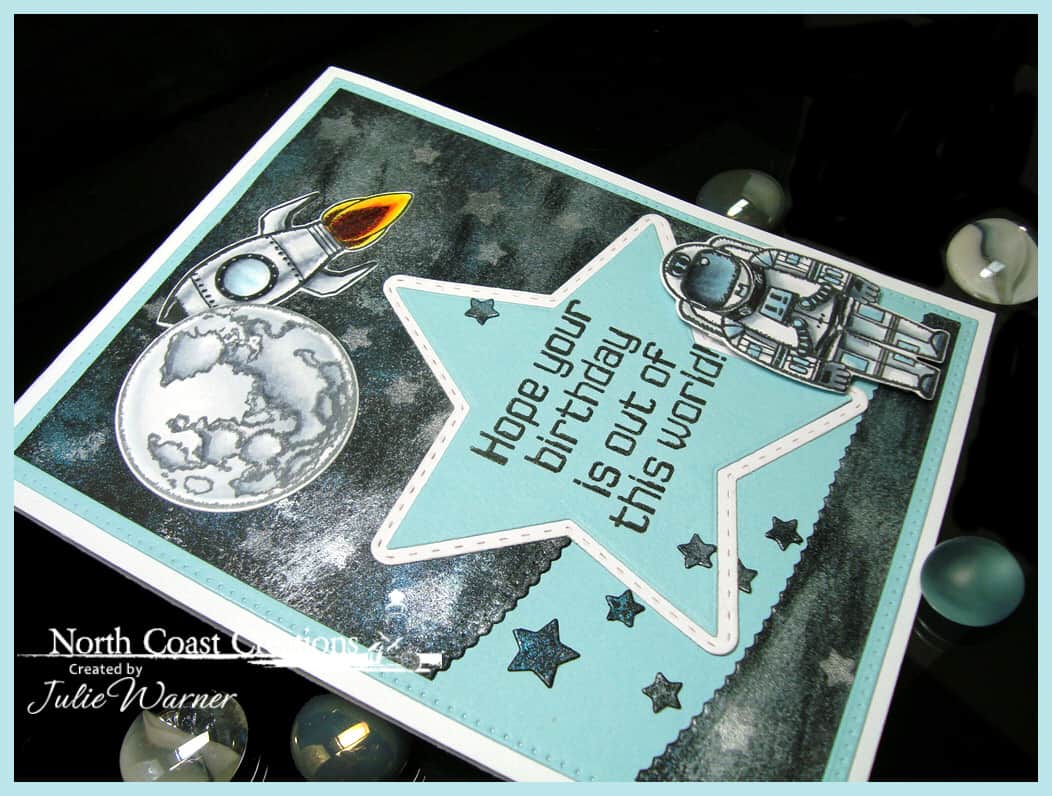
Then I die cut the black panel w/ the Leafy Edged Borders & added the die cut moon, ship & astronaut images w/ the matching dies. The greeting was stamped onto a large Star & I also added some shimmery black stars in the blue band. The blue c/s has a kind of light, felty texture look to it.
Here’s a look at the inside & below it are the Copics I used.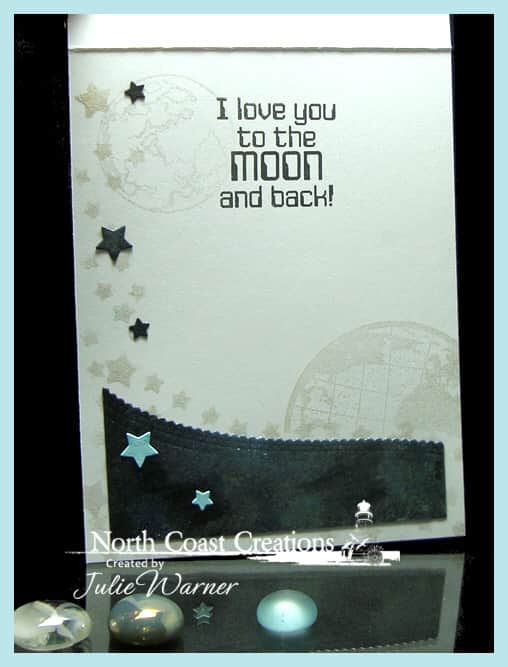
Supplies:
| Stamps: North Coast Creations – Rocket Man |
| Paper: X-Press It white, Staples 110# white, black, lt felted blue (Paper Cut) |
| Ink: Memento tuxedo black, Brilliance platinum planet, Opalite inks Nordic Ice & Glacier blue |
| Accessories: NCC Space Man dies, ODBD Pierced Rectangles, Leafy Edged Borders, Double Stitched Stars, Sparkling Stars dies, Copic markers, Misti, Spellbinders A2 matting basics A, stippling tool |
x6!
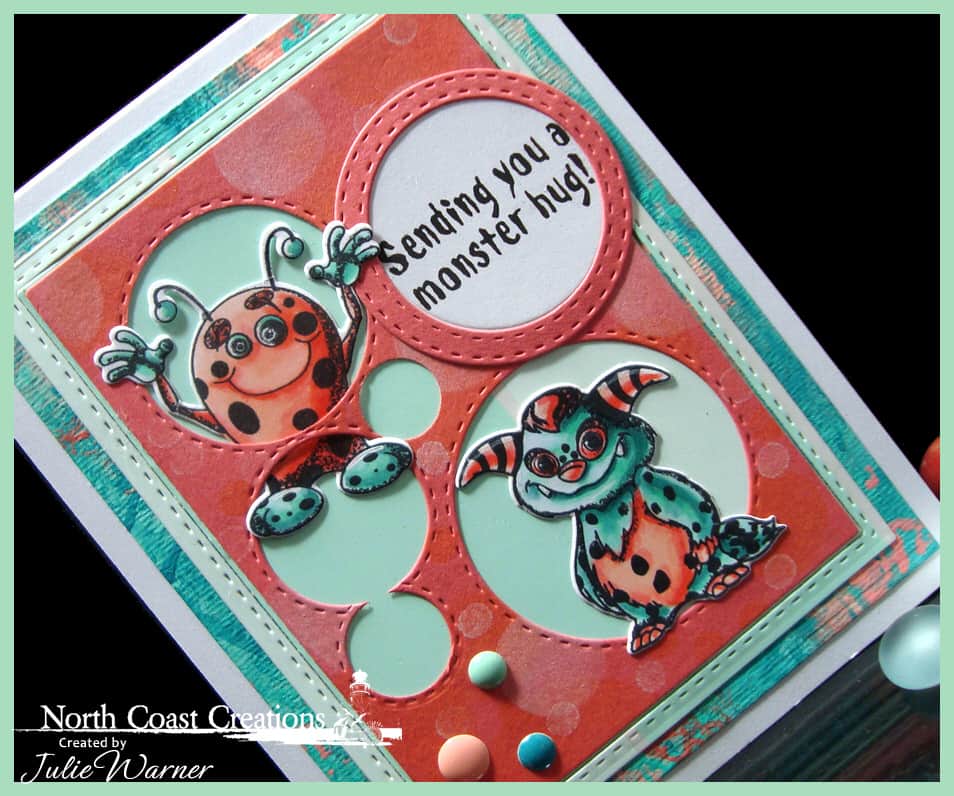
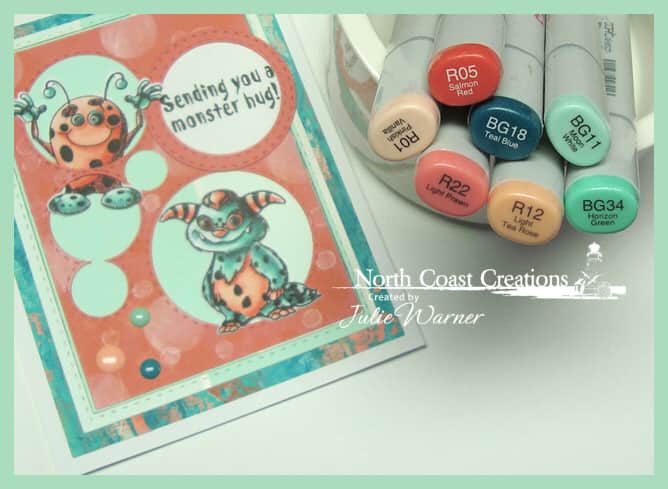
On my second card, I stamped these adorable Little Monsters, colored & die cut w/ the matching dies. I came across this acrylic painted background in my stash (done who knows how long ago) & the colors went perfectly w/ the images. For the coral layer, I used the Circles & Double Stitched Circles to die cut it, then used a mask I made w/ these same dies to sponge some white & marigold inks onto it. When I placed it over the bg & put the monsters inside, there was a little too much going on so I found a shades of mint paint chip, die cut it w/ the Double Stitched Rectangles & placed it behind the coral layer. Much better! The greeting was added on a white circle w/ one of the leftover coral stitched circles around it.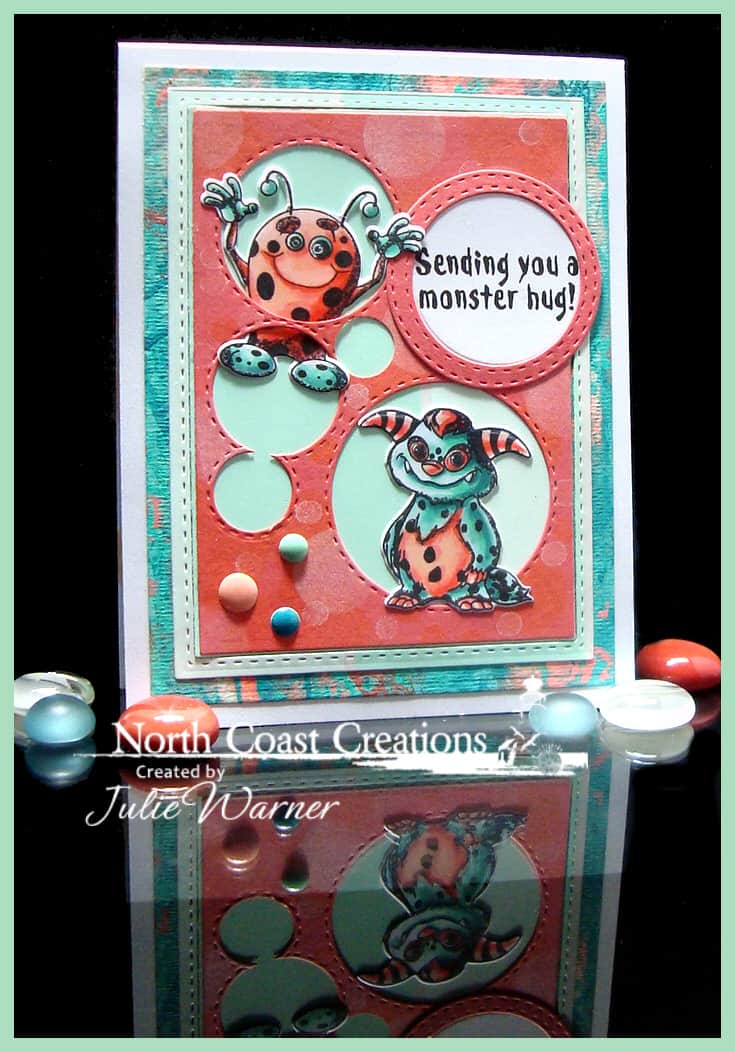
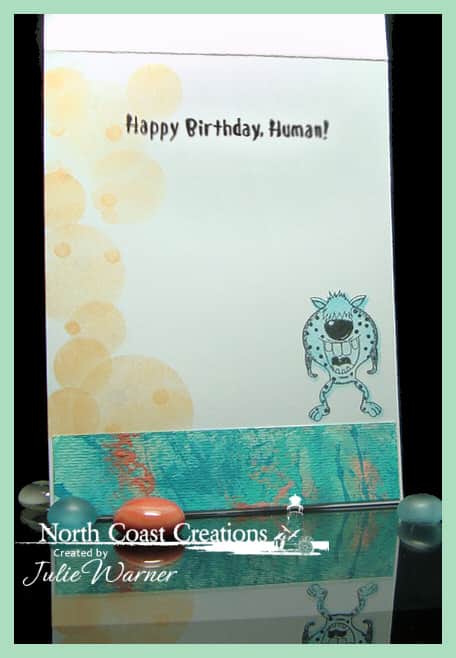
Below, is a look at the inside & under it are the Copics I used. For the monster, I used the reverse mask of the monster as a stencil, added the color then stamped the image on top. More sponged circles were added down the left side.
Supplies:
| Stamps: North Coast Creations – Little Monsters |
| Paper: X-Press It white, Staples 110# white, varied mint paint chip, coral, watercolor paper |
| Ink: Memento tuxedo black, Colorbox frost white pigment, Distress ink dried marigold |
| Accessories: NCC Monster dies, ODBD Double Stitched Rectangles, Rectangles, Circles, Double Stitched Circles dies, Copic markers, Misti, Spellbinders A2 matting basics A, acrylic paint, enamel dots |
Be sure to visit all of the DT blogs…I can’t wait to see how they used these cuties!
Dawn * Sandee * Robin * Julie * Lori
Thanks so much for stopping by!


|

|

|

|

|

|

|

|

|

|

|

|

|

|

|

|

|

|

|

|

|

|
|

|

Your cards are always spectacular. I love your outer space card with all the bg detail and the design for your monster card is so cute!!Love your coloring as well!!
Too cute, Julie!! Creative designs… love these! Great inside too! Just adorable!!
Hi Julie! I am loving both cards! So much wonderful color! And I love how you did your background!
Amazing new stuffs and cards! How delightful!!!
Awesome cards, Julie!! Love the sky on the spaceman card!!