• Tag Archives Divine Diva
  • DDIC40 & ISC Nov Day 2


    Julie Warner - justwritedesigns - https://thewritestuff.justwritedesigns.com

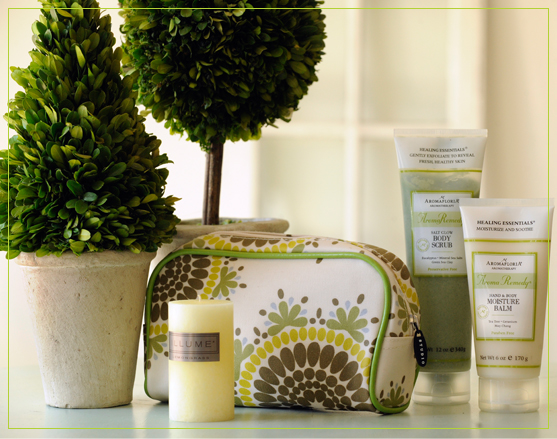
    Welcome to the Divine Diva Inspiration Challenge! Today our picture comes from The Perfect Remedy. Since this is also a release day for ISC, I have two projects to show. I’m using all ISC images for both, so combining the posts works out really well.


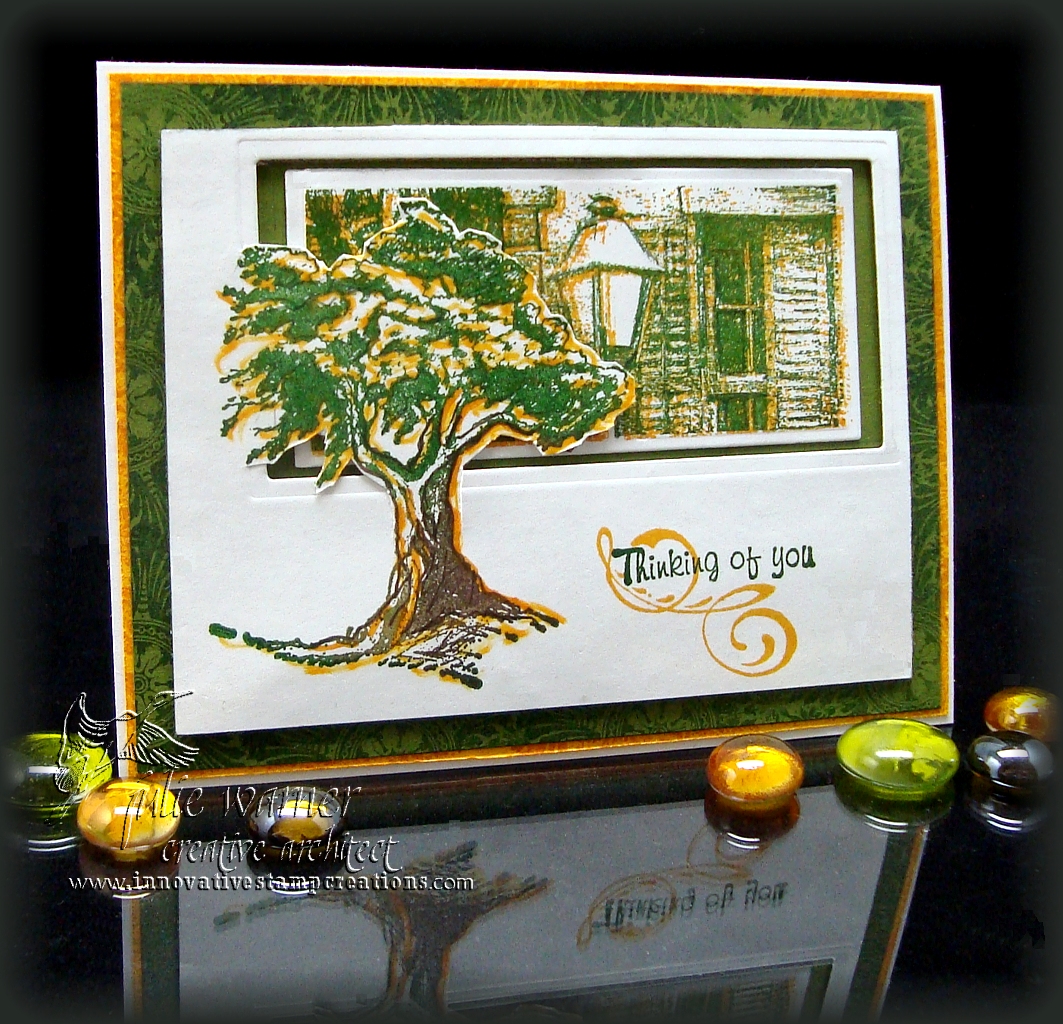
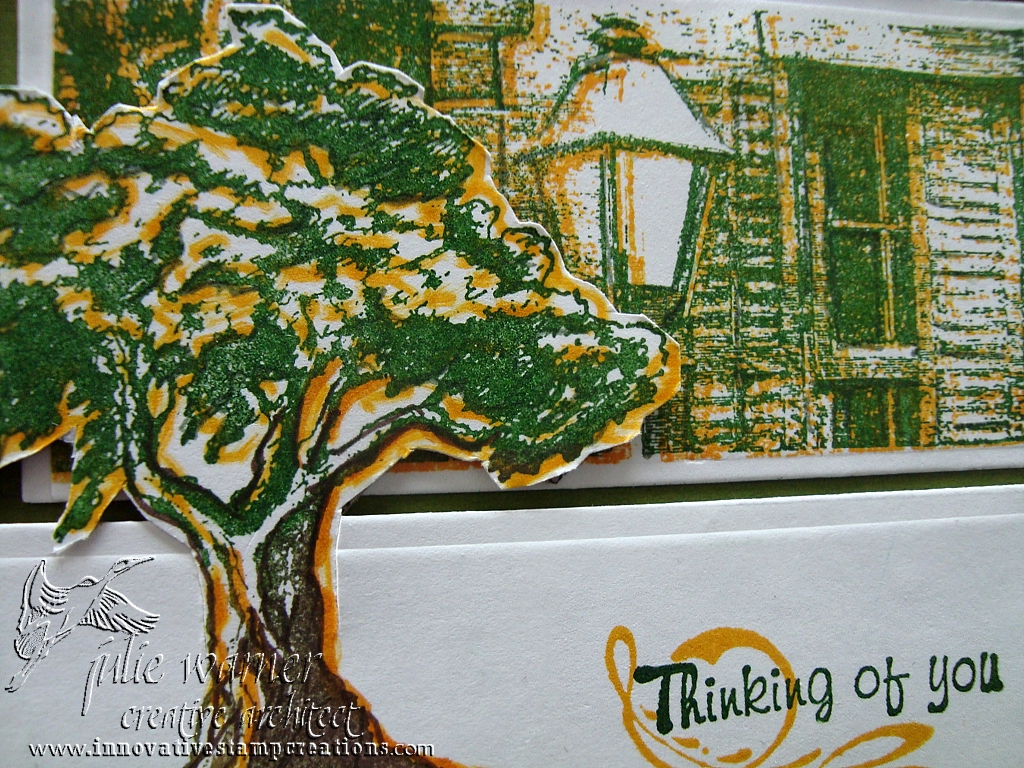
    For my first one, I’m using Marvels of Nature III for the tree and greeting images, and Christmas Trinkets for the building and background image. Out of the box is one of my fave techniques and I’m really enjoying the reverse (sort of into the box) of it. The principal is the same it’s just what you cut that is different. For this, I first stamped the tree with the green and brown inks and added highlights with a marker. I traced the Spellbinders long rectangle around the tree and cut around the part of the tree that was inside the rectangle. Then I  cut the rectangle the same way I do in the out of the box method. The building image was stamped first with green ink, then overstamped with the honey ink.  I used a smaller rectangle to die cut it. The green background was stamped with a medallion image from the Christmas set.  Finished card measures 5.5 x 4.25.
    Julie Warner - justwritedesigns - https://thewritestuff.justwritedesigns.com
    Supplies:
    stamps: ISC – Marvels of Nature III & Christmas Trinkets
    paper: white, moss, mustard
    ink: Ancient Page pine green & chocolate, Distress Ink wild honey
    accessories: Tombow gold ocher marker, Spellbinders long rectangle set, Quickutz rectangle set

    Please be sure to stop by and visit the rest of the Diva team. I know they’ll have some wonderful creations for you!

    • Lori (chanteuse)
    • Chris (glowbug) (taking this week off)
    • Anne (jdmommy)
    • Donna (donnarie)
    • Julie (justwritedesigns) you are here!


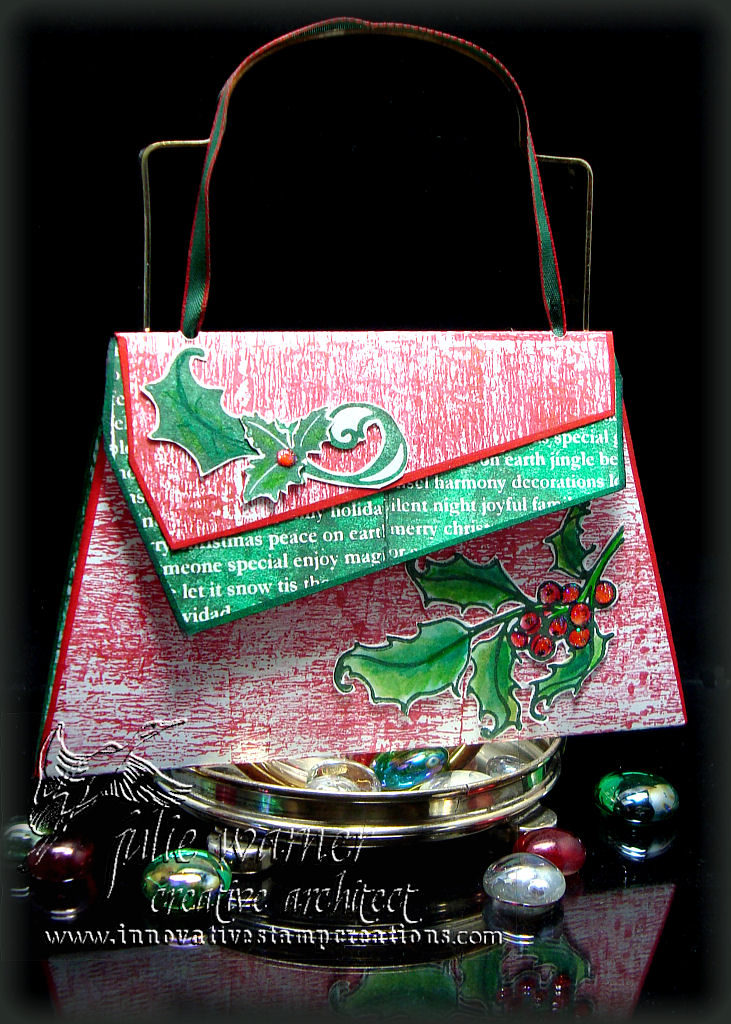
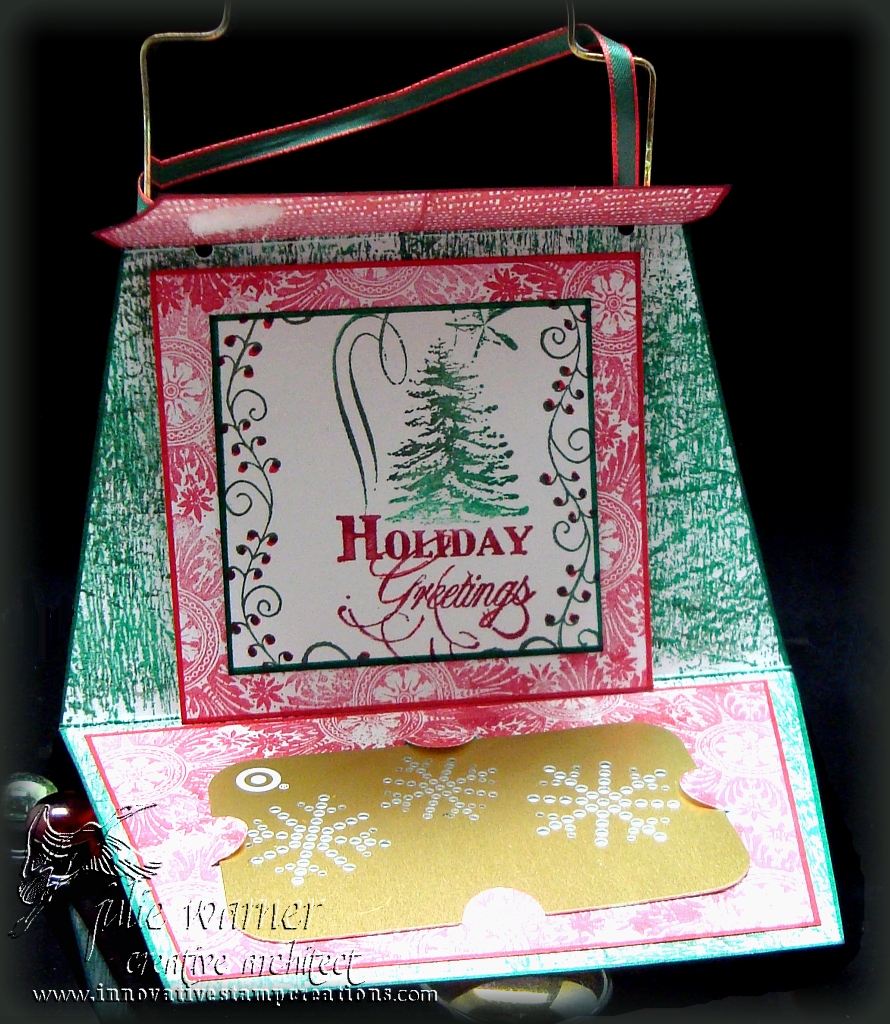
    For my second project, the ISC team was challenged to make a gift card holder. I have a purse/notecard pattern I drew about 5 years ago and thought with a little alteration, it would make a nice holder for a gift card.  If you would like the pattern, please click for my free PDF file. Asymetrical Flap Purse pattern instructions The pattern will print out in the actual size. (Click any of the pictures to enlarge.)

    Julie Warner - justwritedesigns - https://thewritestuff.justwritedesigns.com

    For the outside of my purse/holder, I stamped it with a  distressed background image and a combo of the red inks. The flap liner was stamped with a combo of the green ink. Both were edged w/ markers. The holly images were colored w/ makers and cut out. I used a small Velcro circle (cut in half) for the closure.
    Julie Warner - justwritedesigns - https://thewritestuff.justwritedesigns.com
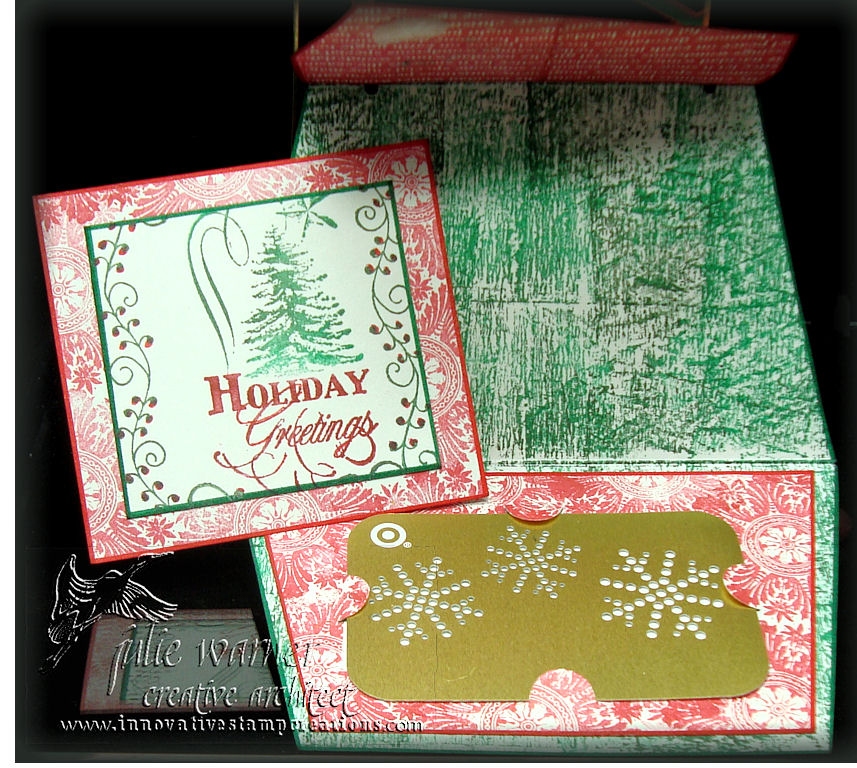
    I used all of the pattern pieces except for the side gussets. These were left out in order for the purse to open completely. The gift card holder insert was attached to the bottom section but could just as easily be attached to the top.  I used a Basic Grey notch tool to cut the half circle tabs but you could easily cut these w/ a kraft knife or use a slot punch. The small card with the greeting is not attached as you can see in the picture below.
    Julie Warner - justwritedesigns - https://thewritestuff.justwritedesigns.com
    Supplies:
    stamps: ISC – Christmas Trinkets, Christmas Elements, Holidays,  Dimensional Elements Edges #1
    paper: white
    ink: Brilliance rocket red, rocket red gold, gamma green, pearlescent ivy
    accessories: Tombow markers, Basic Grey notch tool,  narrow ribbon, 1/8 inch hole punch (to insert ribbon handle), stickles, Velcro dot

    Thanks so much for stopping by!
    Julie2 sig


  • Autumn Leaf & Pears DDIC38

    Julie Warner - justwritedesigns https://thewritestuff.justwritedesigns.com/

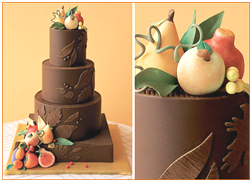
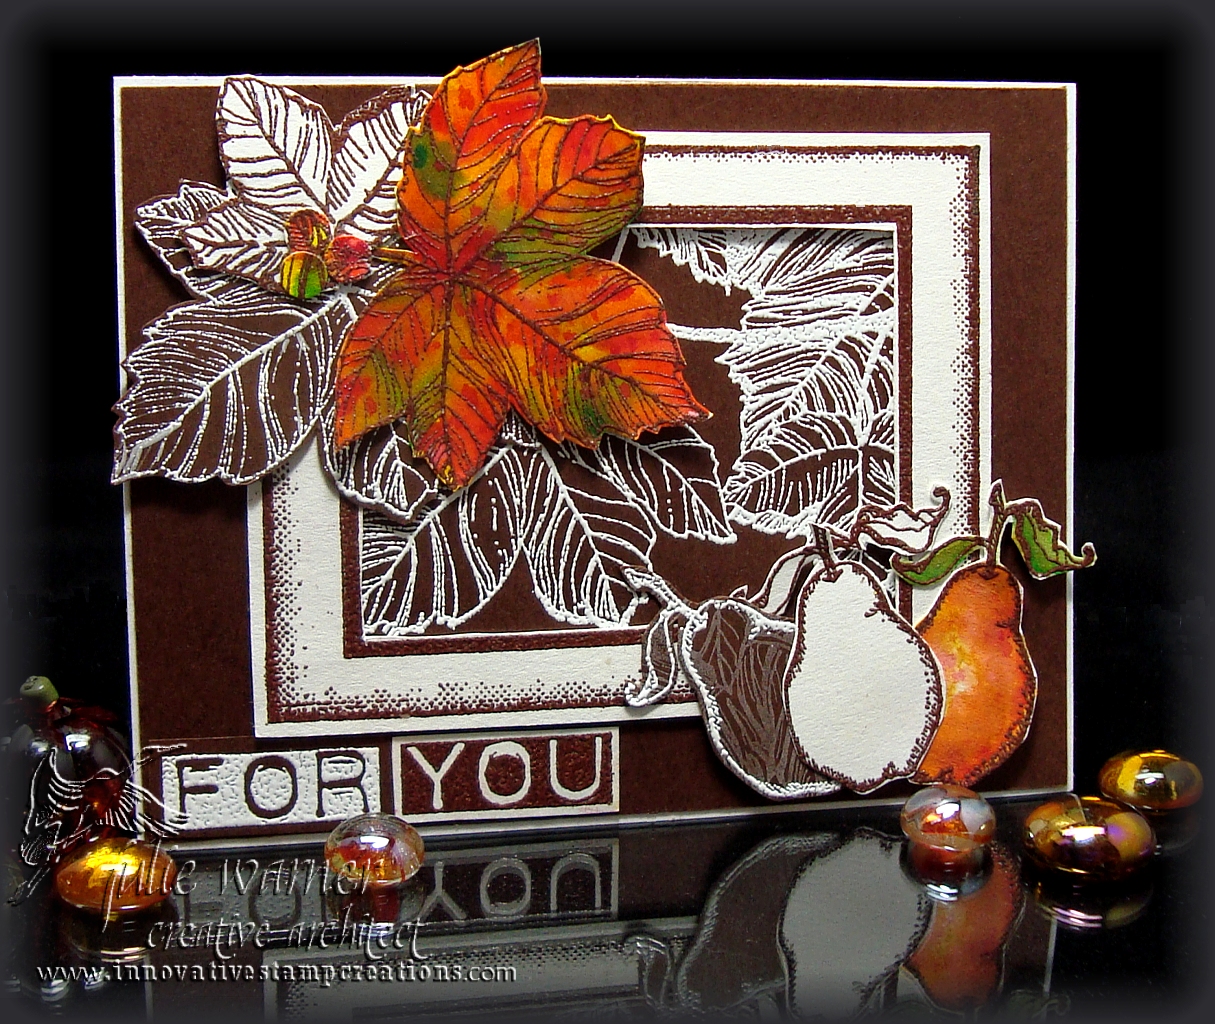
    Time for another Divine Diva Inspiration Challenge! Today our picture comes from Hostessblog.com We had several but I chose this towering chocolate work of art. I like the look of the autumn colored fruit against all the chocolate. Yummy!


    Julie Warner - justwritedesigns https://thewritestuff.justwritedesigns.com/Weekly-Favorite
    BEST OF 2010

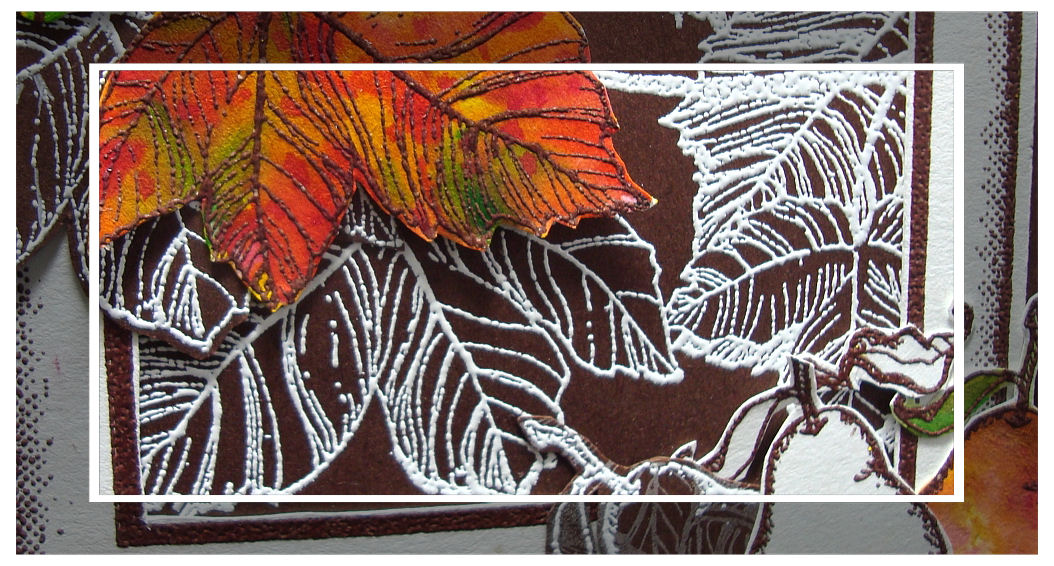
    All images are Innovative Stamp Creations. For my card, I white embossed the leaf background on dk chocolate card stock. I did the same with the sentiment, and extra leaf and one of the pears. I used chocolate brown embossing powder on the big leaf, two more pears and the sentiment, again. I pieced together the sentiment from the two different colors. For the big leaf and one pear, I used dye reinkers  and a water brush to color them. The final card measures 5.5 x 4.25.

    Please stop by and visit all of the Diva team, I know they’ll have some yummy creations for you!

    Lori (chanteuse)
    Chris (glowbug)
    Anne (jdmommy)
    Donna (donnarie)
    Kerri (girlydecou)
    Julie (justwritedesigns) you are here!

    Thanks for stopping by! We’d love for you to join our challenge. Please put DDIC in your keywords.


    Julie2 sig

    Supplies:
    stamps: ISC
    paper: watercolor, dk chocolate
    ink: Colorbox frost white pigment, VersaFine Onyx, Adirondack dye reinkers
    accessories: white & chocolate embossing powders, water brush


  • DDIC4 My Little Chickadees

    It’s time again for our Divine Divas Inspiration Challenge! This week, Lori chose some beautiful plates from Acacia.


    (I’m also combining this w/ SCS Sketch Challenge.)

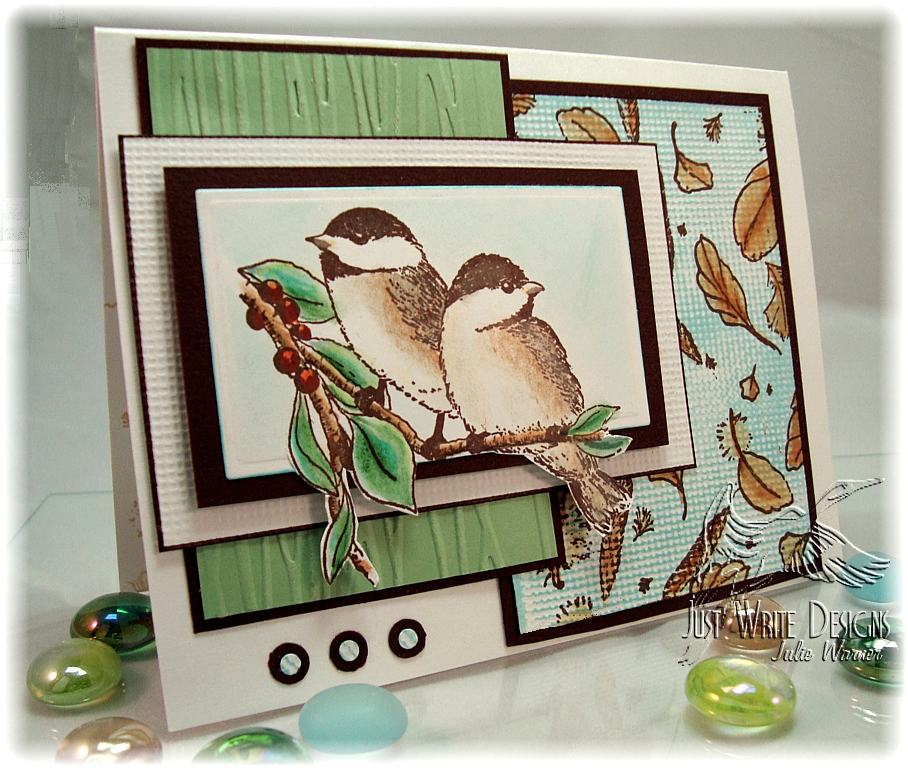
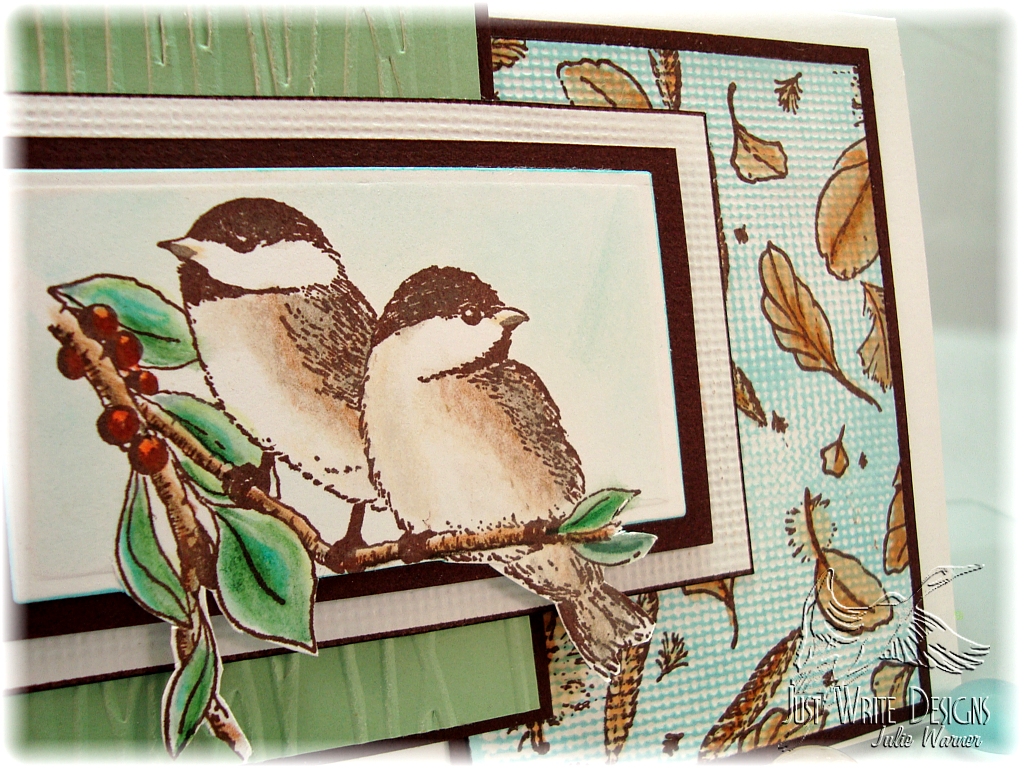
    I love birds and I knew I had just the right chickadees image from Sparkle N Sprinkle. I stamped them with the chocolate ink and colored them with Prismacolor pencils. I used the Out of the Box Nestie technique (tutorial HERE) to cut them out, but I used a nesting rectangle set from Quickutz. Masking the birds, I sponged on a little of the Neptune ink.

    sc229-my-little-chickadees-ddic4-2555a1

    After matting on a chocolate brown layer, I tried something a little different on the white layer. Recently, I tried embossing card stock using a piece of plastic canvas. I liked it so I tried it with a piece of finer mesh vinyl (sold for cross stitch bookmarks). First I lightly misted a piece of white card stock, placed it on the Spellbinders tan embossing mat, placed the vinyl mesh on top and ran it through my Sizzix. I love how it turned out! It looks and feels just like artist canvas. I left the small piece white but on another, I brayered over it with the Neptune ink, stamped my feathers background (Anita’s/Sugarloaf) w/ the chocolate ink and colored them in w/ markers.

    my-little-chickadees-close-up2559ac

    The green bg was done w/ the forest branches Cuttlebug folder. I added some punched out circles as faux brads.

    Thanks so much for looking and please visit the rest of the Divine Diva Team. We would really love for y’all to play along in our challenge. Lori is offering some terrific blog candy for this challenge.

    Lori (chanteuse)
    Chat (nitestamper)
    Chris(glowbug)
    Keri (stampinupconsultan)
    Angela (mudflapmamma)

    Supplies:
    stamps: Sparkle N Sprinkle, Anita’s
    paper: white, chocolate, wild wasabi
    ink: Ancient Page chocolate & Neptune
    accessories: markers, Prismacolor pencils, CB forest branches folder, Quickutz nesting rectangles, vinyl canvas, 2 sizes of hole punches, foam tape, brayer


    Julie2 sig