

Today we are taking another look at the North Coast Creations February release! Don’t you just love the cute bunnies & beautiful flowers? Perfect for all your Easter & Spring cards!
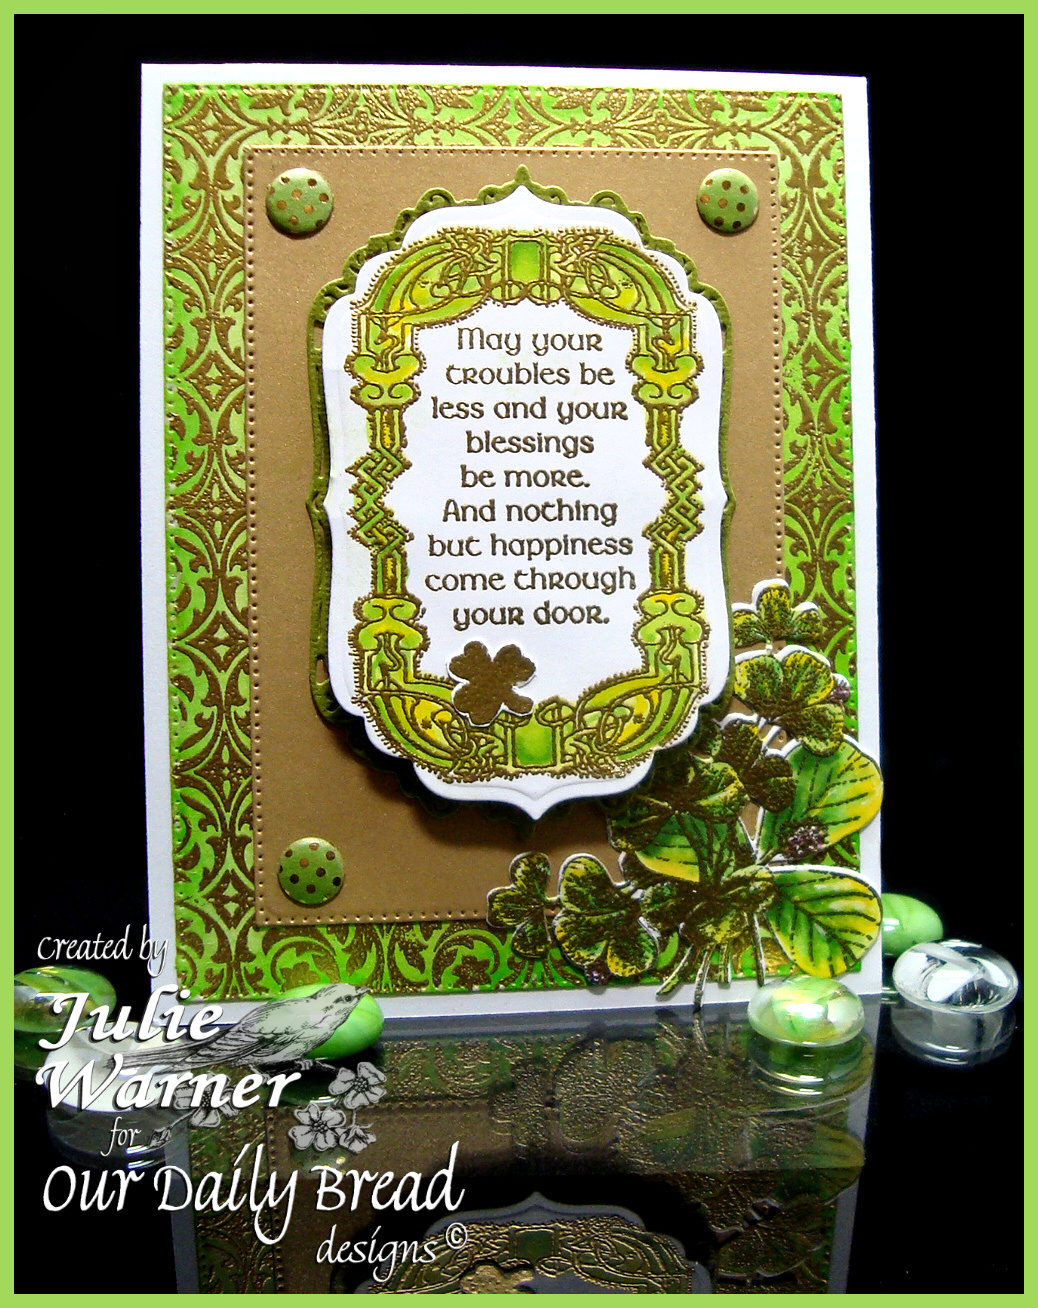
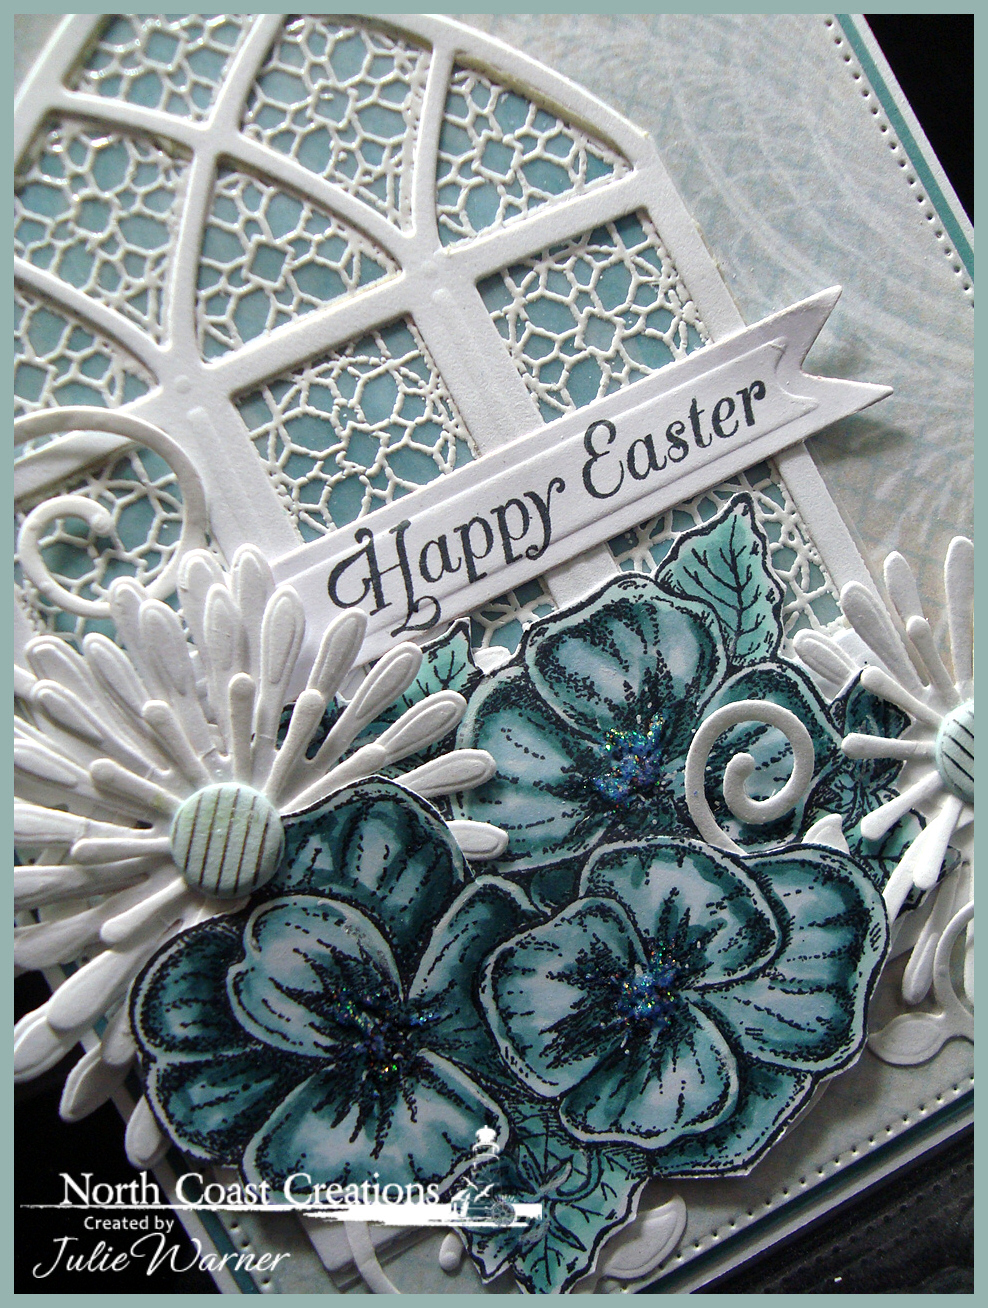
For my first card, I used the lovely Pansies image & since I wanted to use some of this beautiful Shabby Rose paper from ODBD, I used my Copics to color them in unconventional colors then fussy cut them. A lot of times when I’m figuring out a design for a card, I’ll get a semi-finished picture in my head of what I’m going for. Sometimes the finished project looks pretty close, but more often it morphs quite a lot as I work with it. This card looks almost exactly as I pictured it which is a bit unusual but very welcome!
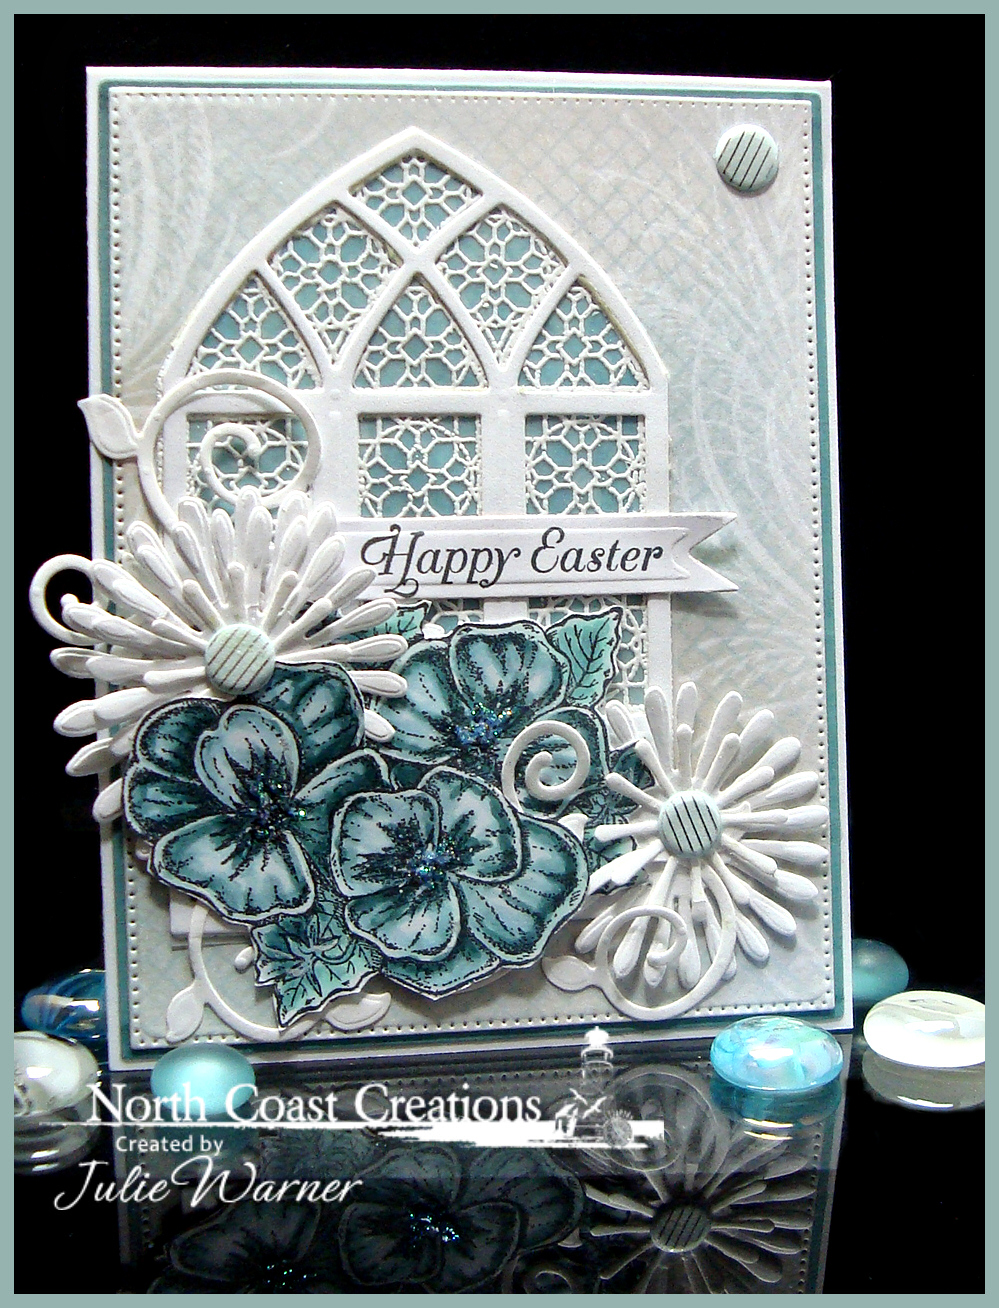
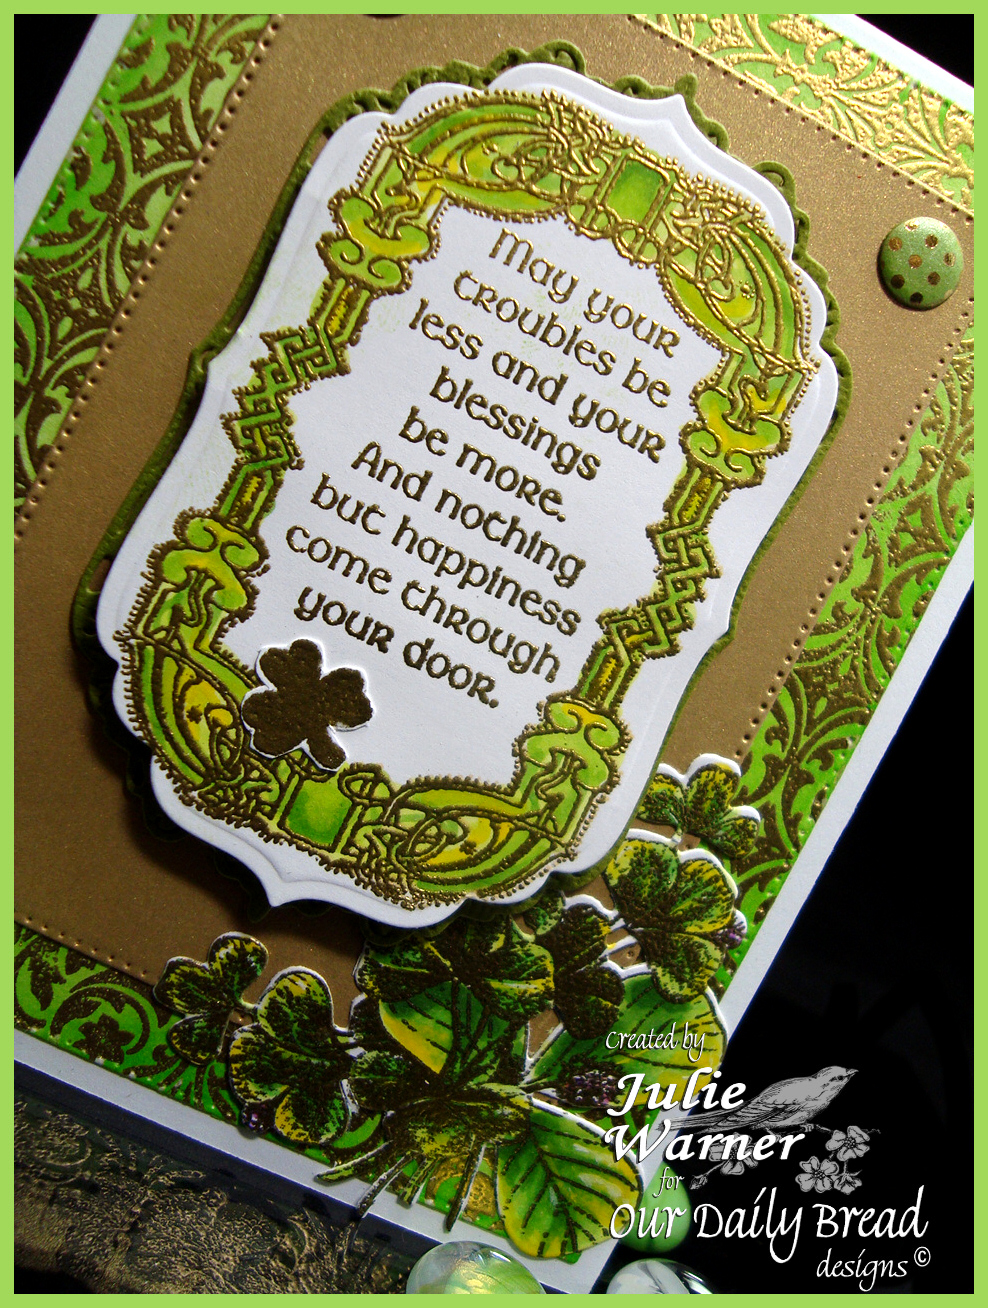
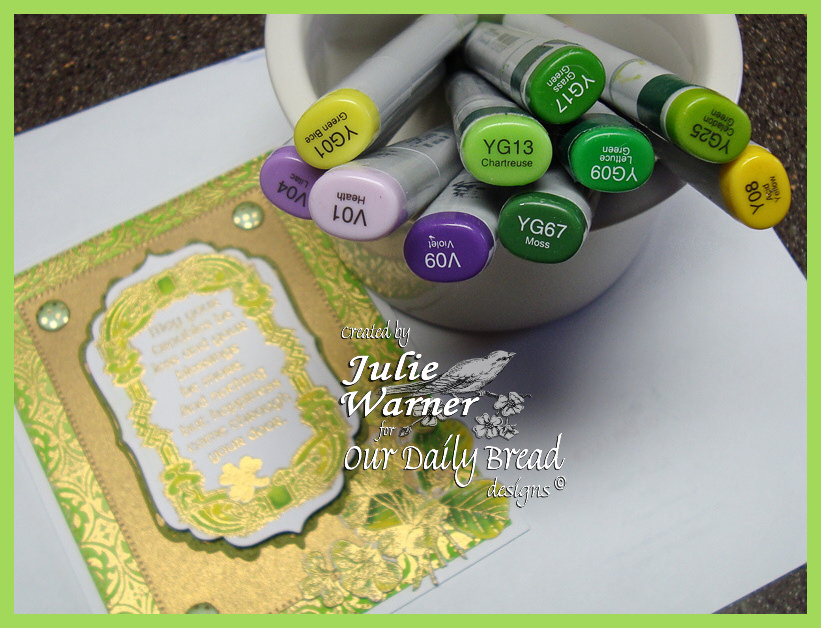
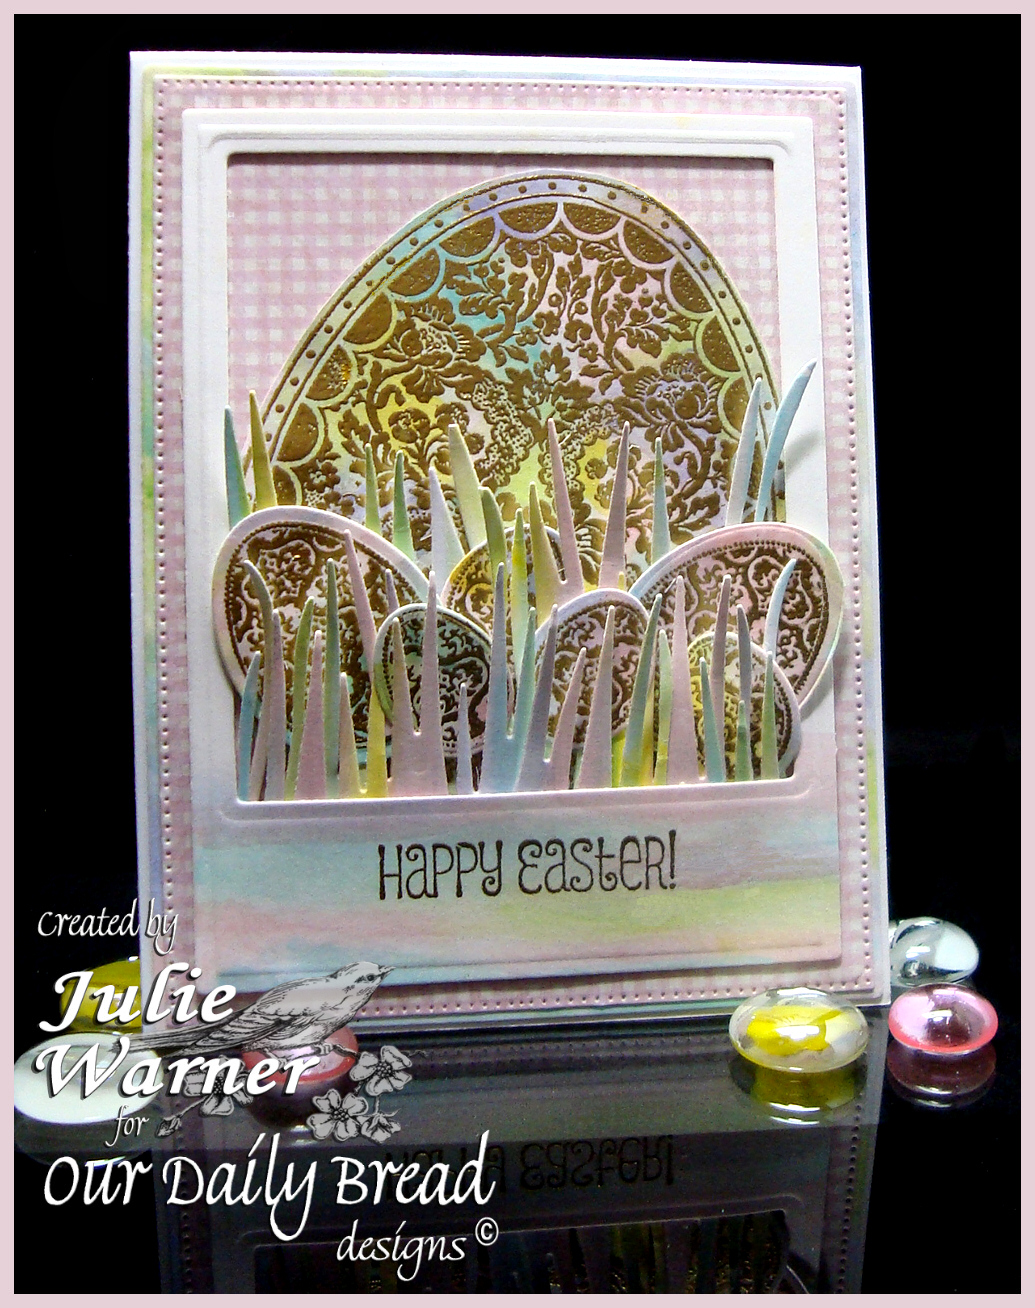
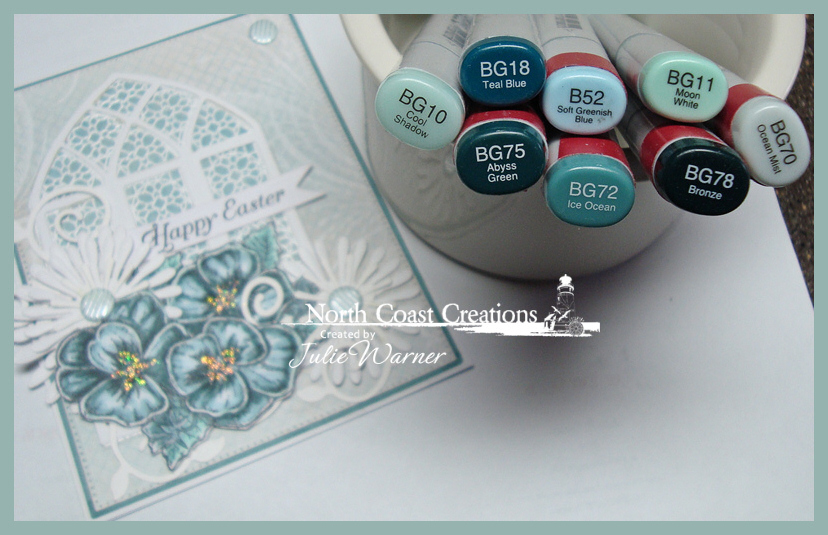
For the Cathedral Window, I die cut a white frame, then white embossed the Marble Window onto vellum, colored it on the back side w/ a blue/green Copic, cut around it & attached it underneath the white frame. The white Asters & Fancy Foliage vines were die cut and added around the pansies. I used the largest die of the Flourished Star Pattern dies to die cut the beautiful Shabby Rose paper for my big background. For the largest layer, I used one of the darker Copics to color a matching frame then added a few Candi dots & a little Stickles to the pansy centers. These are the Copics I used.
Supplies:
| Stamps: North Coast Creations – Pansies, Our Daily Bread designs – Cathedral Window Marble |
| Paper: Neenah white, X-Press It white, dp (ODBD – Shabby Rose paper), vellum |
| Ink: Memento tuxedo black, Colorbox frost white pigment |
| Accessories: ODBD Asters, Fancy Foliage, Flourished Star Pattern & Cathedral Window dies, Copic markers, Spellbinders A2 matting basics A & nested pennant dies, stickles, Candi dots, white embossing powder |
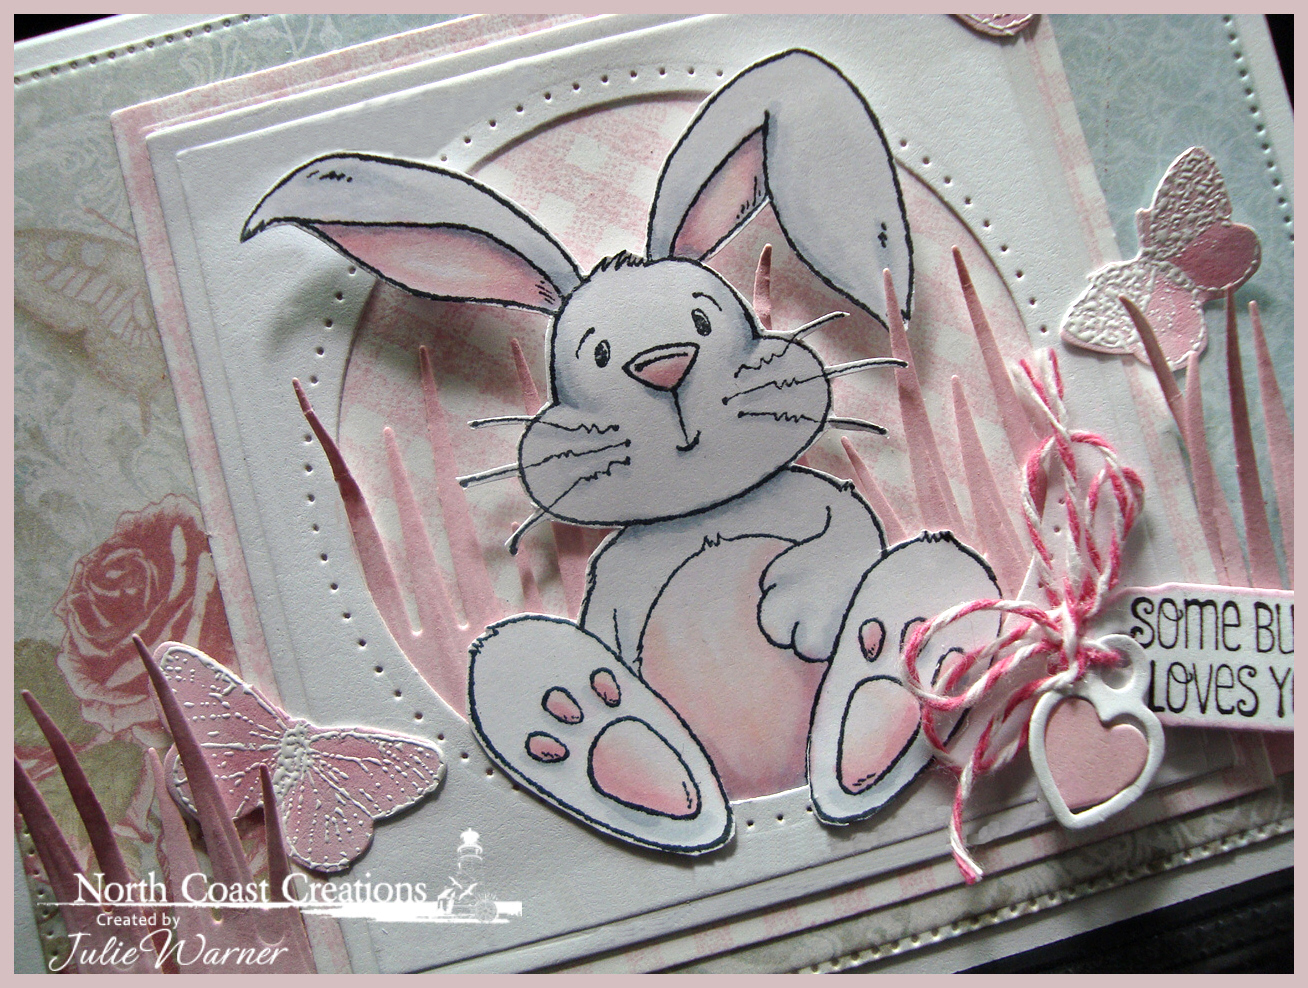
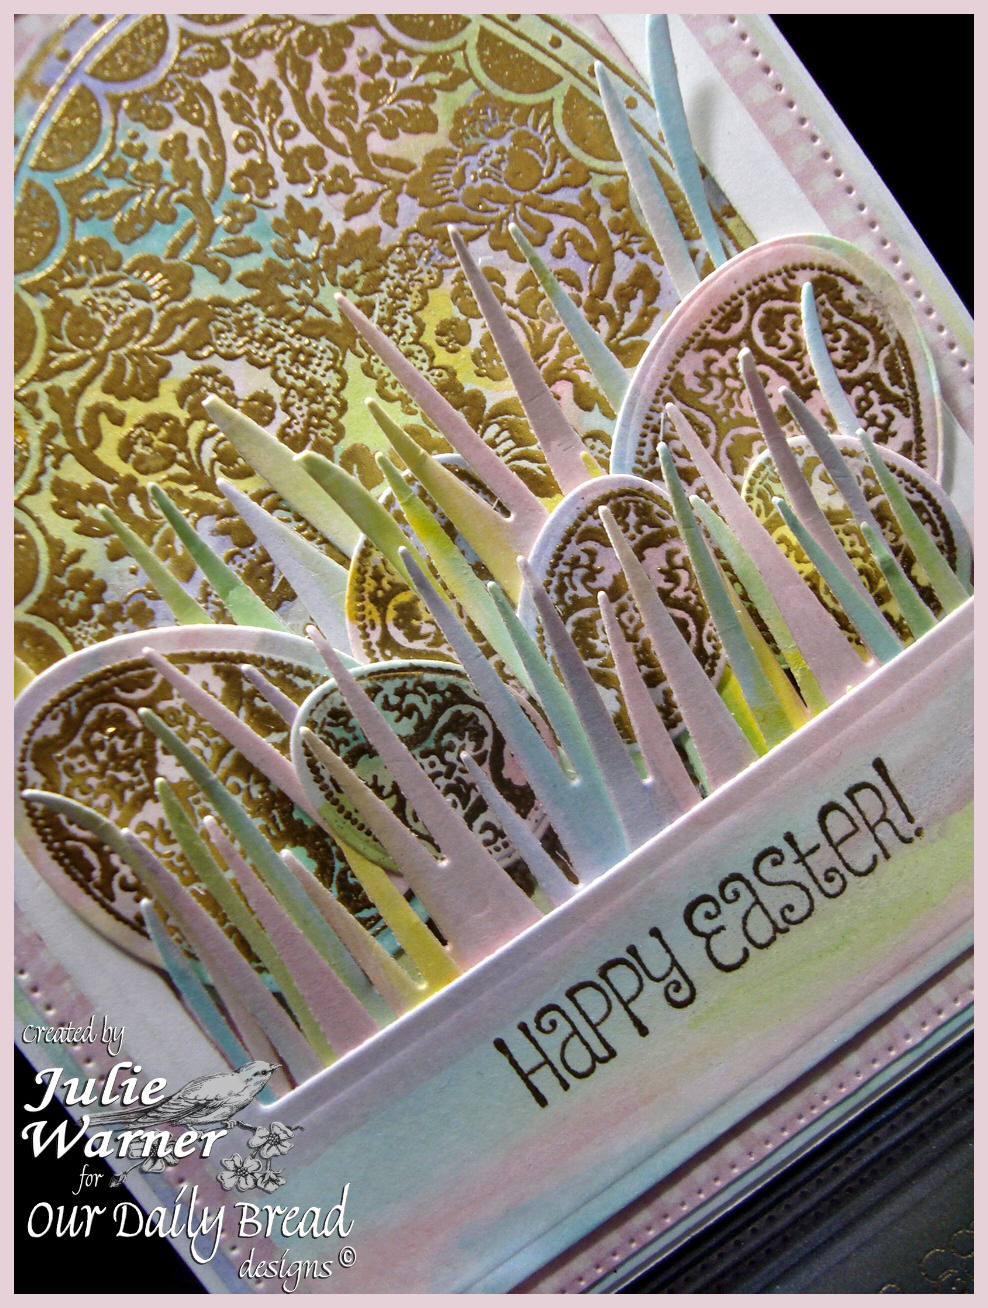
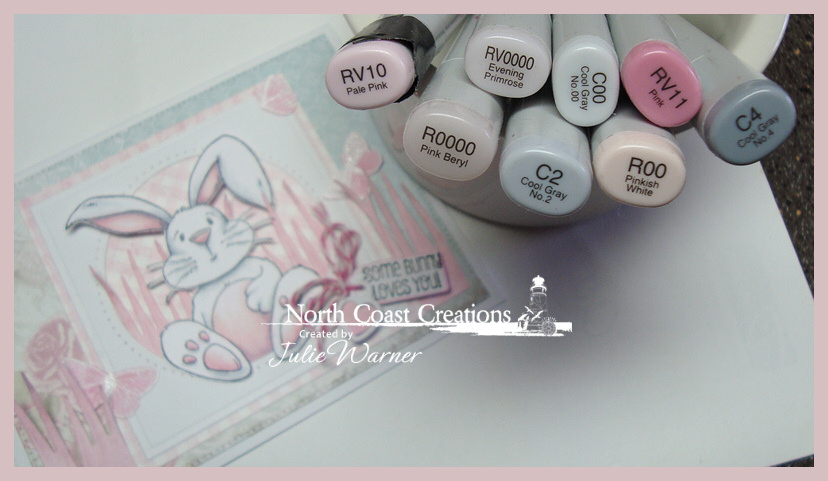
My second card uses the super cute bunny from the Hippity Hoppity set. I colored & fussy cut him then placed him so it looks like he’s sitting inside the circle of a little window. On the piece behind the window, I stamped the ODBD gingham background w/ the pink ink. I wanted the opening behind him to be on the diagonal but the rest to be square w/ the frame, so after I die cut it to fit around the square, I used a circle die to cut out the inside, rotated it, then put it back. I added some die cut grass, sponged w/ the same pink ink, behind him and also behind the frame.

The greeting was stamped & die cut along w/ a little heart charm & tied with some baker’s twine. To finish, I white embossed the butterfly branch, then sponged the pink on it & die cut w/ the matching die. I trimmed off a few butterflies for the front & put more of them on the inside (below).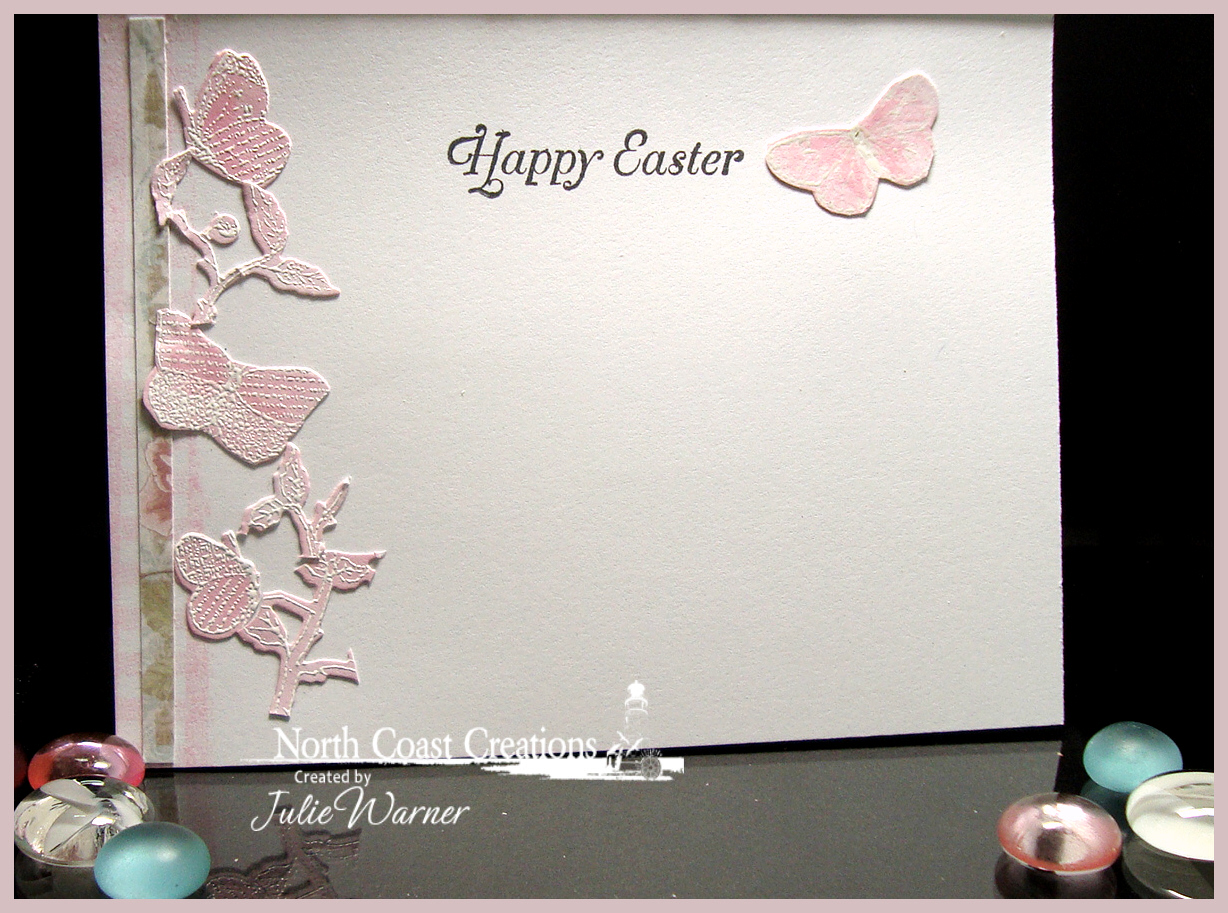
These are the Copics I used.
Supplies:
| Stamps: North Coast Creations – Hippity Hoppity, Our Daily Bread designs– Butterfly Branch, Gingham Bg |
| Paper: Neenah white, X-Press It white, dp (ODBD – Shabby Rose paper) |
| Ink: Memento tuxedo black, Distress ink angel pink, Colorbox frosted white pigment |
| Accessories: ODBD Butterfly Branch, Mini Tag, Flourished Star Pattern & Grass Border dies, Copic markers, white embossing powder, Spellbinders circles, squares & pierced circle dies |
Please be sure & visit all of the DT blogs for more, fabulous inspiration!
Julie * Lisa * Sandee * Lori * Patricia *
Thanks so much for stopping by!