Welcome to the Serendipity August Blog Hop! We are showing off some wonderful new images & dies! If you arrived here from Jenny’s Blog , you are in the right place..if not, you may want to head over there first.
The Prize – One $20 gift code will go to one random commenter from the blogs. So be sure to visit all the blogs because you don’t know which one the winner will be drawn from. You have through Sunday August 9 to leave comments on the blogs for a chance to win a $20 Gift Certificate to SS. Mary will announced a winner on Monday August 10. Sale is free shipping on all US orders of $15 or more Good 8-7 to 8-9. We have something new…a “Stamp of the Month”. Each month a different image will be 50% off. This month- it’s the Veggie Basket. Be sure to check out the great deals on the Clearance Stamps & sale stamps!
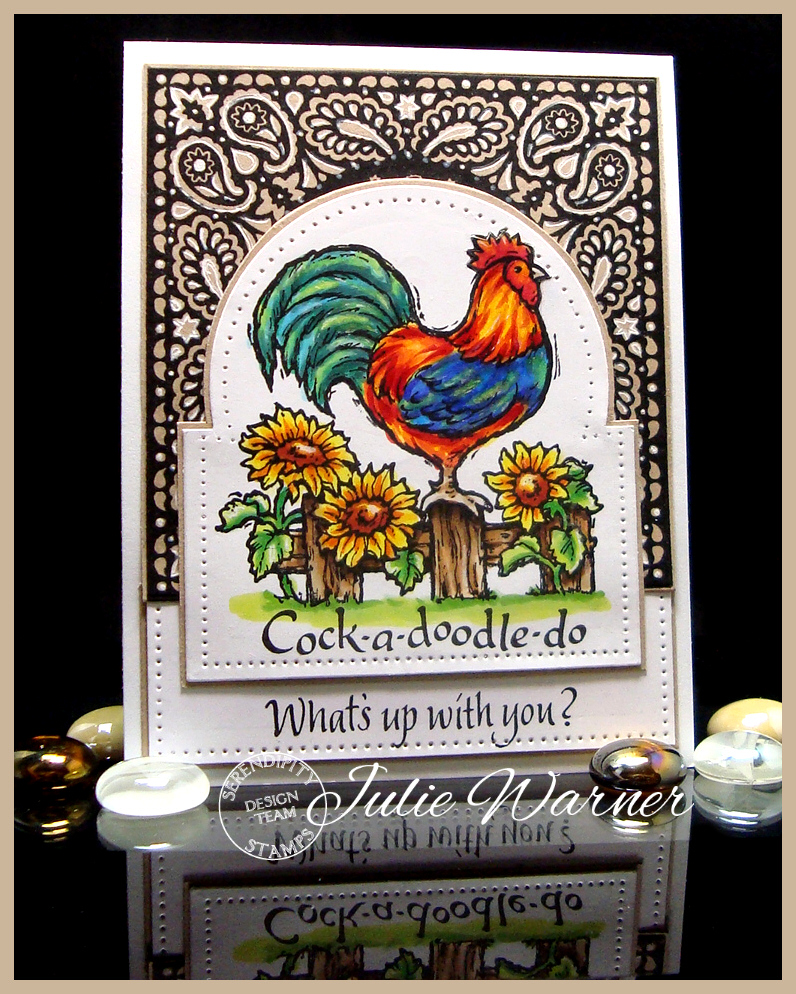
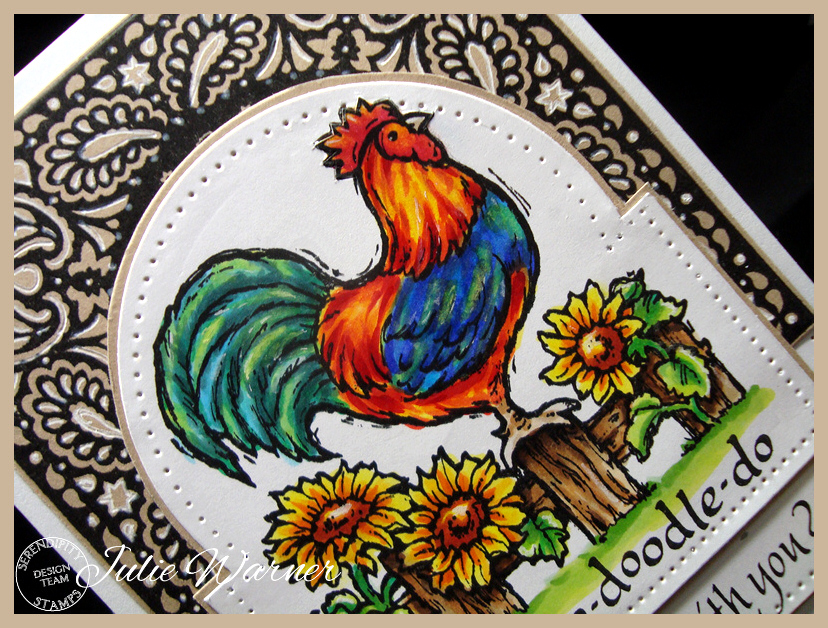
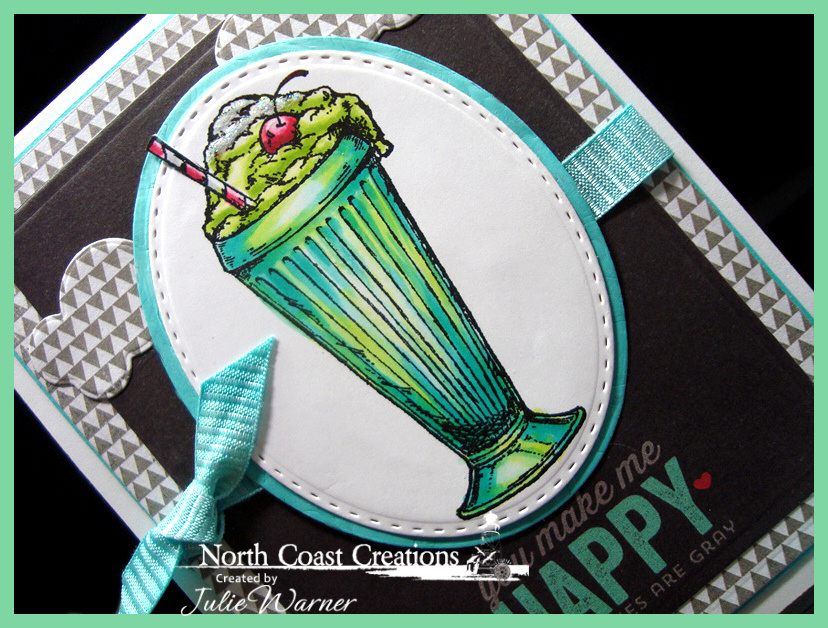
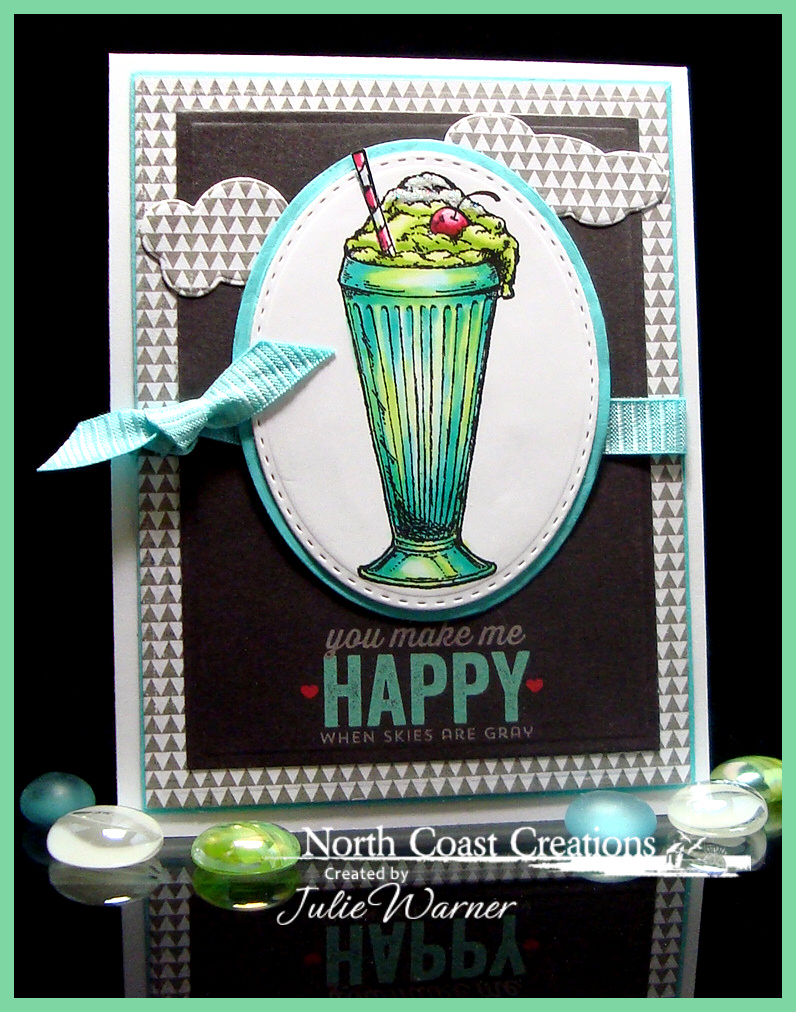
Isn’t this a fabulous rooster image? I just love it & it’s so fun to color. I knew roosters have a lot of color, but until I did an image search, I didn’t realize just how colorful they are! I used my Misti to stamp my rooster w/ Memento then colored him with Copics. Since it was still in the Misti, I stamped over him using Versafine & the details just popped! Then I did what turned out to be a tricky die cutting on the image by cutting only the top half w/ a pierced circle and only the bottom half w/ a pierced square. I like how it turned out. For the top background, again I used the Misti to stamp the wonderful Bandana image onto kraft card stock then used a white gel pen to add some tracings around the image.
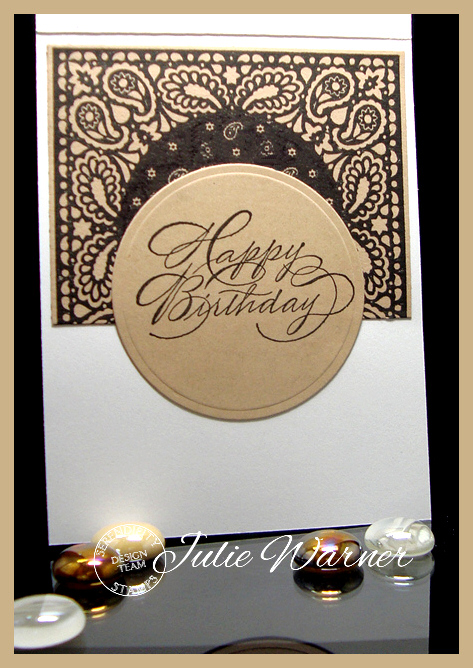
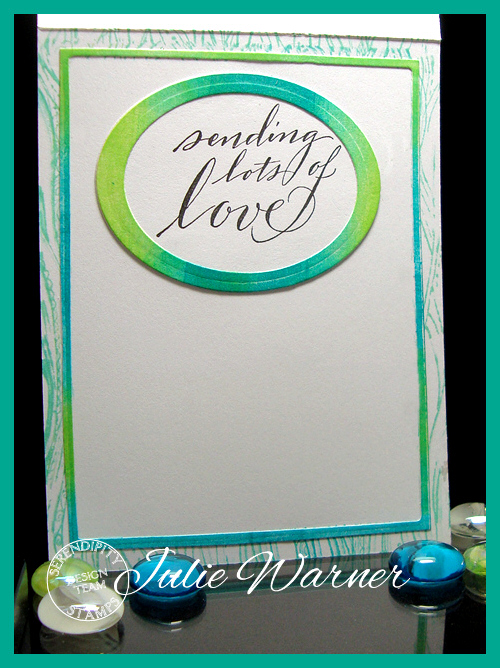
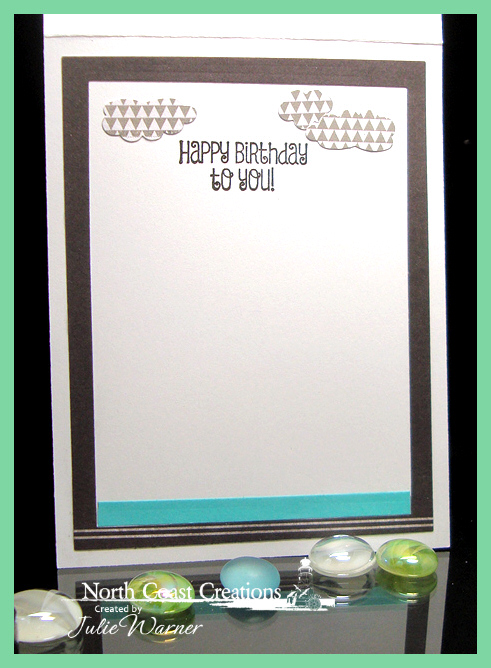
Here’s a look at the inside.
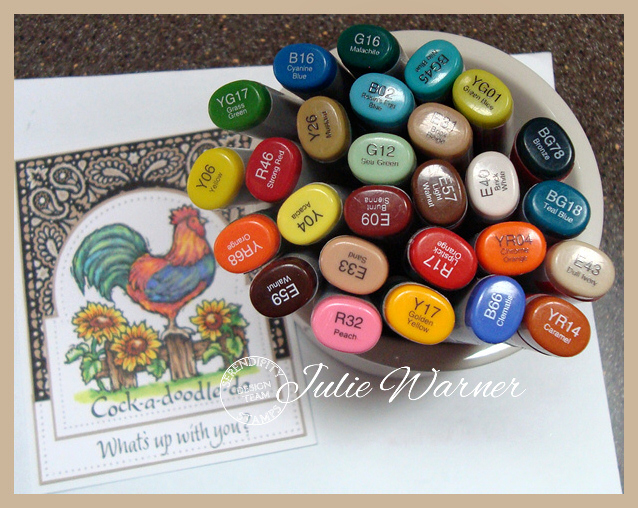
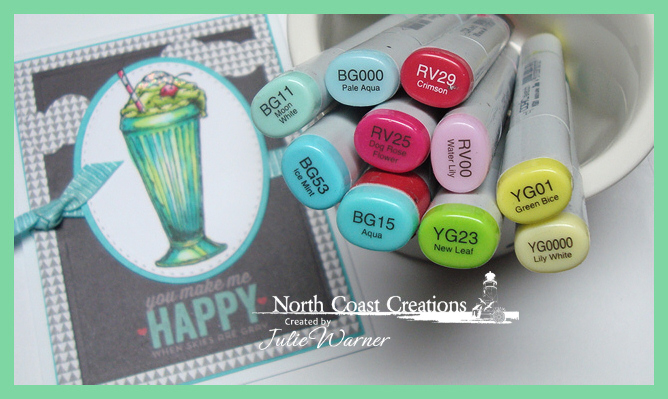
And the Copics I used ( a lot, lol!)
Supplies:
Stamps: Serendipity Stamps – Rooster on Fence, Cock-a-doodle-do, Bandana, (inside- Happy Birthday)
|
| Paper: X-Press It white, kraft |
| Ink: Memento tuxedo black, Versafine onyx (to overstamp image after coloring & for the bandana) |
| Accessories: Spellbinders A2 matting basics A & B, circles, pierced rectangles & pierced circles dies, Copic markers, MISTI, white gel pen |
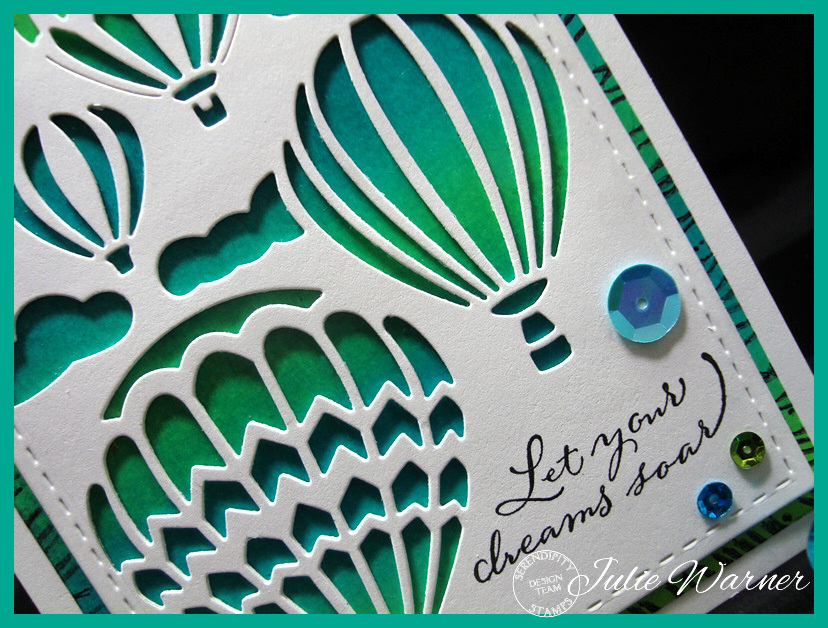

My second card uses this fabulous new Hot Air Balloon Reverse die! I’m over the moon with it! At first I was going to put some designer paper behind it, but changed my mind and made a brayered background for it. I had a leftover piece of matte coated card stock (it really soaks up the ink) & after brayering it, I masked the center & stamped the edge of Wood Background image with black ink then I sprayed it w/ a matte acrylic sealer because this matte coat paper is a little fussy & I wanted the ink to stay put.
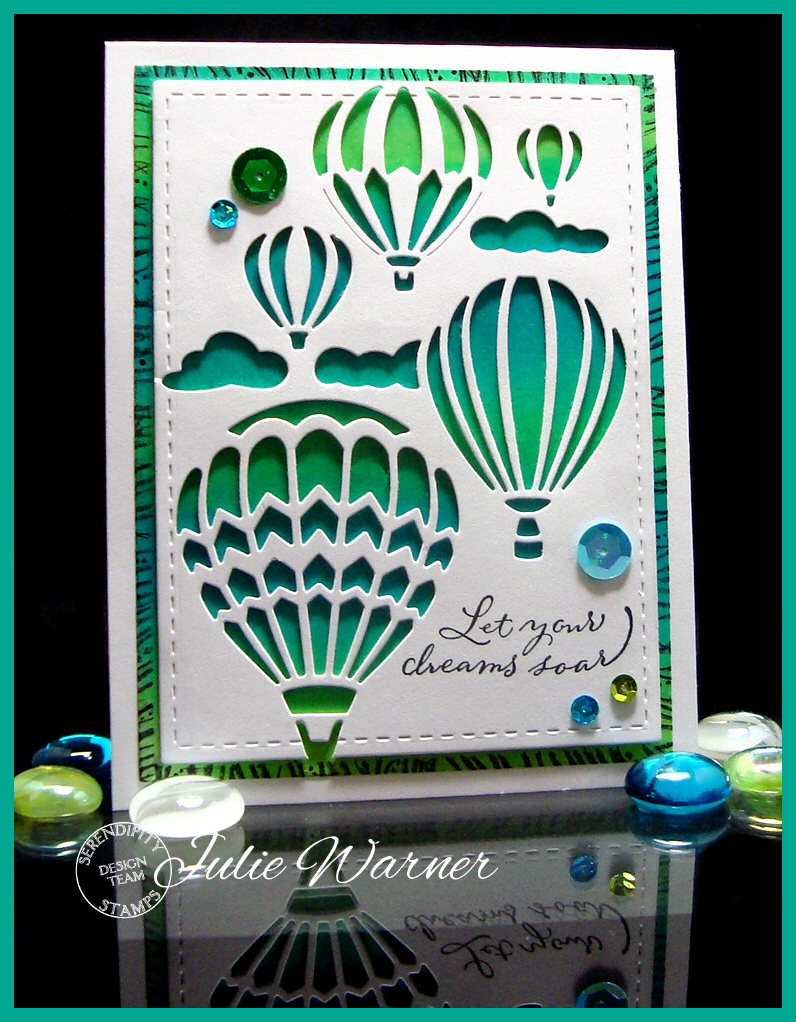
I attached the white die cut onto a second die cut & then some pieces of thick card stock to elevate it above the background. The greeting was stamped in the lower right & some sequins added for sparkle. Here’s the inside.
Supplies:
Stamps: Serendipity Stamps – Let Your Dreams Soar, Wood Background
|
| Paper: Neenah white, Kromecoat matte |
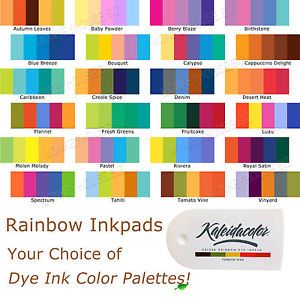
| Ink: Versafine onyx, Kaliedacolor Caribbean sea |
| Accessories: Serendipity Hot Air Balloon Reverse die, Spellbinders A2 matting basics A & B, dies, brayer, matte spray sealer, stitched rectangle dies |
Please be sure to visit all of the DT Blogs to increase your chance of winning!

 So in the spirit of fun, my card uses a water color & stenciled background in bright red/orange. I stamped the different butterflies with Versafine randomly over the background then die cut it with the largest die of the Boho Background die. The inner part of the die was used to die cut the black lattice on top. The greeting was stamped on one of the stitched ovals & I stamped one of the little flowers all around & added just a touch of color. The big Boho butterfly was stamped on another section of the water color bg, die cut & I used a white gel pen to add some white dots for a little brightness.


