• Tag Archives Divinity Designs/Our Daily Bread designs
  • ODBD April Release Another Look!

    April Showers cu 06029
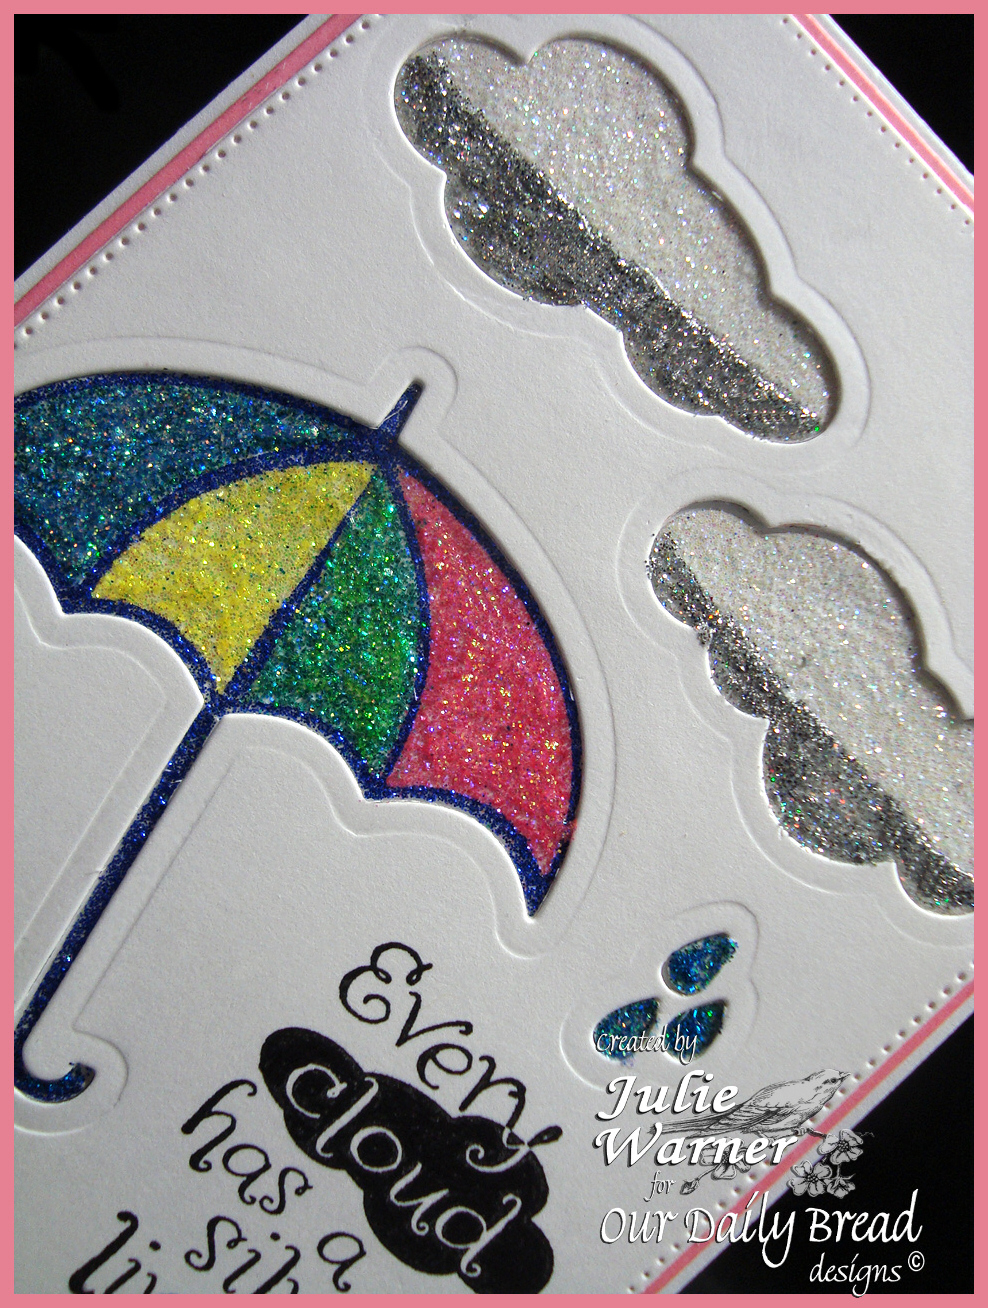
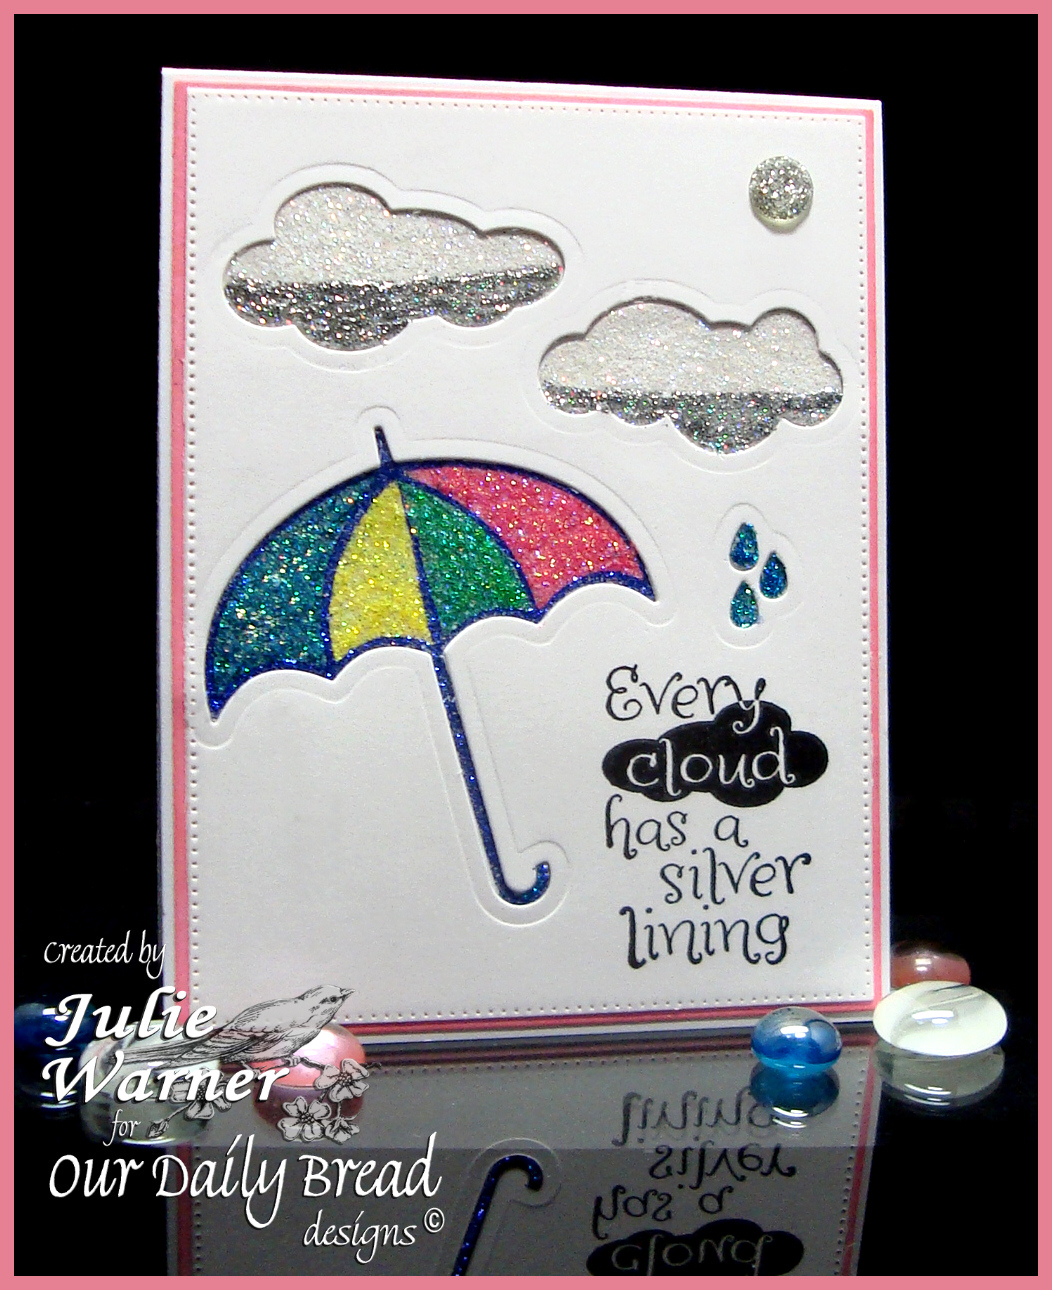
    Today we are taking another look at the Our Daily Bread designs April Release! Don’t you just love the umbrella & cloud dies and the fun sets to go with them? Seems like I’ve been using them non-stop since they first arrived! For my card today, I wanted to use bright, happy colors to go with these fun dies & images. I just had it in my head that little polka dots are happy so I went searching my stash for them.

    April Showers 06025
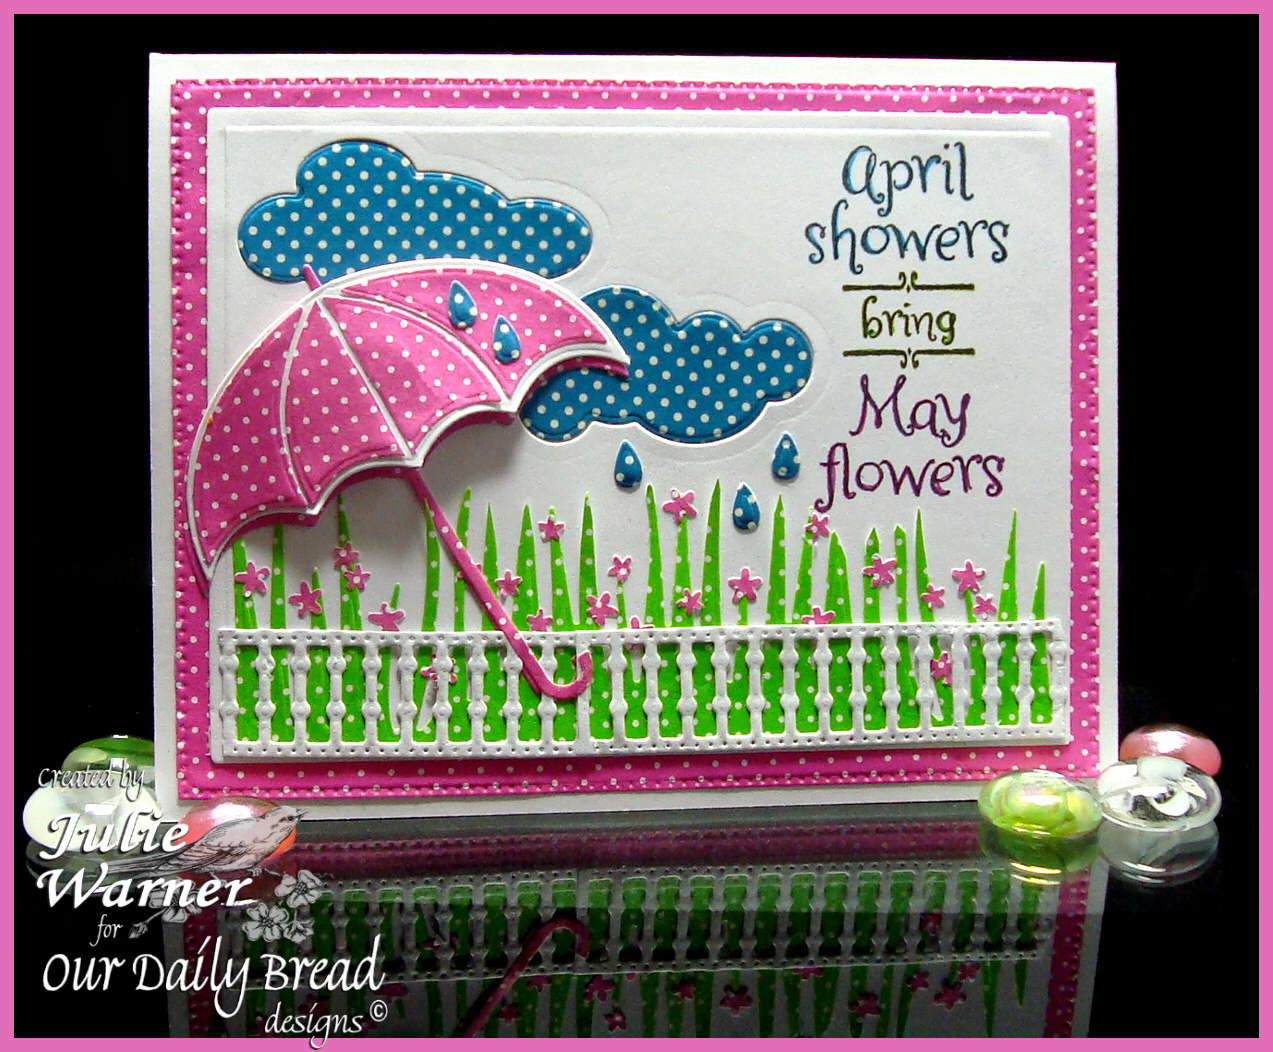
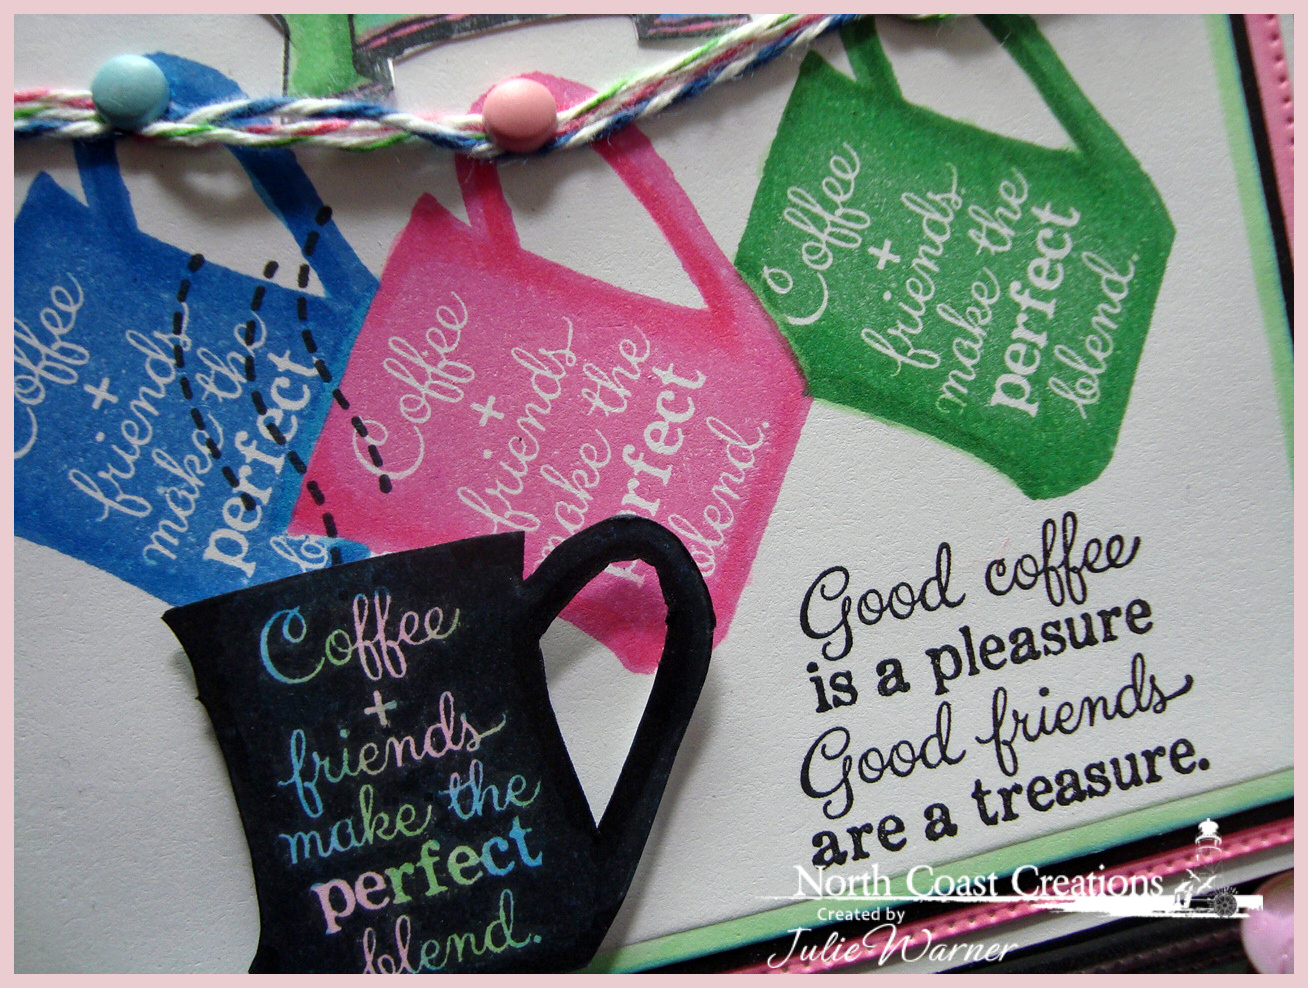
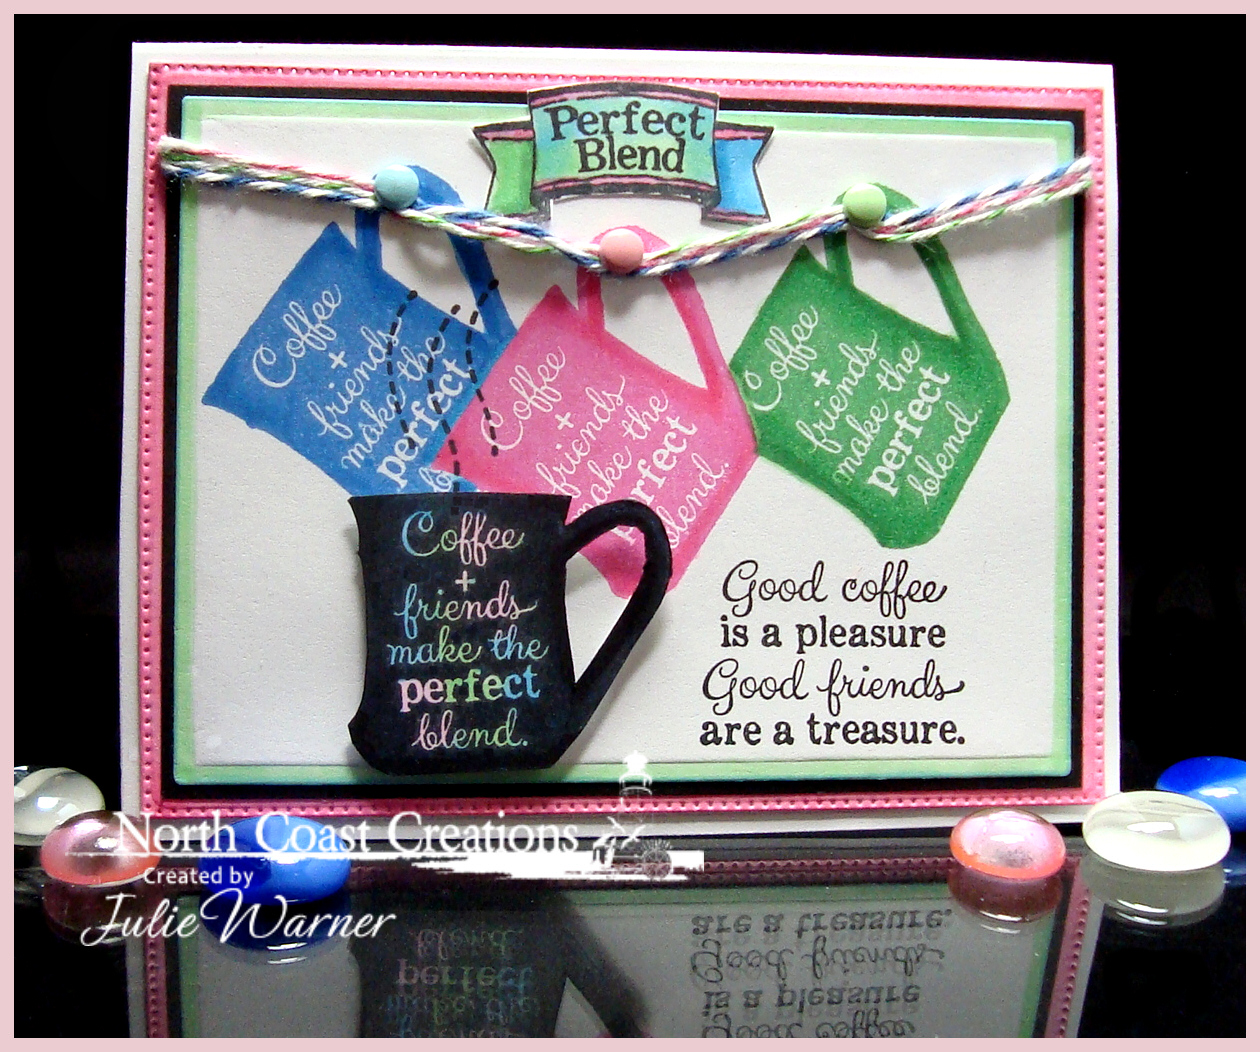
    I came up with some bright pink, blue & lime green dotty paper so that’s what I used. I die cut the white front, then die cut the clouds out of it to use as a negative. The positive clouds were die cut out of the blue dotty paper and added behind.  The greeting was stamped first using the 3 colors of neon ink then overstamped with the black. I think the hint of color really adds a nice touch. The umbrella was cut once out of pink, once in white and the inserts were also cut out of pink. I attached the inserts on top of the white version then rounded it and attached it to the pink version. The grass was cut from the lime green and I added a few tiny punched flowers. After die cutting the gate out of white, I trimmed the top off to make it even and attached it over the grass. The umbrella and a few raindrops were added on top.

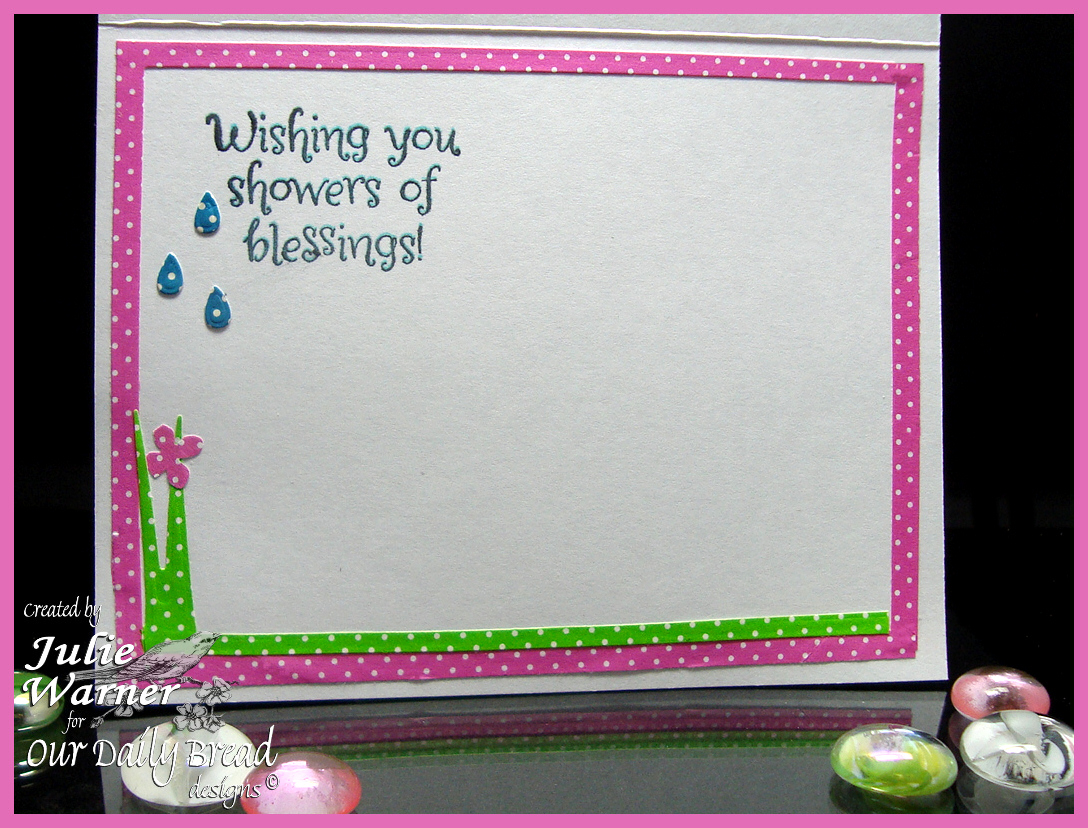
    Here’s a look at the inside using some leftovers.

    April Showers inside 06031
    Please be sure to visit all of the team blogs for more inspiration!
    Julie * Sandee * Cathy * Lori * Dawn * Wanda * 

    Sabrina * Lisa

    Thanks so much for stopping by!
    Julie2 sig

    Supplies:

    Stamps: Our Daily Bread –April Showers, Showers of Blessings (inside)
    Paper: Neenah white, polka dot dp (Making Memories, Recollections)
    Ink: Memento tuxedo black, HA pink, blue, green neon inks
    Accessories: ODBD Flourished Star Pattern, Clouds & Raindrops, Umbrellas , Grass Border, Gilded Gate dies, Spellbinders A2 matting basics A & B dies, tiny flower punch 

  • Silver Glitter Lining

    Silver Glitter Lining 06143
    The Technique Challenge on Splitcoast (TLC529) today is all about using the negative part of a die cut and lots of glitter in different colors. Immediately, I thought of doing this umbrella in a rainbow of colors and adding silver glitter to the bottom of the clouds.

    It took me way longer than it should have. Oh well…live & learn. The reason it took longer is…the first time I die cut the pieces, one of cloud dies slipped & made a mess, so I had to do it over. Which was a little tricky…I had to die cut the whole layer first, then arrange all the pieces, leaving room for the greeting.
    Silver Glitter Lining 06139
    Ok, so that was done. Then I had a brilliant (IMHO) idea to use a sheet of one sided sticky label paper instead of tape. I die cut all the images again…but I die cut them from the wrong side. So I did it over. Sigh…I’m sensing a pattern here. I also die cut the umbrella inserts out of the sticker paper because I wanted the masks of release paper. Once again, wrong side..you see where this is going. 

    So I place the release paper masks on the areas of the umbrella then use navy glitter on the frame & handle. I pull one mask off at a time and add the other colors. I peel the mask partly back from the bottom of the clouds, add silver glitter, then clear glitter on the tops. Those little raindrops almost made me lose it completely, lol. But I prevailed. Then I temporarily stuck all the glittered images in place from the back side, put permanent adhesive on their back sides and pressed them to the card front. That part actually worked fairly well (yay!!). Then I took the miscut front, trimmed it to match the good one and edged it w/ pink markers before attaching it behind the real front because I wanted a little more dimension. Greeting stamped & I added a glitter button thingie in the upper right. 

    Whew! And it sounded so simple! Thanks so much for stopping by!
    Julie2 sig
    Supplies:

    Stamps: Our Daily Bread designs – Showers of Blessings
    Paper: Recollections heavy white, sticky label sheet
    Ink:  Versafine onyx
    Accessories: ODBD Flourished Star Pattern, Clouds & Raindrops, Umbrellas dies, Spellbinders A2 matting basics A dies, extra fine glitter in various colors, pink Copics, silver glitter button


  • NCC March Release Another Look!

    NCC Perk Up cu 06042
    Today we are taking another look at the North Coast Creations  March release!  These coffee images are wonderful & so trendy! On my first card, I used the fabulous Warm My Heart set for the pair of coffees and the What’s Brewin’? for the greeting.

    NCC Perk Up 06041
    For the pair of to go cups, I stamped them several times on a piece of dp that had bands of patterns, fussy cut them and paper pieced them together. The little check ribbon is part of the paper, as well. I wanted a coffee stained look for the background so inked an embossing folder (it looks like ink splats) w/ the tea dye ink and pressed it to the white paper. It didn’t quite fill in the splats so I took a water brush and filled them in. I also took a small plastic top, inked it w/ the same ink, stamped it, then blurred the edges a bit w/ the water brush. The top & bottom edges were die cut using the largest of the ODBD Lacey Layered Squares dies. I used the ODBD Pennant die to cut the greeting flag.

    I’m also adding these cards to Virginia’s View Challenge #14!

     Supplies:

    Stamps:  North Coast Creations –Warm My Heart, What’s Brewin’?
    Paper:  Neenah white, dp (Paper Studio)
    Ink:  Memento tuxedo black, Distress Ink tea dye, Colorbox dark brown fluid chalk ink
    Accessories: ODBD Lacey Layered Squares, Pennant dies, Spellbinders squares dies, Sizzix embossing folder (ink splats), water brush

    NCC Coffee Pleasures 06048
    I used the same two sets for my second card but I used a more colorful approach. The coffee cup was stamped, masking as I went, 3 times using 3 different inks. The 3 colors of twine were wound around the brads to make it look as if the cups are hanging from the twine. The black cup was stamped, color added w/ Copics and fussy cut to add on top. NCC Coffee Pleasures 06047
    After die cutting the panel, I edged it in green using a Copic marker. I added a narrow black layer then die cut the largest layer using the ODBD Flourished Star pattern die. The edge was also colored w/ a Copic to match. The image at the very top was also colored to match and fussy cut. 

    Supplies:

    Stamps:  North Coast Creations – What’s Brewing?, Warm My Heart 
    Paper:  Neenah white, black
    Ink:  Memento tuxedo black, rosebud, danube blue, cottage ivy
    Accessories: ODBD Flourished Star Pattern die, Spellbinders A2 matting basics A &B, brads, baker’s twine, Copic markers

    Please be sure to visit all of the DT blogs for a lot more caffeinated inspiration!
    Lori * Julie * Sandee * Dawn * Patty *

     Angie * Wanda
     
    Thanks so much for stopping by! 

    Julie2 sig