• Resizing Your Nestabilities Rectangles- Tutorial

    When I was working on my card H is for Harvest, I really wanted a Nestabilities long rectangle set. I only have the standard, large rectangle set so I set out to see if I could somehow repurpose it into a long rectangle. It only took me a couple of tries and I think it worked like a champ. I’ll be doing this again and again until I actually do have the long rectangle set. After I used this technique, I thought there might be a few others who would like to try it. I made another long rectangle and took a lot of pictures so y’all could see for yourselves. Remember, you can zoom in on all the pics by clicking on them.
    Julie Warner - justwritedesigns - https://thewritestuff.justwritedesigns.com
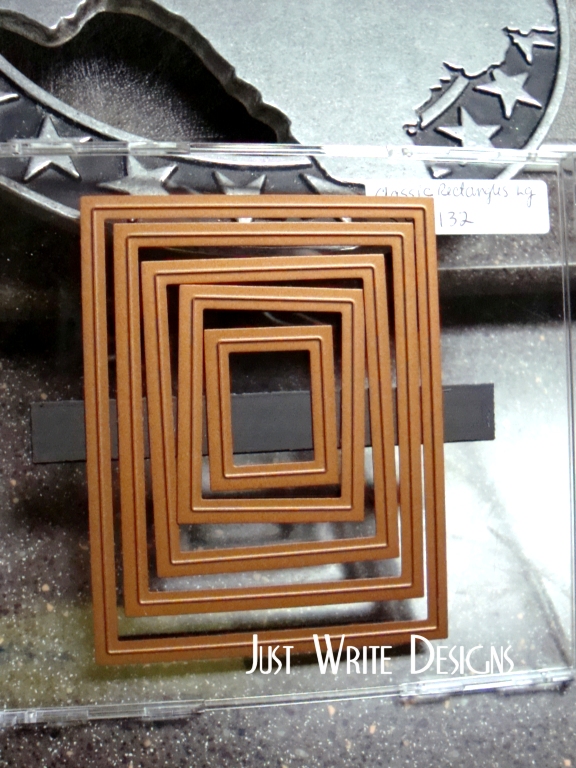
    Standard, Large Rect. Set #S4-1132

    This is the rectangle set I have. For this tutorial, I’ll be using the second smallest rectangle (it measures approx. 2″ h x 1.5″ w).  The card stock I’m using is ivory and I cut it to measure about 3.5″ L x 2″ h. It’s probably important to note that I use an original Sizzix machine with one white cutting plate and the magnetic adapter. I also have a clear acrylic cutting plate that I place over the die when I cut. If you’re using a different machine, you may have to adjust how you do this. This also works perfectly using a Big Shot…simply have the edge of your top cutting plate back from the left edge of the die. It won’t cut where the plate isn’t. 

    Julie Warner - justwritedesigns - https://thewritestuff.justwritedesigns.com

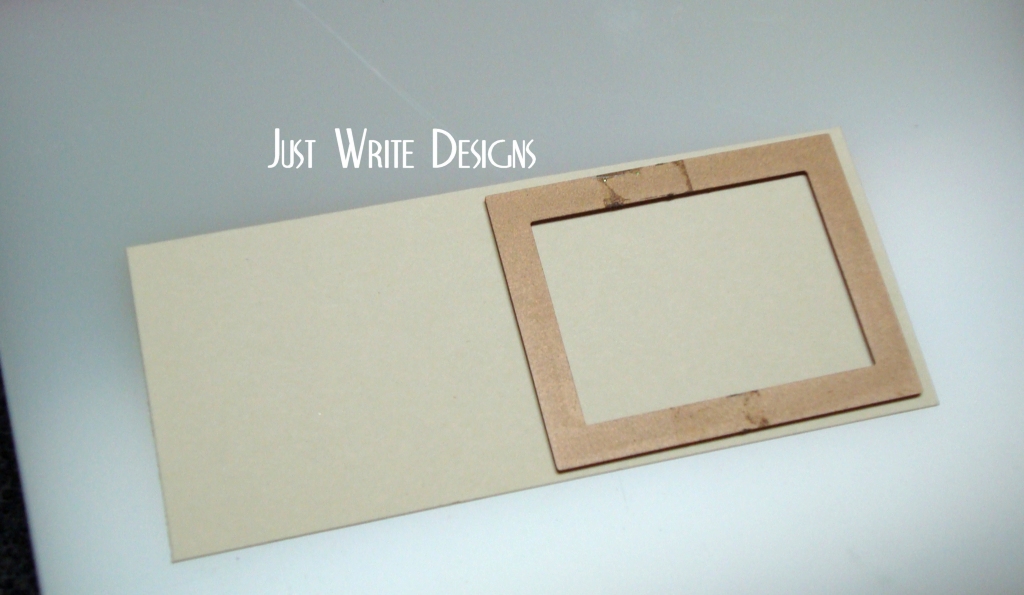
    1. First, place the rectangle, cutting side down onto the card stock, very close to the right edge as shown.

    Julie Warner - justwritedesigns - https://thewritestuff.justwritedesigns.com

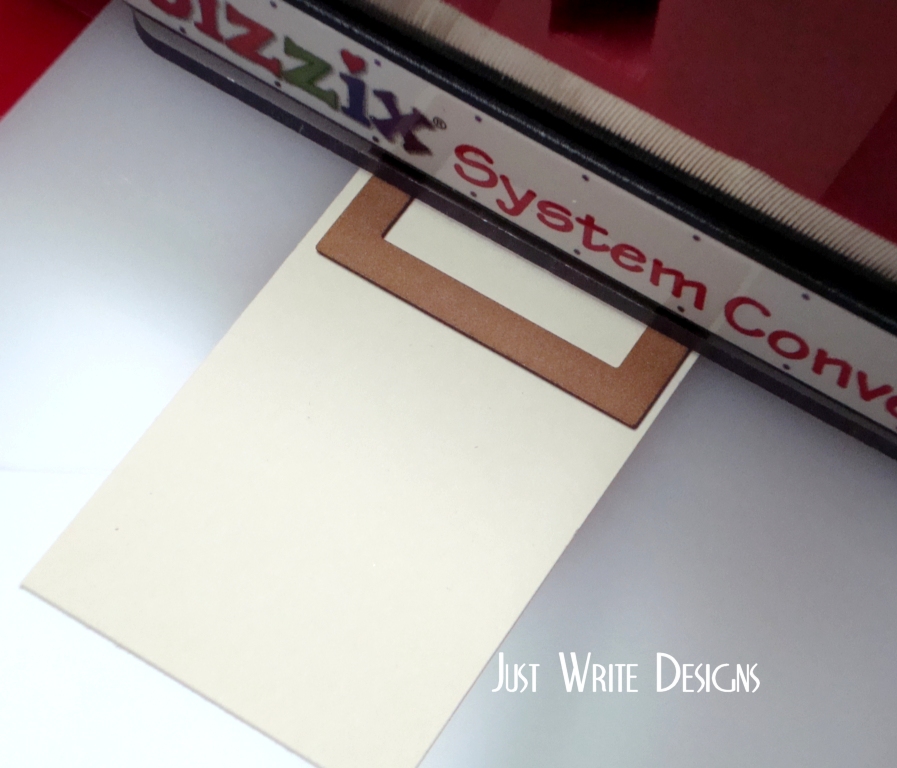
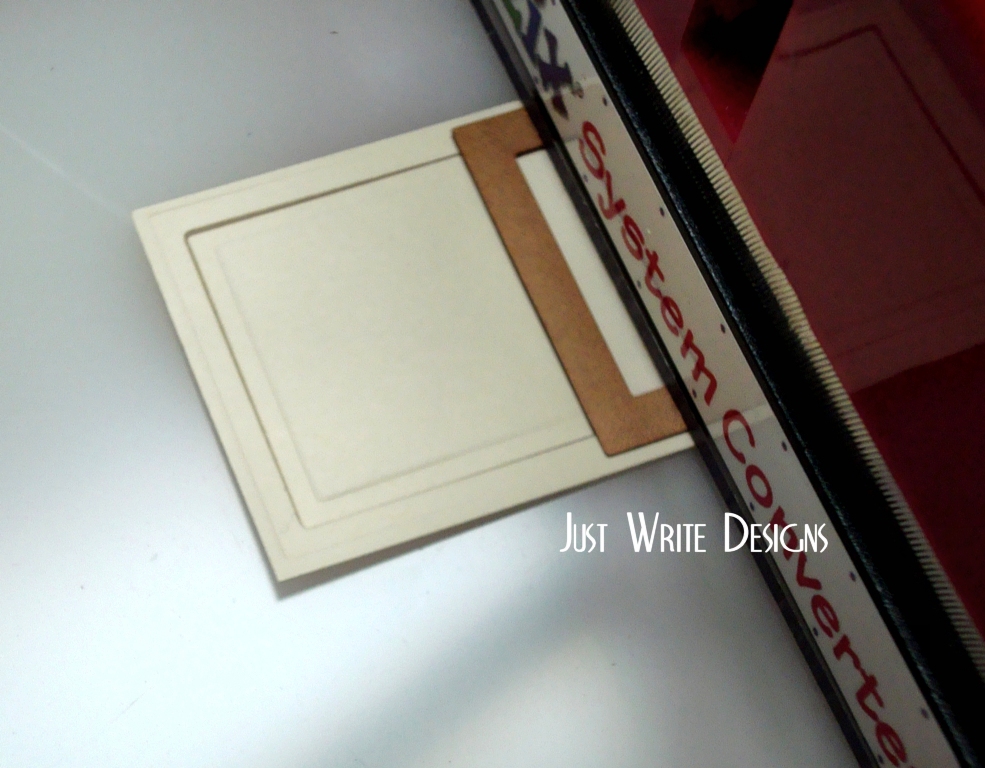
    2. Push the cutting plate into the machine, but leave the last 1/2″ closest to the center of the card stock, out of the machine. We don’t want to cut this edge.

    Julie Warner - justwritedesigns - https://thewritestuff.justwritedesigns.com

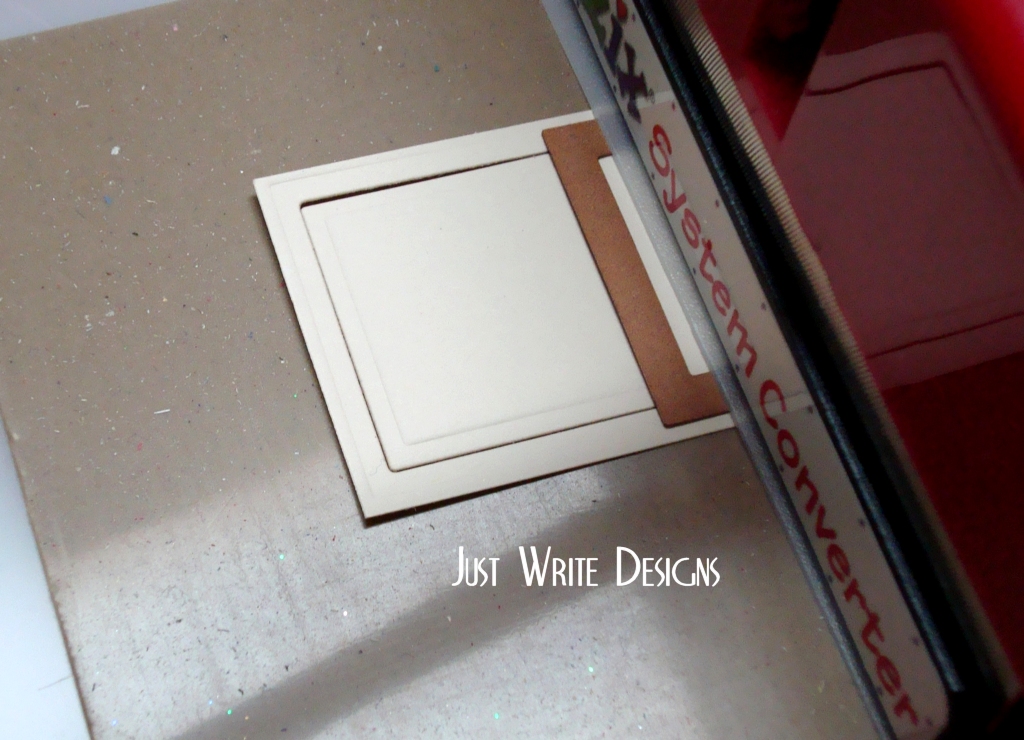
    3. Remove the die, carefully place the embossing mat under it and emboss as usual, remembering to not emboss the last center 1/2″.

    Julie Warner - justwritedesigns - https://thewritestuff.justwritedesigns.com

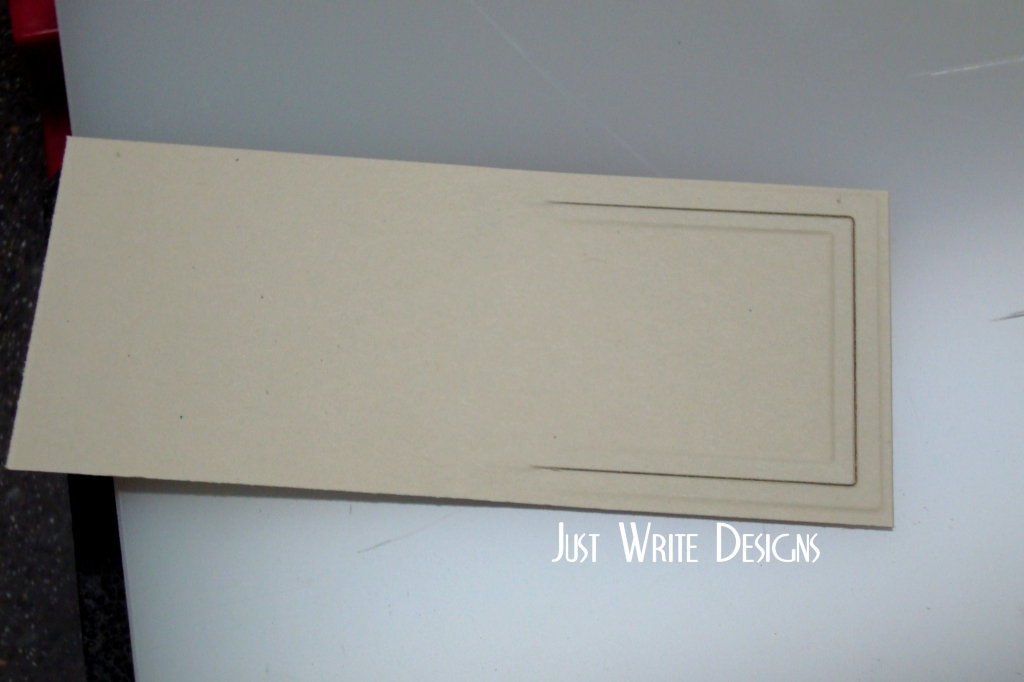
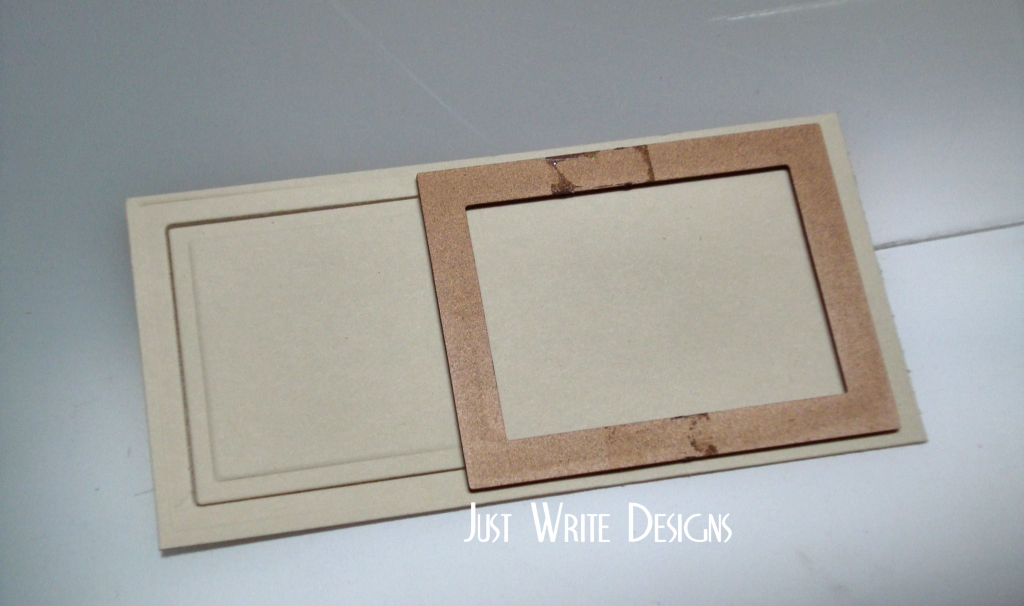
    4. Remove the die from the card stock. This is what the back side should like with only the right half cut and embossed.

    Julie Warner - justwritedesigns - https://thewritestuff.justwritedesigns.com

    5. Turn the half cut card stock around. Place the die on the uncut half, very near the edge as before. Take care to line up the edges of the die with the already cut edges.

    Julie Warner - justwritedesigns - https://thewritestuff.justwritedesigns.com

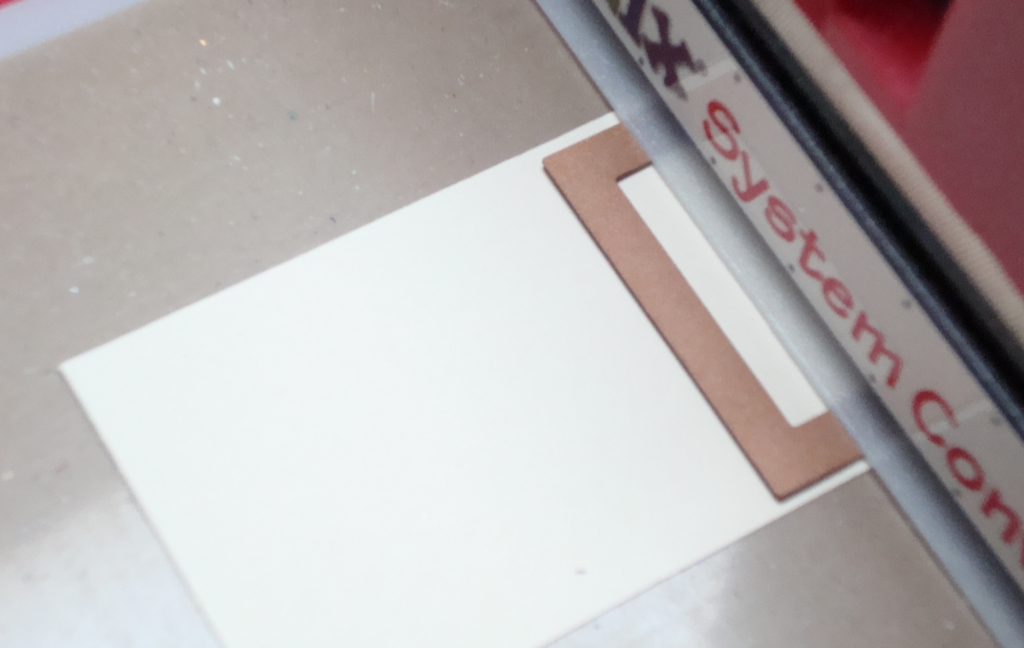
    6. Place the cutting pad with the die in the machine, as before. Again, leave the last 1/2″ in the center out of the machine. We do not want to cut this part.

    Julie Warner - justwritedesigns - https://thewritestuff.justwritedesigns.com

    7. Carefully place embossing mat underneath and emboss as before. Remember not to emboss the last 1/2″ in the center.

    Julie Warner - justwritedesigns - https://thewritestuff.justwritedesigns.com

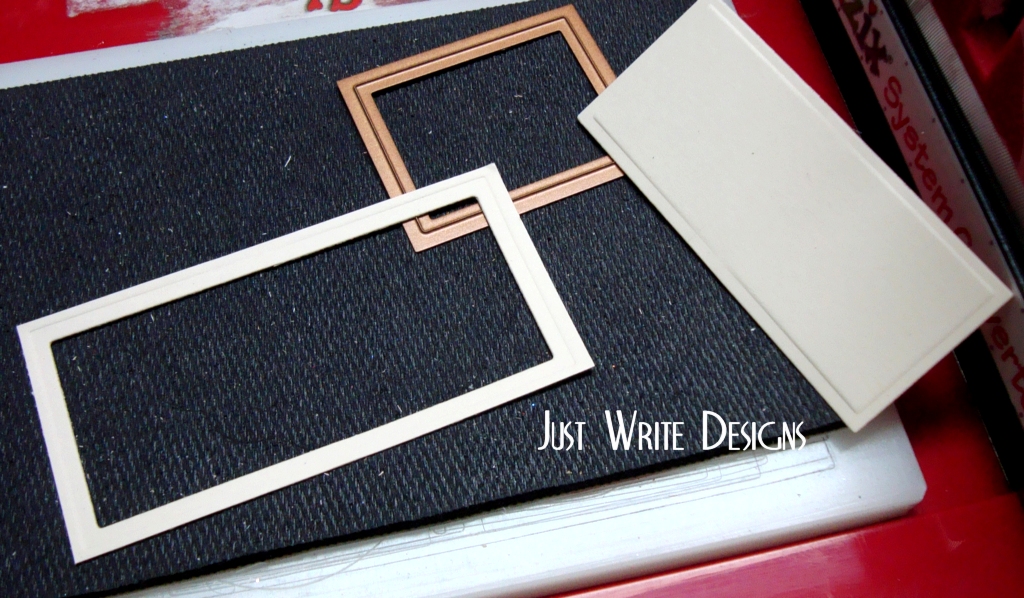
    8. That’s it! Here’s the finished product. My new long rectangle measures just over 3″ L x 1 5/8″ H. The leftover frame is also fun to use.

    I’ve done this technique using many different die shapes. As long as the die is symmetrical, it has worked. This technique also works if you want to shorten the size of your die cut. 

    Julie2 sig


  • H is for Harvest

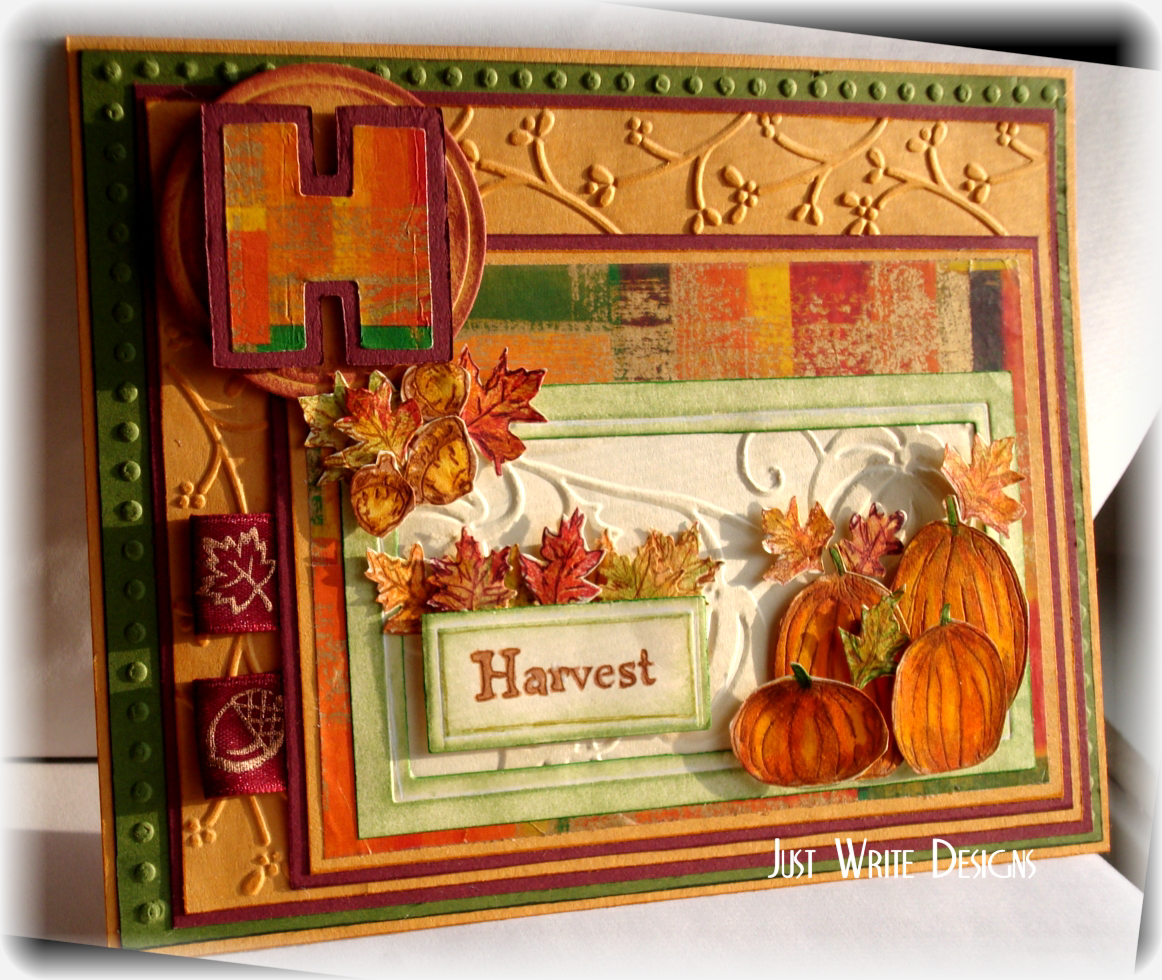
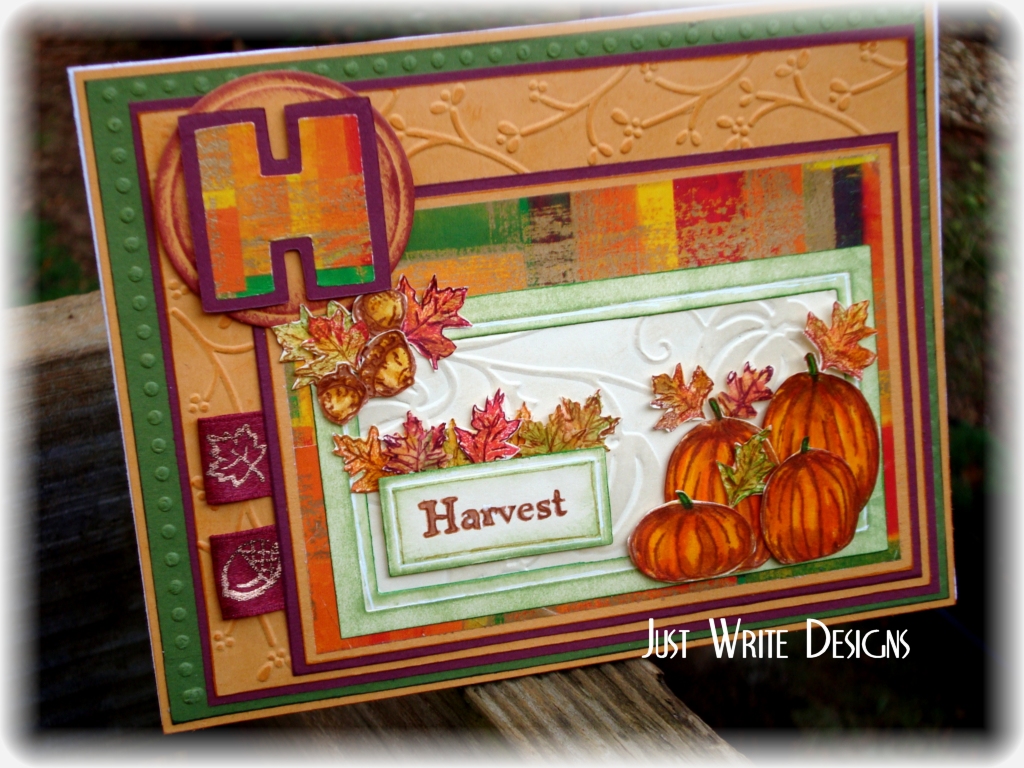
    This is my combo for yesterday’s sketch and today’s ways to use it challenges. I had a lot of fun w/ both of these.

    I stamped all the images (FireCracker Designs ) w/ either sienna ink or the Kpads (leaves only). I colored the pumpkins w/ markers and used a blender on the leaves. Then I outlined everything w/ a brown gel pen to give a little more definition. Everything was cut out.

    The green and marigold layers, I used cb border folders on. The vanilla rectangle behind the pumpkins I used the harvest folder. I used the nestie rectangles to get my long frame and the small sentiment frame. This was a little bit complicated until I figured out how to make my standard rectangle dies cut a long rectangle. Since I don’t have the long rect. set yet, I played around until I figured out I could get my std. rect. to do the same thing. I’ll probably have to do it again and take pics cause it’s a little hard to explain. After I cut the long rect., I used the frame of the large one and sponged on green ink. I did the same to the small one and stamped the sentiment in the center.

    The dp looking stuff is actually wrapping paper. I die cut the letter and shadow then attached them to a nestie circle. I added two little ribbon tabs on the left side.

    I’ll try to explain how I made a long rectangle out of a standard nestie rectangle. Basically, take for example, the 1″ x 2″ nestie rectangle and make your card stock larger, say, 1 1/2″ X 4″. Place your nestie on the card stock near one end. It’s probably important to note that I use mine with the original Sizzix machine, so I don’t know what you’d have to do differently for other machines. Then place the die in the machine but not all the way. Leave the last 1/2″ or so (toward the center) uncut. Place on your mat and emboss. Carefully remove the nestie die and reposition toward the opposite end and repeat, again omitting the last 1/2″ toward the center. If done correctly, you will have a long, 1″ x approx 3 1/2″ rectangle. If you’ll check back tomorrow, I’ll try to have pics and a better description. Pics will make it so much easier to understand.

    UPDATE: Here’s the tutorial for this. Resizing Your Nesties

    Julie2 sig

    Supplies:
    Stamps: FireCracker Designs by Pamela
    Paper: vanilla, = to marigold morning, bravo burgundy, garden green, wrapping paper
    Ink: Ancient Page sienna, leaf green, bordeaux, Kaleidacolor Autumn Leaves & Desert Heat rainbow pads
    Accessories: foam tape, Sizzix shadow letter die, nestie rectangles & circles, cb harvest and just my type border folders, markers, brown gel pen, ribbon


  • Tag- you’re it!

    Time to bite the bullet. I’ve been tagged twice – first by Cindy (Mothermark) and then by Judy (StampingQueenJar) so here are the rules as I understand them:

    1. Link your tagger and list the rules on your blog.
    2. Share 7 facts about yourself on your blog some random, some weird.
    3. Tag 7 people at the end of your post by leaving their names as well as links to their blogs.
    4. Let them know that they have been tagged by leaving a comment on their blog.

    Seven weird facts? Gee, I think most of my whole life is weird. Or maybe that’s just me. I dunno. Well, here goes.

    1. I love scary movies. Always have. Even when I was a kid, I would wait up on Saturday nite for the late thriller that came on at 11:00.  The problem was, at 10:55 the station always had a 5 minute message from the Weber Road Church of Christ. The man reciting the message must have been a hypnotist because he knocked me out in under 2 minutes. Every time.

    2. As kid, I was always “finding” things. Dogs, cats, birds, rabbits. Sick, injured, lost. Then I’d bring them home. My dad finally had to ask me to stop finding things. My parents thought I would be a vet. I still find things. If someone says they’re looking for an item, I will, almost w/o fail, come across it.>

    3. This may sound weird, but I’ve always liked my name. Growing up, I would hear others say how they hated their name. Or they wanted to be called something else. Not me. Up until high school, I hadn’t even met another Julie.  Now we are everywhere, lol.

    4. There was a total solar eclipse the day I was born. (That’s kind of weird, isn’t it?) I was born just after the maximum totality part. I also have this weird magnetic thing. Before I had a quartz watch, I had a whole drawer full of  wind up watches. I couldn’t wear one for more than about 8 hours. They would just stop. So I’d change it out for another. And keep going. After a day or so in the drawer, they would start working again. The first generations of electronic cash registers always went haywire when I got near them. So did the first cordless phones. Back when we had the old floppy disks, my husband swore I could erase them by just sitting near them.

    5. I was pretty much fearless growing up. Jump in the lake kind of thing before I knew how to swim. I was also the emergency room kid of the family. Go figure! Stitches, tetanus shots, rabies shots (yes, in the stomach), broken fingers, leg and toes.

    6. Until I was 11, I was the shortest kid in all my classes. In 3rd grade, all the kids decided it would be fun to have a race between the shortest boy and the shortest girl (guess who?), I won, but wearing my dreaded little Mary Janes was like wearing ice skates when i hit the concrete sidewalk and I went thru the window of an empty classroom. Whoops! Please refer to fact #5 as this was another emergency room visit. Good news, though. At 11, I grew a lot taller and for 1 year was the tallest in my class.

    7. In case you haven’t guessed, I was a tomboy. And one w/ a vivid imagination. When the kids on my block played army, I had to be the 5 star general. My dad is a computer programmer and he used to bring home key punch cards for me to play with. You know, all 0’s and 1’s. I devised a secret code only I and my best friend could read. We also built a very fine, two story treehouse. With lookout posts. And we tried to charge the other kids a nickel to come up in our wonderful treehouse. I hope the old lady on the corner never found out that it was me who told all the other kids about how she buried someone in her garage. She probably never knew why none of them would set foot in her yard.

    Okay, so now I am tagging these seven people.

    Deena (moonrise)

    Stephanie (SmilynStef

    Denise (luvthesea)

    Silke (Sparklegirl)

    Jami (sgtstamper)

    Julia (artystamper)