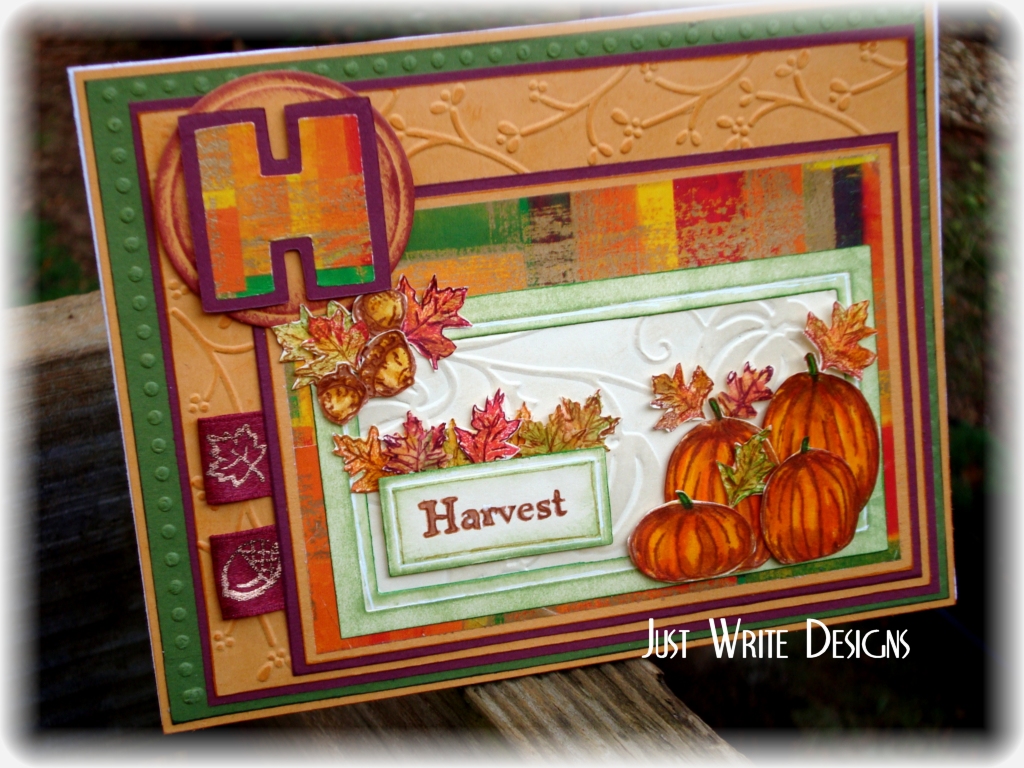
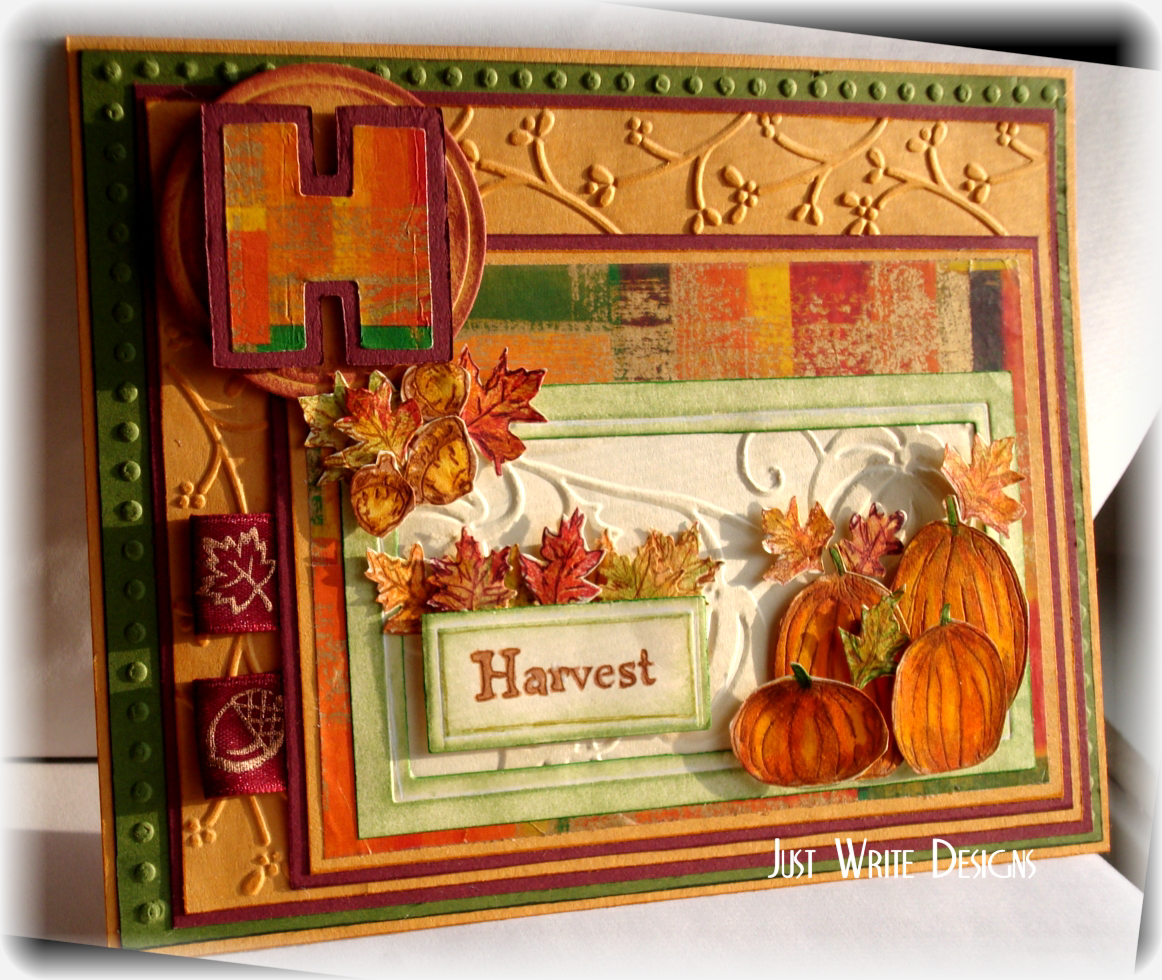
This is my combo for yesterday’s sketch and today’s ways to use it challenges. I had a lot of fun w/ both of these.

I stamped all the images (FireCracker Designs ) w/ either sienna ink or the Kpads (leaves only). I colored the pumpkins w/ markers and used a blender on the leaves. Then I outlined everything w/ a brown gel pen to give a little more definition. Everything was cut out.
The green and marigold layers, I used cb border folders on. The vanilla rectangle behind the pumpkins I used the harvest folder. I used the nestie rectangles to get my long frame and the small sentiment frame. This was a little bit complicated until I figured out how to make my standard rectangle dies cut a long rectangle. Since I don’t have the long rect. set yet, I played around until I figured out I could get my std. rect. to do the same thing. I’ll probably have to do it again and take pics cause it’s a little hard to explain. After I cut the long rect., I used the frame of the large one and sponged on green ink. I did the same to the small one and stamped the sentiment in the center.
The dp looking stuff is actually wrapping paper. I die cut the letter and shadow then attached them to a nestie circle. I added two little ribbon tabs on the left side.
I’ll try to explain how I made a long rectangle out of a standard nestie rectangle. Basically, take for example, the 1″ x 2″ nestie rectangle and make your card stock larger, say, 1 1/2″ X 4″. Place your nestie on the card stock near one end. It’s probably important to note that I use mine with the original Sizzix machine, so I don’t know what you’d have to do differently for other machines. Then place the die in the machine but not all the way. Leave the last 1/2″ or so (toward the center) uncut. Place on your mat and emboss. Carefully remove the nestie die and reposition toward the opposite end and repeat, again omitting the last 1/2″ toward the center. If done correctly, you will have a long, 1″ x approx 3 1/2″ rectangle. If you’ll check back tomorrow, I’ll try to have pics and a better description. Pics will make it so much easier to understand.
UPDATE: Here’s the tutorial for this. Resizing Your Nesties

Supplies:
Stamps: FireCracker Designs by Pamela
Paper: vanilla, = to marigold morning, bravo burgundy, garden green, wrapping paper
Ink: Ancient Page sienna, leaf green, bordeaux, Kaleidacolor Autumn Leaves & Desert Heat rainbow pads
Accessories: foam tape, Sizzix shadow letter die, nestie rectangles & circles, cb harvest and just my type border folders, markers, brown gel pen, ribbon
