Posts Tagged ‘monogram’
Welcome to the April Challenge for Serendipity Stamps! This month the challenge is Monograms & Verse! You can get all the details over on the Serendipity Challenge Blog. We have something new…a “Stamp of the Month”. Each month a different image will be 50% off. This month- it’s the Jar Label. And as always, we have a have a gift certificate up for grabs to a random player.
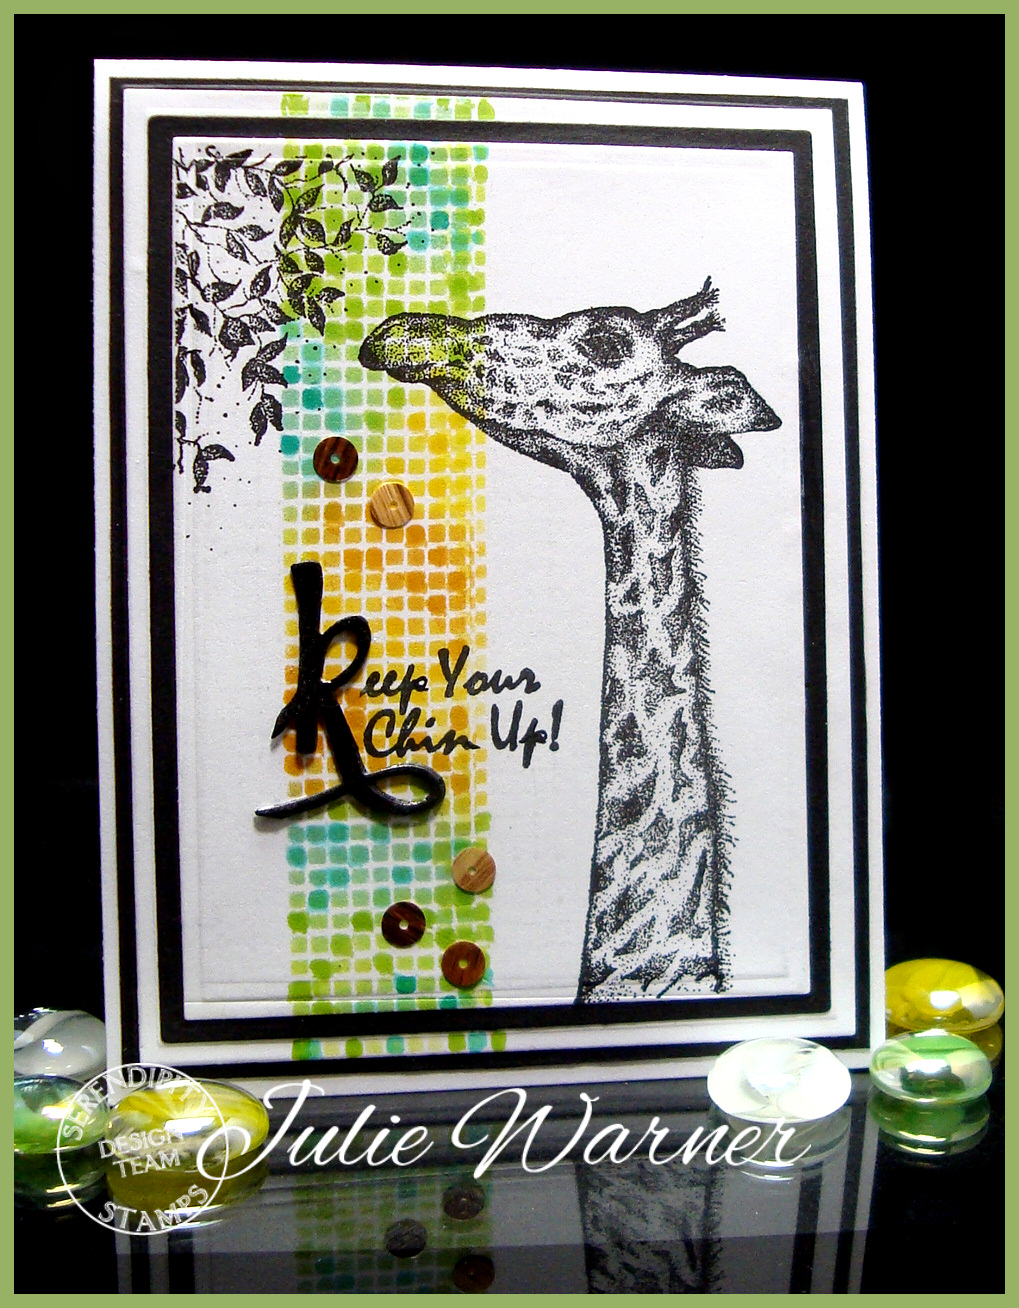
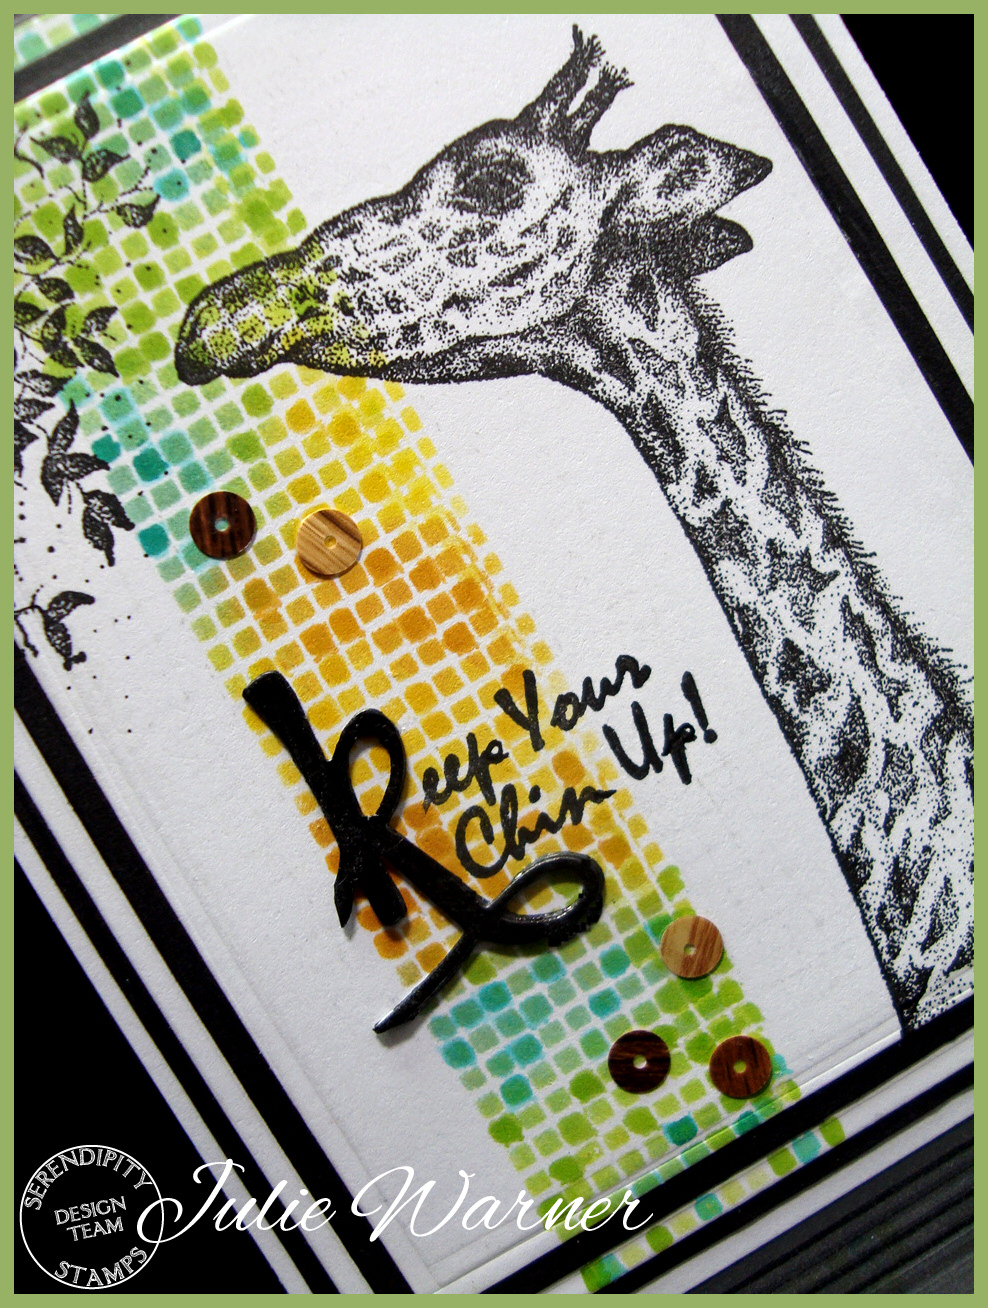
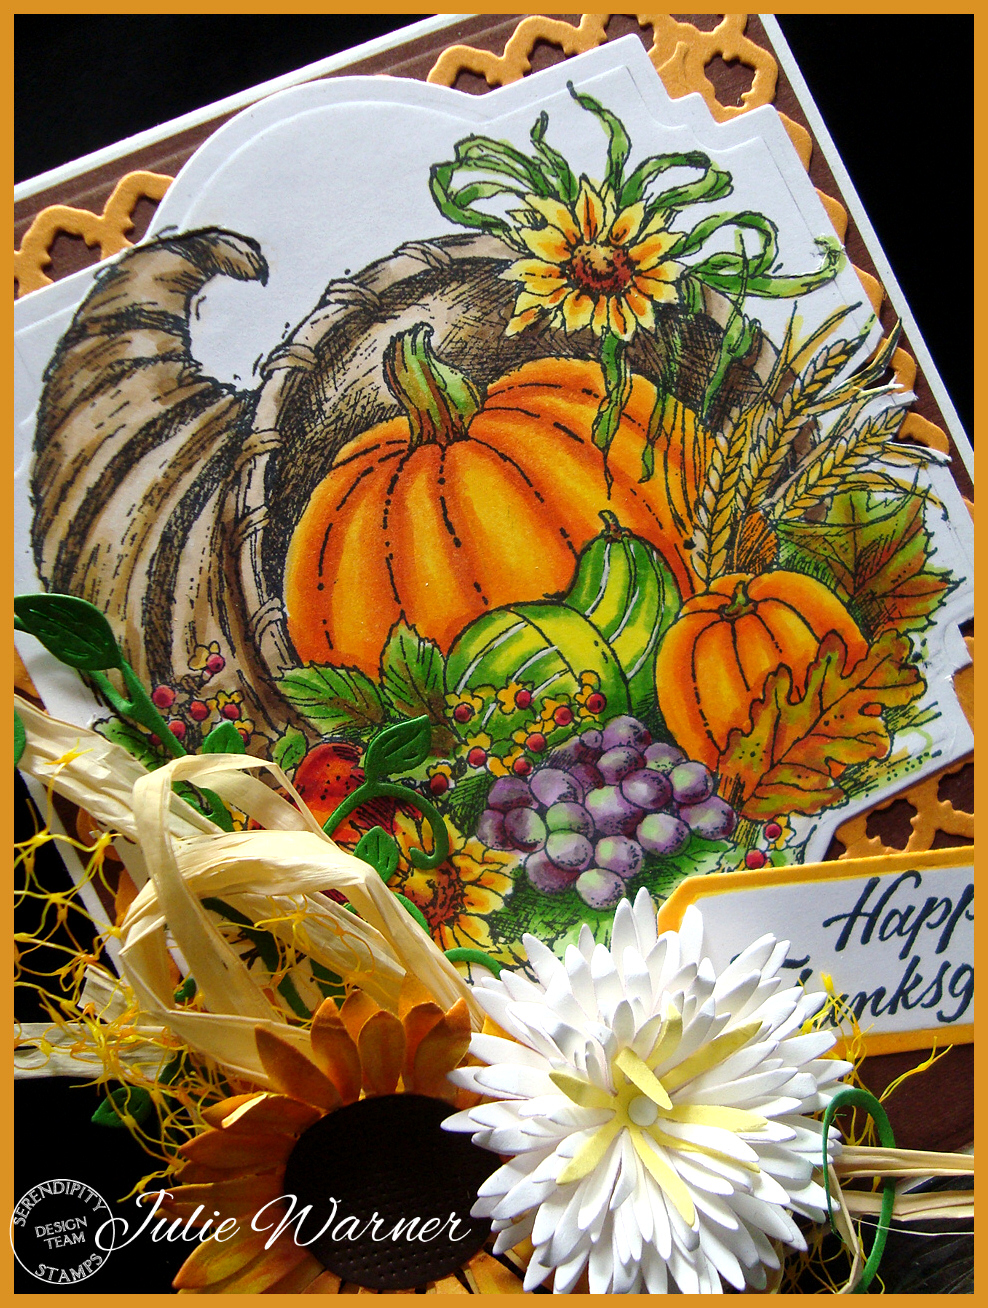
For my Monogram card, rather than just have the Monogram by itself, I used the Monogram snipped from the Thanks die (I also snipped off a bit of the flourish) as the first letter in my greeting. I used a stamp positioner to move the lines of the greeting to better fit the Monogram. I love this Giraffe set and rather than color it, I used a piece of drywall mesh (it’s sticky on the backside) as a stencil, masked the sides, sponged some ink through it and added a little more color in a few of the squares w/ Copics. The image was stamped on top & die cut. I added a black mat then put it back on the larger piece it was cut from so it looks like the grid continues. A few of the sequins from the Wood Sequin combo were sprinkled here & there.
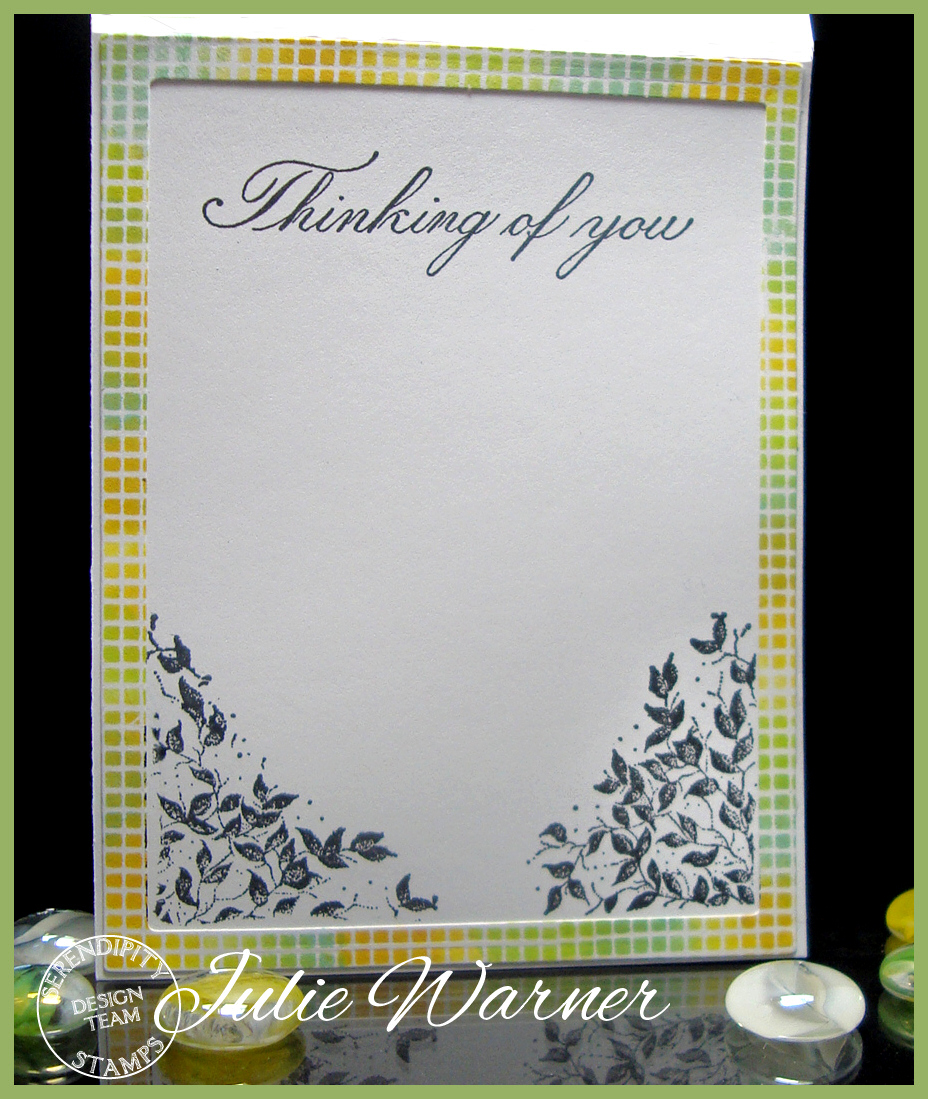
The inside was also kept simple:
Supplies:
Stamps: Serendipity Stamps –Giraffe cling set , Thinking of You ( on inside) |
Paper: Neenah white, black |
Ink: Versafine Onyx, Kaleidaolor tahiti (for sponging the grid) |
Accessories: Serendipity Thanks die, Spellbinders A2 matting basics A & B, Copic markers, Wood Sequins |
Please be sure to visit & comment on all the DT blogs:
- Miriam Napier
- Vickie Zimmer
- Jeanne Jachna
- Jenny Gropp
- Julie Warner (you are here!)
- Karen Amidon
- Marybeth Lopez
Thanks so much for stopping by!
This is my combo for yesterday’s sketch and today’s ways to use it challenges. I had a lot of fun w/ both of these.
I stamped all the images (FireCracker Designs ) w/ either sienna ink or the Kpads (leaves only). I colored the pumpkins w/ markers and used a blender on the leaves. Then I outlined everything w/ a brown gel pen to give a little more definition. Everything was cut out.
The green and marigold layers, I used cb border folders on. The vanilla rectangle behind the pumpkins I used the harvest folder. I used the nestie rectangles to get my long frame and the small sentiment frame. This was a little bit complicated until I figured out how to make my standard rectangle dies cut a long rectangle. Since I don’t have the long rect. set yet, I played around until I figured out I could get my std. rect. to do the same thing. I’ll probably have to do it again and take pics cause it’s a little hard to explain. After I cut the long rect., I used the frame of the large one and sponged on green ink. I did the same to the small one and stamped the sentiment in the center.
The dp looking stuff is actually wrapping paper. I die cut the letter and shadow then attached them to a nestie circle. I added two little ribbon tabs on the left side.
I’ll try to explain how I made a long rectangle out of a standard nestie rectangle. Basically, take for example, the 1″ x 2″ nestie rectangle and make your card stock larger, say, 1 1/2″ X 4″. Place your nestie on the card stock near one end. It’s probably important to note that I use mine with the original Sizzix machine, so I don’t know what you’d have to do differently for other machines. Then place the die in the machine but not all the way. Leave the last 1/2″ or so (toward the center) uncut. Place on your mat and emboss. Carefully remove the nestie die and reposition toward the opposite end and repeat, again omitting the last 1/2″ toward the center. If done correctly, you will have a long, 1″ x approx 3 1/2″ rectangle. If you’ll check back tomorrow, I’ll try to have pics and a better description. Pics will make it so much easier to understand.
UPDATE: Here’s the tutorial for this. Resizing Your Nesties
Supplies:
Stamps: FireCracker Designs by Pamela
Paper: vanilla, = to marigold morning, bravo burgundy, garden green, wrapping paper
Ink: Ancient Page sienna, leaf green, bordeaux, Kaleidacolor Autumn Leaves & Desert Heat rainbow pads
Accessories: foam tape, Sizzix shadow letter die, nestie rectangles & circles, cb harvest and just my type border folders, markers, brown gel pen, ribbon