• ODBD May Release Blog Hop!

    Julie Warner - justwritedesigns - https://thewritestuff.justwritedesigns.com

    Hello everyone! I hope you are enjoying the May Our Daily Bread
    designs Blog Hop! The sticks in the bread basket are soooo excited
    this month about all the sets being released! I know you will enjoy
    this hop and will love all the new sets!

    If you got here from the wonderful blog of  Chris Olsen, you are in the right place! If
    not, you might want to start at the Our Daily Bread designs Blog and
    hop from there!

    (You can always click on any picture to enlarge.)

    Julie Warner - justwritedesigns - https://thewritestuff.justwritedesigns.comWeekly-Favorite

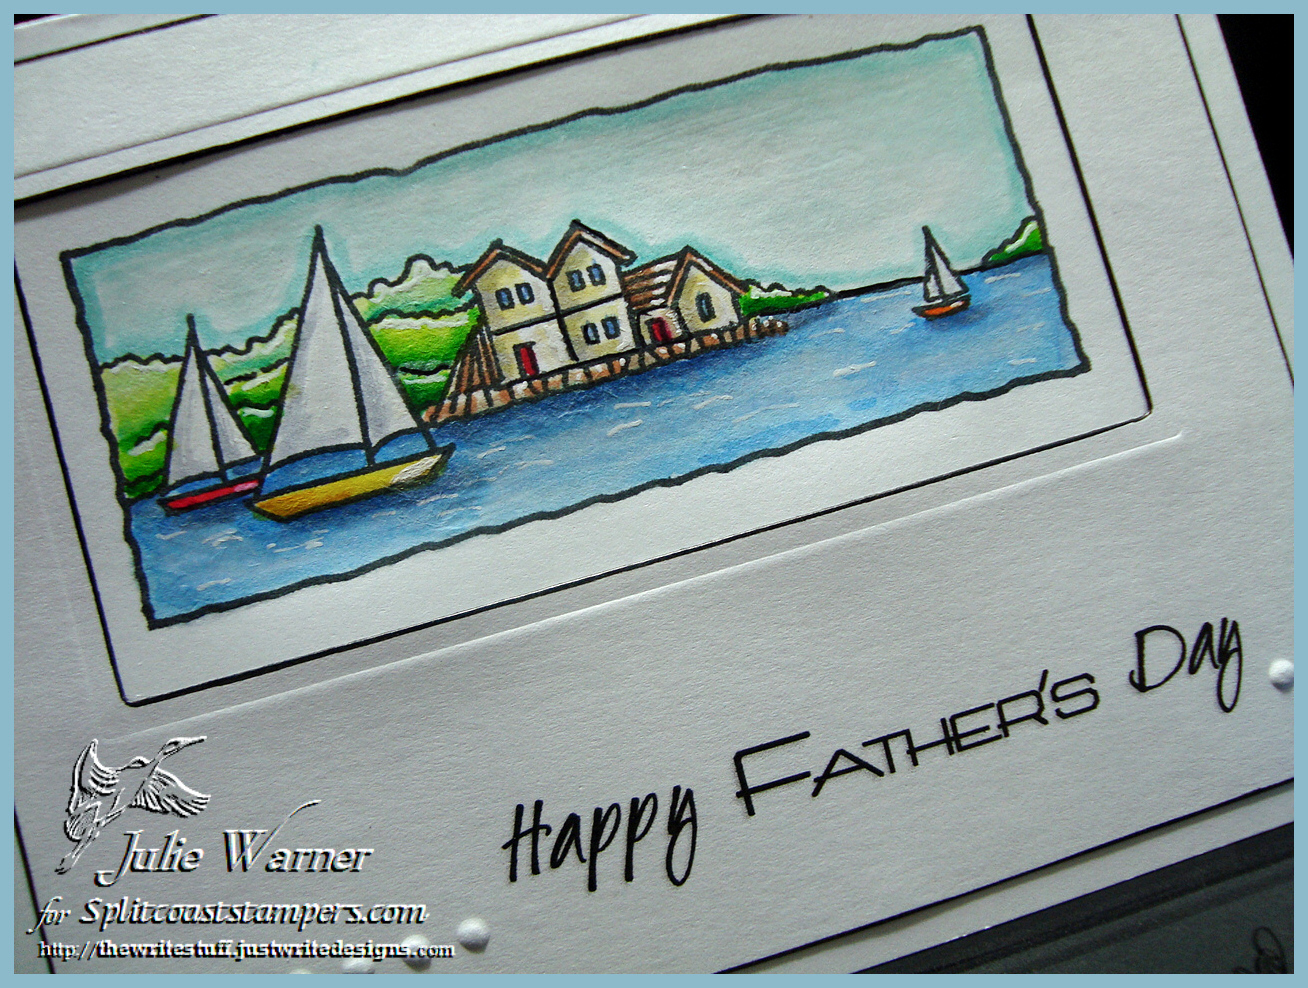
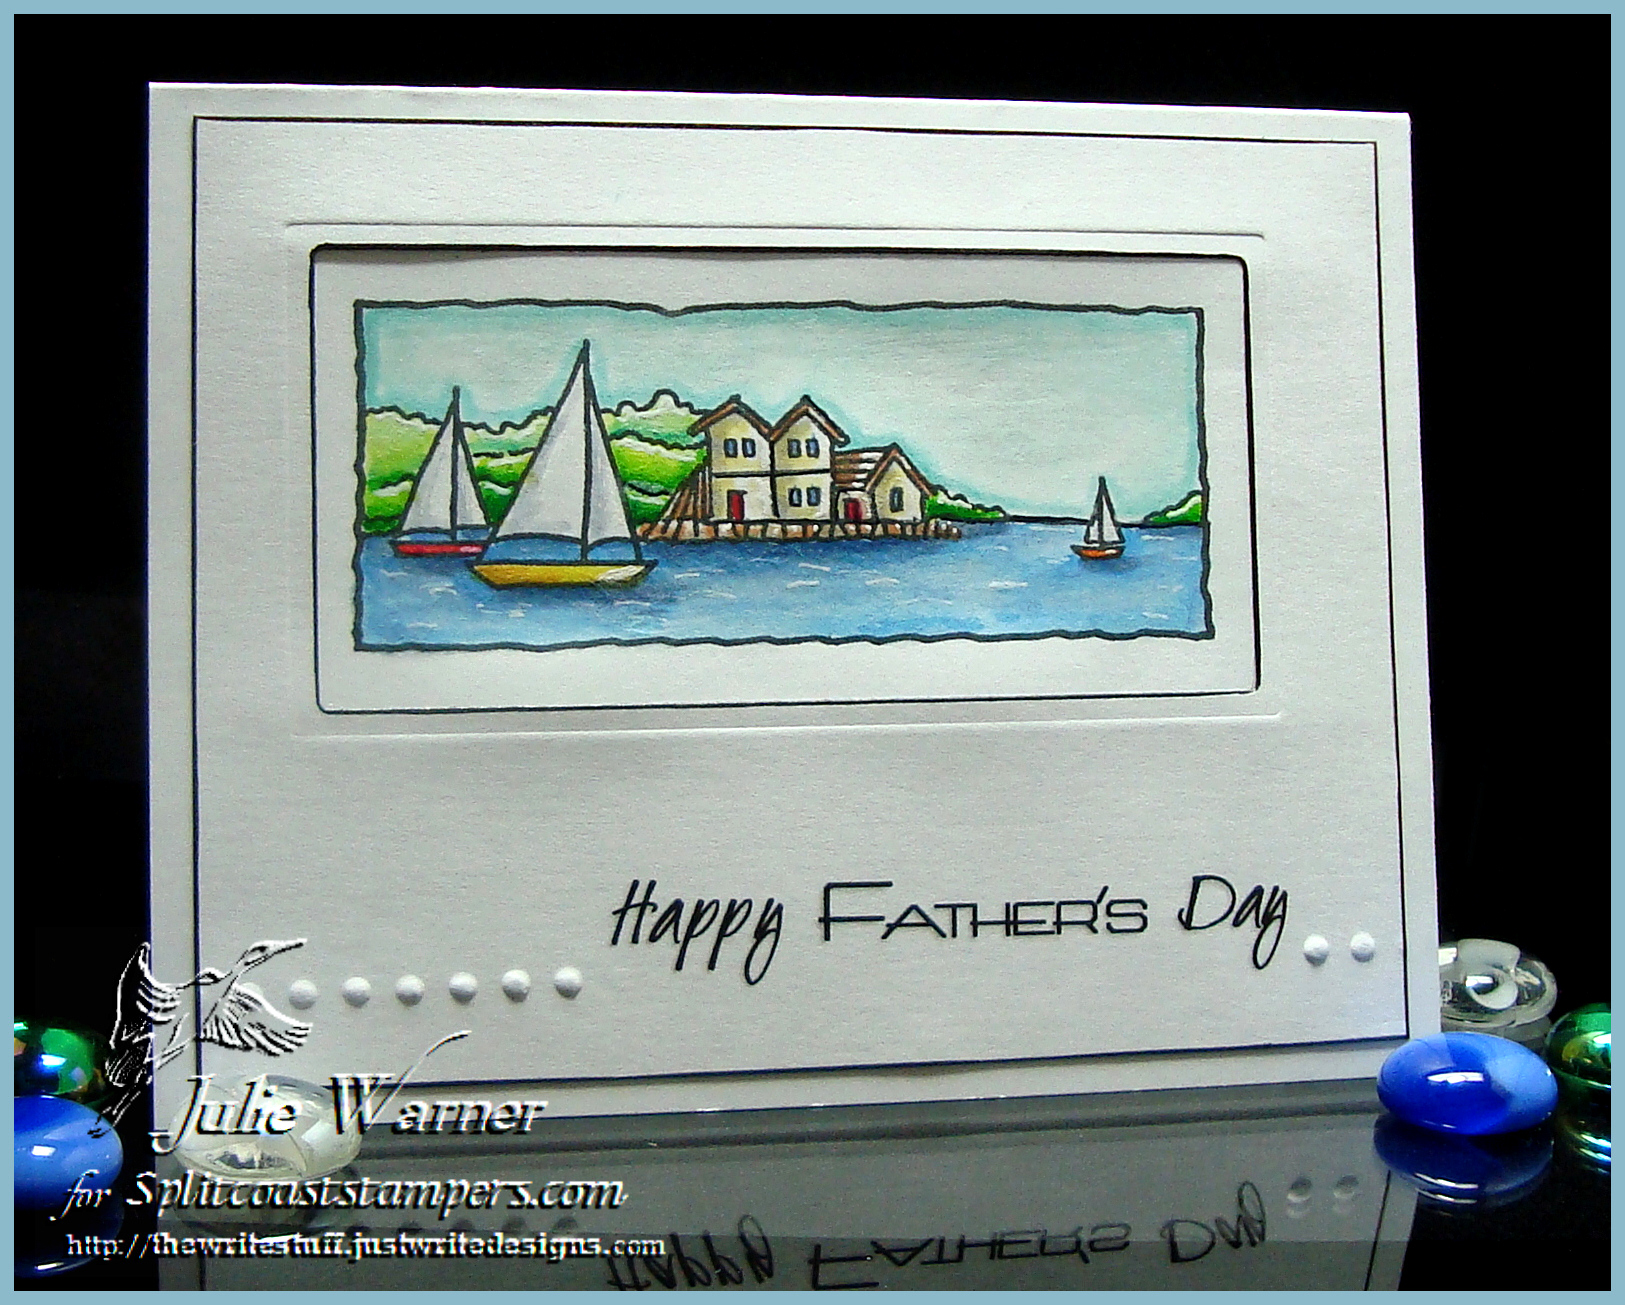
    I have two cards to share today. It didn’t start out to be two but it evolved that way and parts of one are used on the other. This one started as a watercolor background on lightweight watercolor paper. After it dried, I die cut the image out of the background then used a slightly larger die to make the background opening larger. On the 5×5 ivory card front, I stamped the Vintage Border across the bottom, added a little color to the centers and used the Vintage Border Die across the bottom half only to cut the card edge. I made a few more of the borders on another piece of c/s, die cut them and added them under the frame and around the top of the sentiment tag.

    Julie Warner - justwritedesigns - https://thewritestuff.justwritedesigns.com
    A lot of times, when I have an image like this fabulous Porch image (designed by Dina Kowal) all inked up, I’ll stamp it more than once. Just in case something happens to the first or I want to layer for depth or to have one for later. This was the extra one and while it was sitting there, I thought I’d add a little color.  Then the narrow frame piece from the first card was added to see how it looked. For the die cut Vintage Border peeking out around from around the frame, I double stamped it; once w/ the Kpad and again w/ the black ink.  I scored a border on the front of the 5×5 ivory card.

    From here hop on over to Connie McCotter’s blog,  I know she’ll have something fabulous to share!

    Thanks so much for stopping by! 

    Julie Warner - justwritedesigns - https://thewritestuff.justwritedesigns.com


    Supplies:

    Stamps: ODBD – Porch & Vintage Border
    Paper: ivory, water color paper
    Ink: Kaleidacolor Caribbean Sea, VersaFine Onyx
    Accessories: ODBD Vintage Border die, Spellbinders long rectangles (rezized to a lg square), Peerless watercolors, Tombow markers, Scor-It board, white gel pen (for highlights)


  • ISC April Release Day 3

    Delicate Swirls Butterfly Stamp Line

    Julie Warner - justwritedesigns - https://thewritestuff.justwritedesigns.com

    For my card, I picked the Tropical Dramaturgy from  color link site Betsy gave us. I love tropical colors and I tried to incorporate as many as i could. I first made the background on lightweight water color paper by painting bands of dye reinker colors with a large paintbrush onto the dry paper. I used part of it for the background and I  black embossed the butterflies on the rest.  The narrow black frame was a leftover piece from another project where I had die cut some squares out of it.

    For the banner, I stamped the image w/ lighter colored ink, cut it out and used the reverse side. The daisy border was also painted w/ dye reinkers after it was punched.  The little black butterflies were punched out of black embossed c/s. The finished card measures 5.5 x 4.25.

    Thanks so much for stopping by! Please be sure to visit all the Architects.

    Kathy Tucker
    Julie Warner (you are here)
    Karen Dunbrook


    Julie2 sig
    Supplies:

    Stamps: ISC -Delicate Swirls Butterfly
    Paper: water color, black
    Ink: VersaFine Onyx, various Adirondack reinkers
    Accessories: Quickutz oval die,  black ep, small butterfly punch (All Night Media), Daisy border punch (EK Success)

  • ISC April Release Day 1!

    Julie Warner - justwritedesigns - https://thewritestuff.justwritedesigns.comI used two colors of ink from a rainbow ink pad to stamp the images on my card. Two sizes of circle dies were used to cut them out. After stamping the butterflies, I used Versamark all over them and embossed on top w/ clear ep to add a little shine. The sentiment was die cut and a narrow grosgrain ribbon was tied in a bow. The lower edge of the dp was punched w/ a decorative punch. The finished card measures 4.25 x 5.5.

    These small-dainty images add a lovely touch to your creation! Here are a few tips to consider:

    • Use a 1 ¼” or 1” circle or square punch
    • Use glossy accents on top of punched image and let dry. Punch holes before you apply the dimensional glue to give them a button effect – then affix on your card
    • Create your own bauble!
    • These images fit nicely in Memory Frames by Ranger
    • Affix with glue on top of flat brads to give your artwork a final touch
    • Affix with glue on a paper clip

    Julie Warner - justwritedesigns - https://thewritestuff.justwritedesigns.com

    Be sure to visit the other Architect’s blog/gallery:

    Kathy Tucker
    Julie Warner (you are here!)
    Karen Dunbrook
    Thanks so much for stopping by! Please check back tomorrow for more of this month’s release!
    Julie2 sig
    Supplies:

    Stamps: ISC – Artful Décor
    Paper: Neenah white, dp (SEI – Coastal collection)
    Ink: Kaleidacolor Riviera, Versamark
    Accessories: Spellbinders circles dies, Quickutz oval die, clear ep, narrow grosgrain ribbon, border punch (EK Success)