Welcome to the Our Daily Bread designs November release! We have some fabulous Christmas images and dies to show you today! One winner will be randomly chosen from one of the designers blog comments to receive a $50 Gift Certificate to the ODBD Store, to be used toward the purchase of ODBD Stamps. You have until November 2, 2013 at 9:00 p.m. EST to make your comments! The Winner will be posted on the ODBD Blog on November 3rd, so be sure to check back there to see if you won!
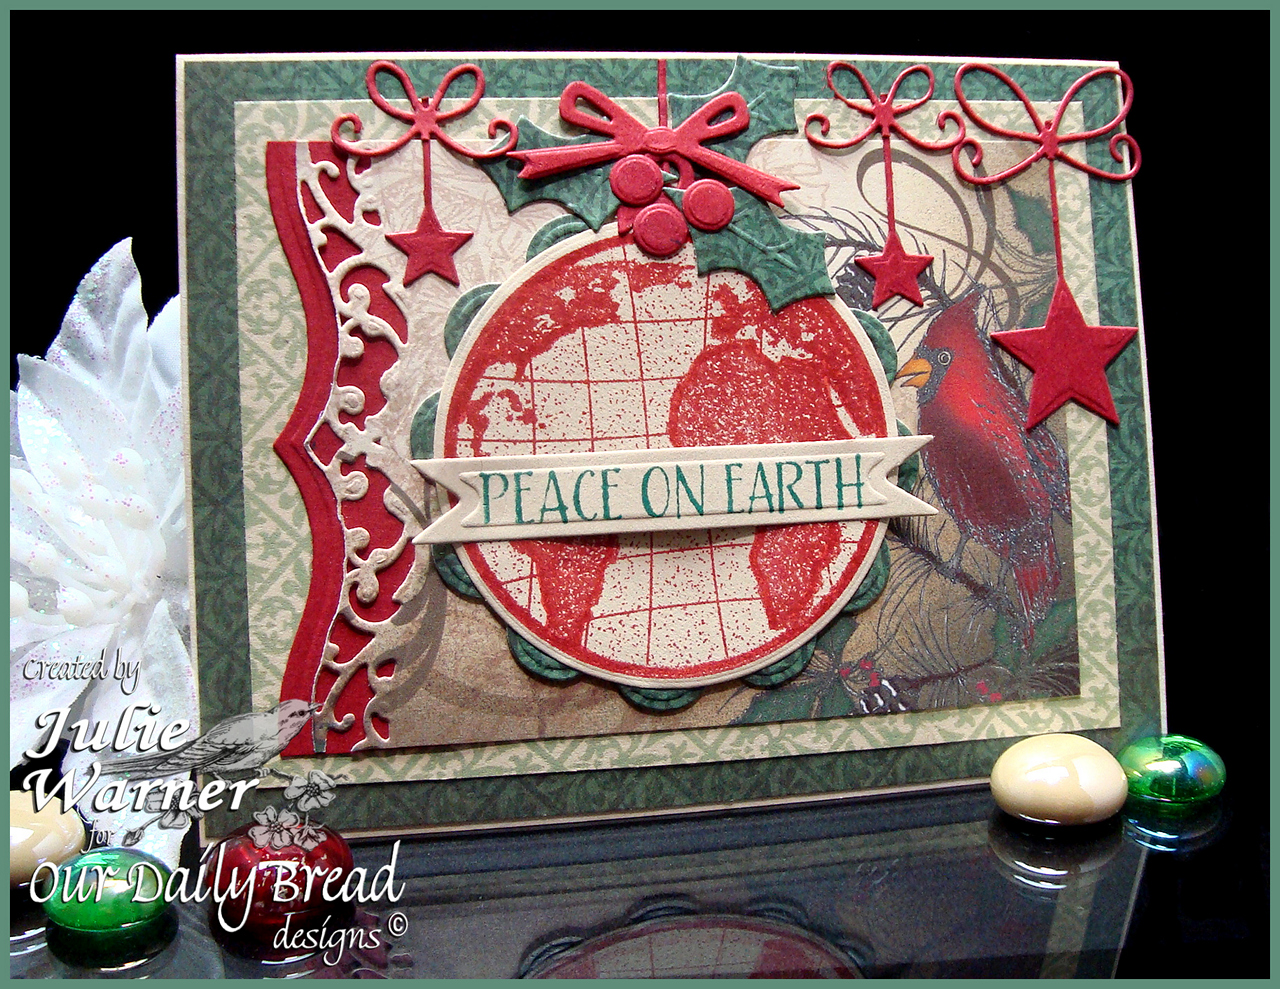
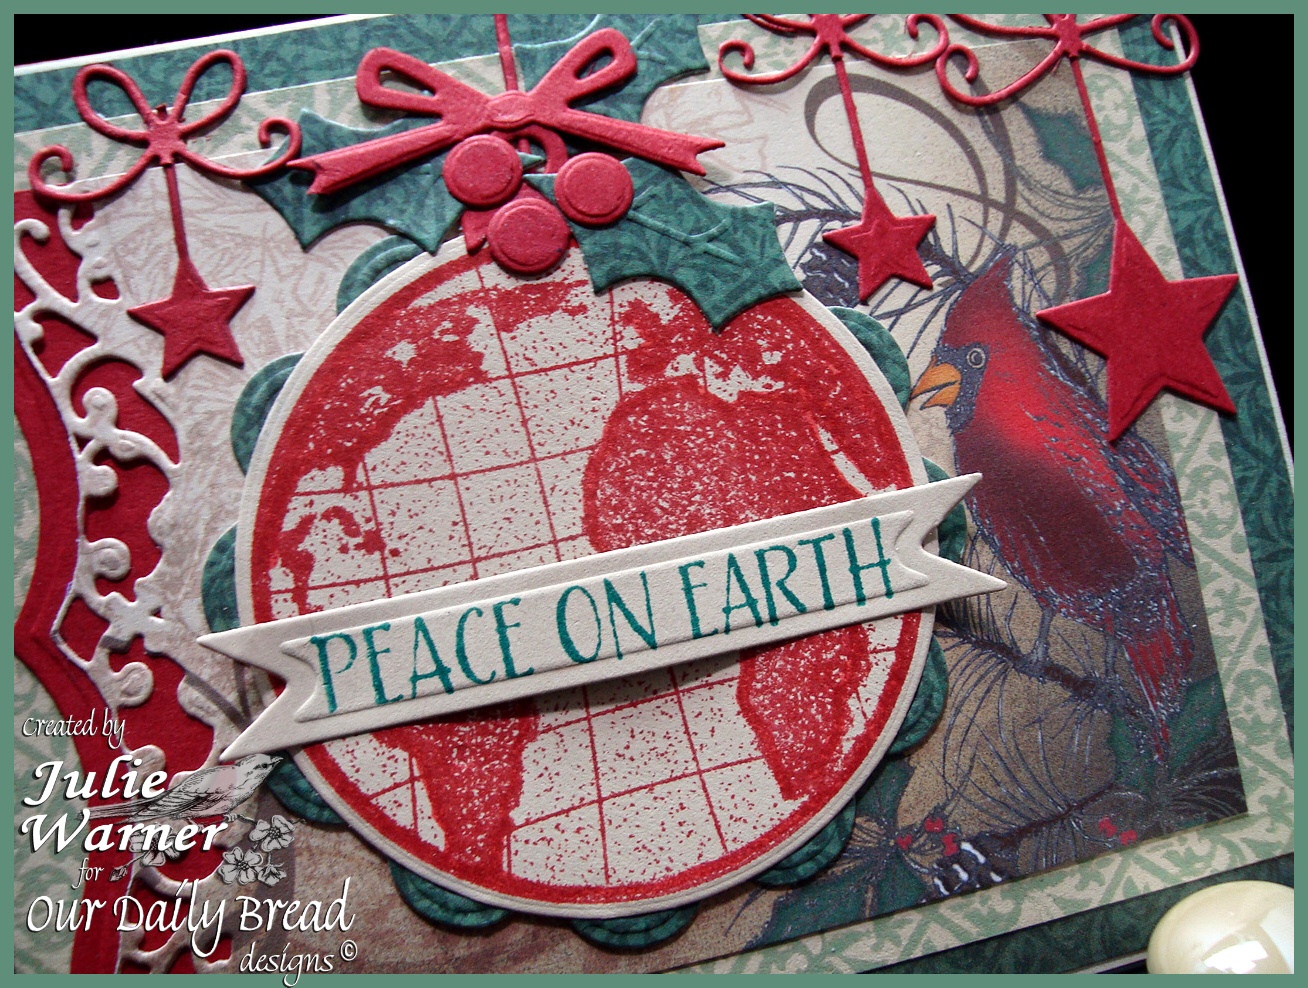
On my first card, I used The Earth, Vintage Pattern Mini 1, the Circle Ornament dies and the ODBD Christmas Paper Collection 2013. After stamping the earth ornament and die cutting it, I added a die cut red bow, holly leaves and berries to the top. The left side of the cardinal paper was die cut and I added another die cut piece of red underneath to help define the border. The lt green/vanilla bg was stamped with Vintage Mini Pattern 1 and the green ink. The dk green is another sheet of the Christmas paper collection. I added a few die cut hanging stars to finish my 5.50 x 4.25 card.
Supplies:
| Stamps: Our Daily Bread designs – The Earth, Vintage Pattern Mini 1 |
| Paper: vanilla, red linen, ODBD Christmas Paper Collection 2013 |
| Ink: Distress Ink in fired brick, HA Field Greens |
| Accessories: ODBD Circle Ornament dies, Spellbinders bracket border, Asian accents (dk green behind the ornament) & nested pennant dies, Memory Box precious stars die |
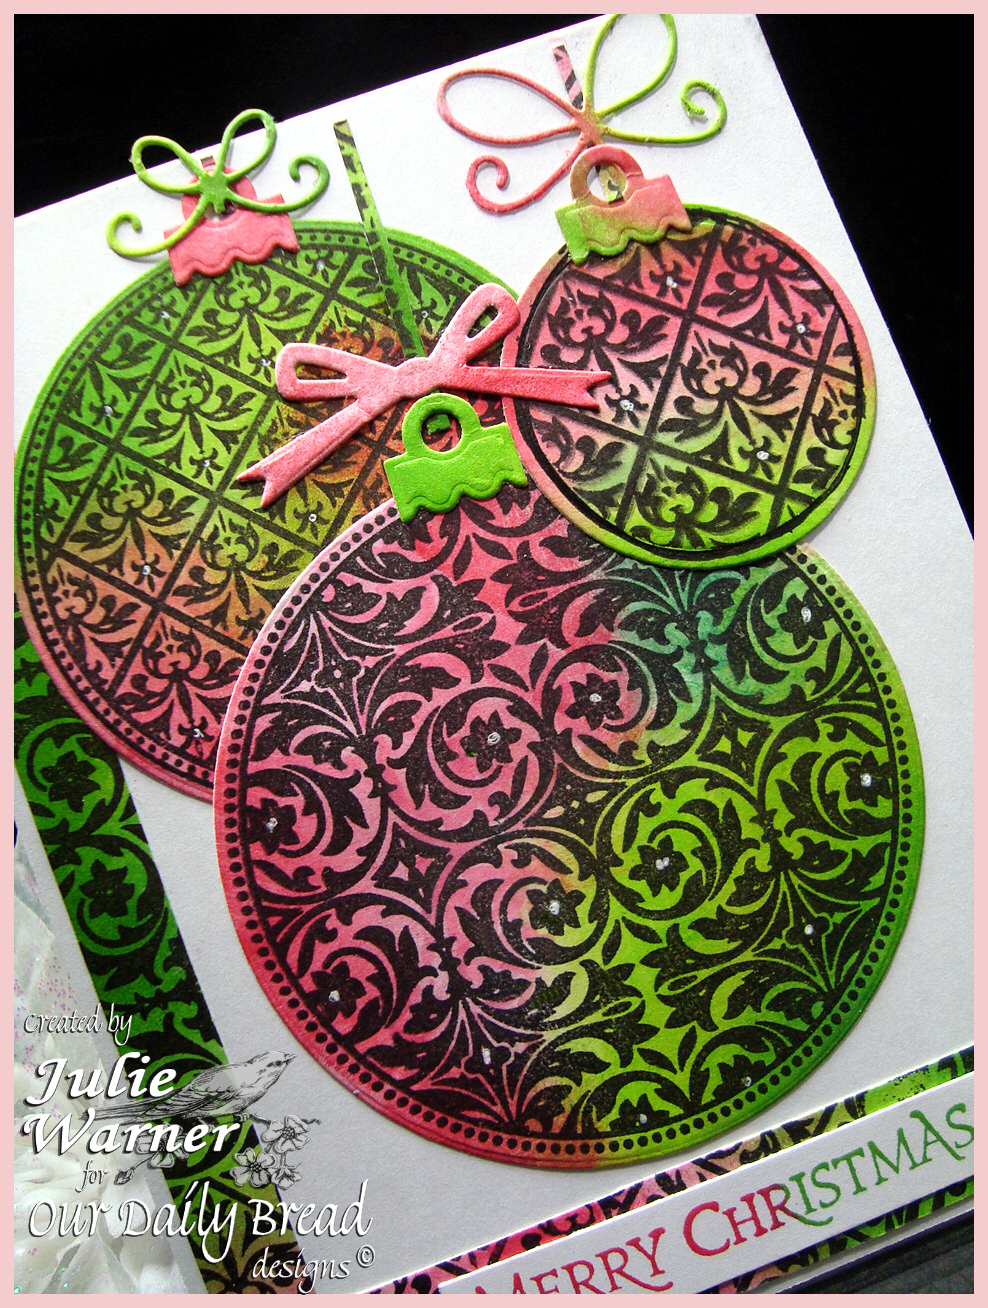
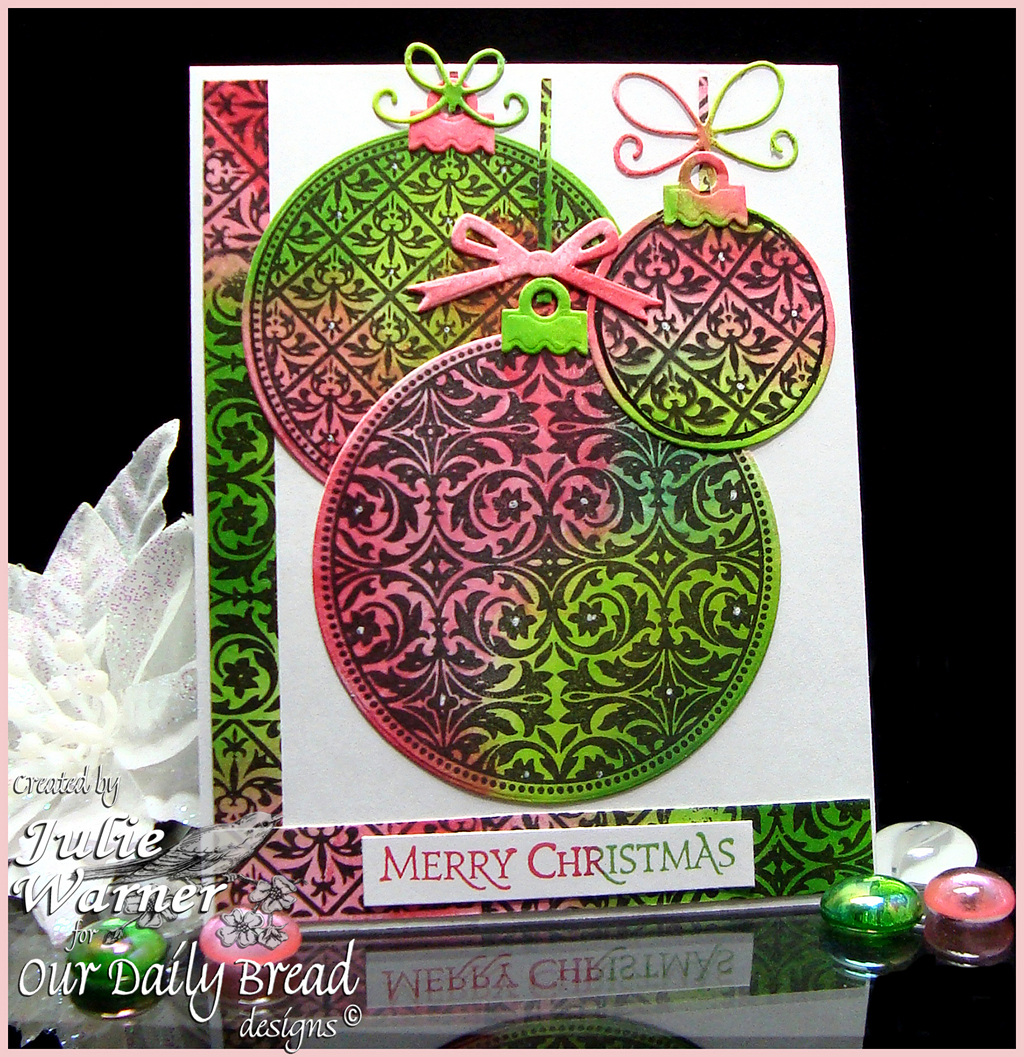 On my second card, I used 4 inks to pounce/sponge color on white c/s then stamped the 2 large ornaments of the Vintage Pattern Ornament set w/ Versafine onyx. I wanted a much smaller ornament so I die cut a smaller circle and w/ the die still in place, I stamped the Vintage Pattern Mini 1 inside then drew the border w/ a fine black marker. I added a few dots w/ a white gel pen for some contrast. On the 2 border strips, I stamped the Vintage Pattern Mini 1 & Vintage Pattern Mini 2 and attached them to the front of my 4.25 x 5.50 card. The greeting was stamped with a combination of red & green inks. The two smaller bows are from the stars die cut.
Supplies:
Stamps: Our Daily Bread designs – Vintage Pattern Ornaments, Christmas Pattern Ornaments (sentiment), Vintage Pattern Mini 1, Vintage Pattern Mini 2
|
| Paper: Neenah white |
| Ink: Distress Inks in worn lipstick, festive berries, mowed lawn, Kaleidacolor fresh greens (lightest green only), Versafine onyx |
| Accessories: ODBD Circle Ornament dies, Spellbinders circle dies, Memory Box precious stars die, white gel pen |
Thanks so much for stopping by! Please be sure to visit all of the team blogs.
Dawn * Grace * Sandee * Lisa * Chris * Angie * Julie * Silke * Cathy
*Lori * Tosha * Sabrina * Audrey

