• Tag Archives snowflakes
  • Snowflake Love


    A big congrats to Cindy, the newest Featured Stamper (FS861)! She has a wonderful gallery & I chose THIS card to case. I kept the Love part & the layout, but I made mine a Christmas theme, used snowflakes & different colors.

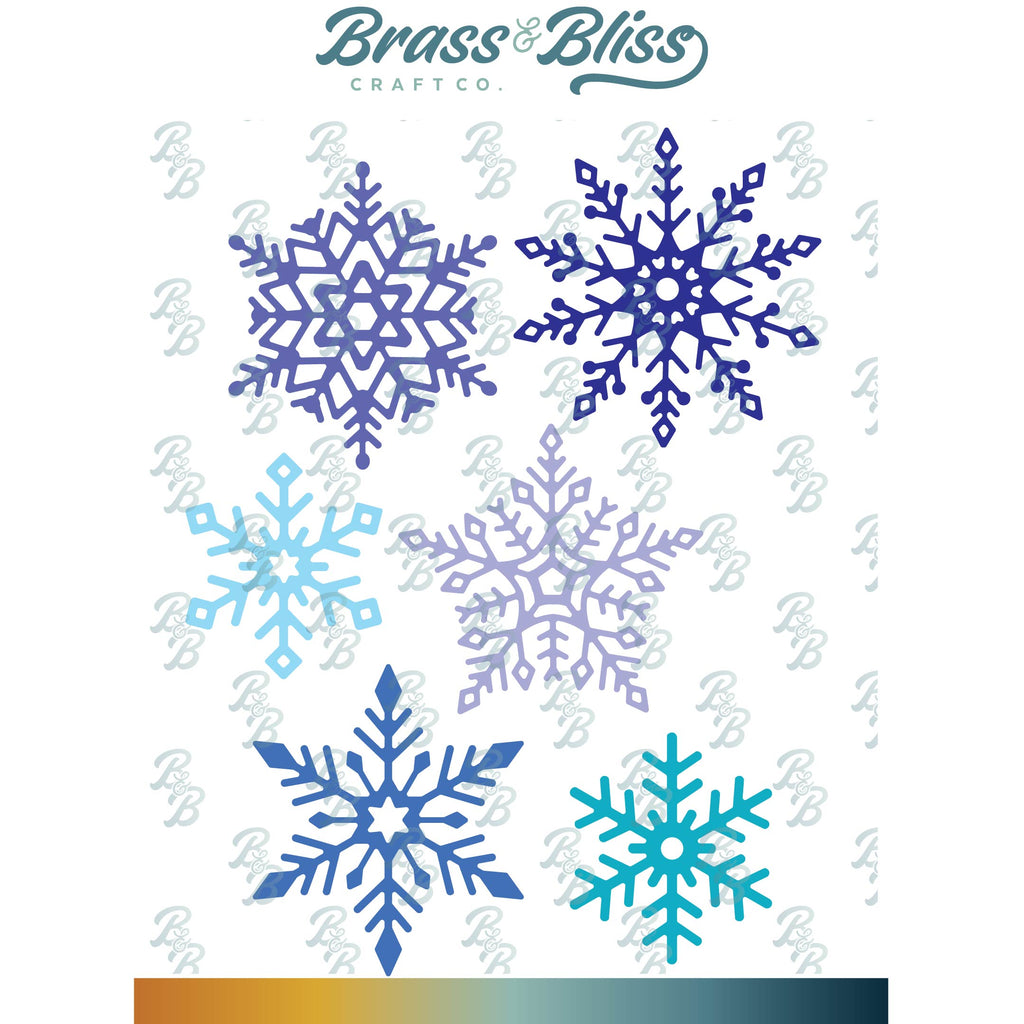
    For my silvery snowflake card, I wanted it to be really shiny so I glued a heavy weight aluminum foil to card stock then die cut it twice: first w/ a mini slimline then w/ a piercing die of flowers & swirls. It looks terrific in person, but it’s so hard to photograph. I also die cut some snowflakes & the Love out of the same foiled cardstock. The flowers & leaves were die cut out of 3 shades of blue & silver snowflakes attached on top. The greeting says ” Peace. Love. Joy” but I replaced the Love word w/ the die cut version.

    I used a dk blue snowflake paper for the sides. I die cut it w/ the same mini slimline die then cut it in half & attached it on either side of the foil panel.

    Thanks so m
    uch for stopping by!


    Supplies:
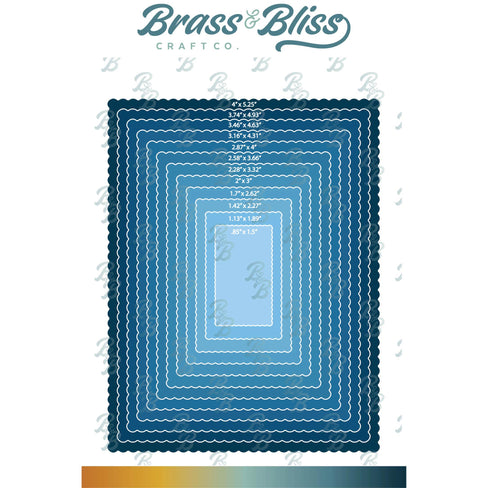
    Stamps: Rubbernecker Stamps: Kittie Says Christmas (new! coming soon)
     Paper: Staples 110# white, lt blue, smoky blue, navy,  Rubbernecker Stamps: Wintery Woodlands paper pad
    Ink: Memento tuxedo black
    Accessories:  Rubbernecker Stamps: Mini Slimline, Snowflakes, Love w/ Shadow, Stackable Flowers/Leaves, Floral Swirl Pierced  Cover dies,  Crossover II, Misti, aluminum foil


    You might also like:


  • Snowflake Joy


    An A2 sized Christmas card made using one of a mini slimline set of dies. Add some lovely paper, some die cut snowflakes & Joy on a fancy oval & you have a beautiful card!

    A big congrats to Jennifer, the newest Featured Stamper (FS860)! She’s a scrapper w/ a lot of beautiful pages. After much browsing, I chose THIS page to case. I kept the Christmas theme & most of the layout, but changed it to an A2 card, used different paper & dies & simplified it to fit the space.

    For my card, I used a mini slimline die to cut the lovely holly paper and also the wine red piece. On the red, I stamped some holly berries w/ Brilliance moonlight white ink. I used this ink because it dries faster than my pigment ink & it’s also not quite as bright. I really didn’t want the berries to stand out that much. A leftover diagonal strip along w/ 2 white glitter strips were added in between the red & the holly paper. A fancy oval die was used on the sea green & I fussy cut a red layer to go behind it. The Joy was die cut out of white glitter paper as were the 3 snowflakes.

    The Joy was popped up as were the snowflakes to give them a little dimension.

    Thanks so
     much for stopping by!


    Supplies:
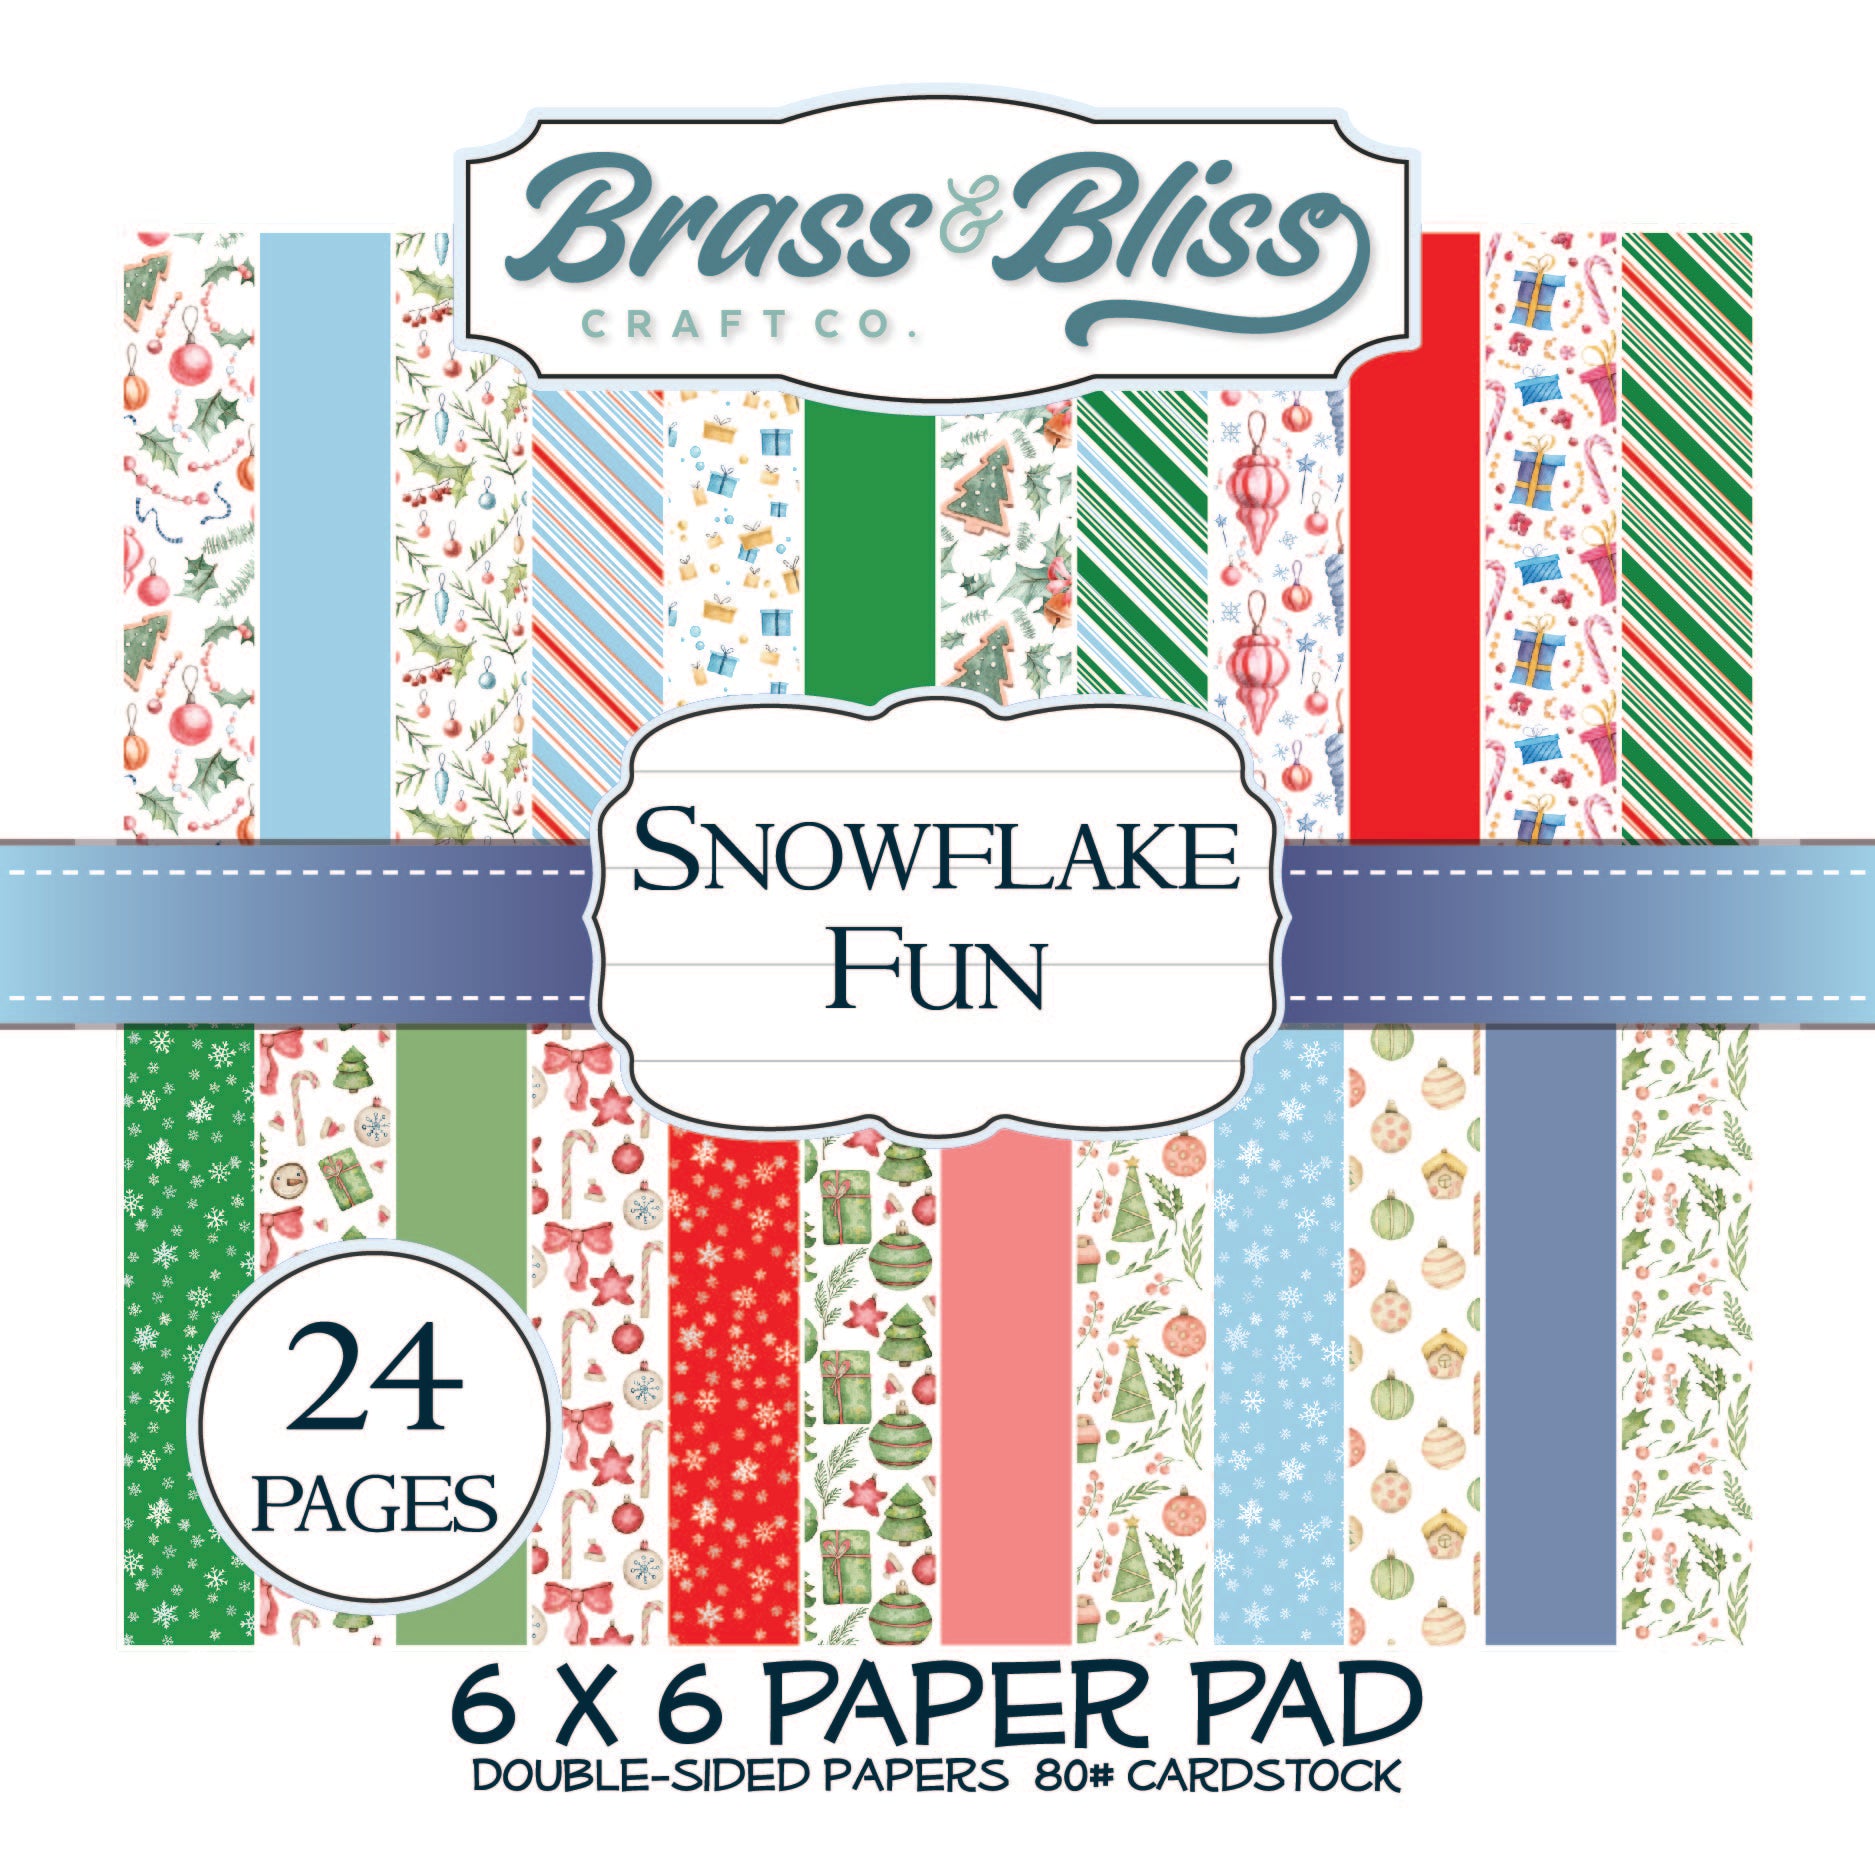
    Stamps: Rubbernecker Stamps: Winter Wonderland set
     Paper: Staples 110# white, wine red, sea green, pine green, white glitter,  Rubbernecker Stamps: Snowflake Fun paper pad
    Ink: Brillance moonlight white
    Accessories:  Rubbernecker Stamps: Mini Slimline, Snowflakes, Joy w/ Shadow, Decorative Rectangle #2. Winter Wonderland dies,  Crossover II


    You might also like:


  • Santa Gnomes

    A Christmas card featuring a pair of cute little Santa Gnomes on an envelope fold flap. Quick & easy to make w/ the coordinating images & dies. Switch up the  papers for many looks.

    A big congrats to MariLynn, the newest Featured Stamper (FS857)! She has a wonderful gallery & I chose THIS card to case. I kept the embossed snowflakes & winter theme, but I changed most everything else: different colors, images, dies & changed up the layout.

    After coloring & die cutting the cute gnomes, I die cut the printed paper, first w/ a stitched rectangle, then I used part of another die for the envelope like flap. The paper is double sided, so the pointed flap green section is the back side of the Christmas print. I cut a smaller piece of white & used a snowflake embossing folder on it before attaching it to the green layer.

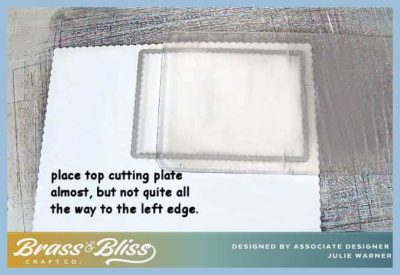
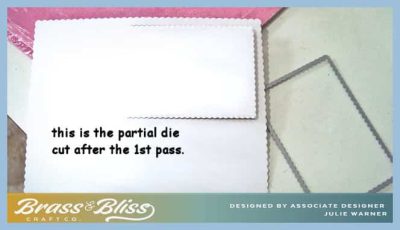
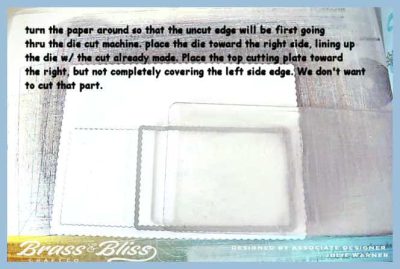
    In case you want to see how I did the partial die cut of the envelope flap, here are a couple of pictures.

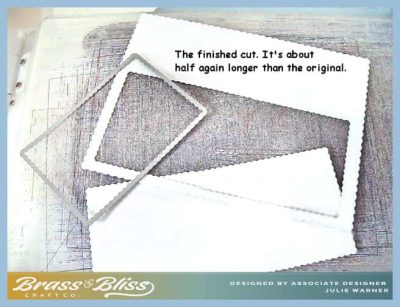
    I placed the pointed die where I wanted to cut the rectangle. Since the rest of the die is the same size as the stitched rectangle, I knew it wouldn’t cut anywhere else. I placed the top plate just as far as it needed to go to cut the envelope like flap.

    This is the finished cut. I later decided I wanted this pointy edge to be stitched as well, so I lined up the corner of a stitched die & ran it thru just on the edge. The gnomes & snowflake were popped up w/ foam.

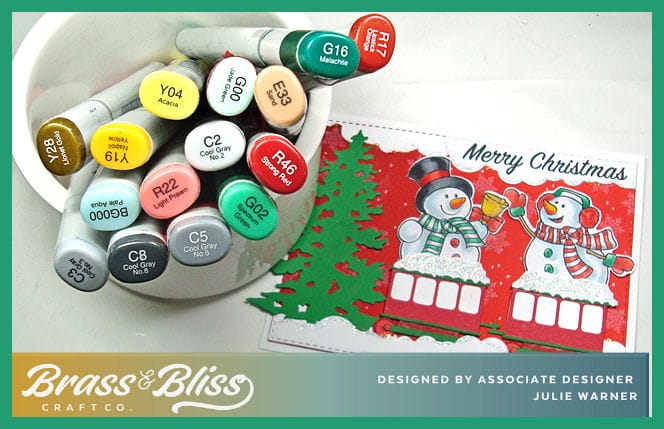
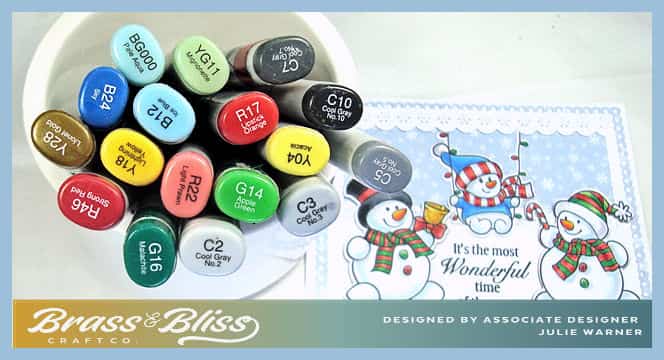
    Here are the Copics I used:

    Thanks so much for stopping by!


    Supplies:
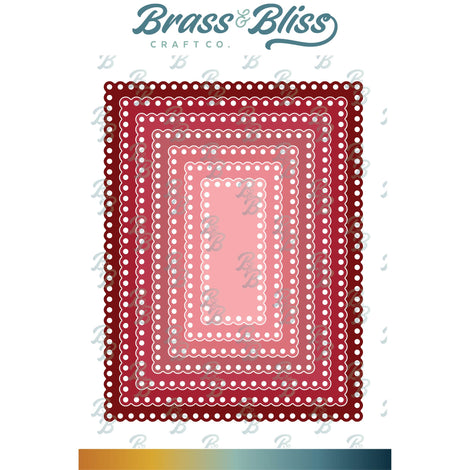
    Stamps: Rubbernecker Stamps: Christmas Cheer Gnomes set
     Paper: Staples 110# white, red, Rubbernecker Stamps: Winter Animals paper pad
    Ink: Memento tuxedo black
    Accessories:  Rubbernecker Stamps: Stitched Rectangles, Snowflakes, Chirstimas Cheer Gnomes, Twist & Pop Layers dies, MISTI, Copic Markers, stickles, Cuttlebug Snowflakes embossing folder,  Crossover II


    You might also like: