 Welcome to November! And it’s time for the Splitcoaststampers Fan Club Nov Christmas Challenge! We have a year of new Christmas Challenges! You’ll need to be Fan Club member but that’s easy…just click the blue link to find out how. Bet you’re wondering what the challenge theme is..I’d love to tell you but you’ll have to go see for yourself. AND..it’s also time for the Featured Stamper Challenge (FS717) so I’m combining both challenges for this card plus I have another card for just the FS.
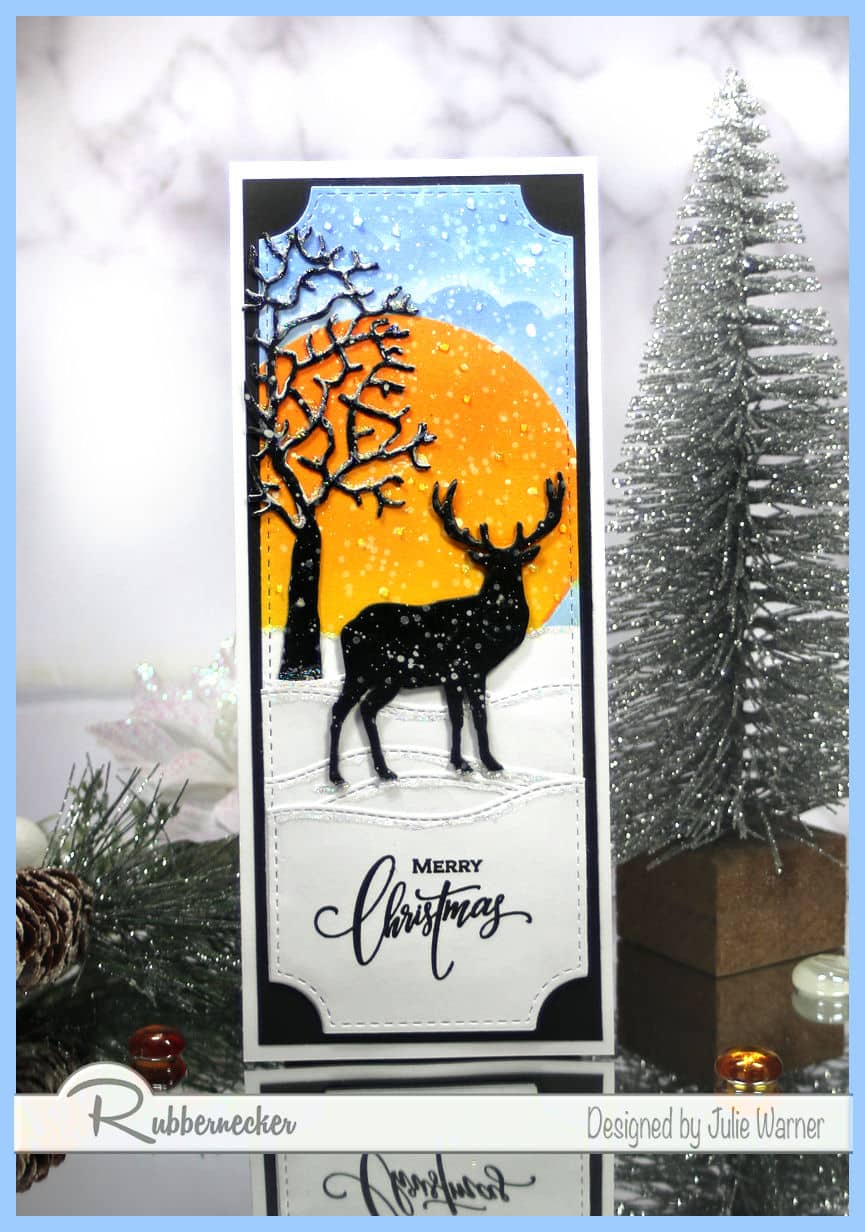
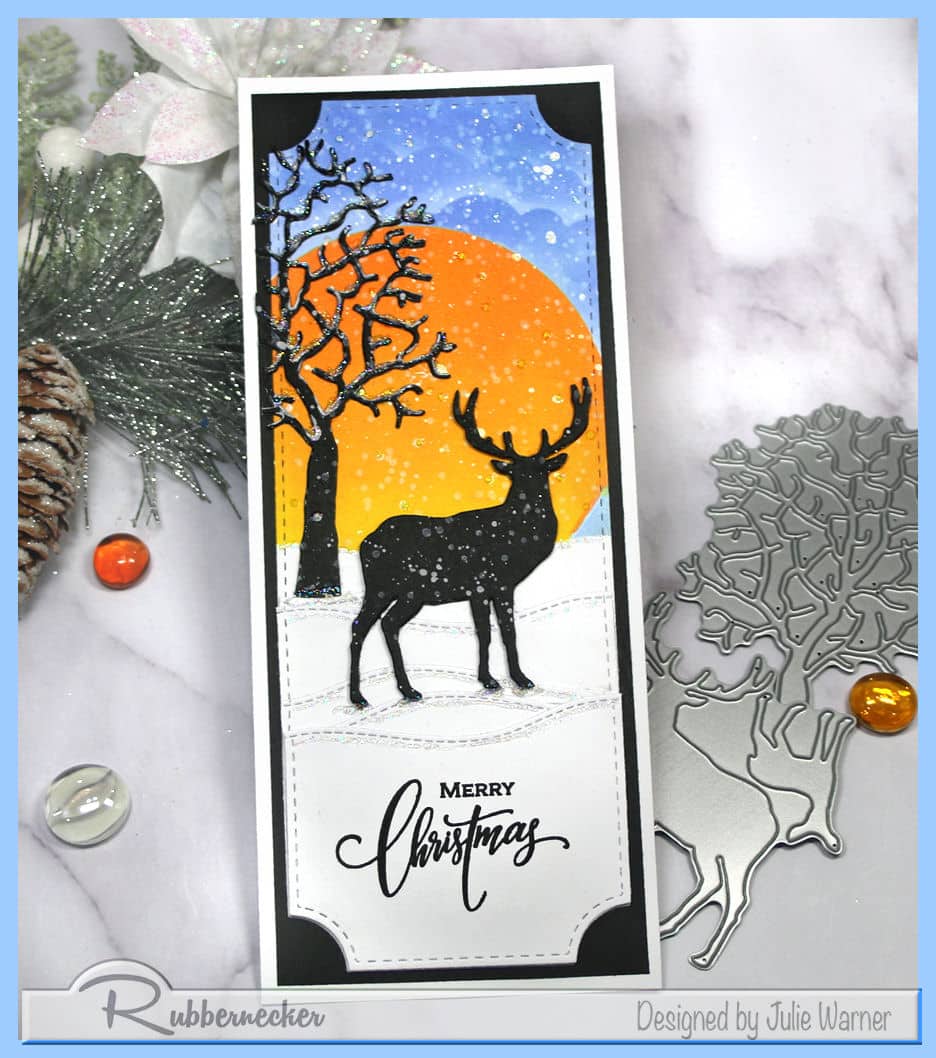
On my first card, I cased THIS card of Mary’s. I kept the sunrise/sunset scene w/ the silhouette image, but I used die cuts instead of a stencil, made mine a slimline Christmas card & used slightly different colors.
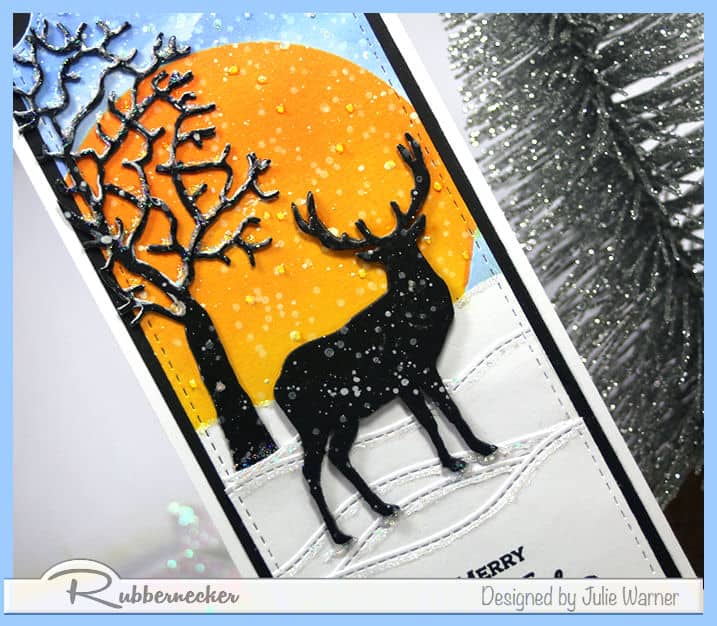
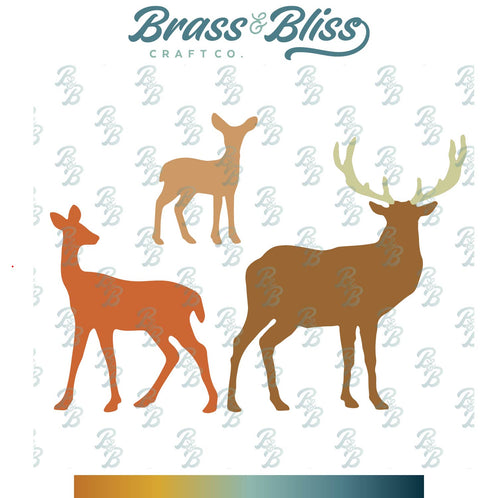
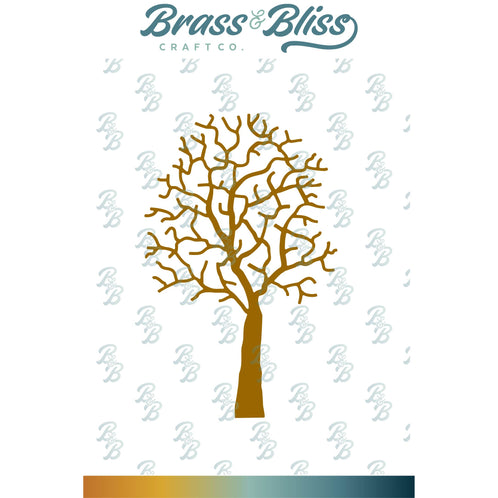
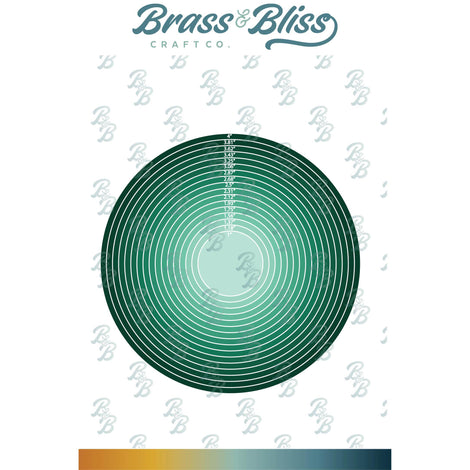
After die cutting the deer & tree out of black, I die cut the white slimline ticket shaped panel & a few more bottom sections out of white. I used a stitched hill die to cut those extra bottoms into snowbanks. I used a large circle die to cut a reverse mask out of copy paper & used it to sponge in the sun. For the sky, I used the negative part of the slimline cloud die to add some cloud like shapes to the sky. The deer & tree were popped up slightly using cardboard die cut w/the same dies. White acrylic paint & a paintbrush was used to splatter the falling snow then I used some stickles in areas for a little sparkle.
Supplies for this card:
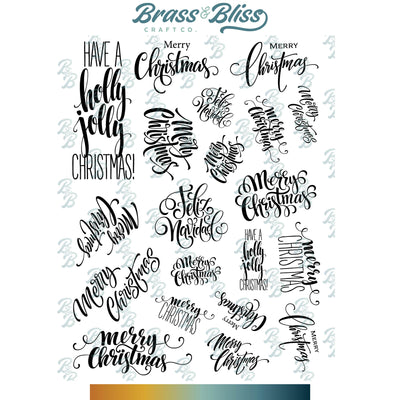
| Stamps:Rubbernecker Stamps: Christmas Phrases Lg/Sm |
| Paper: Staples 110# white, black |
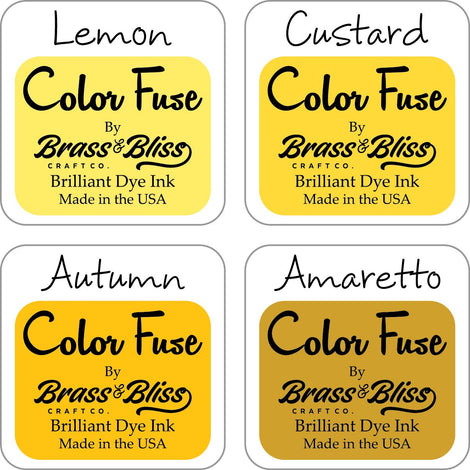
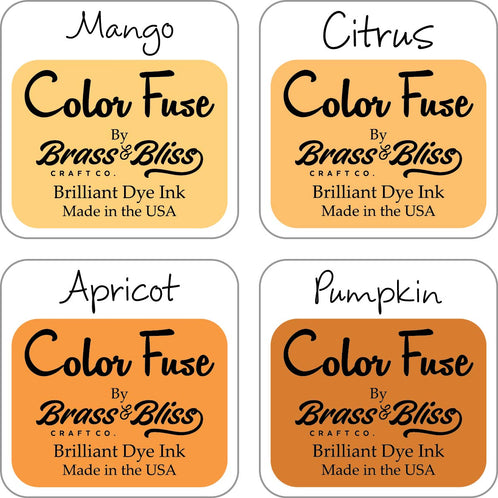
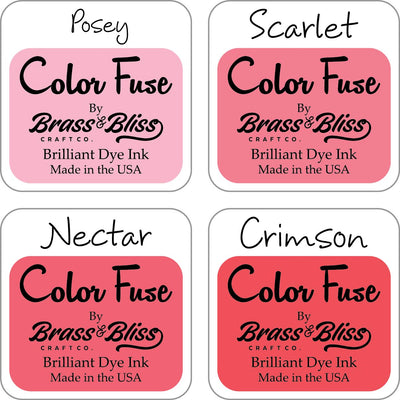
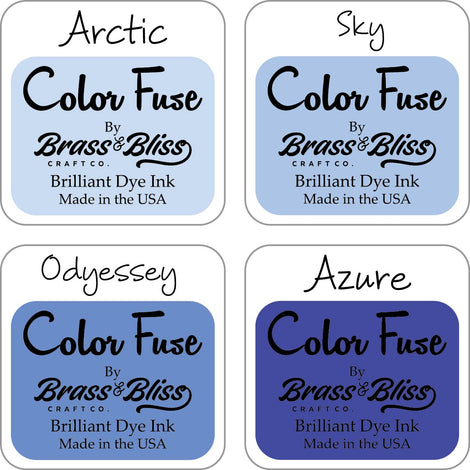
| Ink: Rubbernecker Color Fuse inks: set #1, set #2 & set #7, Versaclair nocturne |
| Accessories:Rubbernecker Stamps: Deer Family,Winter Tree, Slimline Ticket Stitch,Slimline Clouds,Stitched Hills, Circlesdies, Crossover II, Stickles,white acrylic paint, stickles, MISTI |
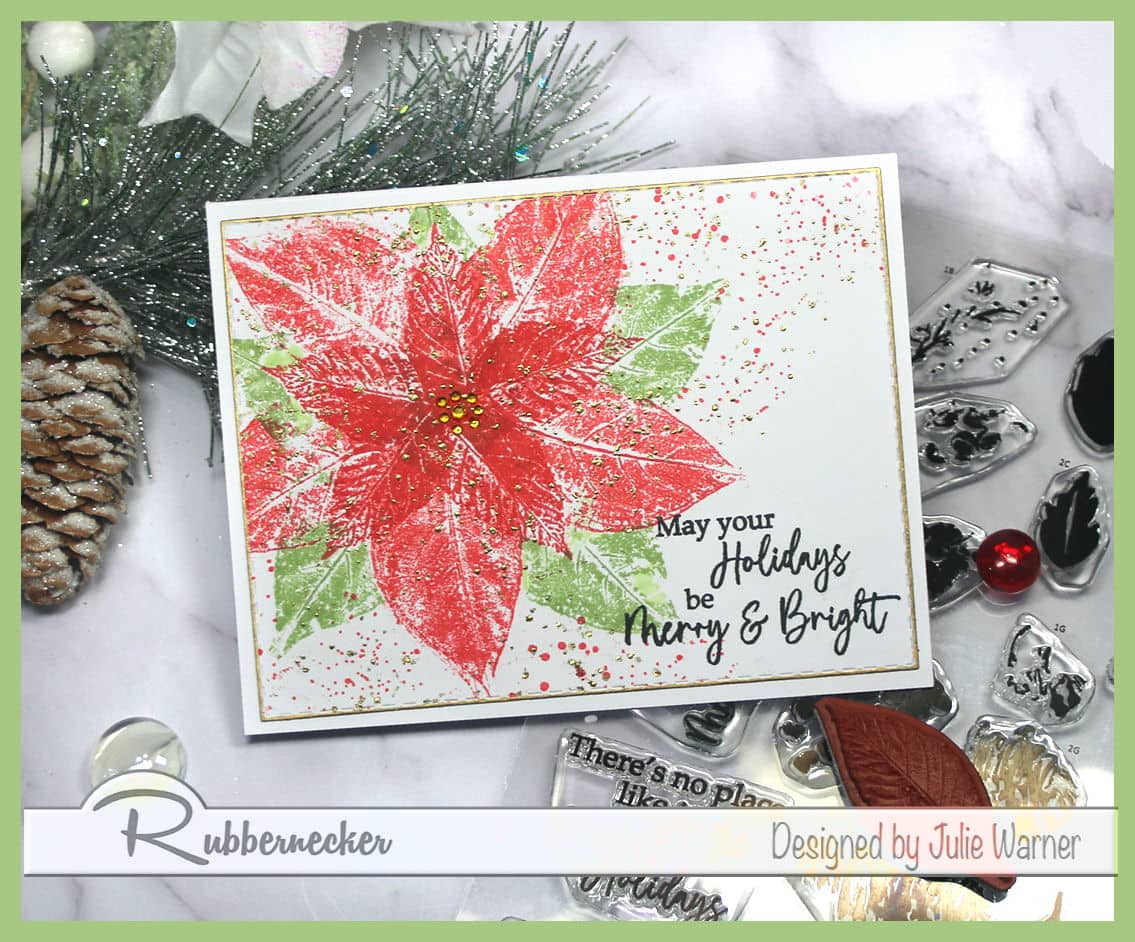
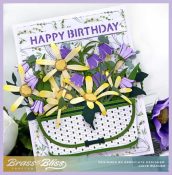
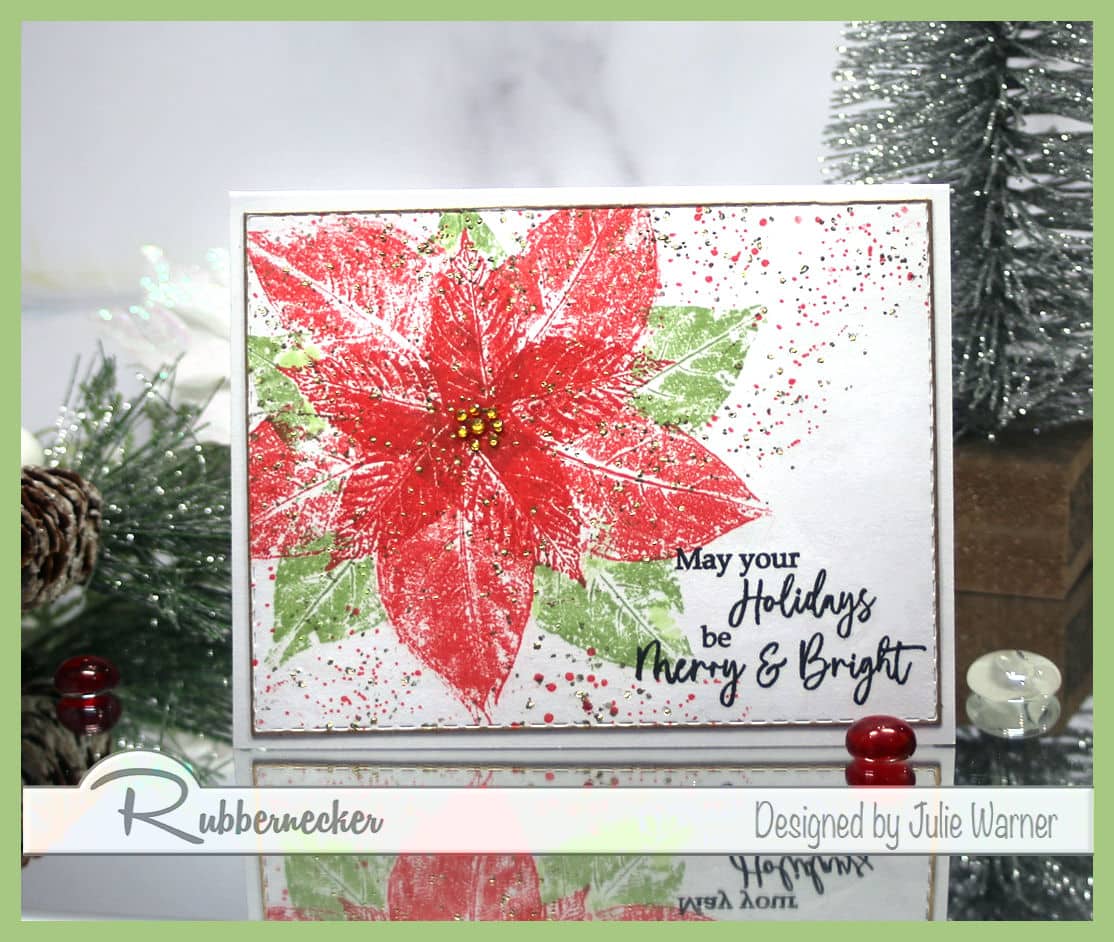
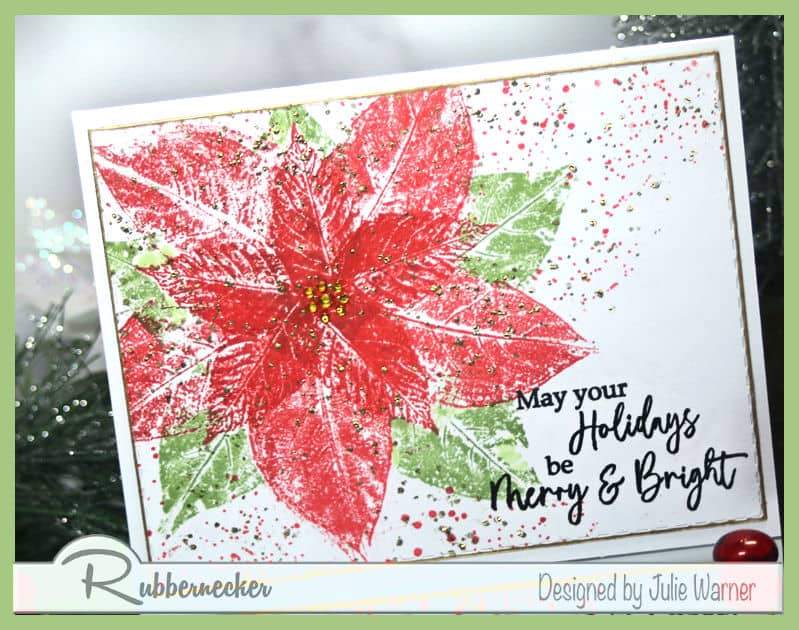
 My second card is a little different & I chose THIS card of Mary’s to case. I kept the Christmas theme & making a poinsettia out of a leaf image, but I also used a real leaf to “print” the larger petals & only made one large poinsettia instead of many smaller ones.
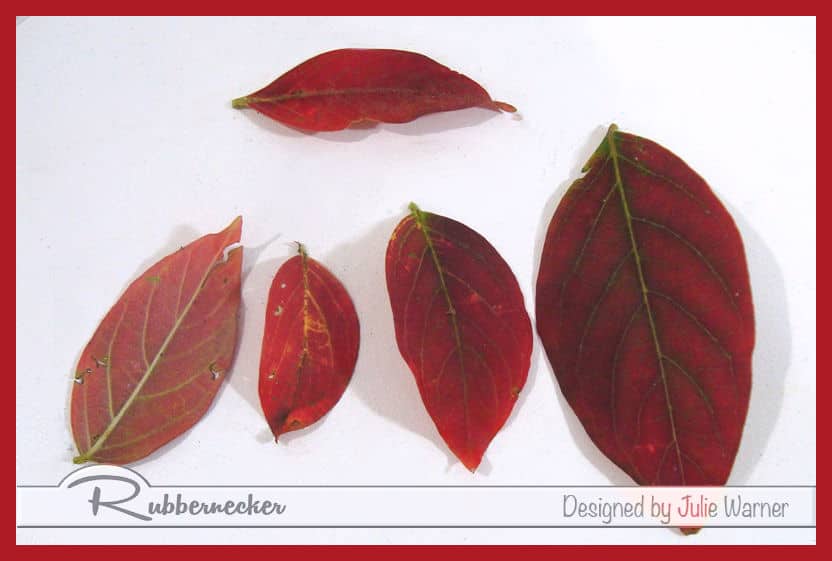
I started w/ my die cut white panel & some real leaves I picked off one our Crape Myrtle trees. The shape reminded me of poinsettia petal, but these are a lot sturdier & easy to print. Here’s a pic of the leaves as they looked when I picked them.
I inked a leaf by rubbing the crimson inked over the leaf, placing it ink side down on the panel, then gently rubbing over the backside w/ a paper towel. If you press or rub too hard, you lose the vein detail, so be gentle if you try this.
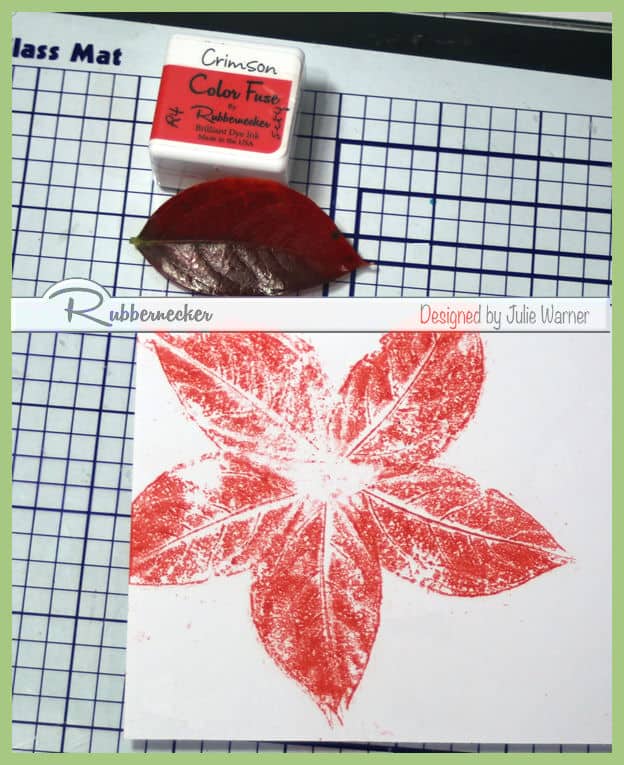
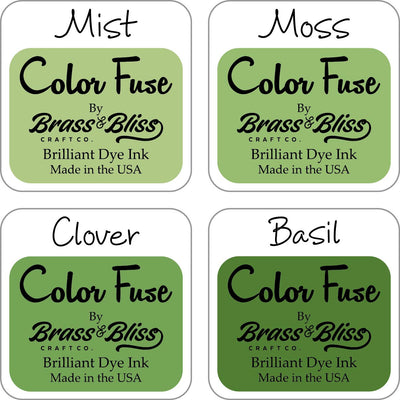
This is how it looked after I printed the leaf 5 times. I’m not worried about the ink smudges because I’d already planned on using a splatter stamp to add some interest. With the base layer of petals done, I inked part of another leaf w/ the moss ink, masked the red petal w/ the actual leaf, & printed the green leaves. Then I took a leaf rubber stamp, inked it w/ the crimson & stamped it for the smaller, top layer of petals.
The splatter was stamped once w/ scarlet & again w/ gold ink & heat embossed w/ gold powder. I used a gold leaf Krylon pen around the edges, added the greeting & some gold gems in the center of my poinsettia.
Supplies for this card:
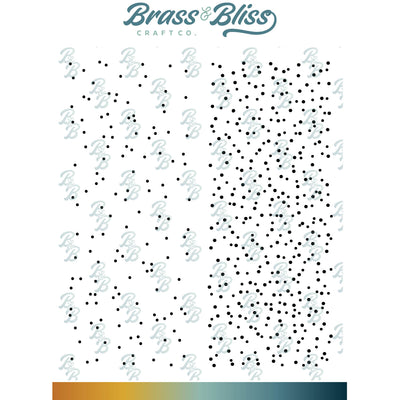
| Stamps: Rubbernecker Stamps: Leaf set, Winter Bouquet , Splatter Bg |
| Paper: Staples 110# white |
| Ink: Rubbernecker Color Fuse inks: set #4 & set #10, Versaclair nocturne, Encore Ultimate metallic gold |
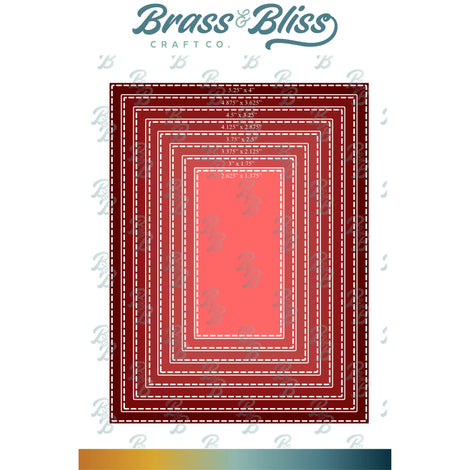
| Accessories:Rubbernecker Stamps: Rectangle Stitch dies, Mirror Gold embossing powder, Crossover II, Crape Myrtle leaf, gold rhinestones, Krylon gold leaf pen, MISTI |

|
|
|

|
|
|
|
|
|
|
|
|
|
|
|
|

|

|

|

|

|

|

|

|

|

|

|