• Tag Archives shaker card
  • Only Have Eyes


    Eyes Shaker  cu07368
    Today’s Clean & Simple Challenge (CAS347) is a Halloween picture for inspiration…hence the big ol’ neon green eyeballs on my card. Isn’t it great to have a card that looks back at you, lol? It seemed the perfect time to bring out my neglected fluorescent markers & neon ink. If you can’t use ’em on Halloween, then when? I really had fun using them to color all the bottles of potions & poisons. Yep…that’s a tasty looking bunch! 
    Eyes Shaker 07364
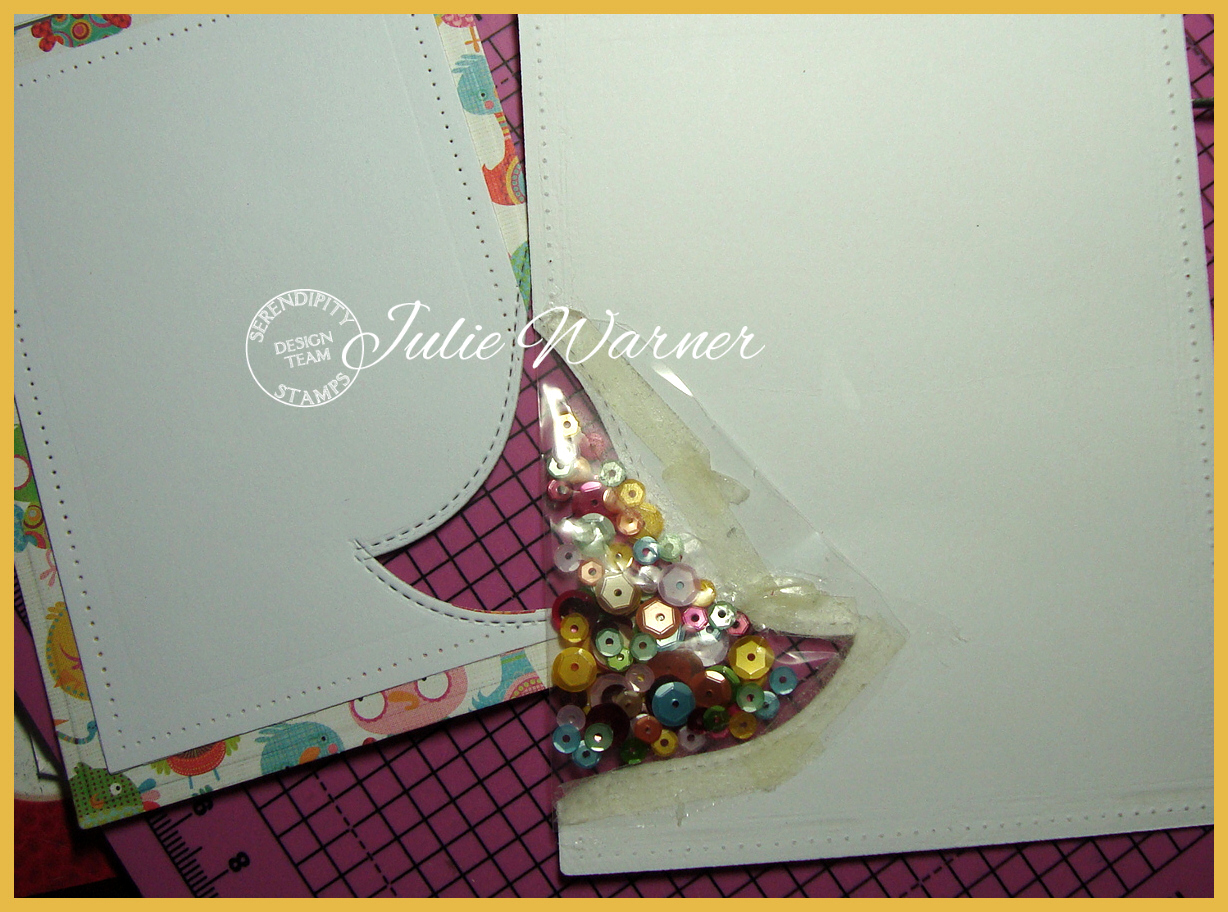
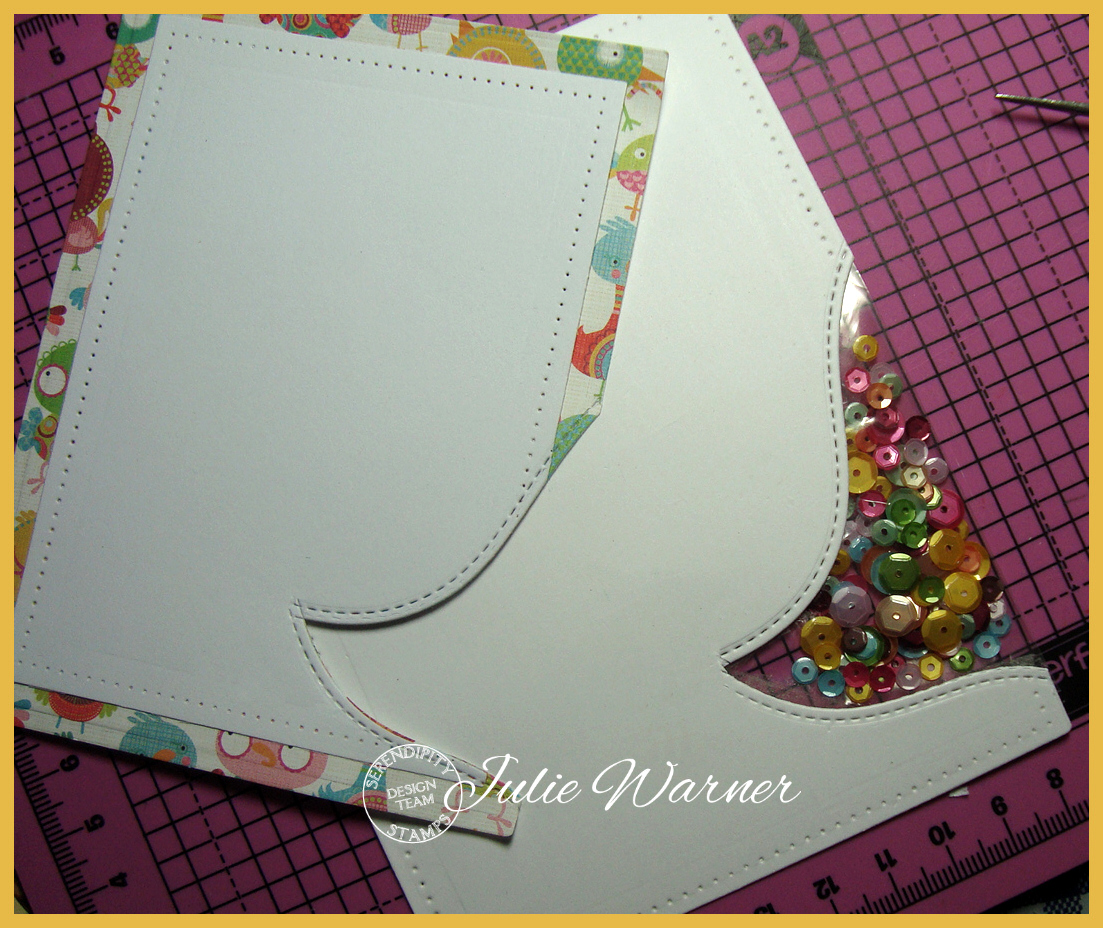
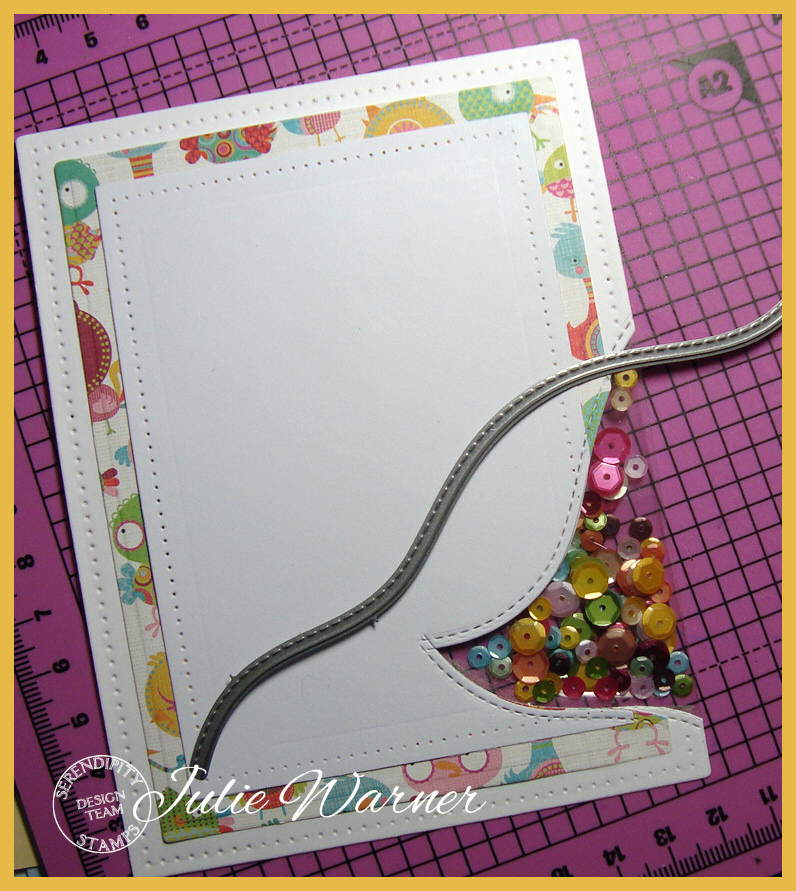
    After I colored them, I masked a few of them & added the bubbles.  After die cutting the jar out of the front, I die cut a top out of metallic silver & added just a little coloring to the jar part of the cut out. I put a piece of acetate w/ some foam tape around it, behind the cut out & carefully placed some googlie eyes before sticking it down.

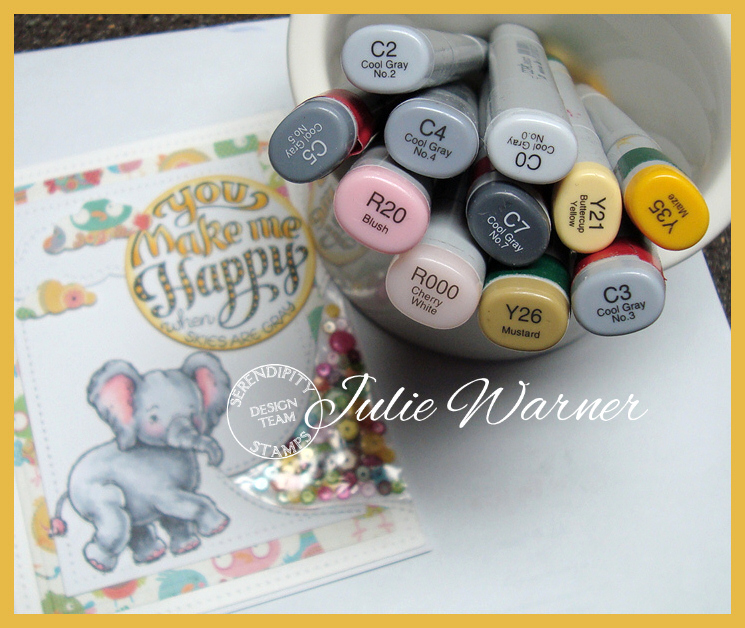
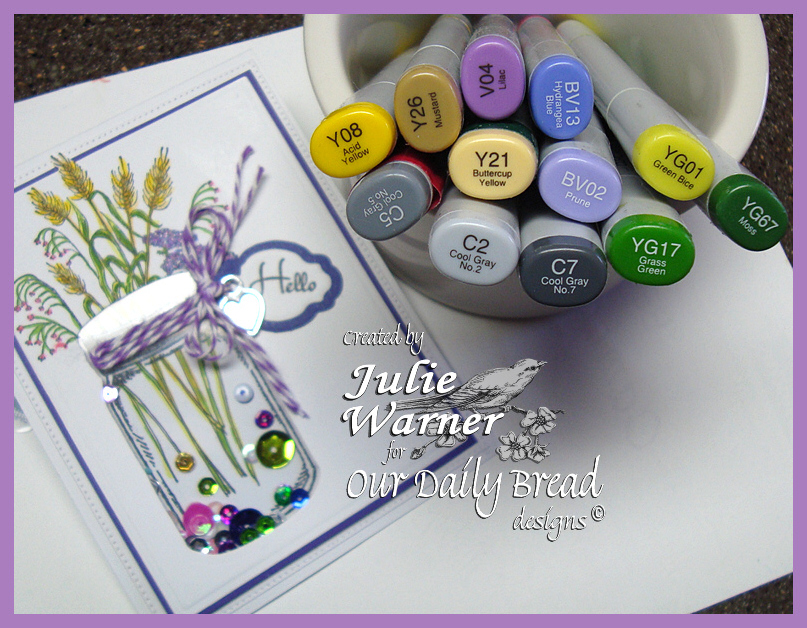
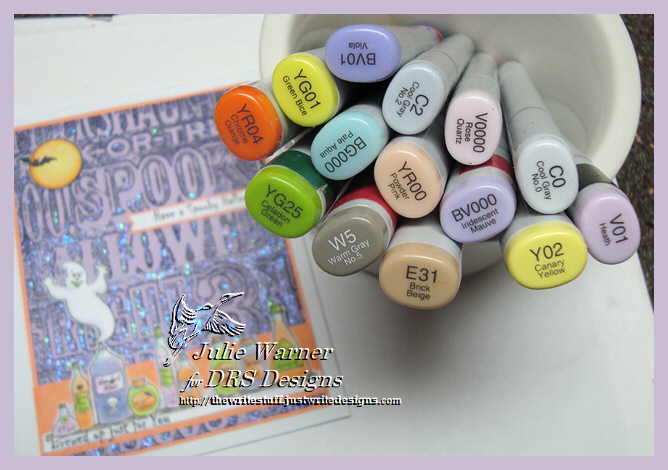
    I came across a piece from the center of some die cut & it just looked like it could be the background for the eyes. So I stamped the eyeball twice w/ neon green ink, added a bit of neon shading & stamped the greeting on top. The spider webs were stamped once w/ the neon ink and again w/ the black then a couple of punched spiders added to finish.  Here’s a look at the inside & below it are the Copics I used.
    Eyes Shaker inside 07370
    Eyes Shaker copics 07341
    Thanks so much for stopping by!  Be sure to check out the DRS Thursday Challenge…this week, it’s a Color Challenge w/ some great fall colors! There’s a really nice prize up for grabs & DRS images are not required.
    Julie2 sig
    Supplies:

    Stamps: DRS Designs-  Magic Potions, Spider Web, Eyeball, Eyes for You Greeting, (inside- Poison Potions Greeting)
    Paper: white, black, scrap of metallic silver
    Ink: Memento tuxedo black, Versafine onyx (for over stamping after coloring), HA neon green
    Accessories: Copic markers, googlie eyes, acetate, ODBD mason jar die, Spellbinders A2 matting basics A die, spider punch


  • Serendipity March Blog Hop!

    Happy Ellie cu05853
    Weekly-FavoriteWeekly-Favorite
    03-13-15  Blog Hop Badge copy

    Welcome to the Serendipity March Blog Hop! We are showing off some beautiful new dies & images! If you arrived here from  Jenny’s Blog ,  you are in the right place..if not, you may want to head over there first.
    The Prize – One $20 gift code will go to one random commenter from the blogs.  So be sure  to visit all the blogs because you don’t know which one the winner will be drawn from. You have until Sunday, March 15 to leave comments. The winner will be announced on Mary’s blog on Monday March 16.
    Happy Ellie 05852
    For my card today, I’m using this super cute Baby Elephant and You Make Me Happy circle greeting. After coloring & fussy cutting the baby ellie, I figured out how to work out the (mostly flat) shaker pouch on the side for my sequin mix. I read about a fancy tool to seal pouches like this (reminds me of my seal a meal, but looks like a stencil cutter). Since I don’t happen to have one and I needed one right this minute, I subbed a bit. Let me show you a few pics that hopefully will explain.
    Happy Ellie back 05845
    This is the back side of the largest white layer. I started by die cutting all my layers using the matting basics & pierced rectangles. After penciling in where my side opening would be, I used part of a curved die to cut it. Actually, to make sure all the pieces would be cut the same, I used temporary tape to line them up and cut them as one.  For the pouch, I cut a triangular piece from the folded edge of a page protector…sort of like cutting a pattern on the fold. Double sided tape was applied between the protector layers on the top part (to close it), I filled it w/ sequins, then added another strip of tape at the bottom to close the pouch and attached it to the back side of my largest layer as shown.
    Happy Ellie front apart 05847
    This is the same piece from the front side.
    Happy Ellie front together 05850
    And how they look all stacked together. That’s the curved die I used to cut the side opening. All that was left was to attach everything to the card, add my circle cut greeting and a few die cut clouds. The finished card is 4.25 x 5.50 and these are the Copics I used.
    Happy Ellie copics 05851
    A peek at the inside: 
    Happy Ellie inside 05860
    Supplies:

    Stamps: Serendipity Stamps – Baby Elephant, You Make Me Happy,  Happy BirthdayII , Cupcake & Candle ( on inside)
    Paper: X-Press It white, Neenah white, dp (Basic Grey- Kneehighs)
    Ink:  Memento tuxedo black
    Accessories:  Spellbinders A2 matting basics A & B, pierced rectangle, circle dies,  cloud dies, stitched hills dies, Copic markers, sheet protector, double sided tape, sequins

    This is a card I posted a day or so ago using some of the Retro Starburst Images. Just click on the pic and it will take you to the post with all the info.
    Flower Note 05862
    Now, you’ll need to hop on over to Karen’s Blog. I know she’ll have something wonderful to show you! Here’s the hop list, in case you get lost:

    Thanks so much for stopping by!
    Julie2 sig


  • ODBD February Review!

    Mason Jar Wildflowers cu05667
    Today we are taking another look at the wonderful Our Daily Bread designs February Release! The wildflowers are perfect for so many different cards. For my card today, I went with a shaker card. I love the way they look, but they always end up being more trouble than they’re worth, lol. Or maybe that’s just me. 

    Mason Jar Wildflowers 05665
    I wanted to keep it semi flat, so I used sequins instead of buttons or something thicker. To begin, I die cut the canning jar in my top layer. Now here, I’ll tell you, the die has two aligning dots so I did a tiny bit of surgery & removed the lower one to keep from cutting a hole below it. I stopped the die cutting machine before I reached the top “dot” & just for insurance, I added a small piece of thick cardstock under it so it wouldn’t cut a hole on top. I stamped the top part of the wildflowers (from Life is a Gift) and colored them. On the bottom white layer, I stamped the canning jar & added some stems so it would appear they continue inside the jar.

    I added a piece of acetate under the top layer and two layers of card board, then the bottom layer. Before I glued the bottom layer on, I added the sequins. The twine was glued on top along with the greeting on a die cut tag.I used the largest die from Flourished Star Pattern dies to cut the largest white layer because I love the way it pierces all around the edge.

    Since I didn’t use any dp, I did some two color stamping on the inside around the edges. I used the lavender ink with the silhouette wildflowers & the grape with the wildflowers from the Life is a Gift set. 

    Mason Jar Wildflowers inside05672
    These are the Copics I used. I don’t know why I had the 3 gray colors in here…I didn’t use them, lol. 

    Mason Jar wildflowers copics05662
    Please be sure to stop by and visit all the DT blogs for more inspiration!
    Cathy * Lori * Sandee * Dawn * Julie * Wanda
    Thanks so much for stopping by!
    Julie2 sig

    Supplies:

    Stamps: Our Daily Bread designs – Life is a Gift, Miss You, Canning Jars
    Paper:  Neenah white, dk purple, small scrap of  silver mirror board
    Ink:  Memento tuxedo black, (lulu lavender &  grape jelly on inside)
    Accessories:  ODBD Flourished Star pattern, Mini Tags & Canning Jars dies,  Spellbinders A2 matting basics A&B, acetate, twine, sequins

    Â