• Tag Archives ornaments
  • Season’s Greetings Ornament

    Red Ornament cu 07008
    CAS-Favorite Weekly-Favorite
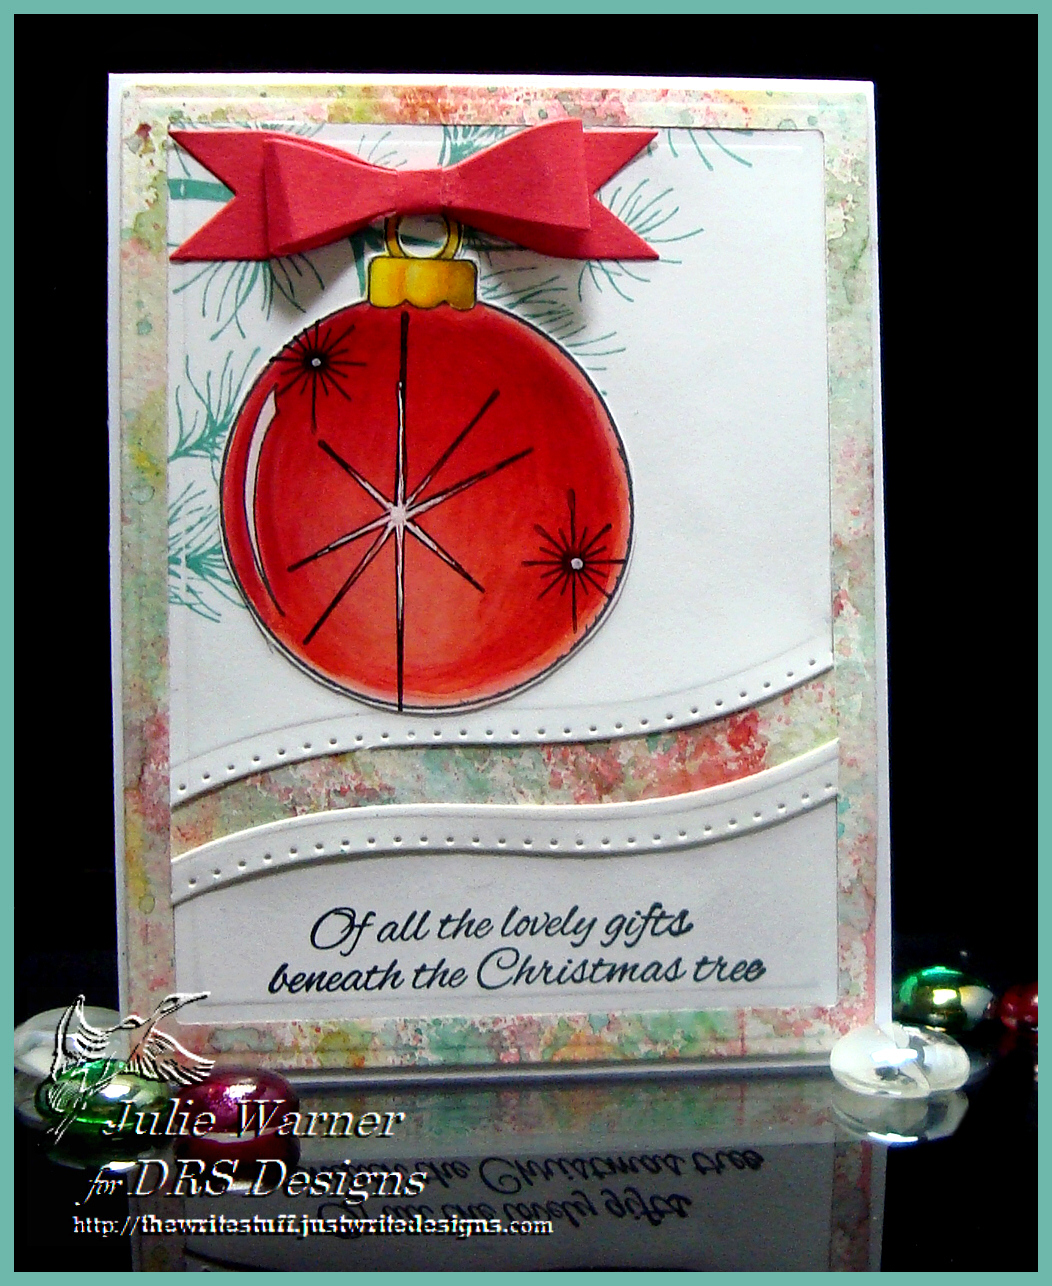
    For today’s Ways to Use It Challenge (WT551), use greenery, and Hope You Can Cling To (HYCCT1501C), split the difference (have greeting split the image). 
    Red Ornament 07009
    The top image on my card actually comes this way…with the greeting splitting the greenery & I added the ornament under it. After placing the greeting image in my Misti, I stamped it w/ Memento, colored with Copics,  over stamped w/ Versafine, then die cut w/ a pierced rectangle die. I didn’t want the piercing to include the band where the actual greeting is, so after using the outside die on the entire panel, I added the piercing die but only placed the upper cutting plate as far as the lower greeting band & applied pressure. I turned the image around & placed the upper cutting plate only as far as the top band. I like how it almost looks like a separate band, but it’s all one piece. The ornament was stamped the same way as the greeting, but I masked it & stamped the big starburst inside before coloring & over stamping. It was fussy cut & added to the panel.

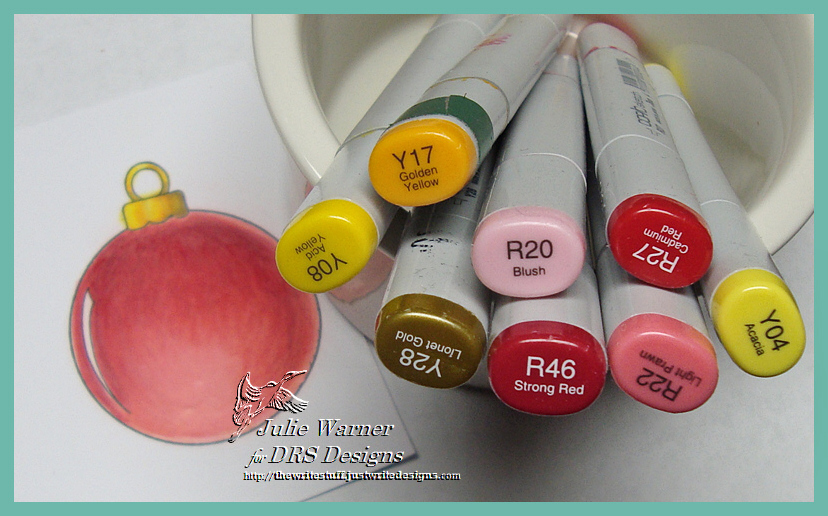
    These are the Copics I used.
    Red Ornament copics 07003
    Thanks so much for stopping by! Please be sure to check out the DRS Thursday Challenge …Heavy Metal (use something metallic). DRS images are not required & there’s a nice prize up for grabs. 
    Julie2 sig

    Supplies:

    Stamps: DRS Designs-   – Simple Ornament, Season’s Greetings Holly Spray, Retro Starburst
    Paper: Neenah white, dk green
    Ink:    Memento- tuxedo black, Vesafine onyx  (for over stamping)
    Accessories:  Spellbinders A2 matting basics A & B, pierced rectangle dies, Misti, 


  • ODBD October Release Blog Hop!


    Weekly-Favorite
    Welcome to the Our Daily Bread designs October Release! We have some gorgeous Christmas images, dies & paper for you this month!


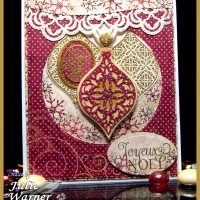
    For my first card, I gold embossed the two background ornaments & die cut w/ the matching dies. The left ornament also has a gold embossed Flourished Alphabet letter J.  The top ornament was die cut w/ the other topper die out of the same paper as the main layer. I used the largest Matting Circle die to cut the center & since the snowflake paper only has the flakes around the border, I arranged the circle opening near one corner so it would look like the flakes are circling the bottom. I used more of the snowflake paper for the gold embossed greeting & Leafy Edged Border topper. A Candi dot was added on top of the center ornament & coated w/ gold stickles & I also added some Wink of Stella on the metallic gold c/s behind the top ornament.Here’s a look at the inside. 

    Joyeux Noel inside 07435Supplies:

    Stamps: ODBD -Christmas Tunes, Elegant Embellishment set, Flourished Alphabet
    Paper: vanilla, pale gold metallic,  dp (ODBD – Christmas Collection 2015)
    Ink:  Encore Ulitmate metallic gold pigment
    Accessories: ODBD Elegant Embellishments, Ovals, Flourished Star Pattern, Leafy Edged Border, Vintage Flourish Pattern, Vintage Label dies, Spellbinders A2 matting basics A & B dies, detail gold embossing powder, gold Wink of Stella pen, gold Stickles, Candi dot


    Weekly-Favorite Weekly-Favorite
    My second card will have you singing Christmas Tunes!  I’ve been humming them ever since I started this card. I just love a cream & gold Christmas card with lots of gold embossing, so that’s what I’ve done here.

    After gold embossing the Christmas Tune, it was die cut w/ the matching Vintage Label die & the brushed gold metallic backing layer was die cut using a die from the Vintage Flourish Pattern die set. The largest gold layer was die cut with the Flourished Star Pattern largest die. The top background was a little trickier since it’s 3 layers & the top 2 are divided in 3. I first cut the cream layer, divided it but pushed the layers together to gold emboss the different Snowflakes on top & cut the bottom using the Leafy Edged Border die. I attached 3 gold layers behind them & carefully lined up the bottom & cut again. The largest faintly patterned dp  layer was cut to match the bottom curve.

    I used a different Leafy Edge Border to cut the cream colored border running under the greeting then stacked the gold embossed Snowflakes in the lower right. The top 2 snowflakes were fussy cut & each flake is elevated just a little from the one underneath. So it has a bit of dimension but is still, definitely mailable.

    Here’s a look at the inside with more stamping & some leftover pieces from the front die cuts.

    Christmas Snowflakes inside 07447Supplies:

    Stamps: ODBD –  Christmas Tunes, Sparkling Snowflakes
    Paper:  ivory, brushed gold metallic, dp (Anna Griffin)
    Ink:  Encore Ulitmate metallic gold pigment (Brilliance gold & Versafine sepia on inside)
    Accessories: ODBD  Snowflakes, Flourished Star Pattern, Leafy Edged Border, Vintage Flourish Pattern, Vintage Label dies, Spellbinders A2 matting basics A & B, detail gold embossing powder

    Please be sure to visit & comment on all the DT Blogs! It will be much appreciated & definitely increase your chance of winning!

    Sandee * Julie * Cathy * Amy * Dawn * Lori *

     Robin T. * Lisa * Angie * Chris * Grace * 

    Sabrina * Silke * America * Loretta * Robin C.

    Thanks so much for stopping by!

    Julie2 sig


  • Ornaments 2 Ways

    Ornament WC cu 05097
    Weekly-Favorite
    Best of 2014!
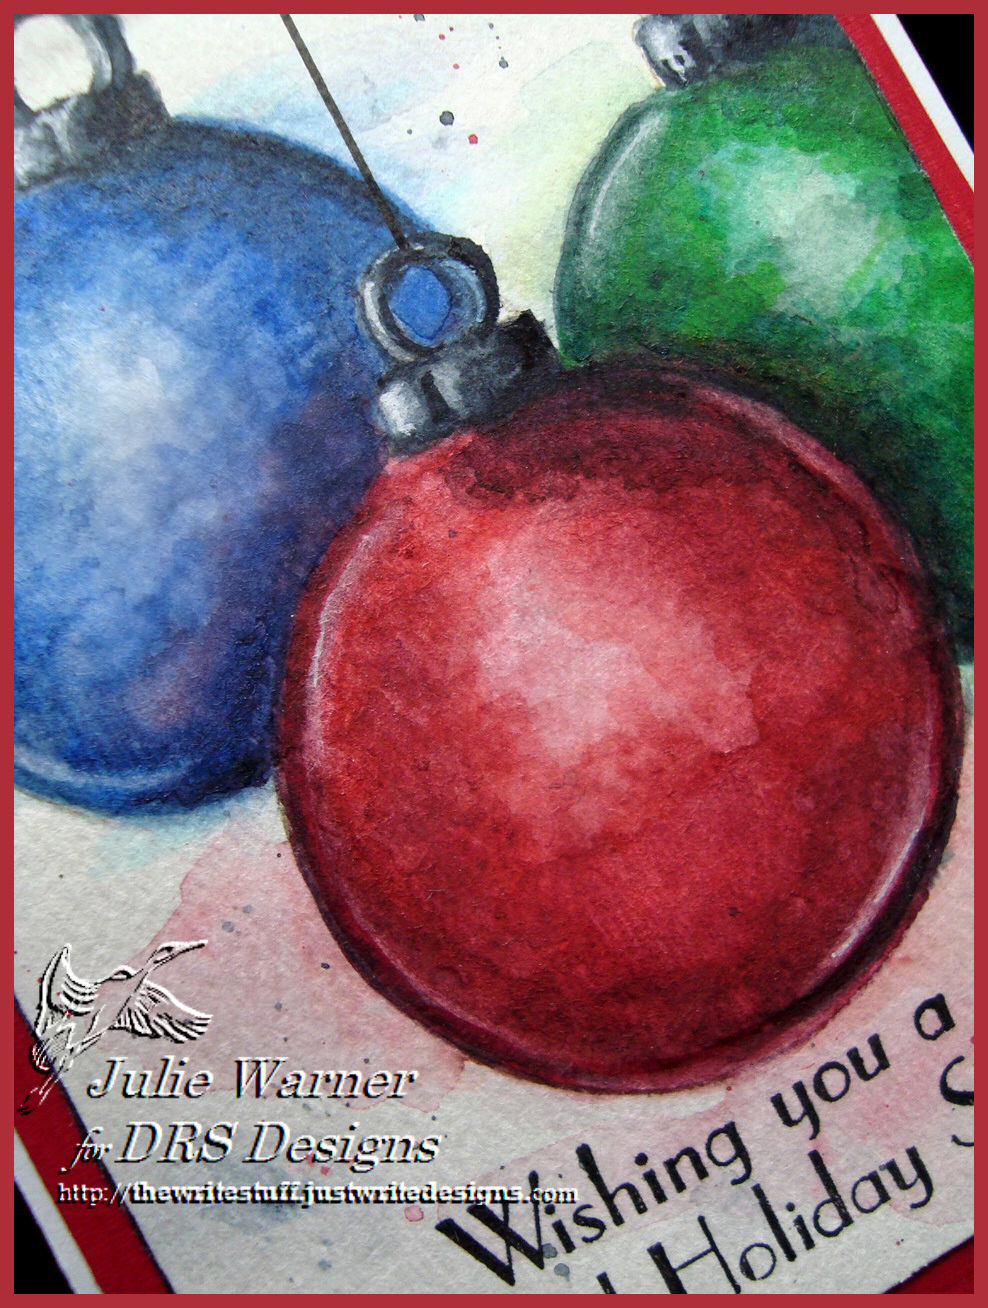
    For today’s Inspiration Challenge on Splitcoast (IC470), I chose THIS for my first card and THIS for my second. I’m actually using the same ornament image on both, just different techniques and I actually had to do “surgery” on my ornament image. I wanted a blank ornament but all I could find was this ornament which originally had a nativity scene inside, so I took a craft knife and carefully cut it out. On this triple ornament card, I saw a card Lydia posted on the SCS FB page of some free form water color ornaments and really liked it. I don’t remember who did it or how long ago it was, or I’d link it.

    Ornament WC 05091
    So after the image surgery, I stamped the ornament, masked & stamped twice more using pumice ink (after stamping off once) onto water color paper. This w/c paper isn’t my fave..it’s a little rougher & grainer than what I usually use, but I couldn’t remember where I put the other paper. Anyway, the pumice ink after stamping off 1 time, just leaves a bare outline that pretty much disappears when all the coloring is finished. Now the coloring took me a quite a while because the color has to be painted in layers & allowed to dry in between. I’m not one to appreciate watching paint dry, so I helped it a lot w/ a heat gun. The splotchy, free form look is intended to be that way & I’m pretty satisfied with it. 

    I added a little splatter & went back w/ a fine line paint brush to remove some paint for the highlights along the edges then stamped the greeting & drew the lines to the ornament tops. The finished card is 4.25 x 5.50. 

    Red Ornament 05167
    Weekly-Favorite
    For this card, I stamped the same surgically enhanced ornament w/ the black ink & colored with Copics. The stars were stamped on top and I used a white gel pen to fill the large one in then fussy cut it. The pine branches were stamped w/ the evergreen ink then I die cut the panel w/ one of the matting basics rectangles. I took a curved border die and cut off the bottom & attached the two parts on top of a  background I made a while back using distress inks, spritzing & w/c paper. I added another little curved border strip on top of the bottom section & stamped half of a greeting under it (the other half is on the inside).  A die cut red bow was added on top & these are the Copics I used.

    Red Ornament copcis05101
    Thanks so much for stopping by!

    Julie2 sig
    Supplies:

    Stamps: DRS Designs- (1. Triple Ornament card) Nativity Ornament, Beautiful Holiday Greeting (2. Red Ornament card) Nativity Ornament, Pine Bough, Lovely Gifts Christmas Greeting, Retro Starburst, 3 Wisemen Peace (for small star)
    Paper:  1. water color, red linen,  2. X-Press It, water color, red
    Ink: 1. Distress Ink pumice stone, Versafine onyx  2. Memento tuxedo black, Distress Ink evergreen bough, worn lipstick, spun sugar, pistachio, tumbled glass
    Accessories:  1. tube water colors, #10 round brush, #0 liner brush, Copic markers, Spellbinders A2 matting basics A & B    2.  Copic markers, Spellbinders A2 matting basics A & B, curved dies, white gel pen, Cheery Lynn Pretty Pretty Bows die

    Â