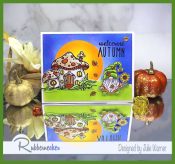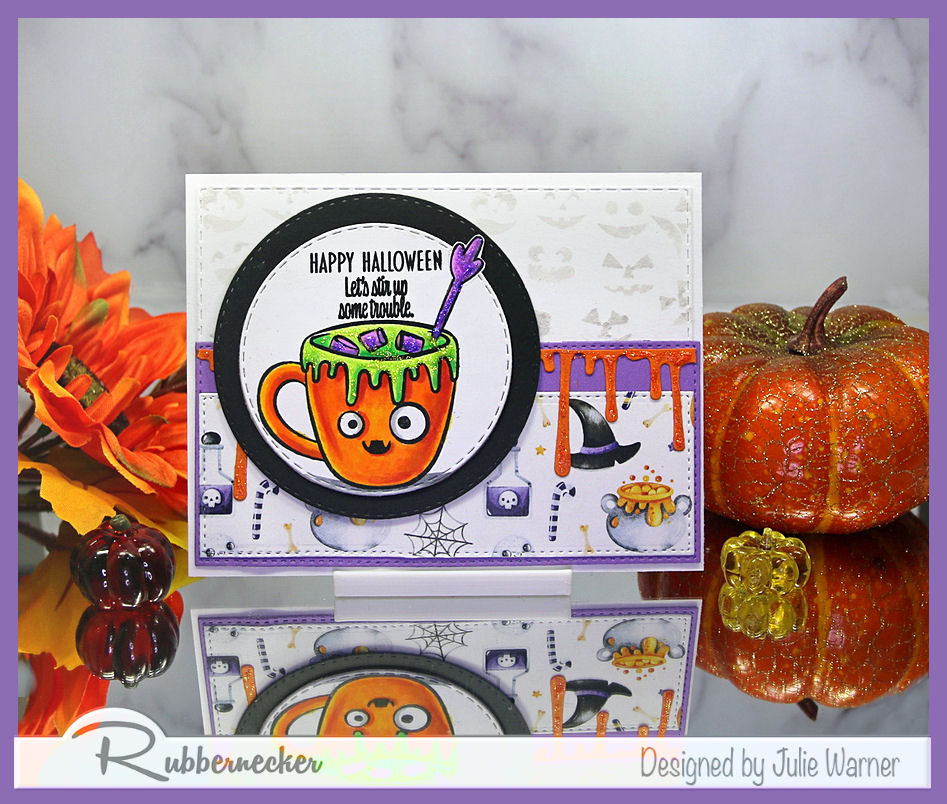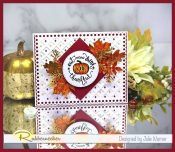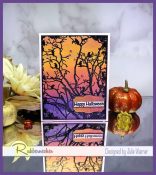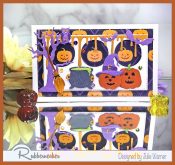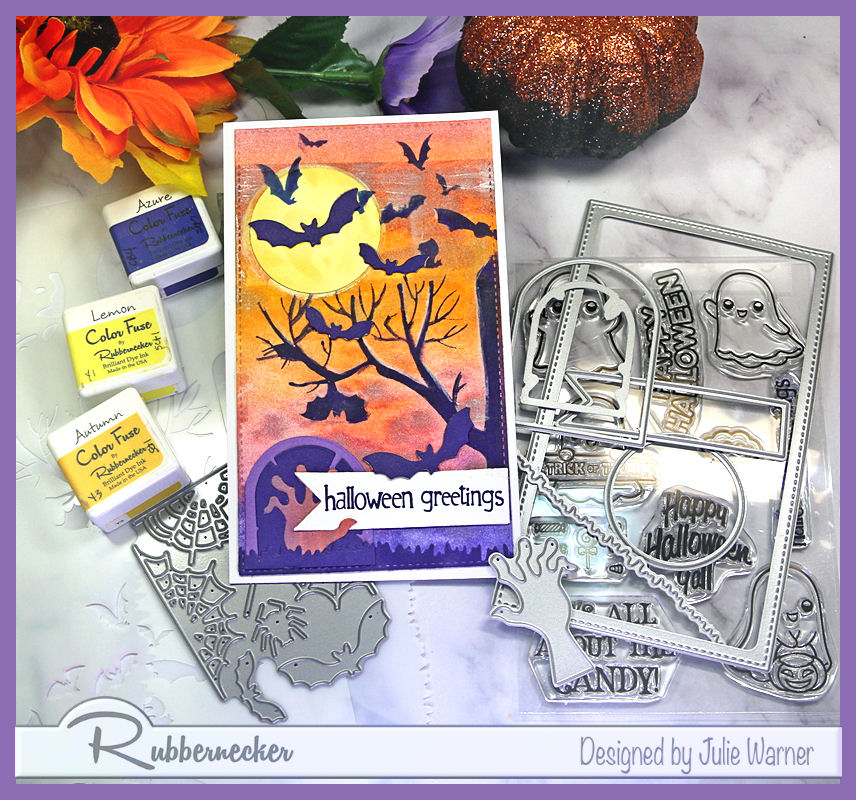
A stenciled & die cut mini slimline Halloween card. Easy to make & change up the colors or use a colored designer paper for the background. So many ways to customize the look.

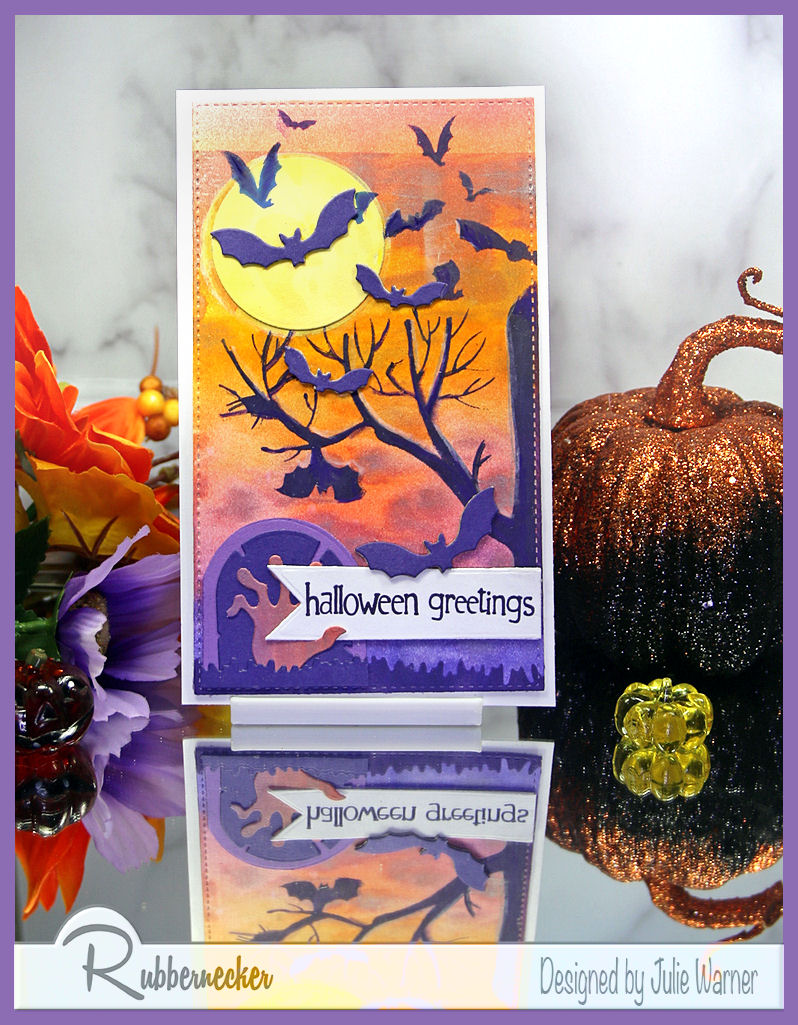
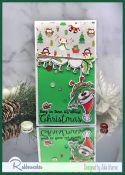
A big congrats to Dbamesburg, the newest Featured Stamper (FS866)! She has a sweet little gallery & I chose THIS card to case. I kept the 1 layer style & left side arrangement but used different images, colors & made mine a Halloween theme instead of Christmas.
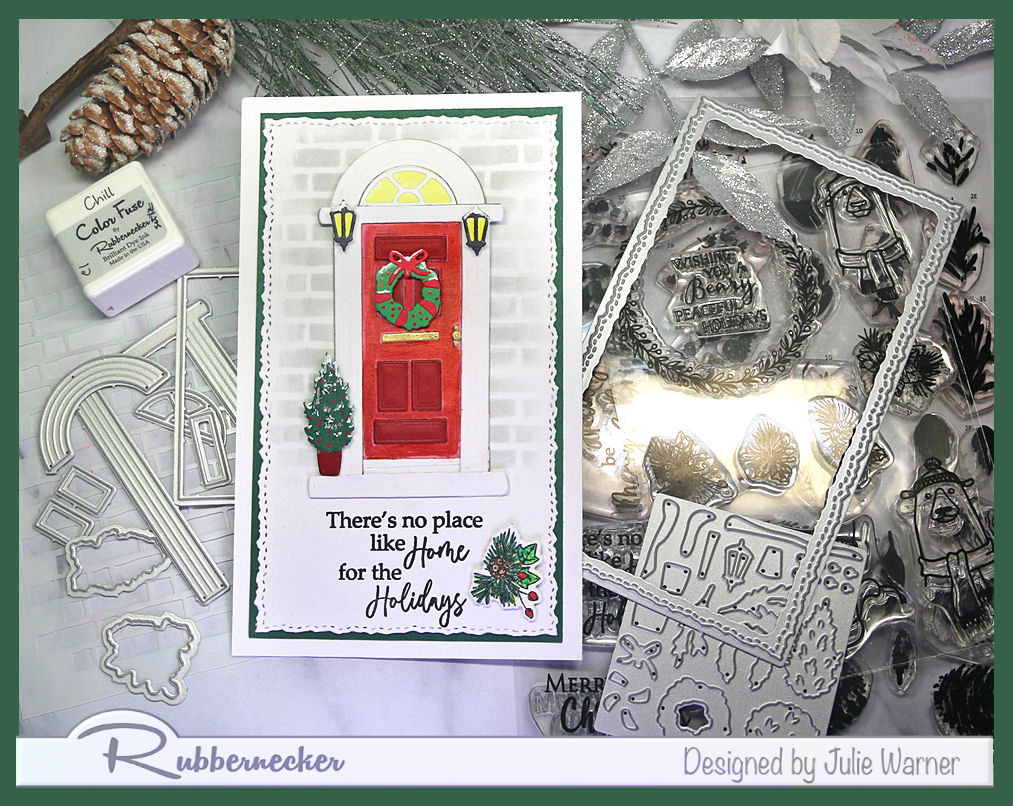
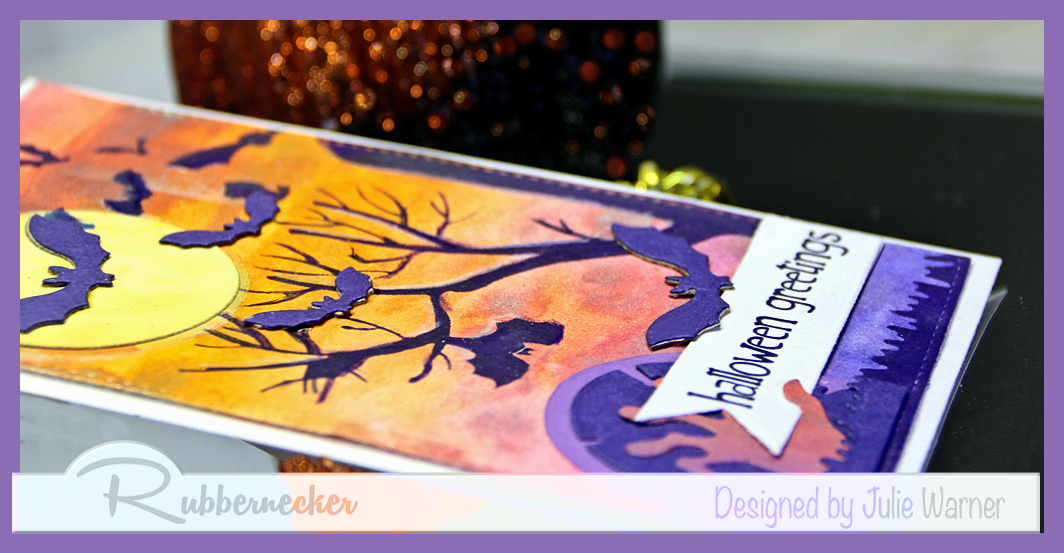
My mini slimline card started w/ a yellow/orange/purple background I made ages ago. It was done by spreading Marvy metallic markers onto a brayer, spritzing w/ water then rolling it across the white card stock. The colors seemed very Halloweeny to me, so I used the stencil & azure ink to sponge in the tree & background bats. For the moon, I sponged the stencil w/ 2 yellow inks onto a small piece of white, die cut it w/ circle die & attached it on top. I used another stencil to add the grass across the bottom to ground it.
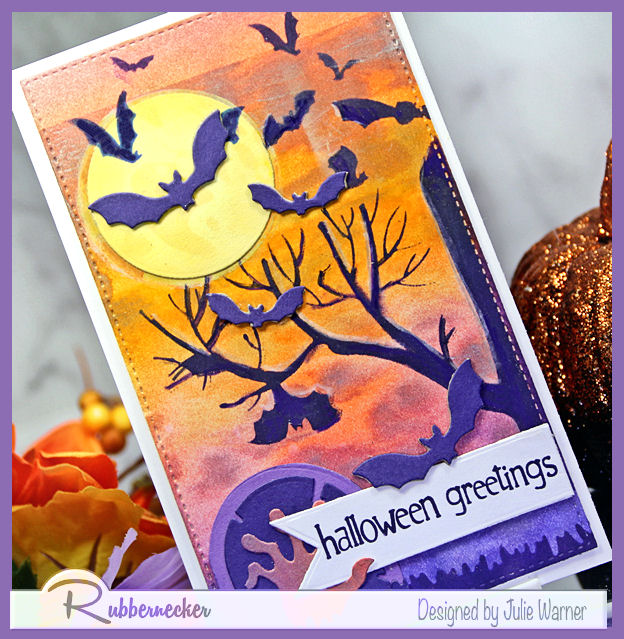
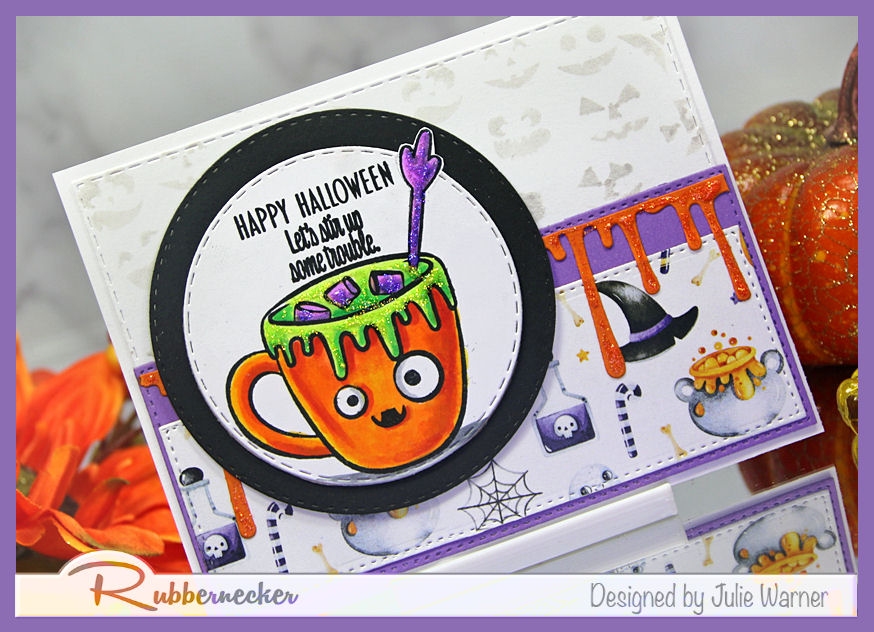
A few die cut purple bats were added on top as well as the tombstone & hand. A small piece of purple die cut grass was added across the bottom of the tombstone. I positioned the greeting tag so it would appear the hand was holding it.
Thanks so much for stopping by!
![]()
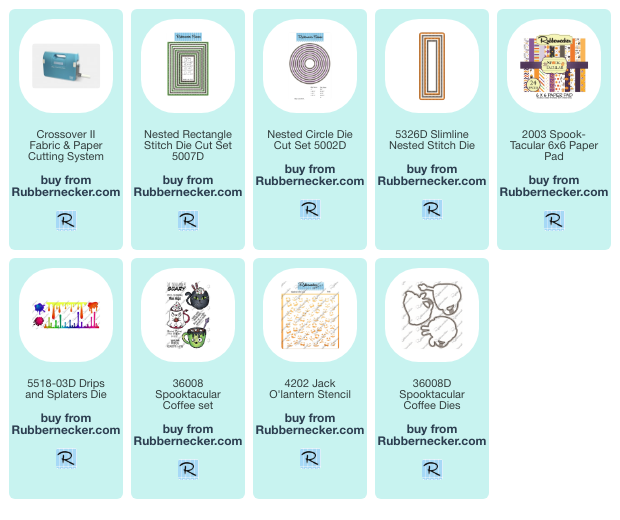
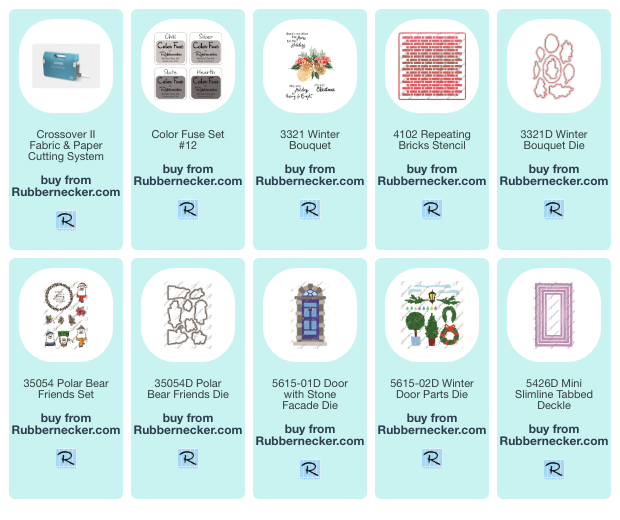
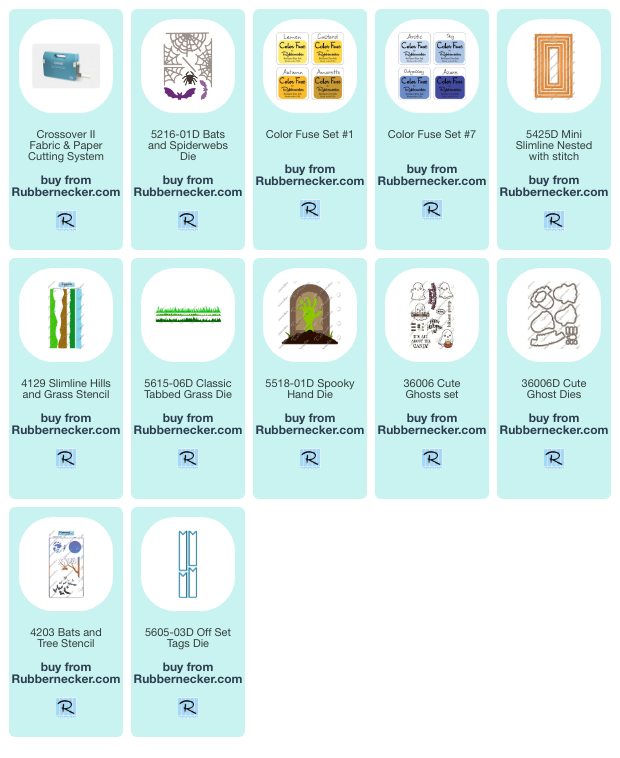
Supplies:
| Stamps: Rubbernecker Stamps: Cute Ghosts set (greeting) |
| Paper: Staples 110# white, dk purple, lt purple |
| Ink: Memento tuxedo black, Rubbernecker Stamps: Color Fuse ink set #1, set #7 |
| Accessories: Rubbernecker Stamps: Mini Slimline stitch, Cute Ghosts set, Circles, Bats & Spiderwebs, Classic Grass, Spooky Hand, Offset Tags dies, Bats & Tree, Slimline Hills & Grass Stencils, Crossover II, Misti, Marvy Metallic markers |

|

|

|

|

|
You might also like: