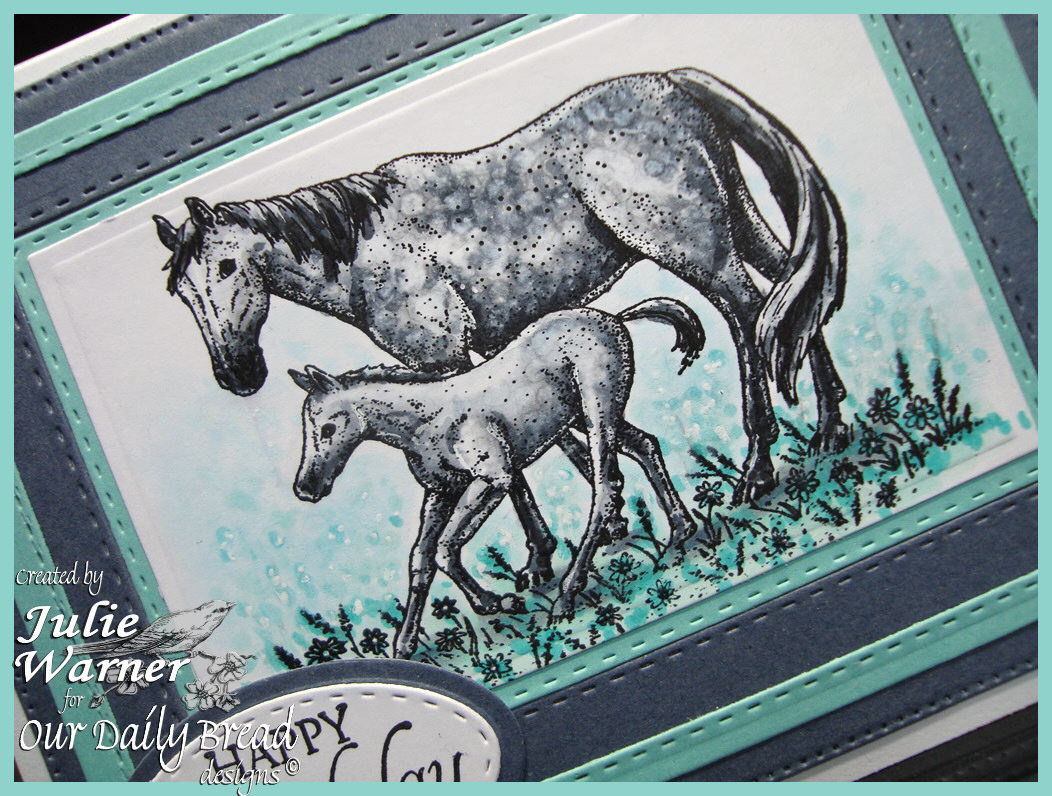

Today’s Color Challenge (CC561) on Splitcoast, has some beautiful colors & the first thing that came to mind was a dappled gray horse.
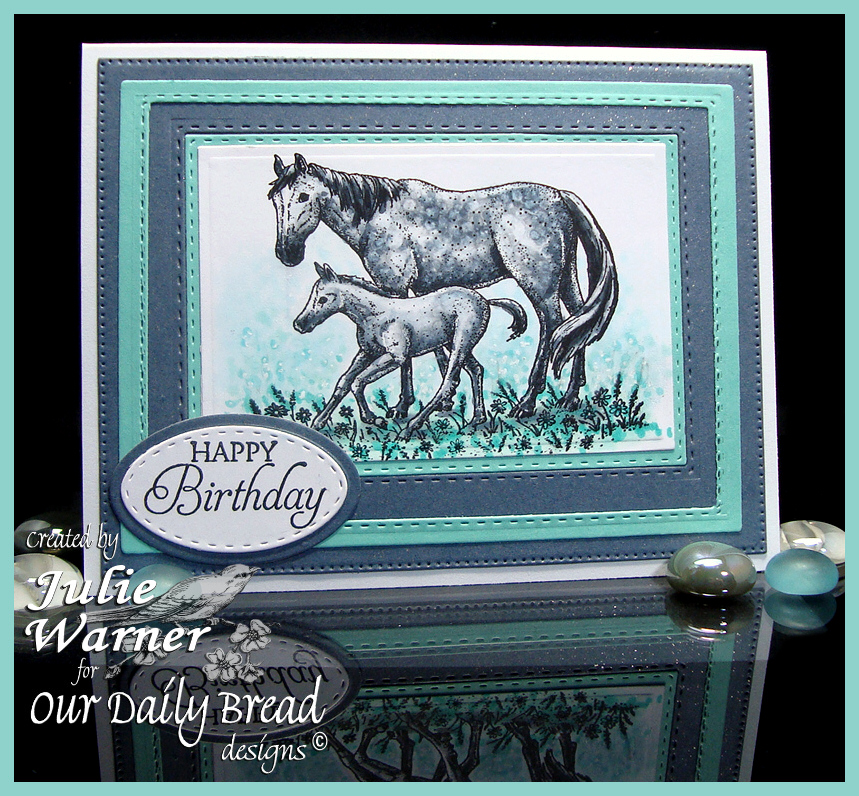
For my very dappled gray & her foal, I put them in my Misti, stamped w/ Memento, then colored them w/ Copic markers. It took me longer than I thought it would to color the horses….kind of funny when they are basically “gray”. I had to use the blender quite a bit to achieve the dappled look and this is probably the most I’ve ever used a black Copic, but I really needed it for the shadows. Since the other colors are pretty much shades of each other, I used those Copic colors to color in the grassy area & add a bit of dappling to the lower background. Then I overstamped with Versafine to sharpen the details. The stitched rectangles & stitched ovals along w/ the plain ovals & rectangles were used to die cut the layers & frames.
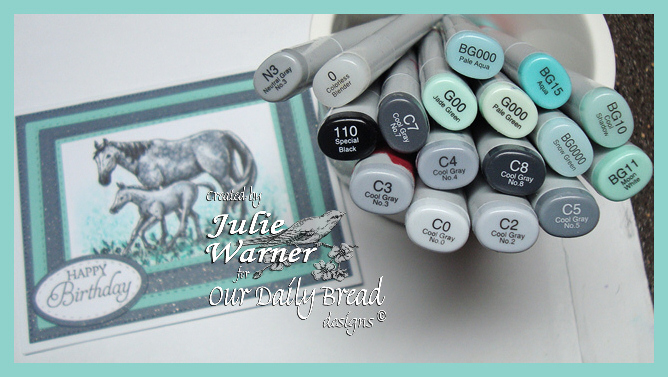
Here are the Copics I used. (The only reason N3 is there is because C3 was running low on ink & I didn’t want to stop to fill it up.)
Thanks so much for looking!

Supplies:
| Stamps: ODBD –Saddle Up |
| Paper: X-Press It white, sparkle flecked gray, aqua/green |
| Ink: Memento tuxedo black, Versafine onyx (to over stamp after coloring) |
| Accessories: ODBD Double Stitched Rectangles, Rectangles, Stitched Ovals, Ovals, Flourished Star Pattern dies, Copic markers, Spellbinders A2 matting basics A dies, Misti |


