• Tag Archives Divinity Designs/Our Daily Bread designs
  • Pinwheels Wishing

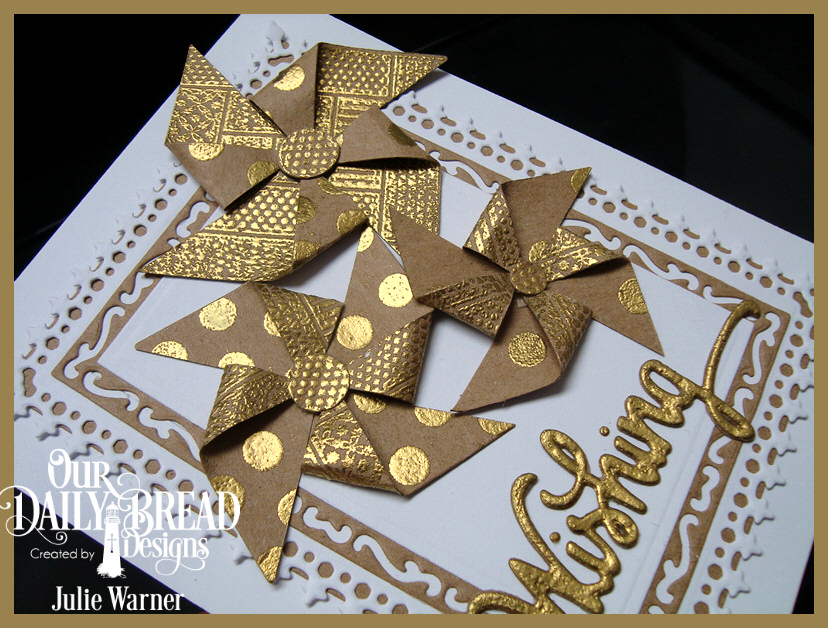
    Pinwheels Wishing cu08853
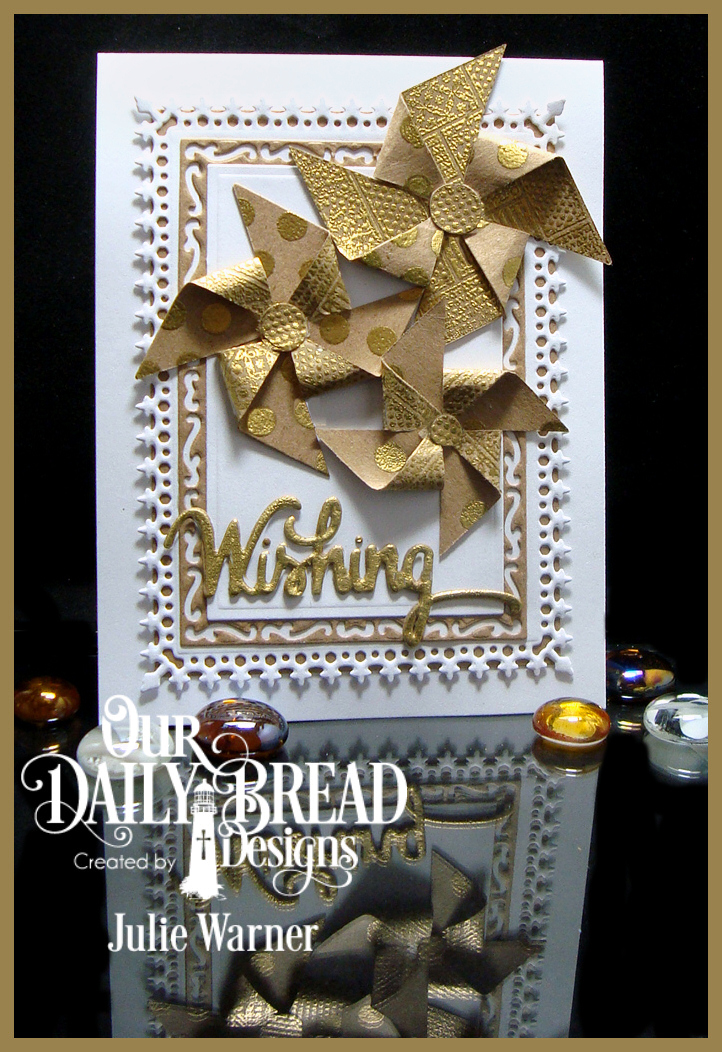
    A big congrats to Simone, the newest Featured Stamper (FS478) on Splitcoast! She has a wonderful gallery with beautiful CAS designs! There are several I picked to case, but I kept coming back to THIS one. I just love the 3 little pinwheels so I kept that, but I used different images, added more layers & left off the gems.
    Pinwheel Wishing 08851
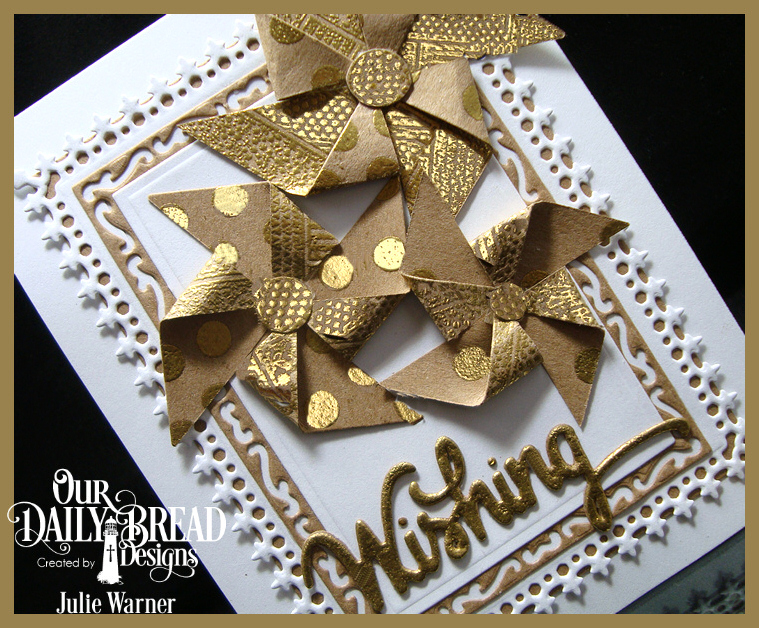
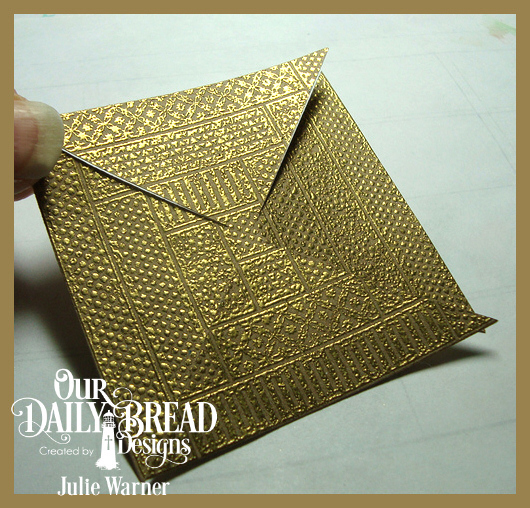
    To make my 3 pinwheels, I die cut 3 sizes of squares out of kraft c/s then gold heat embossed the Log Cabin Quilt on one side of all three. On the reverse sides, I used a pencil eraser to make the gold polka dots.

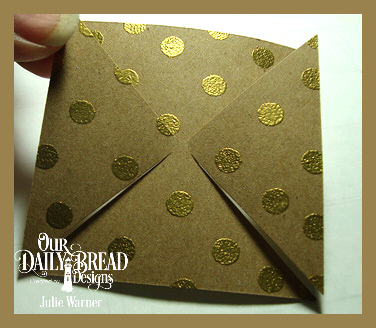
    I shared my easy method of making pinwheels from a square shape in THIS post, but basically, just cut from the 4 corners in to almost the center as shown below. (The first is the Log Cabin side, the pic below it is the reverse side w/ the pencil eraser dots.)
    Pinwheel front 08848Pinwheel flipside 08847
    After you have the corners cut, just bring one point of each side in to the center & attach. It doesn’t matter which you start w/, just make sure to fold the same point on each side.
    Pinwheels Wising xcu 08858
    After I die cut all the layers & the greeting, I inked up the greeting & gold embossed it, too. I also gold embossed the center of the Dresden Quilt image then used different sized circle punches & added these to the centers of my pinwheels.

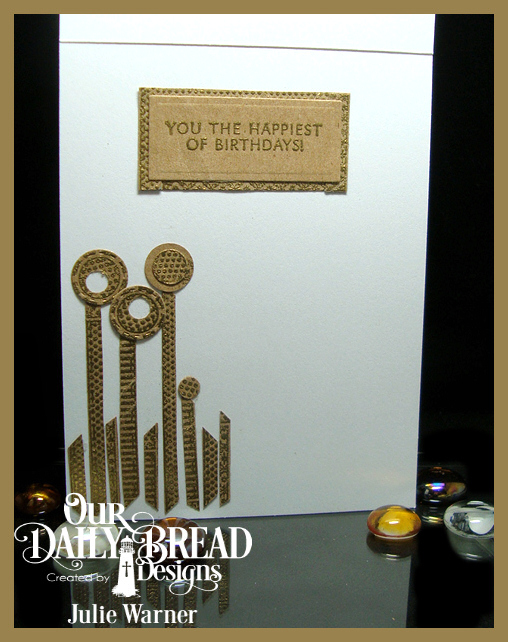
    Here’s a look at the inside using some leftover strips & circles.
    Pinwheels Wishing inside 08856
    Congrats again, Simone! Thanks so much for stopping by!
    Julie2 sig

    Supplies:

    Stamps: Our Daily Bread designs – Log Cabin Quilt (retired),  Dresden Quilt Stamp (retired),  (inside –Wishing Words)
    Paper: Staples 110# white, kraft
    Ink: Encore Ultimate Metallic Gold pigment
    Accessories: ODBD Double Stitched Rectangles,  Squares, Rectangles, Lavish Layers, Wishing dies, detail gold embossing powder, multi circle punch


  • ODBD April Release Blog Hop!


    Star Quilt cu 08795
    Welcome to the Our Daily Bread designs April Release Blog Hop! We have some beautiful images & fabulous dies for you this month, no fooling!

    Star Quilt 08797
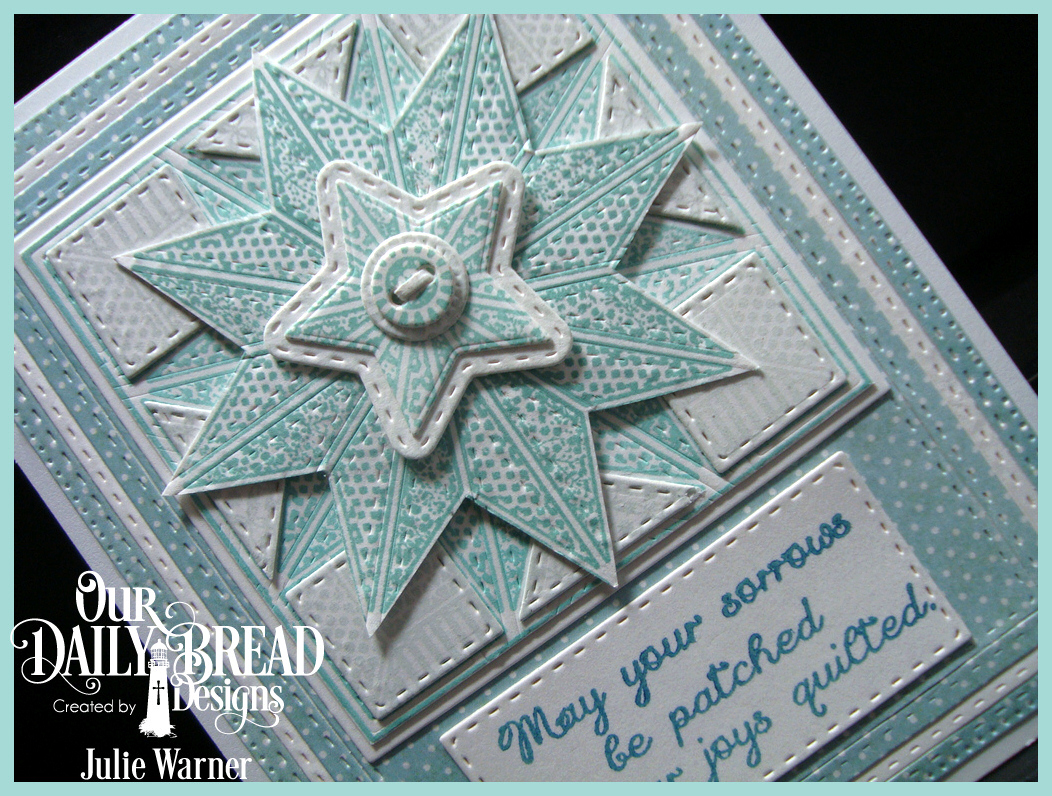
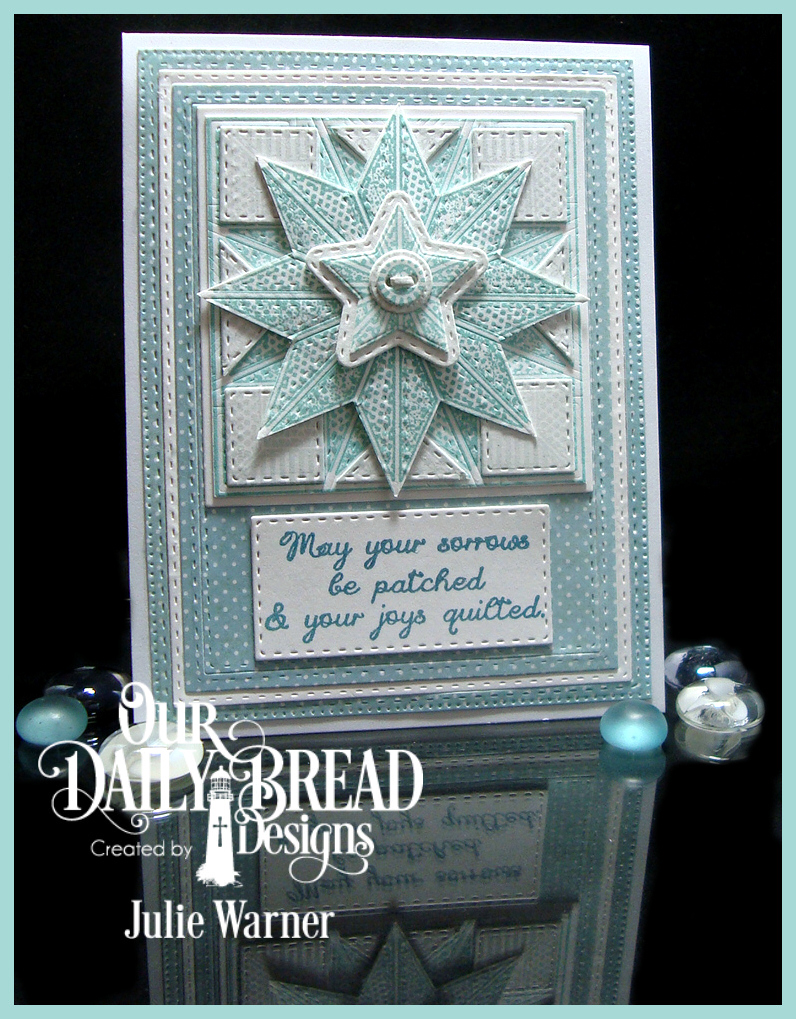
    For both of my cards today, I’m featuring the beautiful new Star Quilt stamp & the Star Quilt die. Now technically, they don’t fit together, but on this first card, I did use the die to emboss only on top of the stamped image. I stamped the Star Quilt image on heavy white c/s..once using the seaglass ink, twice using the celadon ink & once using the whisper gray ink. Please note, since I used pigment ink on these, I made sure to heat set it w/ my heat gun so it wouldn’t rub off.

    Here’s the part where I embossed the Quilt die on top of the stamped image.  I die cut one of the celadon stamped images using the next to largest Square die to use as my base quilt image.Star Quilt die 1 08788
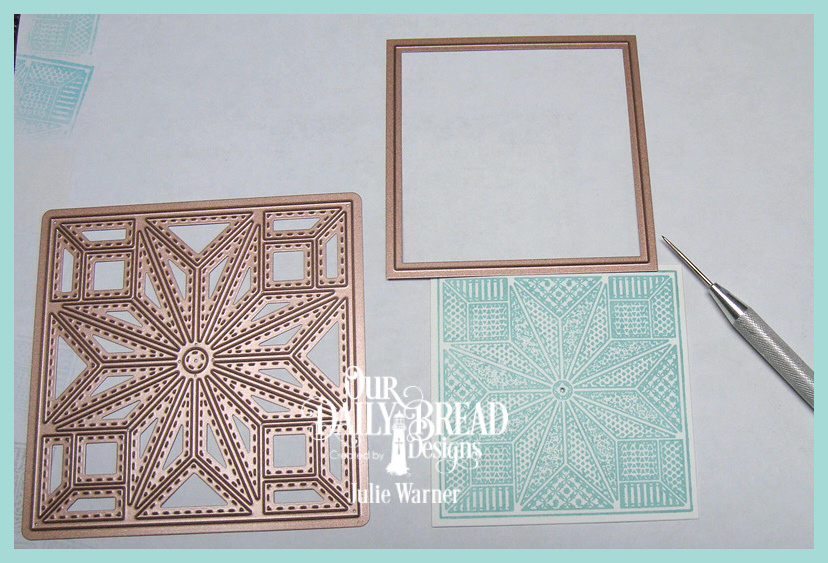
    As I mentioned, the die & image don’t fit together for die cutting, but I noticed they do line up pretty well for embossing & I wanted that stitched fabric look. In order to line them up, I used a piercing tool to poke a small hole in the center of the image. 
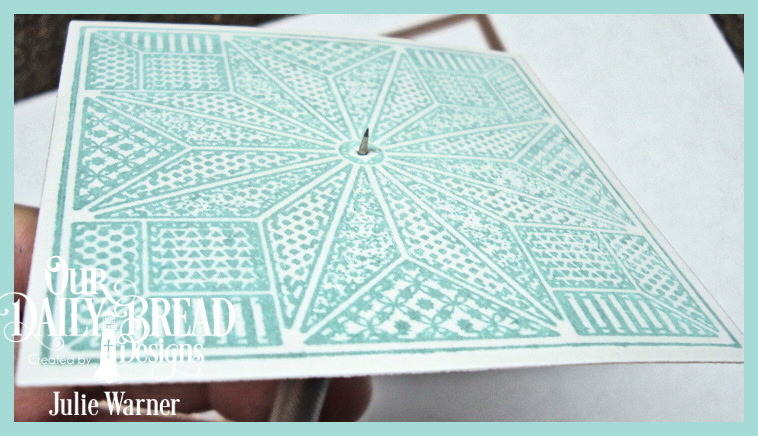
    Star Quilte die 2 08789
    Then I lined it up w/ the center hole in the die w/ the image face down on the cutting side of the die. In this position, I lined up the edges of the image so they would be square on the die. I placed it like this on the magnetic sheet & placed the rubber embossing mat on top & embossed it.
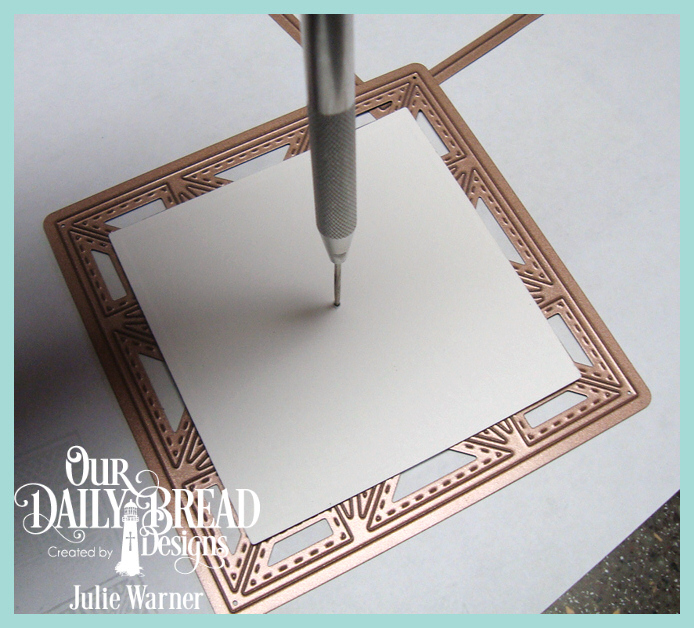
    Star quilt die3 08790
    I repeated this embossing on the seaglass & other celadon stamped quilts. I fussy cut parts of the whisper gray version (the squares & triangles around the borders) then positioned them inside a Double Stitched Square die to get the stitching cuts. I know it seems like a lot of work, but that’s the look I wanted. The angled star quilt center was fussy cut & attached offset from the base star. I also die cut the Star & Double Stitched Star & buttons out of leftover quilt image parts. 
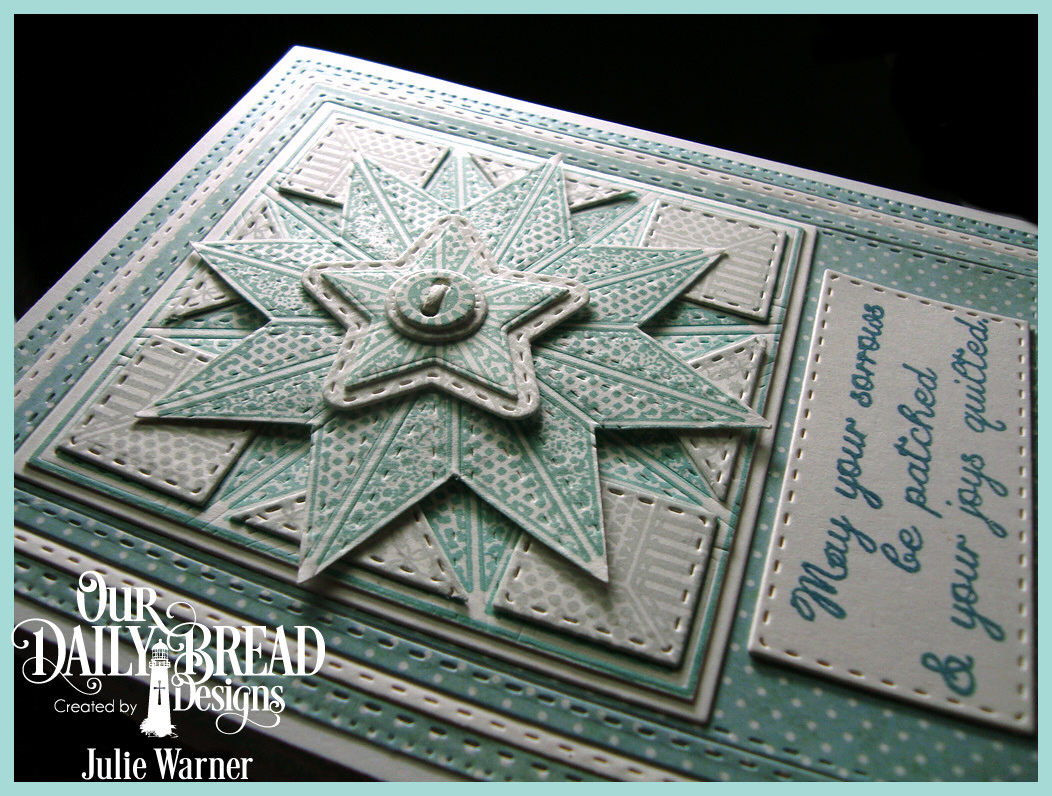
    Star Quilt xcu 08807
    The polka dot paper was die cut first w/ the Flourished Star Pattern & that piece was repeatedly cut down using smaller Double Stitched Rectangles & Rectangles with one white layer inserted between them.

    Here’s a look at the inside using another fussy cut Star Quilt centerpiece. 
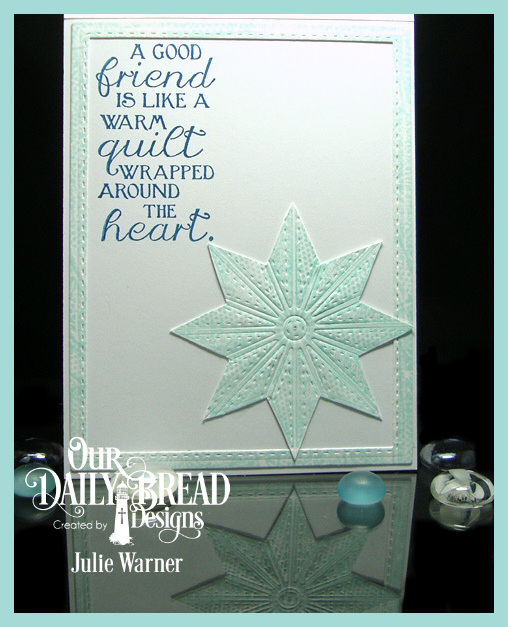
    Star Quilt inside 08798
    Supplies:

    Stamps: Our Daily Bread designs – Time to Mend, Star Quilt  (inside –Sewn with Love )
    Paper: Staples 110# white, Recollections heavy white, dp (ODBD – Christmas Collection 2014)
    Ink: Colorbox whisper gray, celadon & seaglass pigment inks, Versafine deep lagoon
    Accessories: ODBD Flourished Star Pattern, Star Quilt, Double Stitched StarsDouble Stitched RectanglesSparkling Stars, Double Stitched Stars, Squares, Double Stitched Squares, Rectangles, Matting Circles dies, Misti

    Quilted Joy cu08826
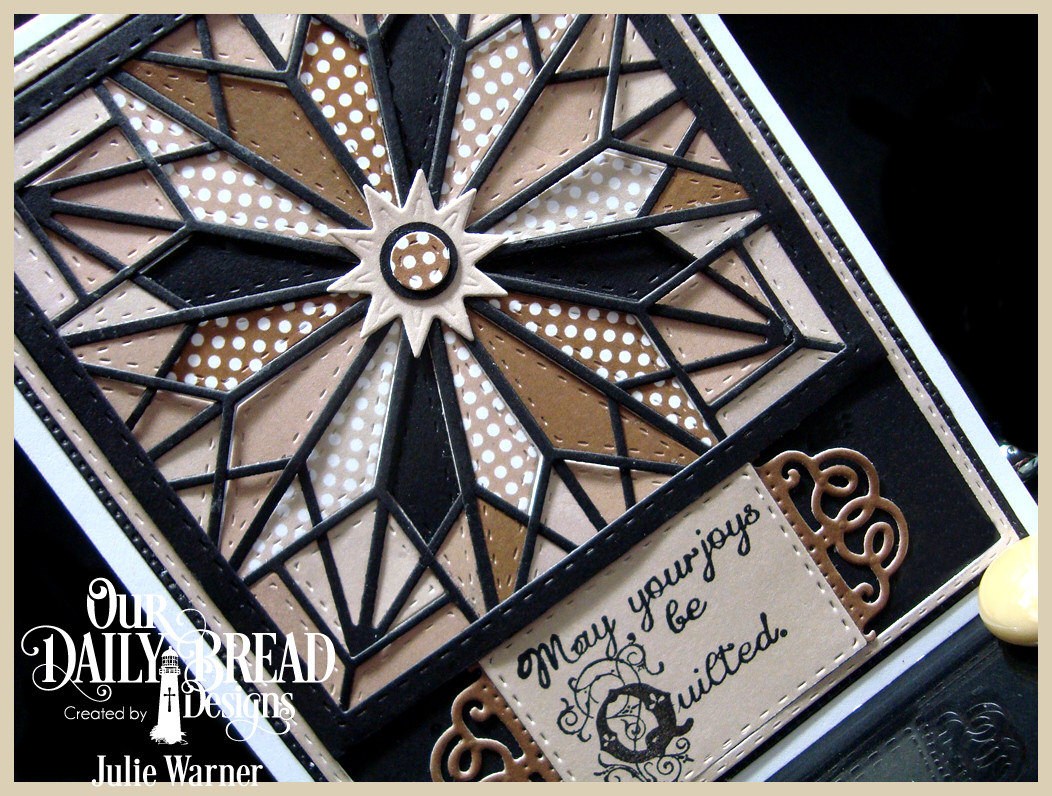
    For this quilt card, I went with a more dramatic color combo & I used the Star Quilt die and not the image this time. I die cut the Star Quilt in black (twice), and one each in 3 solid shades of tan/brown & 3 polka dot shades of tan/brown (all from the Ephemera Essentials paper). 
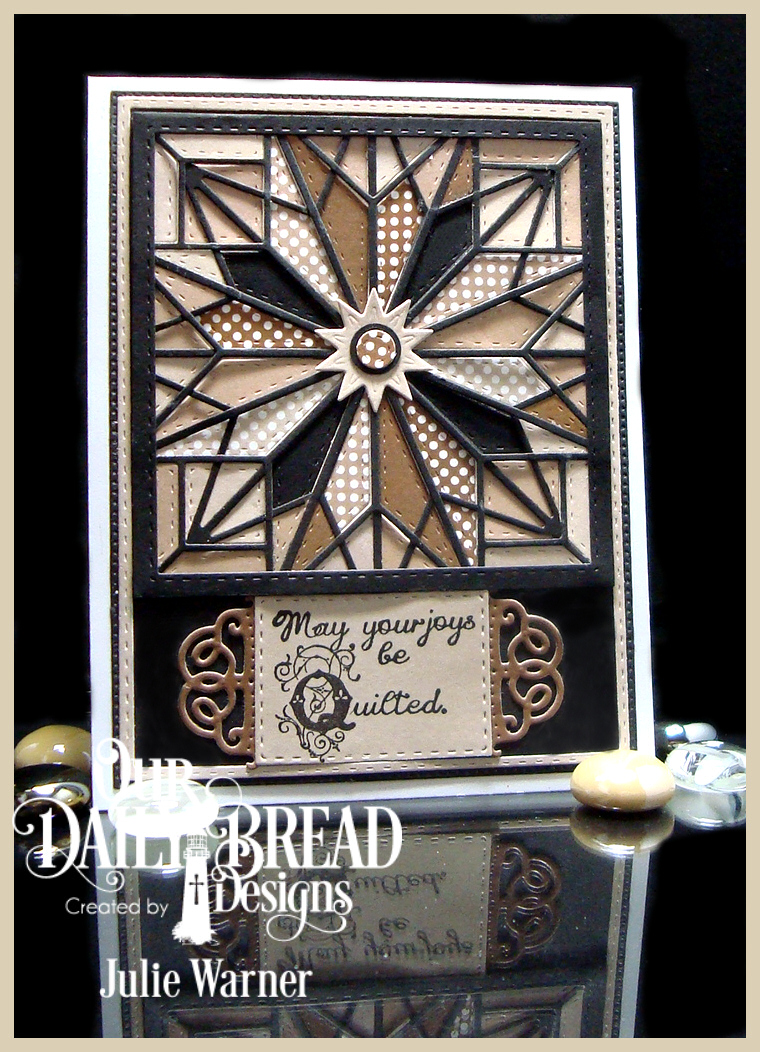
    Quilted Joy 08824
    I also die cut one Star Quilt out of ivory to use as my base so I would have something to attach them all to. Sort of like doing a 100 piece puzzle, lol. After I arranged the pieces like I wanted & attached them, I attached one of the black grids of the quilt on top of the pieces. The other black grid fell on top at an angle, & I thought…hmmm..that looks pretty good! So just for fun, behind some of the pieces (the black ones & the one directly next to them) I added other tan colors to make a complicated paper piecing even more intricate! Then I attached this black grid on top, turned at about a 20 degree angle then trimmed off the corners that stuck out.

    Here’s what the angle at which the two were attached looks like. The polka dot would be the squared frame & the solid is the angled one. The corners that stuck out were trimmed off.
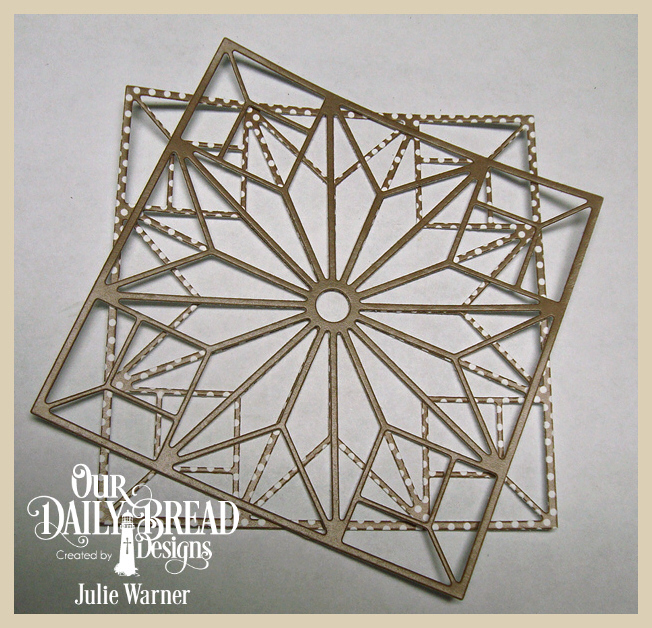
    Quilted Joy die4 08846

    I added a Double Stitched Square frame on top to have a little bit heftier border then added it to my card. the tan sun shape & one of the polka dot centers were attached in place.
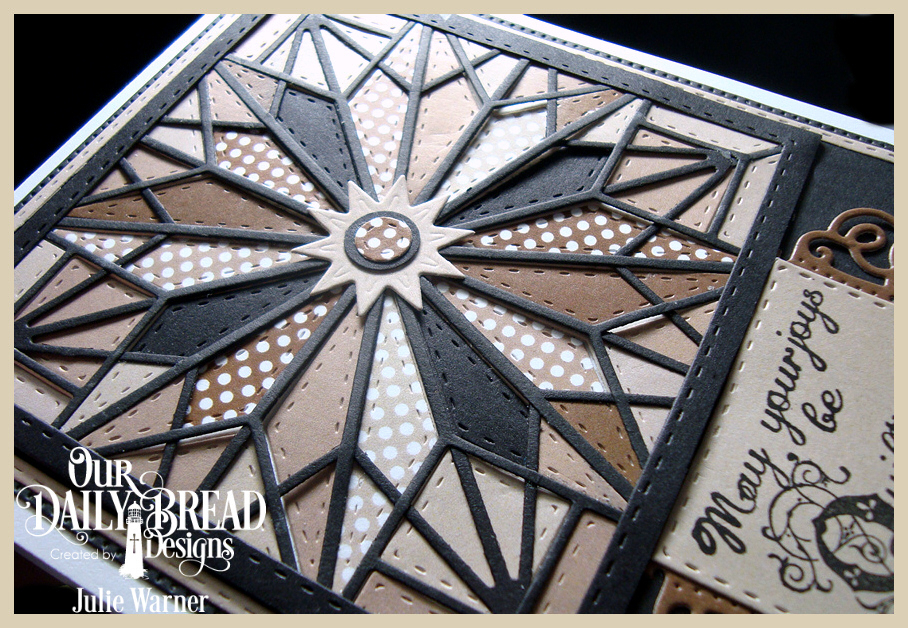
    Quilt Joy xcu 08829
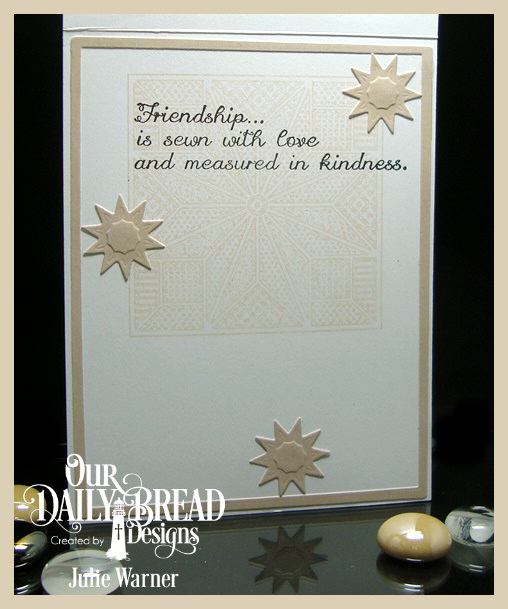
    The greeting was rearranged a bit & I replaced the Q w/ a Flourished Alphabet Q. In order to die cut the greeting, I had to do a little resizing using a Double Stitched Square die.

    Here’s a look at the inside. 
    Quilt Joy inside 08828

    Supplies:

    Stamps: Our Daily Bread designs – Time to Mend (retired), Flourished Alphabet (inside –Star Quilt, Sew Special )
    Paper: Staples 110# white, black, dp (ODBD – Ephemera Essentials
    Ink: Versafine onyx (inside -Memento desert sand)
    Accessories: ODBD Flourished Star Pattern, Star Quilt, Double Stitched Rectangles, Sunburst, Rectangles, Squares, Double Stitched Squares, Vintage Flourish Pattern dies

    Please be sure to comment on all the DT Blogs! It is so appreciated & will also increase your chances of winning! 
    Cathy * Dawn * Lori * Robin * Julie * Sandee 

    Chris * Grace * Lisa * Sabrina 

    Diana * Angie * Melissa (Guest Designer)

    Thanks so much for stopping by! 
    Julie2 sig


  • Starry Birthday

    Starry Bday cu 08772
    Happy Easter!
    Weekly-Favorite

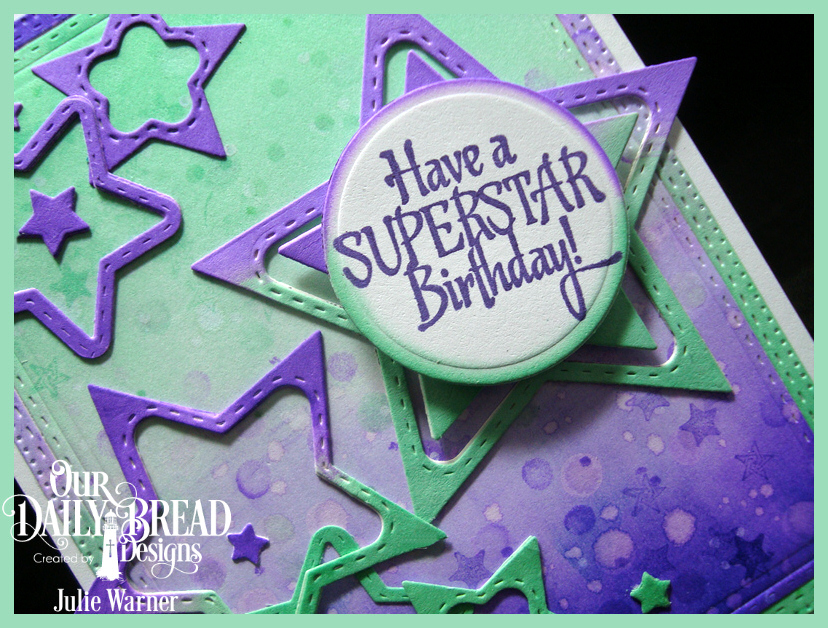
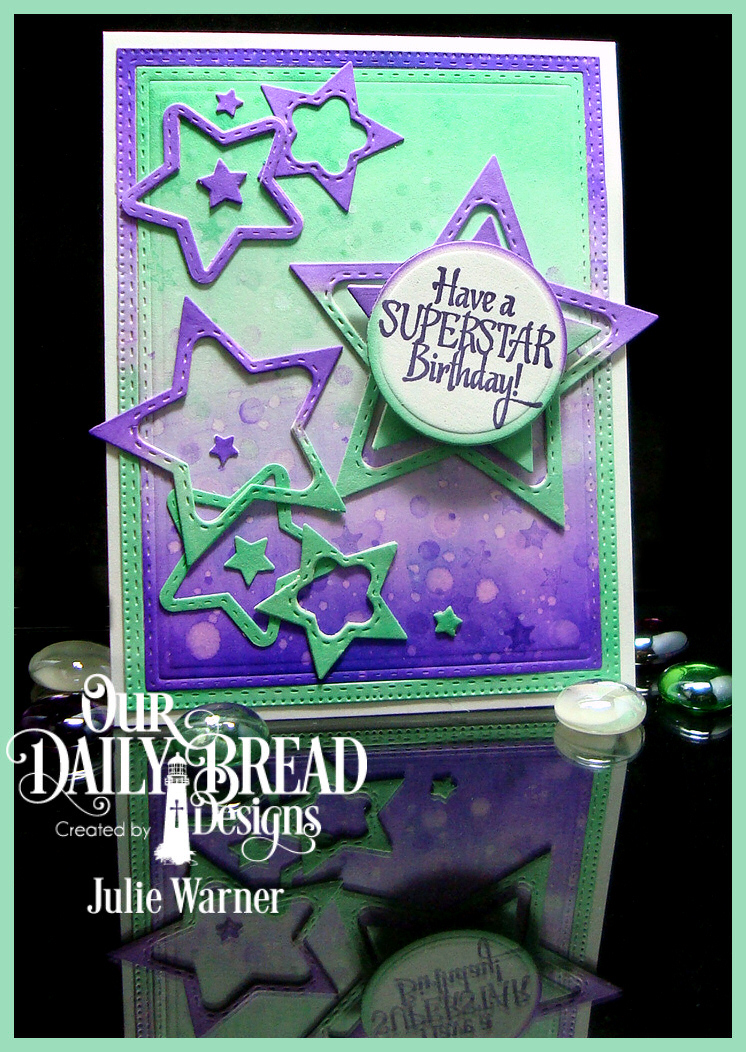
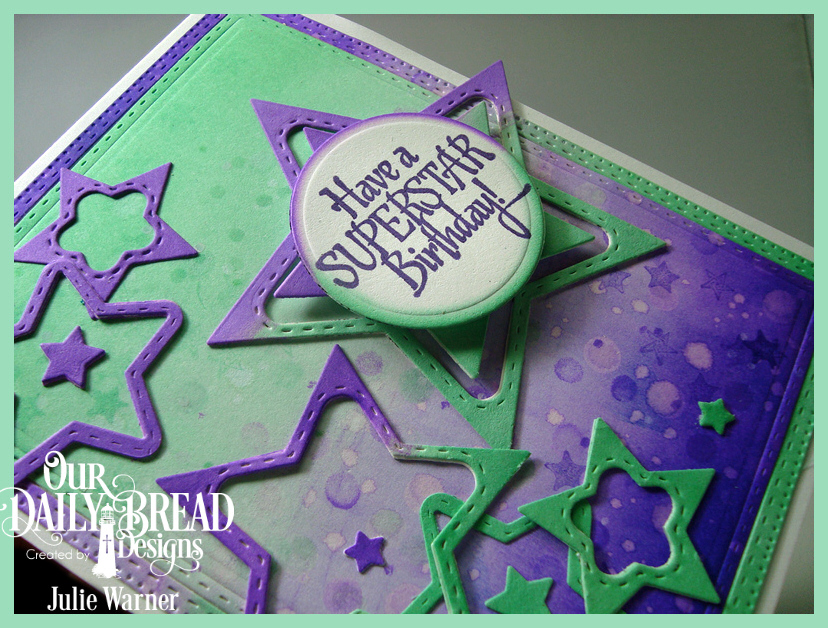
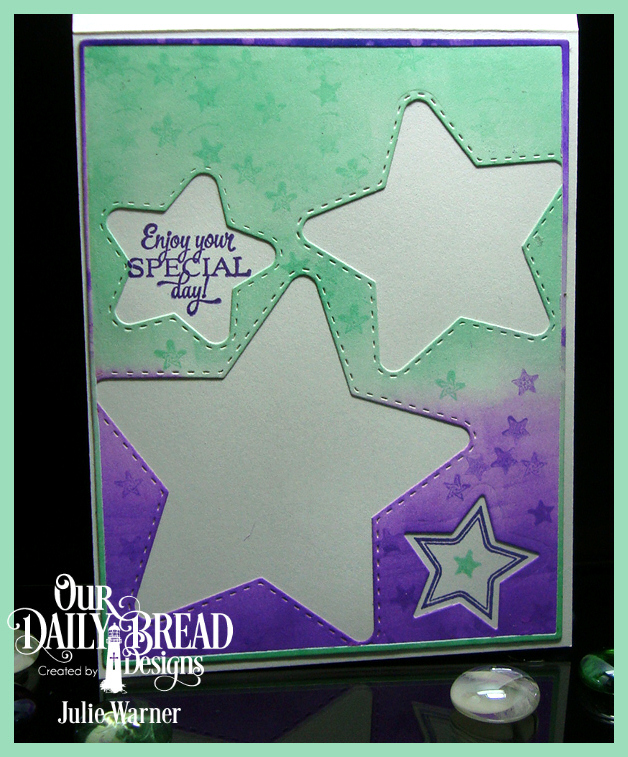
    And a  big congrats to Jenn, the newest Featured Stamper (FS477) on Splitcoast! She has such a wonderful, colorful gallery & I chose THIS card to case. I really liked the color combo so I kept that (though mine ended up more purple than violet, lol), but I changed the snowflakes into stars & made my own background since I couldn’t find the dp she used. 

    Starry Bday 08773
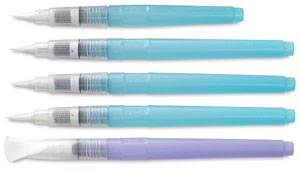
    To make my background, I sponged the violet ink from the bottom up & the pistachio ink from the top down onto a piece of white card stock.  Water drops from a water brush were splattered across the panel to make pale circles. Then I used a dot stencil and a white marker to add whiter dots & I also used a dry marker I touched to the surface of the 2 ink pads to make darker small dots. For the bigger dots I used a pencil eraser touched to the ink pads & also a white pigment ink pad. I also used the tiny star image stamped here & there w/ the violet & pistachio inks.Starry Bday xcu 08785
    The finished bg was die cut twice & I turned the larger, outer layer around & put it back around the main panel. Then I added all the die cut & sponged star frames. The greeting was stamped w/ the Versafine purple ink, die cut & the edges sponged. 

    Here’s a look at the inside. I used the panel I cut the star frames from, sponged it as I did the front. Starry Bday inside 08778
    Congrats again, Jenn! Thanks so much for stopping by!
    Julie2 sig

    Supplies:

    Stamps: Our Daily Bread designs – Superstar (retired) , Shine On, (inside – Birthday Doily (retired))
    Paper: Staples 110# white
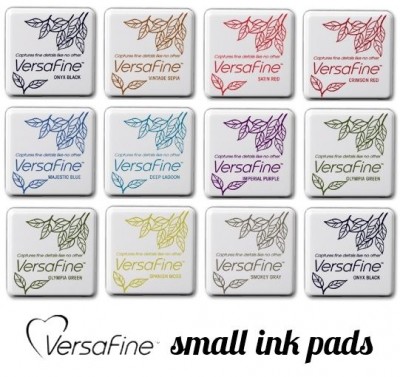
    Ink: Colorbox frost white pigment, Distress inks wilted violet, cracked pistachio, Versafine imperial purple
    Accessories: ODBD Flourished Star Pattern, Double Stitched StarsDouble Stitched Rectangles, Sparkling Stars, Rectangles, Circles dies, water brush, pencil (eraser end only), Memory Box Tiny Dots stencil, white Permapaque marker