 X3
X3 
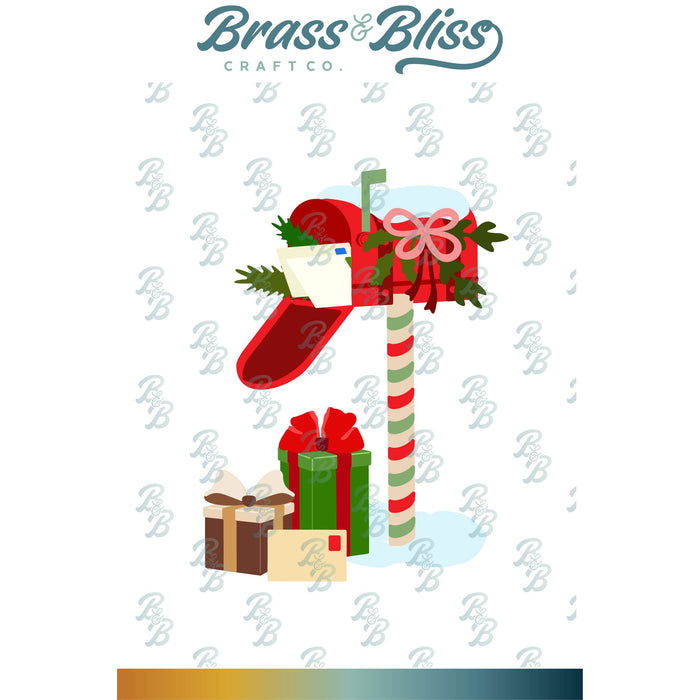
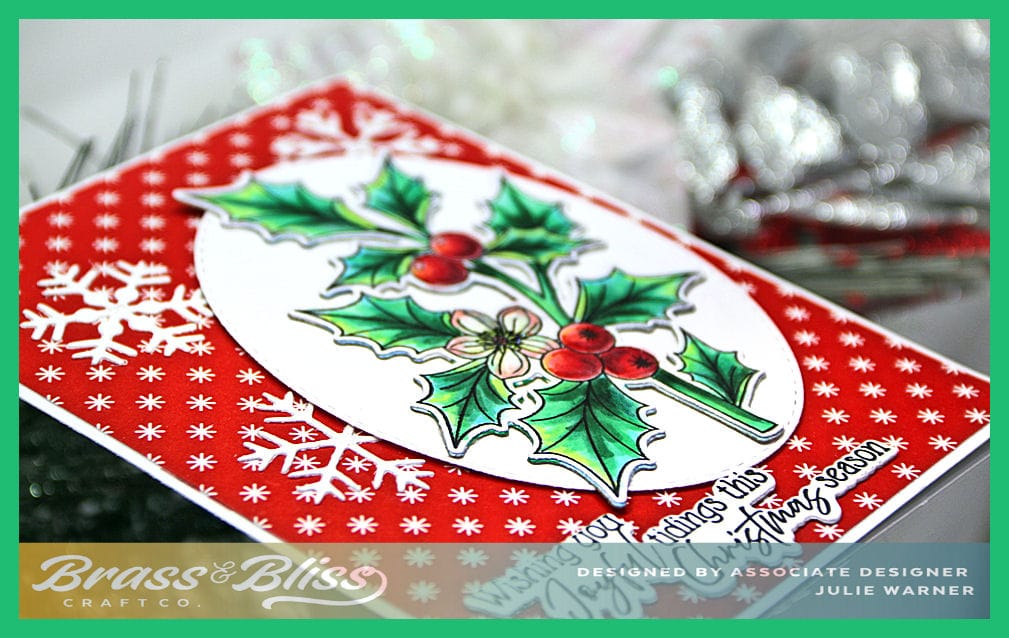
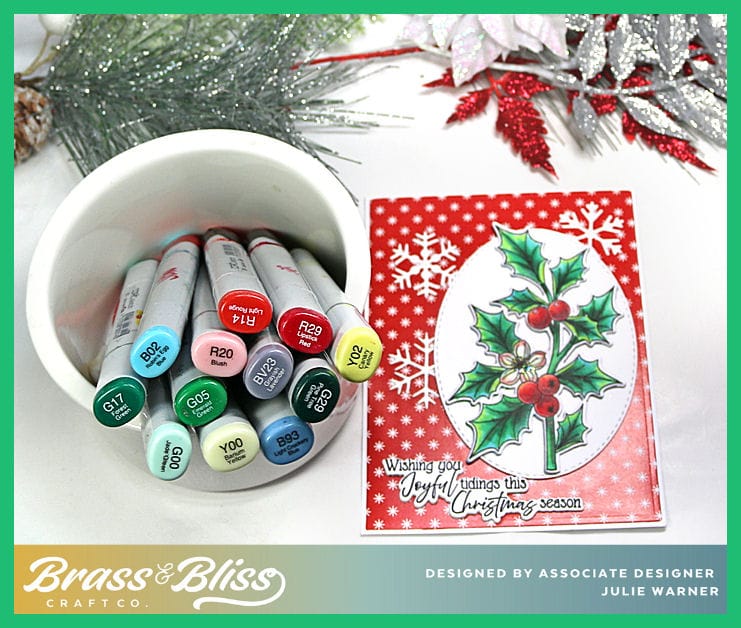
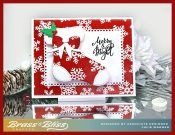
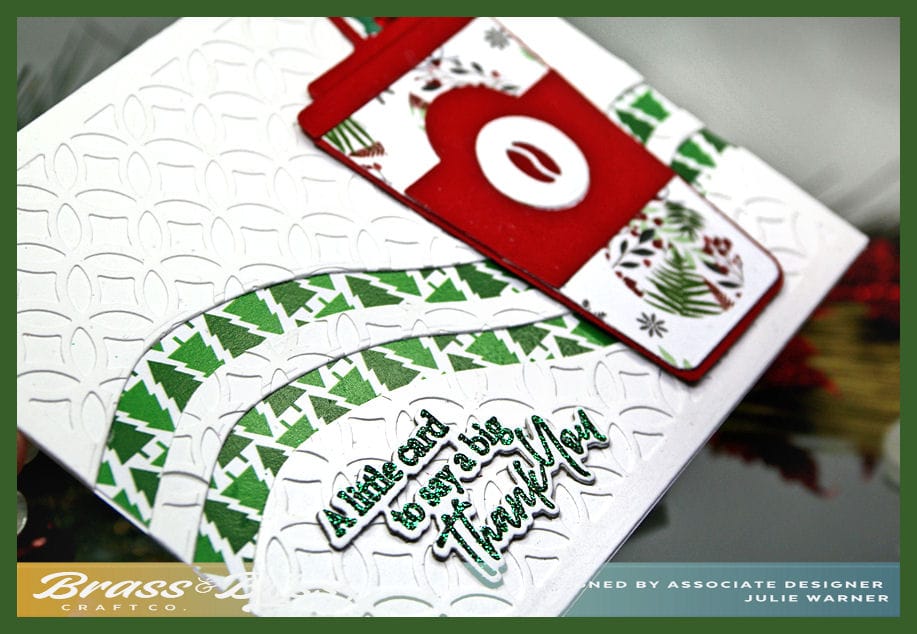
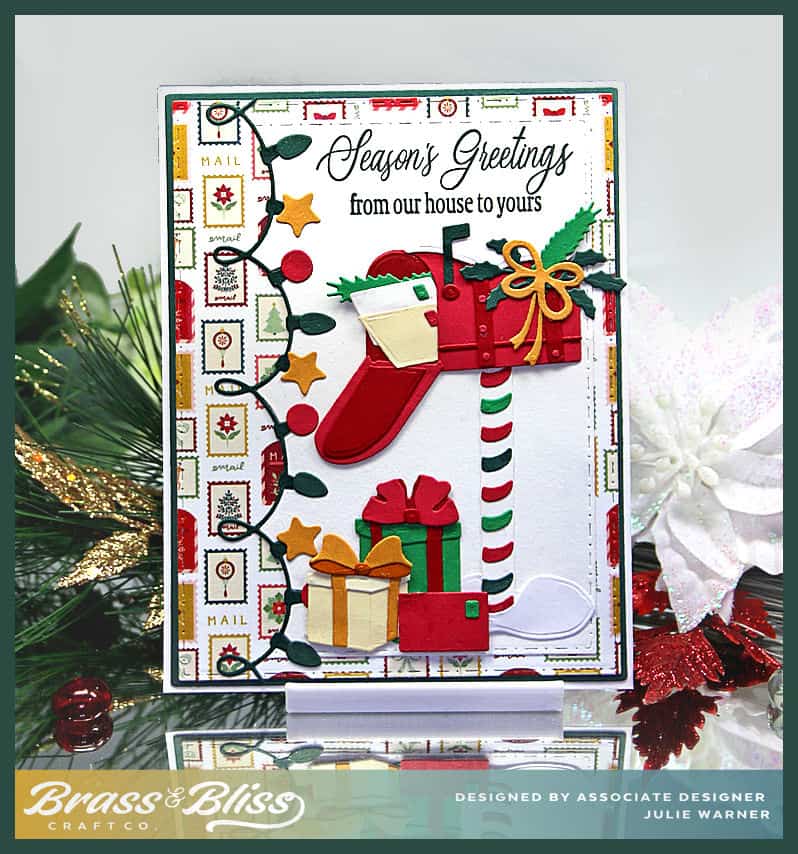
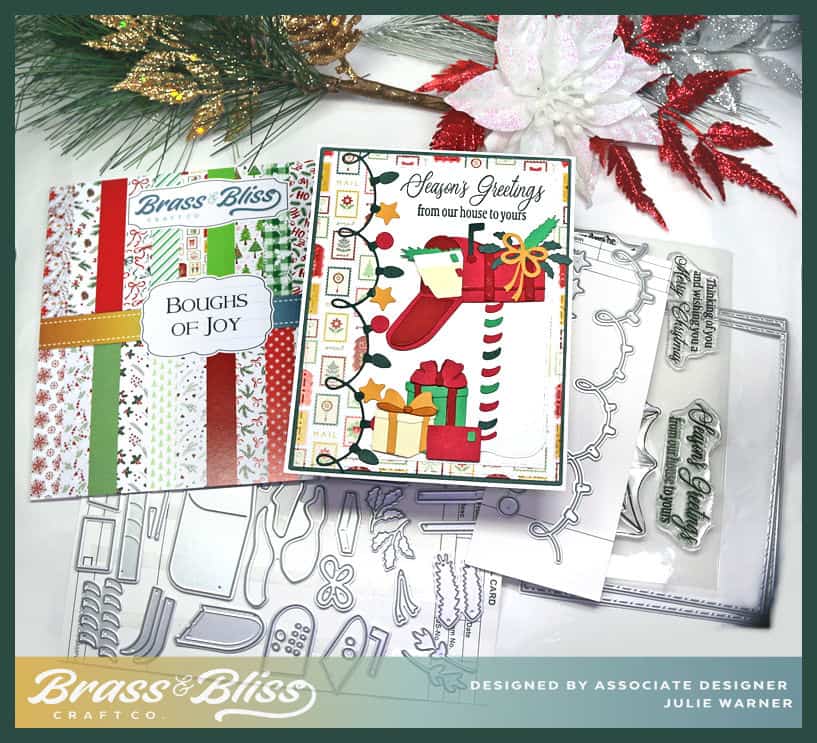
I have a fun, festive Christmas/Holiday card to share today. This card was a lot of fun to put together. Everything except the string of lights are contained in one die set. Just follow the picture on the package & you’re set. Add as much or as little as you like.
It’s my turn to host the Inspiration Challenge IC1026, and we are visiting Frontage & their Pinterest Board. I was inspired by THIS picture.
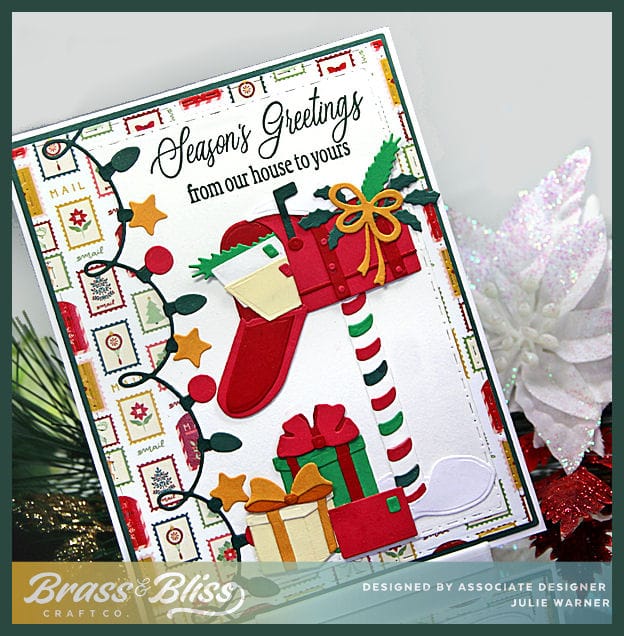
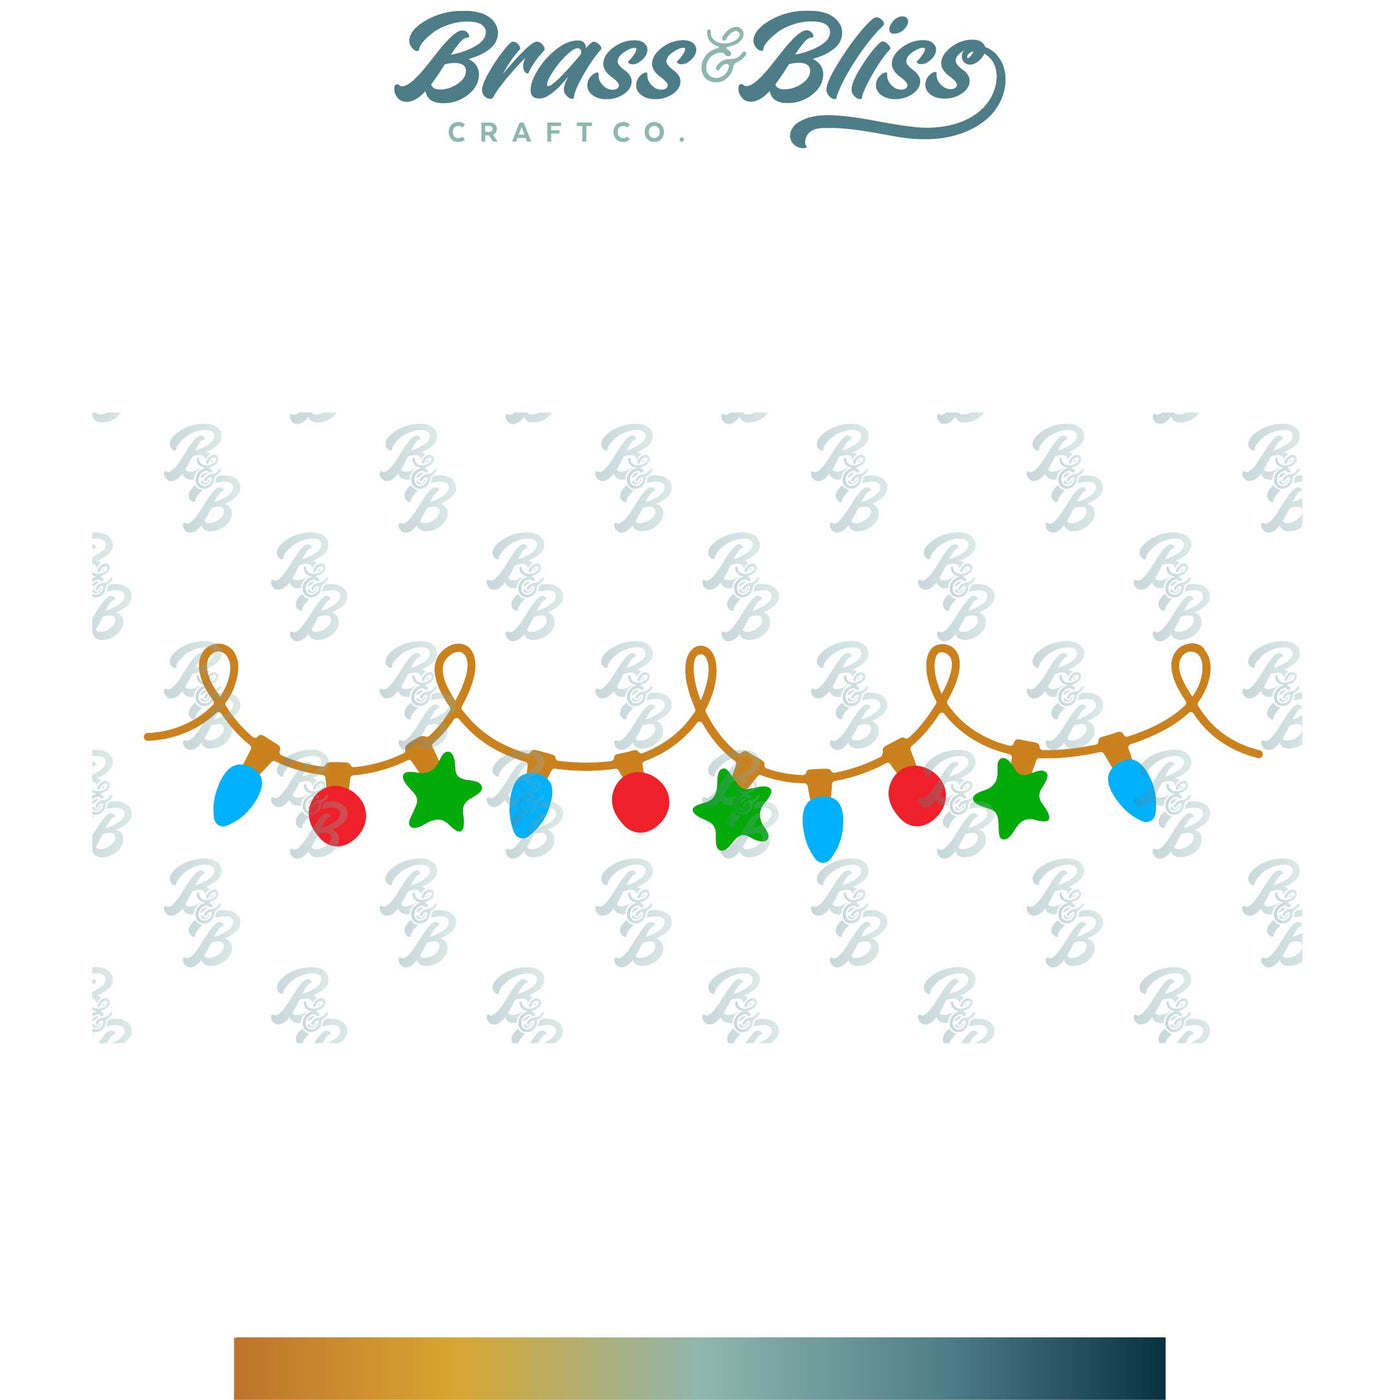
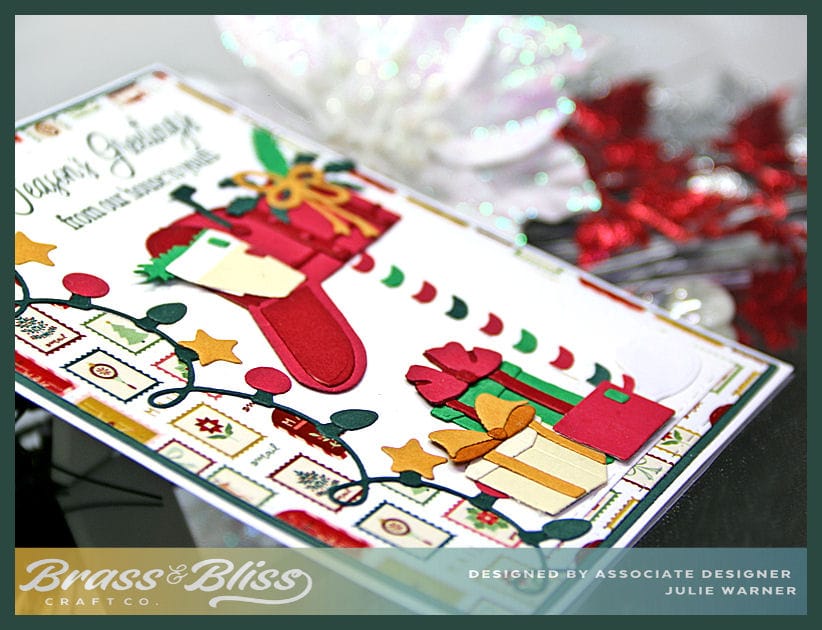
To make my mailbox card, I die cut all the parts out of 2 shades of red, white, green, vanilla, goldenrod & 2 shades of green. I pieced all the mailbox parts together & die cut a white panel to put them on. Before I attached them, I used the string of lights die to cut the far left edge, then cut the string & lights out of the same colors. I attached this white panel to a piece of lovely designer paper then put the light string in place. When all the lights were attached, I added the mailbox. The presents were put together and added at the base. The greeting was stamped along the top with a dark green ink. The finished front was added to a narrow dk green layer & then onto the card.
Thanks so much for stopping by!
Supplies: (click the names below the pictures to take you to the products)
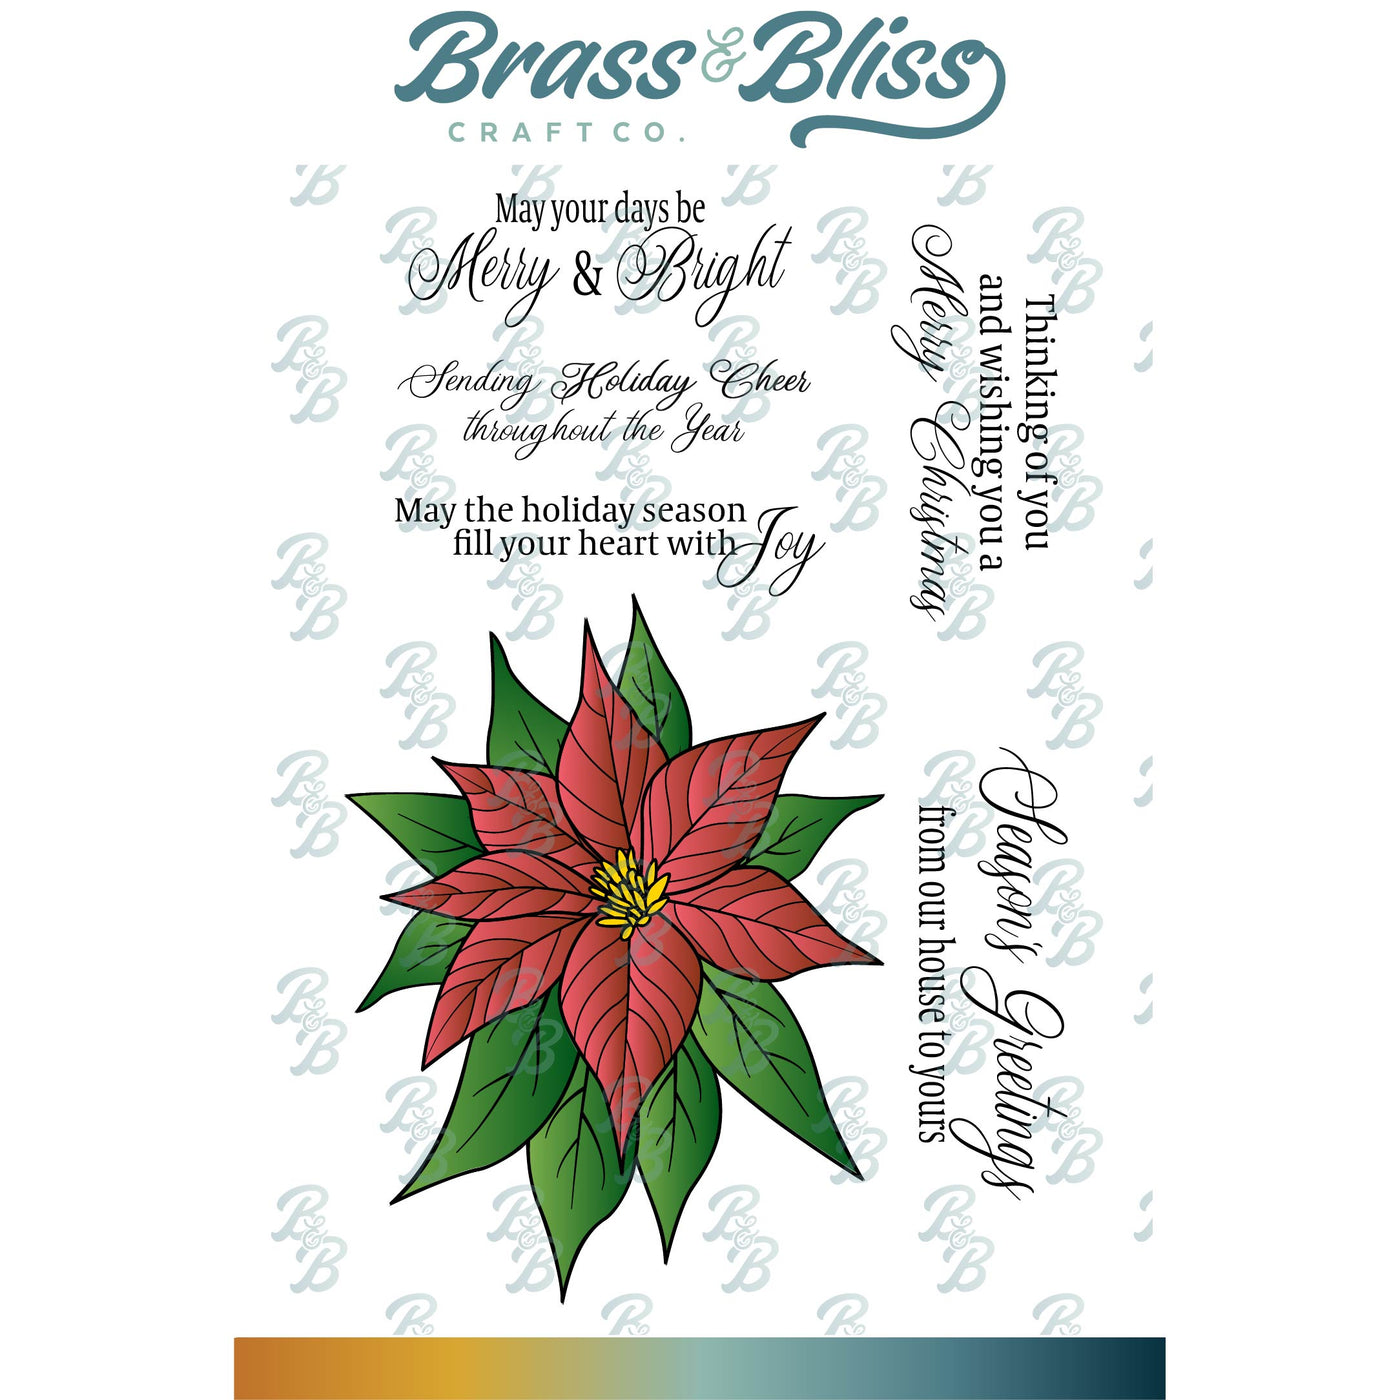
| Stamps: Brass & Bliss: Poinsettia Elegance set |
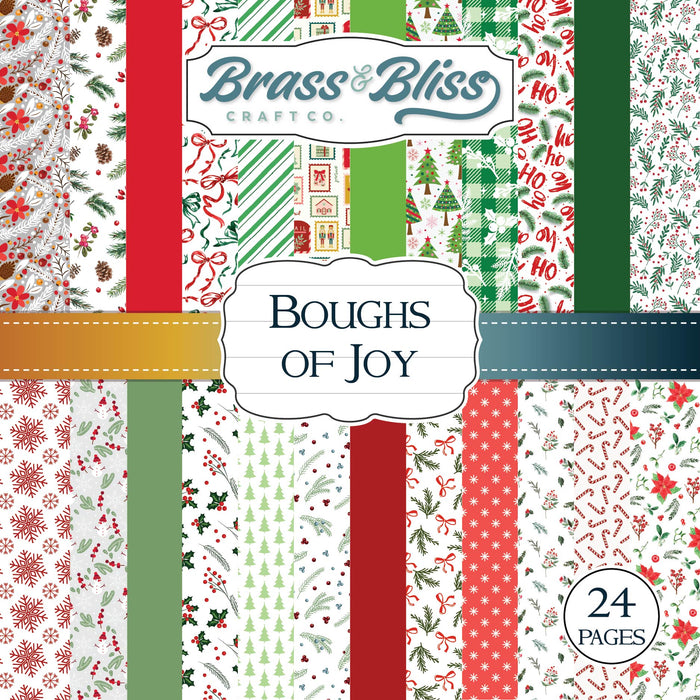
| Paper: Staples 110# white, red, dk red, green, dk green, vanilla, goldenrod, dp Brass & Bliss: Boughs of Joy paper pad |
| Ink: Versaclair Rain Forest |
| Accessories: Brass & Bliss: Poinsettia Elegance set, Mailbox w Presents, String of Lights, Stitch Dot Rectangles dies, Misti |

