• Tag Archives Halloween
  • Beware


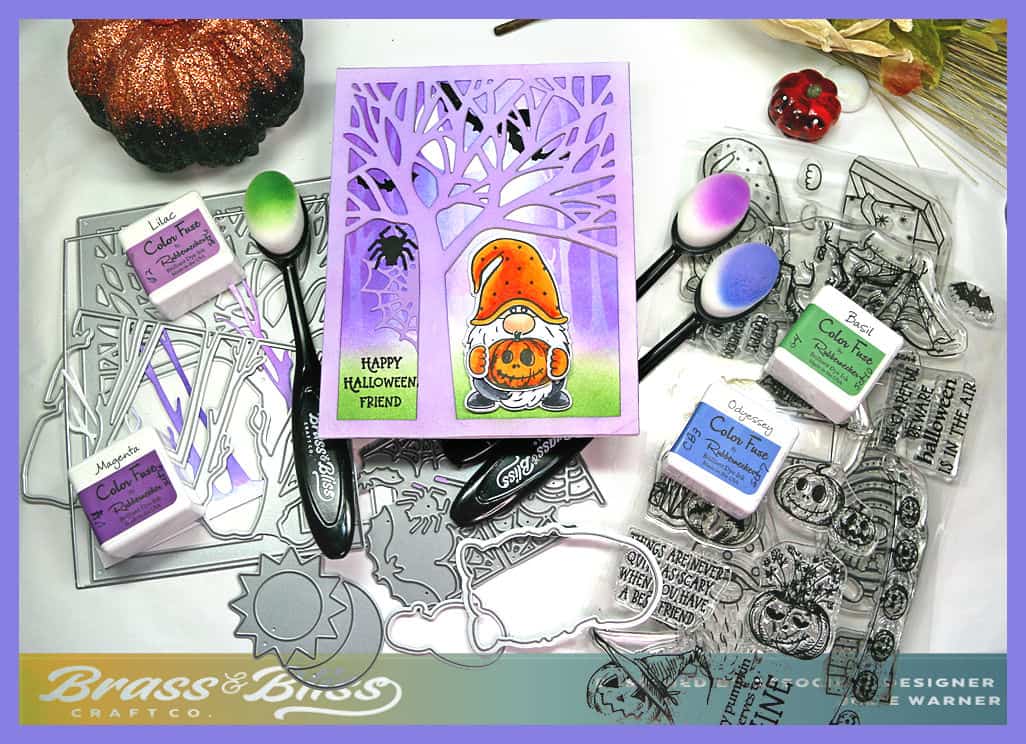
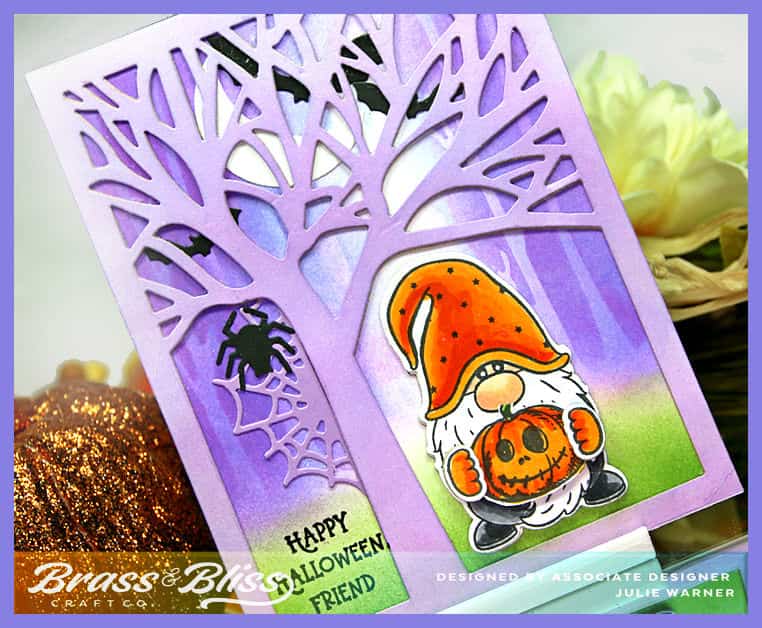
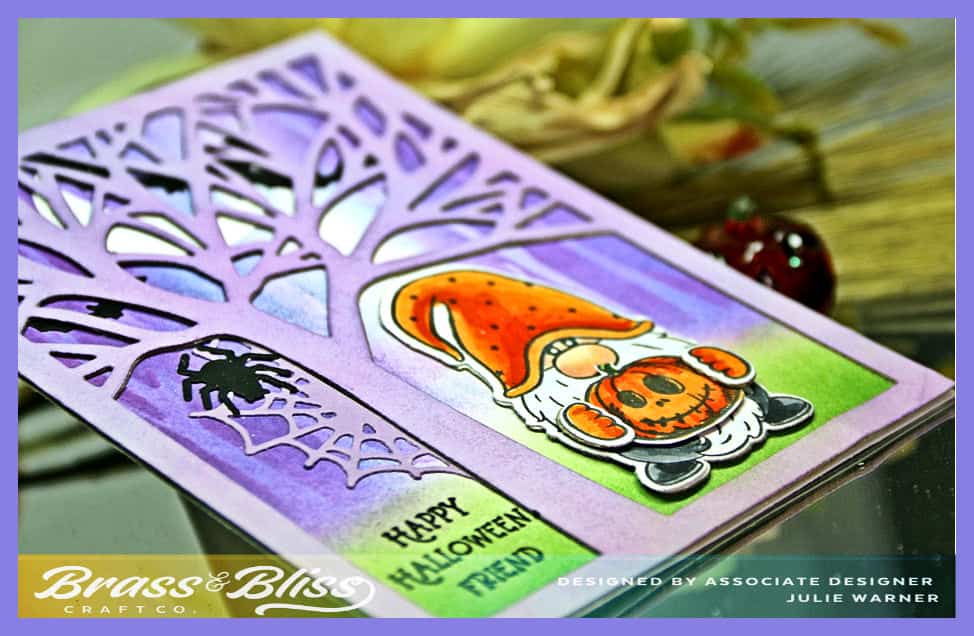
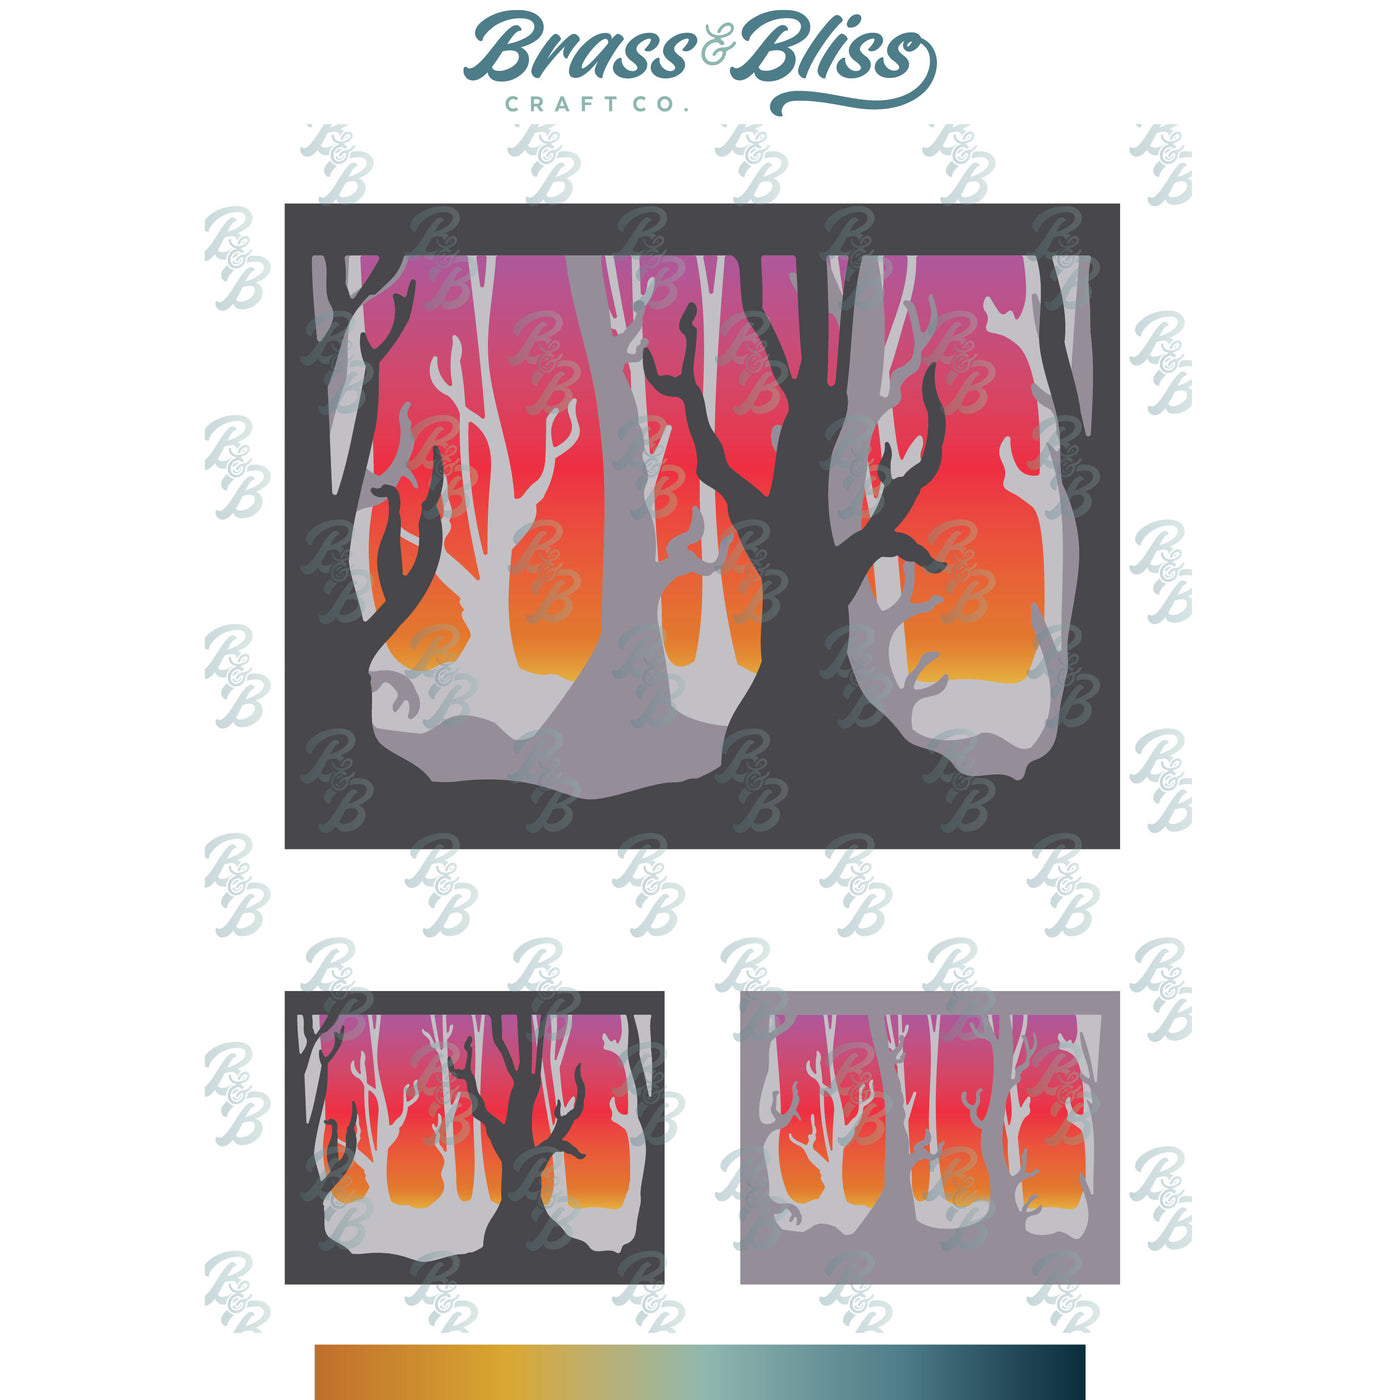
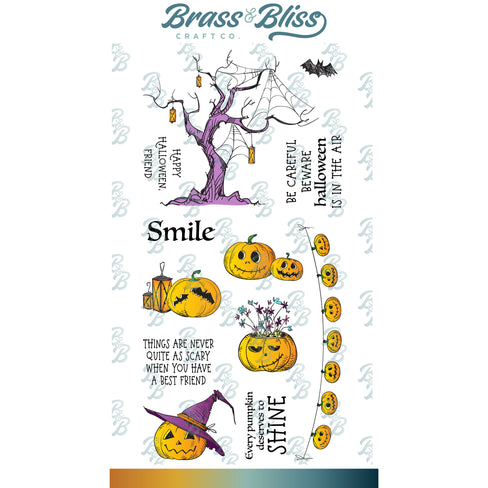
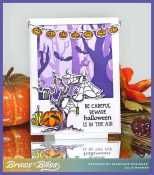
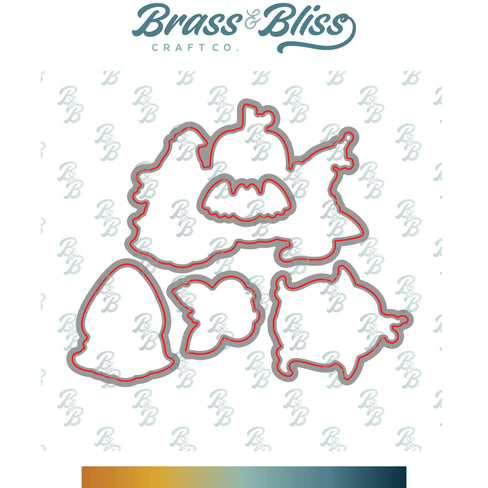
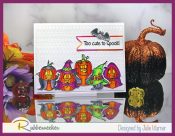
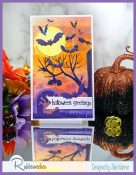
    Ready to start Halloween crafting? I have just the card to get you in the mood. Today I’m combining a fab new Jack O Lantern set w/ an equally fab Stacked Spooky Forest set of dies for a spooky cute card.  This set comes with some terrific images so there’s plenty to choose from & the stacked forest can be any color you desire. 

    For the Inspiration Challenge (IC980) we are visiting House of Jade & their Pinterest Board. I was inspired by THIS picture.

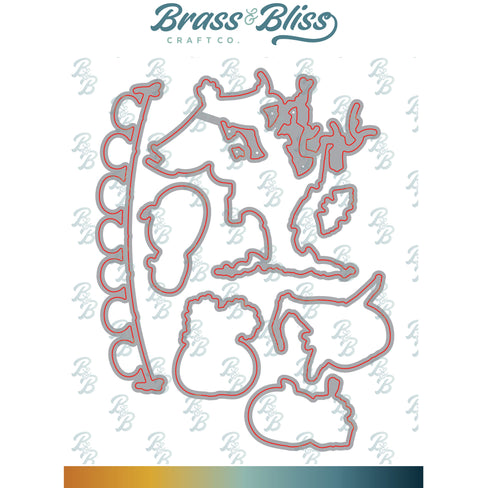
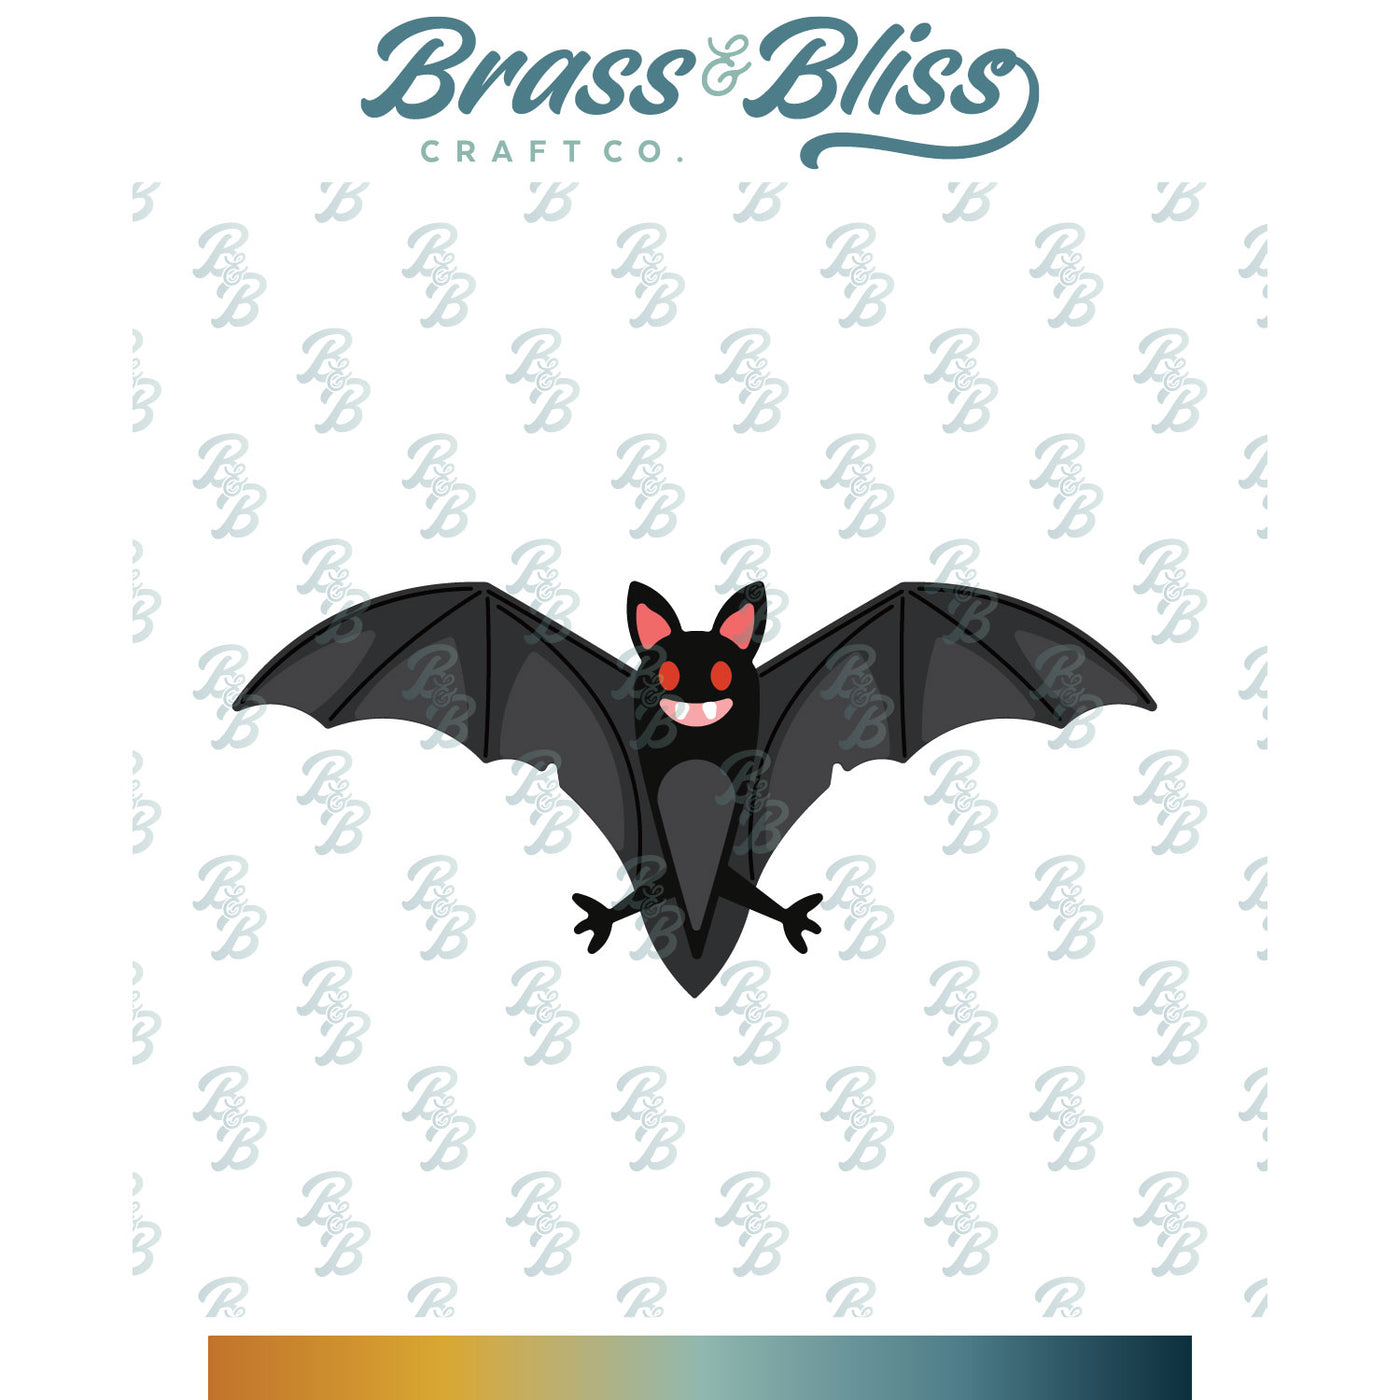
    After coloring & die cutting, the garland, tree & bat face pumpkin, I started looking around to see what I could put with them. Since I had this new stacked spooky forest set, I die cut them in 3 colors of purple & put them together. Normally, this die set goes horizontally, so I just used a section of it & attached it to a very pale lilac background.  I had a large white rectangle front so I die cut a square out of the middle, stamped my greeting & put my purple forest section behind the window. The tree, garland & pumpkin were all popped up just a bit before attaching on top. A pair of purple bats were added in the forest.

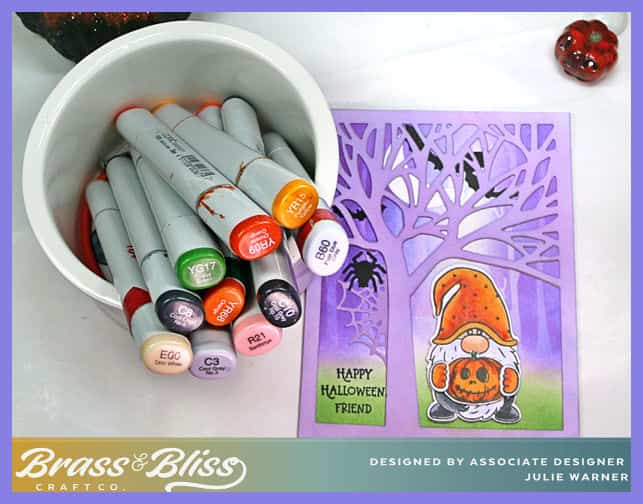
    Here are the Copics I used:


    Thanks so much for stopping by!

    (LinkDeli is being discontinued, but you can go directly to the  products by clicking the name under the pictures below my supply table.)


    Supplies:

    Stamps: Brass & Bliss:  Jack O Lanterns set
    Paper:  Staples 110# white, lavender, lilac, royal purple
    Ink: Memento tuxedo black
    Accessories:  Brass & Bliss/Rubbernecker Stamps: Jack O Lantern set, Squares, Stacked Spooky Forest, Bats & Spiderwebs dies,  Crossover II, Copic markers, Misti


    You might also like:


  • Trick or Treat Web


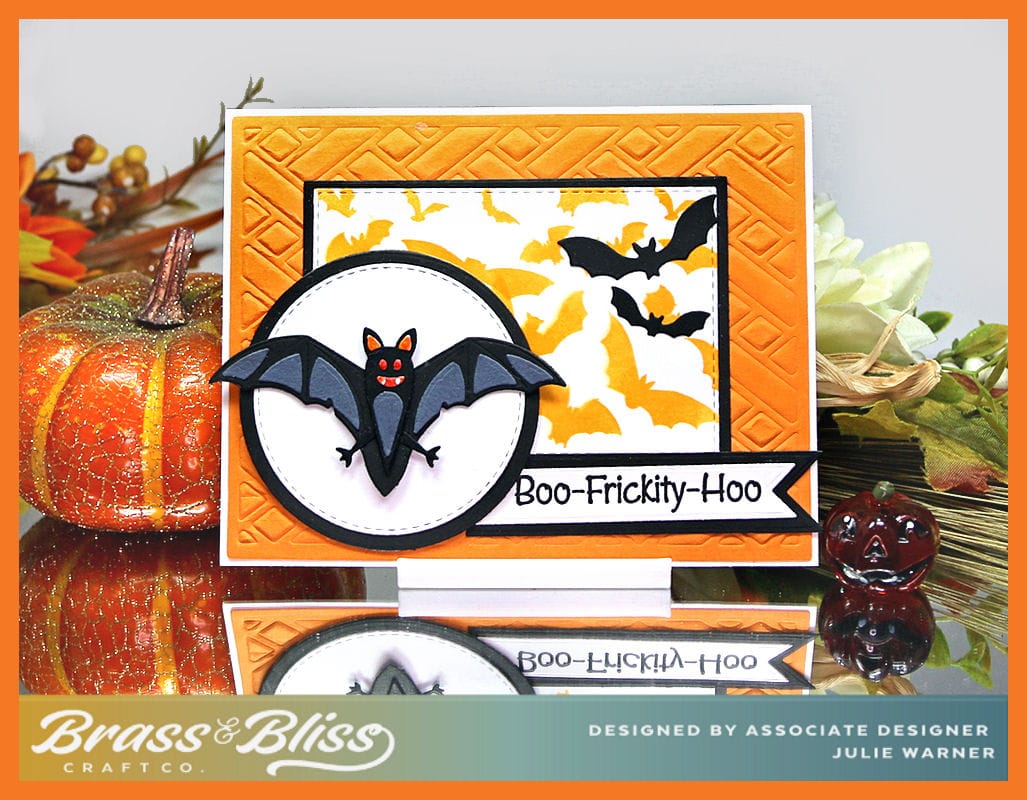
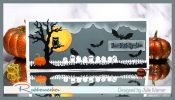
    I have fun and bright Halloween card today. And it’s pretty easy to make, so as soon as these dies are released (soon!) be sure to grab them. Then pick your favorite bright background, add the die cuts and done!

    A big congrats to Misty, the newest Featured Stamper (FS918). She has a fantastic gallery & I was inspired by THIS card. I liked the black lacy die cut over a bright background, so I kept that, but I used different dies, colors, turned it vertical & made mine a Halloween card.

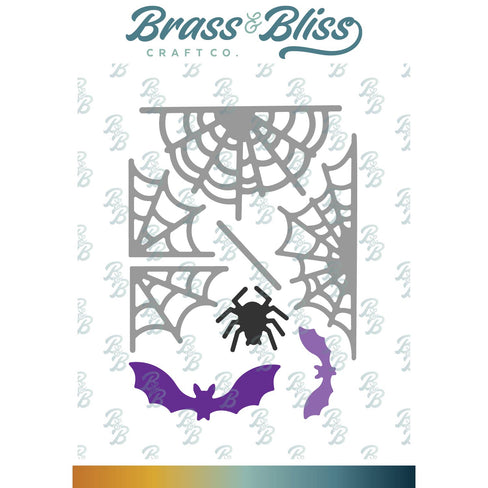
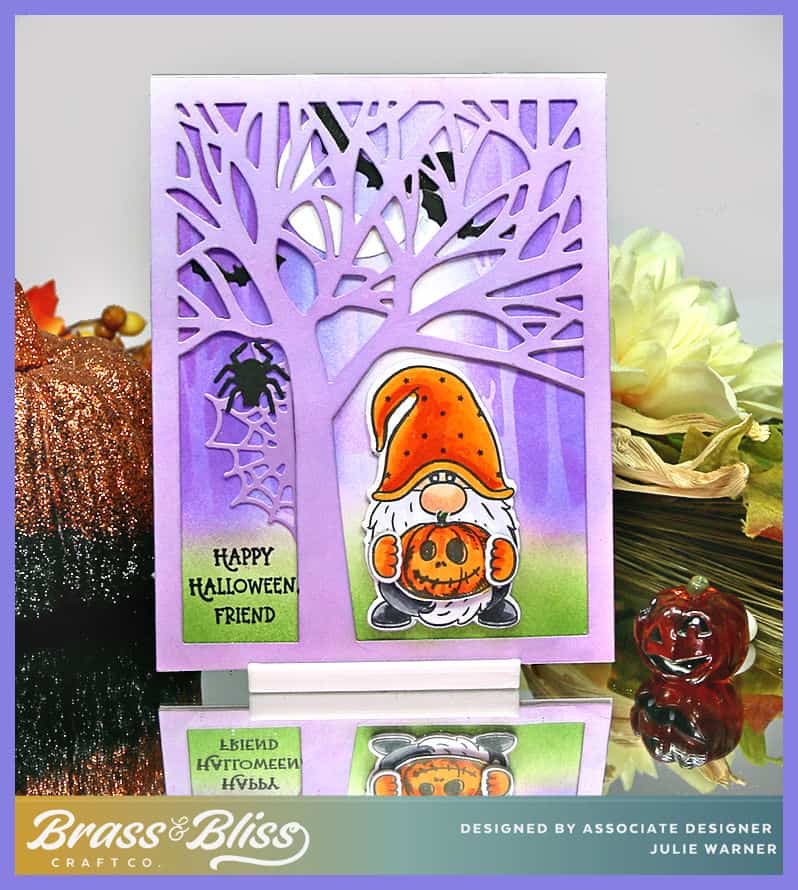
    For my spooky spider card, I die cut the spider web, parts of the spider & the shadow of the word die out of black. The web is a cover die & I wanted it a bit smaller so I used the 2 largest rectangle dies to cut a narrow black frame, attached it over the web & trimmed off the excess. Then I looked around to see what background I had to go under it. I found this really bright scraped acrylic paint background I made ages ago. I tried, but I just couldn’t get the camera to get the colors exactly right. It’s a much brighter, orangey/yellow neon color in real life. I looked good under the web so I used it under & also cut the word die out of it.  The background is really easy..just drop some big dots of acrylic paint on plain card stock, near one edge, then take an old credit card or similar tool & scrape the paint across the the rest of the paper. Don’t try to blend it & be aware of the colors you’re using so you don’t make mud.

    The spider & die cut greeting are popped up for dimension.

    Thanks so much for stopping by!


    Supplies:

    Stamps: none
     Paper:  Staples 110# white, black, scrap of dk grey, red-orange
    Ink: none
    Accessories:  Brass & Bliss/Rubbernecker Stamps: Rectangles, Spider Web Cover, Lg Spider, Trick or Treat w/ Shadow dies, acrylic paint in neon colors


    You might also like:


  • Kitty Halloween


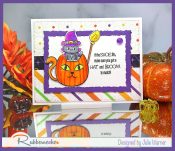
    A fun & colorful Halloween kitty card using a couple of new sets and some Halloween paper. Great way to use several left over scraps of paper.

    A big congrats to Pat, the newest Featured Stamper (FS872)! She has a fun gallery & I chose THIS card to case. I kept the pumpkin theme & layout, but used different images & dies, moved the greeting & changed the vertical band to a horizontal band.

    For my card, I colored & die cut the cat coffee cup & cute little kitty along w/ his hat & broom. I trimmed off the bottom & between the ears of the cat cup & added “pumpkin” lines w/ a Copic marker after I colored it.  I also cut out an extra pair of ears for the little kitty & made little slits on the hat brim to insert them.  It’s just a little detail I wanted to add so the kitty would look like a kitty w/ the hat on.  I had just these size pieces of paper leftover from another project so I married the 2 large one together & used the circle piercing die on them. The black patterned strip was attached across the join & then I die cut them as one piece using the stitched rectangle die.

    The cat cup & kitty were popped up just a bit & the greeting stamped along side them. For the sparkly button in the corner, it was clear & I used the 2 Copics I used on the kitty hat to color the top of it. The purple frame was made by cutting w/ 2 sizes of Deckled Rectangles.
    Here are the Copics I used:

    Thanks
    so much for stopping by! 


    Supplies:

    Stamps: Rubbernecker Stamps: Cute Ghosts set, Spooktacular Coffee set
    Paper:  Staples 110# white, purple, dp (Rubbernecker Stamps: Spooktacular paper)
    Ink:  Memento tuxedo black
    Accessories:  Rubbernecker Stamps: Stitched Rectangles, Nested Deckle Rectangles, Cute Ghosts set, Spooktacular Coffee set, (Circle Pierced Cover- retired) dies,  Crossover II, Misti, Copic Markers 


    You might also like: