• Tag Archives scenes
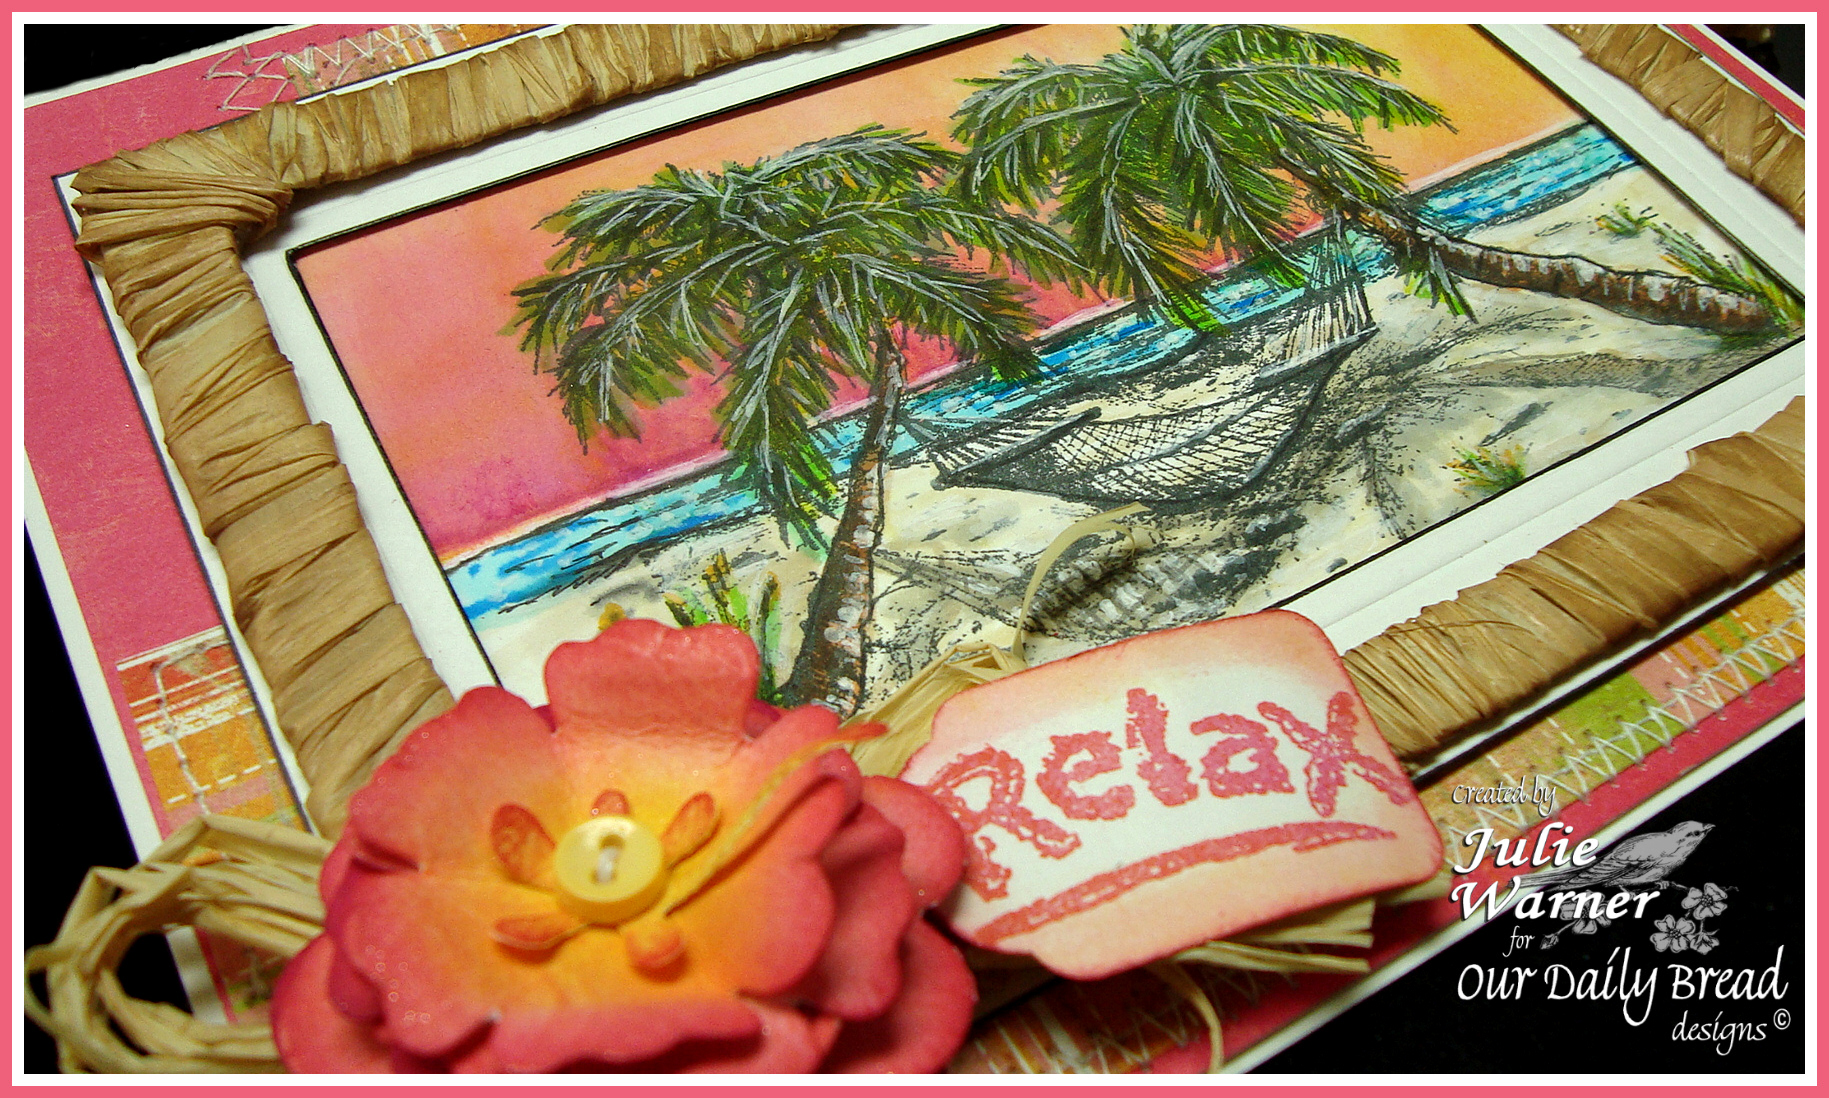
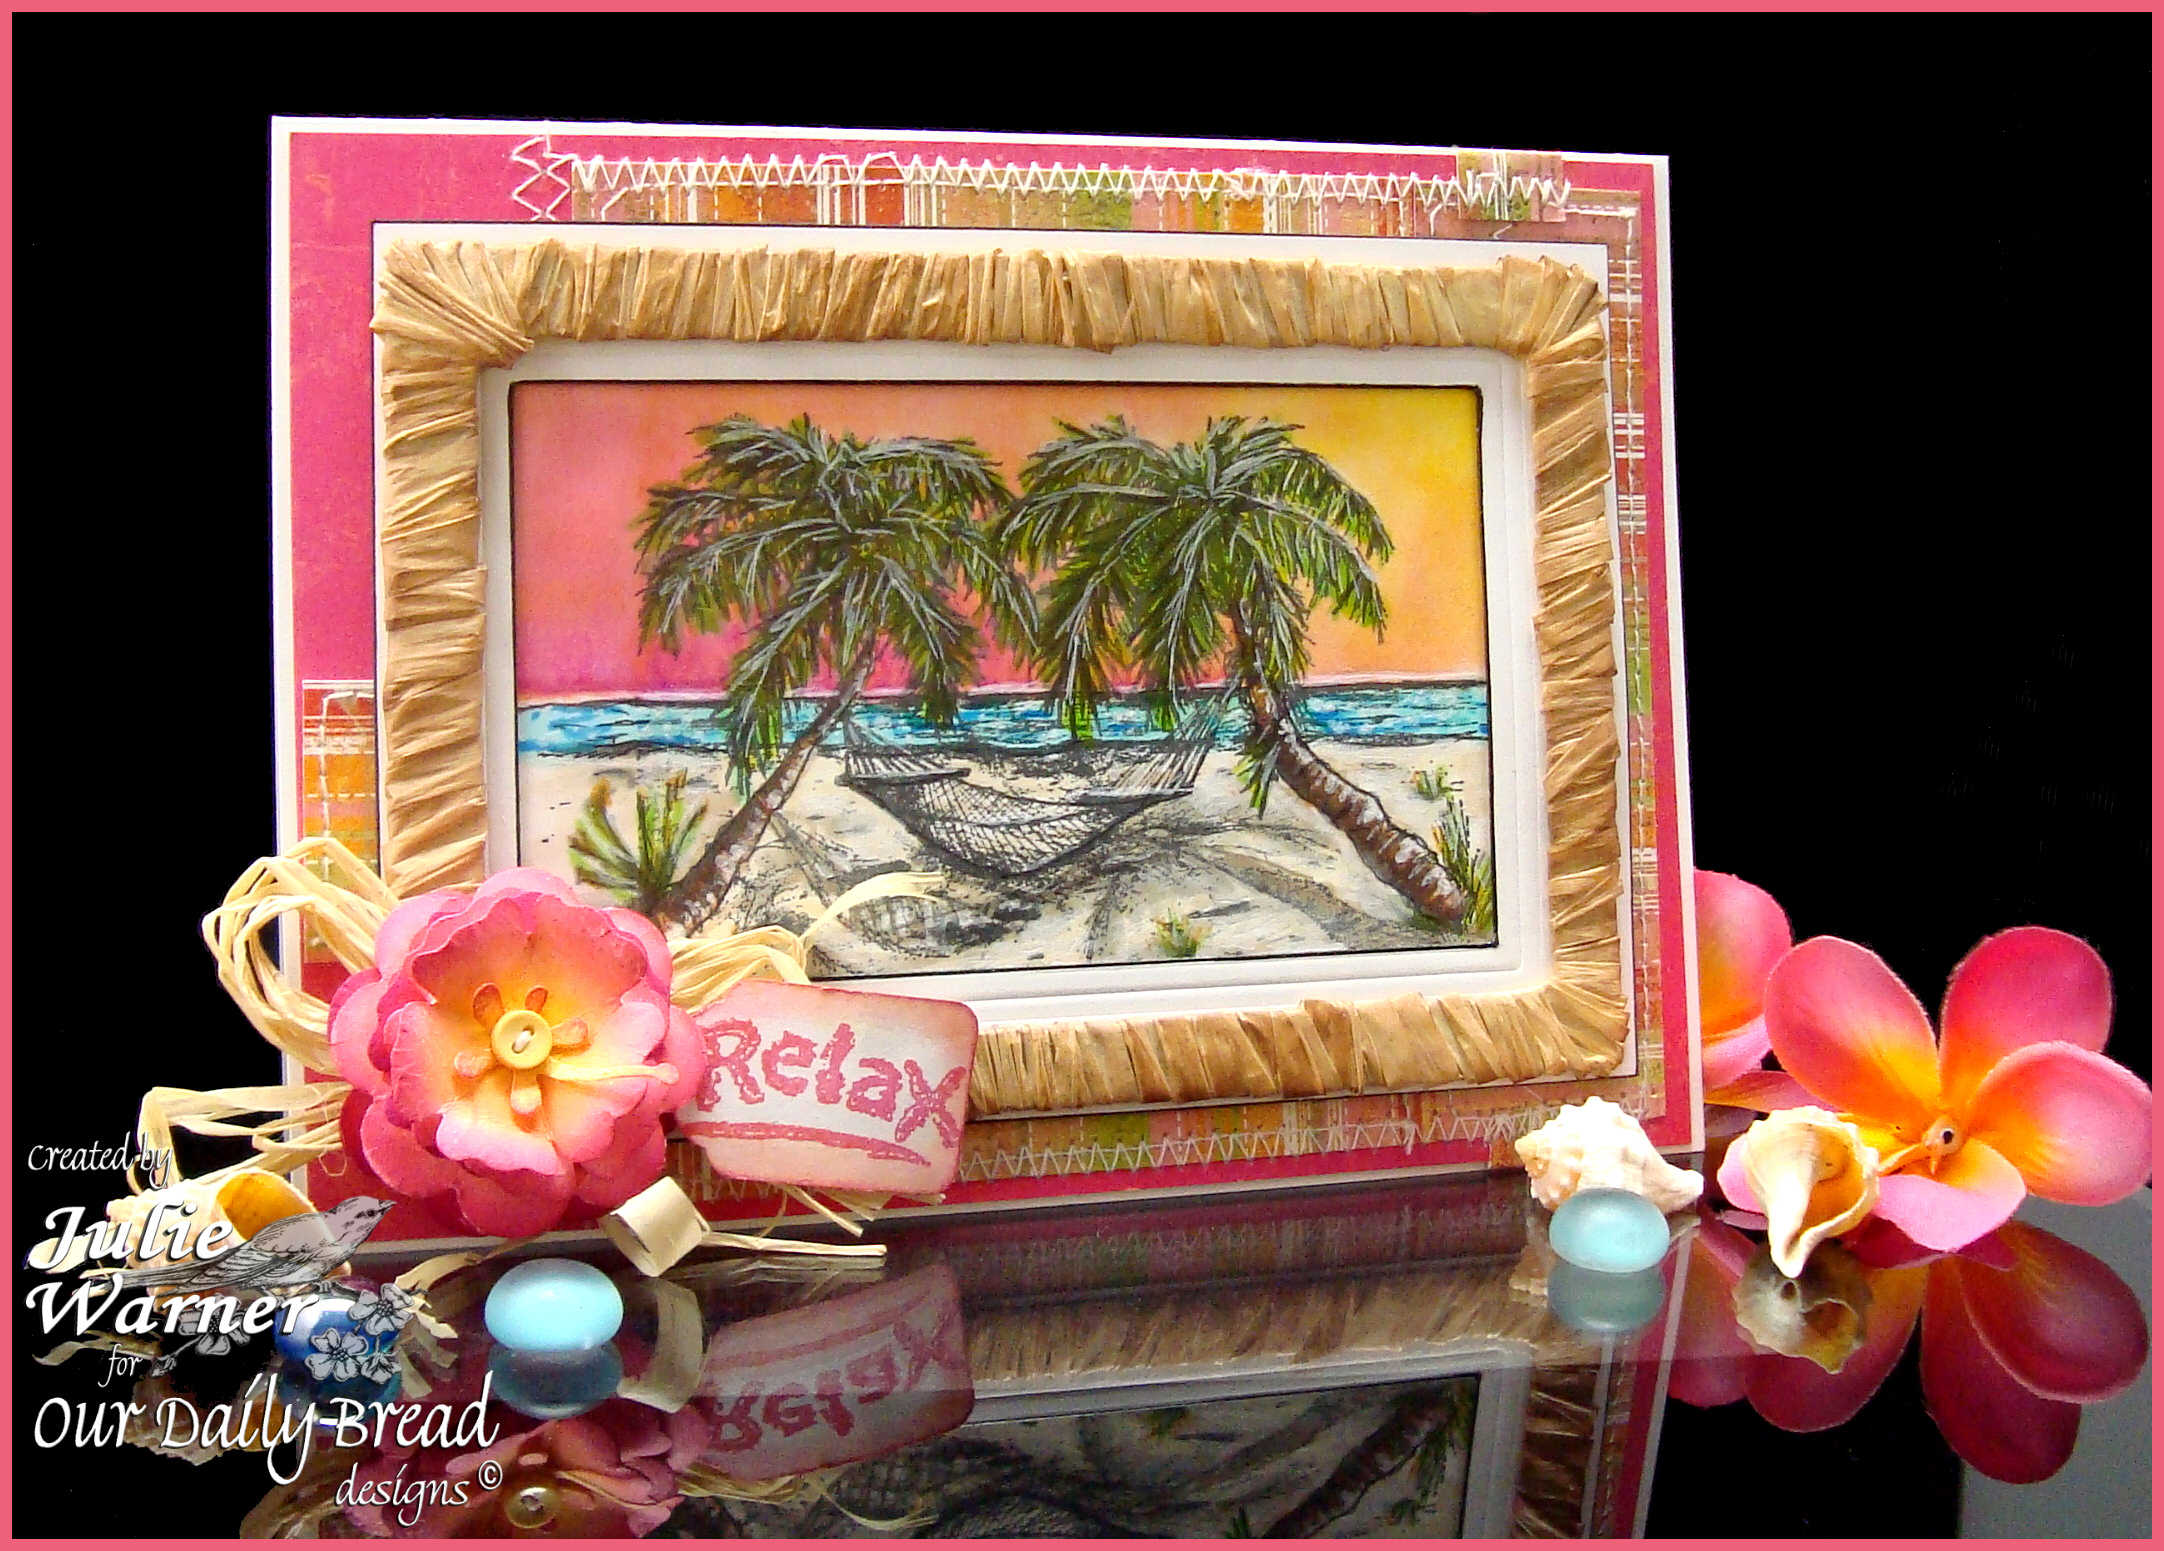
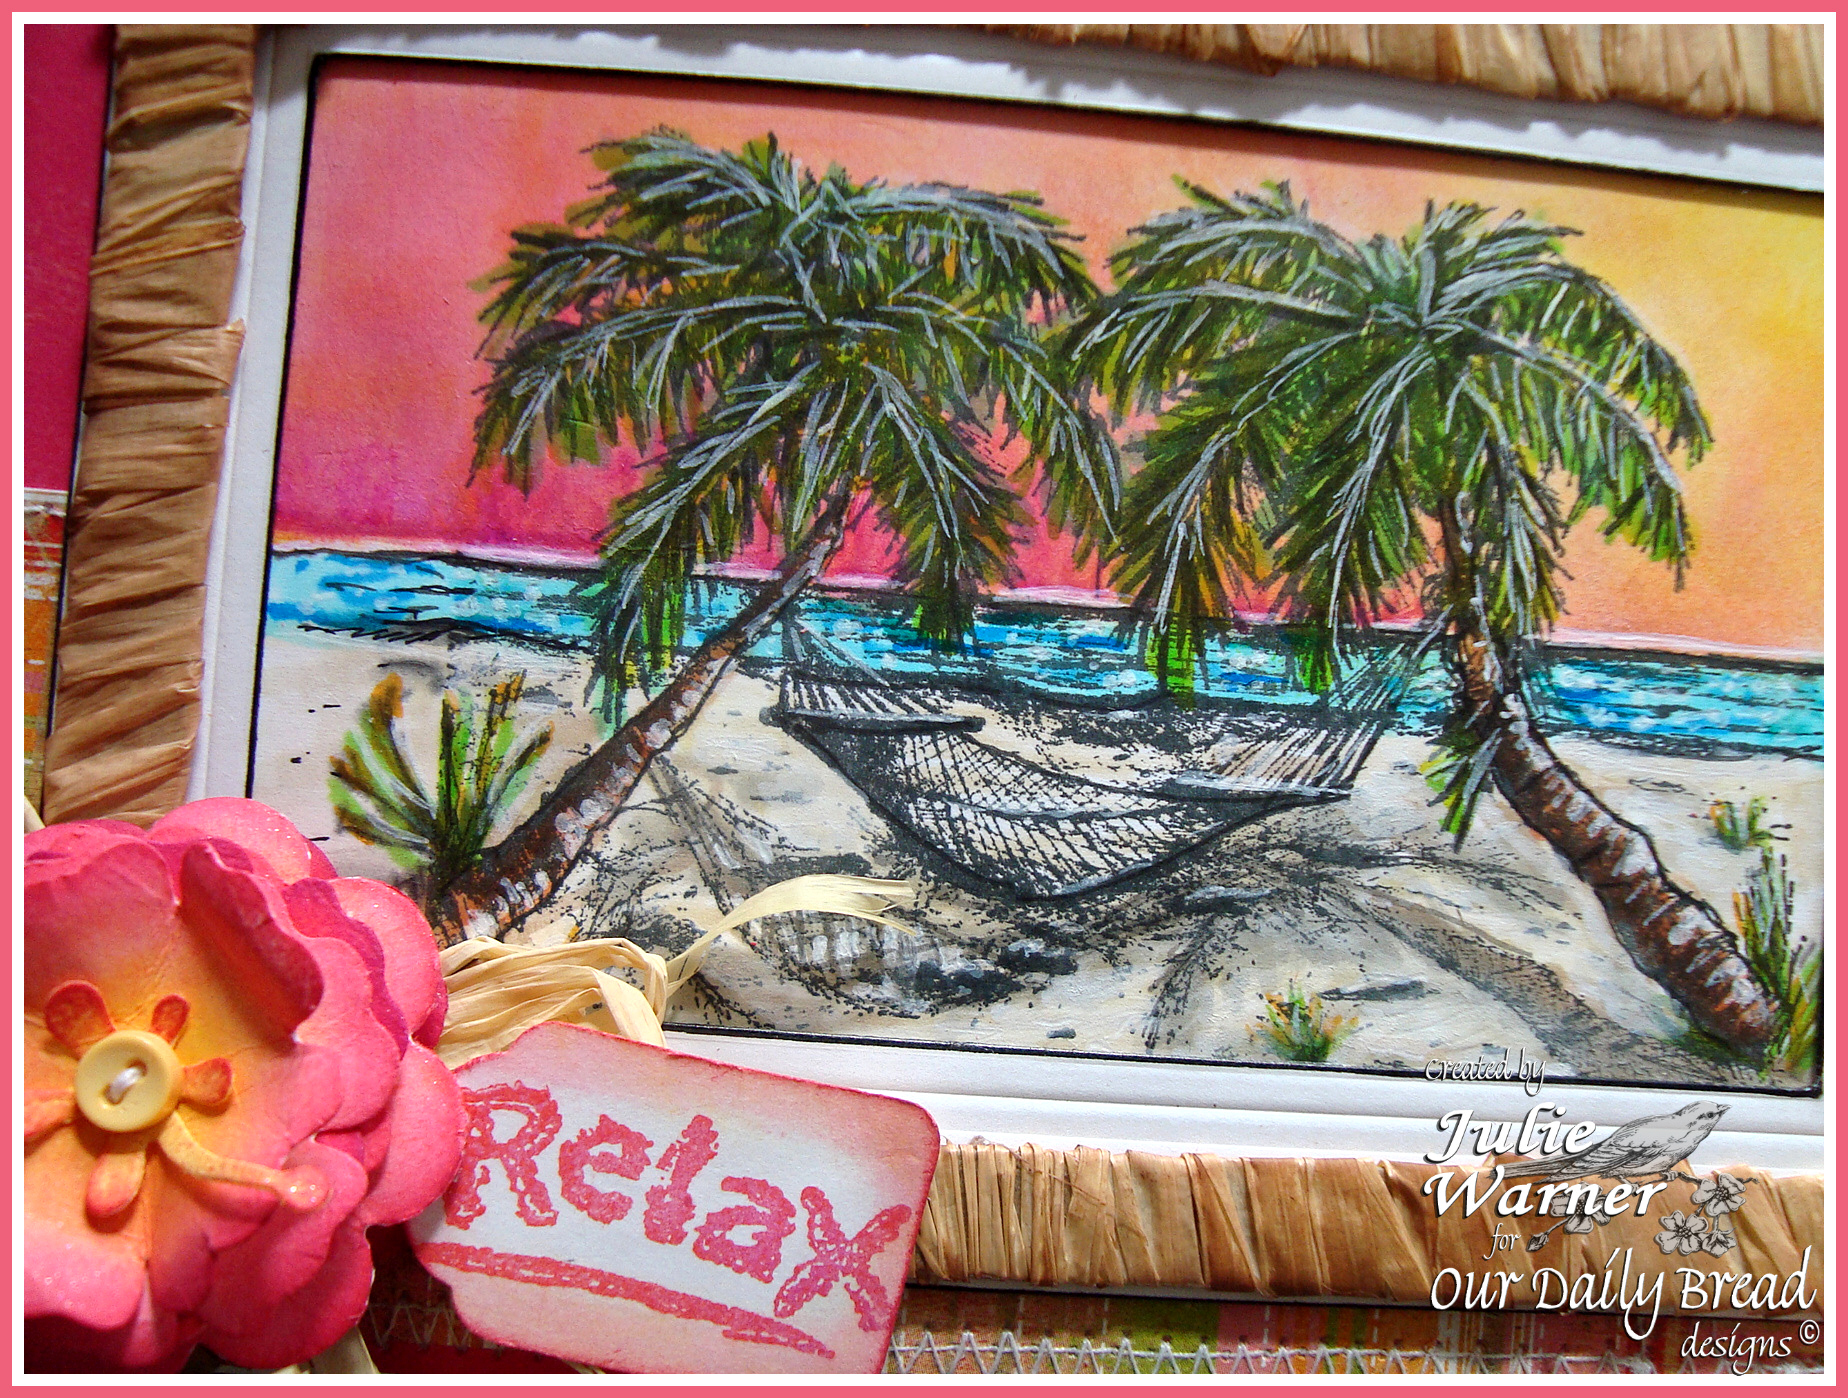
  • Relax!

    Julie Warner - justwritedesigns https://thewritestuff.justwritedesigns.com/

    Congrats to Linda Callahan aka abbysmom2198, the Featured Stamper (FS273) on Splitcoast! Since there is an extra Sunday, this April, I’m hosting again. And I’m sure you’ll love Linda’s clean style, fun layouts and wonderful color combos. I know I do!

    For my case, I chose Linda’s For You card. The super layout and bright colors really grabbed me so I kept those. I changed the images (these are a sneak peek from Our Daily Bread designs), used different ribbon, used an embossing folder on the peach circles and did the right edge a little differently.

    Julie Warner - justwritedesigns https://thewritestuff.justwritedesigns.com/

    I stamped the beach scene several times, colored with markers and used several different sizes of Spellbinders circle die to cut them out without embossing them. The sentiment was stamped on some green dp (designer paper) and the peach was some I had left over and it already had the mesh (reverse side) texture embossed on it. I went around the edges with a white Permapaque marker to make them stand out a bit more then arranged them and popped a few of them up. The edge is a white strip die cut with a scallop border with a narrow strip of the green dp on top. I added the crystals and ribbon and the finished card is  4.25 x 5.50.

    Thanks so much for looking!

    Supplies:

    Stamps: ODBD – Happy Retirement
    Paper: Neenah white, peach, dp (SEI – On the Coast collection)
    Ink:  Ancient Page coal
    Accessories: Permapaque white maker, Tombow markers, Spellbinder circle (sm & lg) dies & Classic Edges 1 die, Cuttlebug mesh embossing folder, crystals, ribbon

  • ODBD Feb Release Blog Hop!

    Julie Warner - justwritedesigns - https://thewritestuff.justwritedesigns.com

    Welcome to the Our Daily Bread designs February Release Blog Hop! If you came here from ODBD Blog , you are in the right place. If not you might want to start at the Our Daily Bread designs Blog and start from the beginning. If you get lost along the way, simply return there, where the entire hop is listed with links.

    Julie Warner - justwritedesigns - https://thewritestuff.justwritedesigns.com
    Isn’t this a wonderful seascape? When I first saw it, I knew right away I wanted to water color it and pair is somehow w/ this lovely lighthouse image I have. I stamped the Mighty Sea onto water color paper, masked the right side and stamped a partial right side of it again. It still wasn’t quite long enough for my 6.25 x 4.50 (A6) card size, so I used some black and gray drawing pens to extend the scene on the right side by about another inch. It was painted using Peerless water colors and a couple of water brushes. The lighthouse image was done the same way on a separate piece of w/c paper and I trimmed it to fit. I used a white gel pen to add highlights and spray from the surf to the rocks.

    Julie Warner - justwritedesigns - https://thewritestuff.justwritedesigns.com

    For the window segments, I die cut 4 windows out of the same water color paper. I used w/c paper since it’s a little heavier than c/s and the open windows would need all the support they could get. I also die cut 2 pieces of cardboard for the windows. The cardboard was used to sandwich in between the other two layers to give a little more stability. Since I knew I wanted to make a trifold card, I determined that with the windows on either end, I could make my card base out of a regular piece of 8.50 wide piece of c/s. I cut the height  to 4.50 then scored in 1.25 from each end along the 8.50 width. The top pair of windows were attached to their matching pieces of cardboard. On the right I attached this on top of the lighthouse then attached one of the two single windows on the back side. Since the lighthouse is a pretty symmetrical image, I stamped, colored and cut out a second image and attached it on top of the inside window.

    Julie Warner - justwritedesigns - https://thewritestuff.justwritedesigns.com

    On the left, I trimmed off a little of the hinge before I added a punched fence between the window layers. I left a little tab of fence because it helps to keep the trifold card closed when it’s tucked behind the right side window. The sentiment was trimmed and added on top of the window frame.

    Now I’ll send you on your way to the next stop…the Fabulous Dawn Lusk! I know she’ll have something amazing to share!

    Thanks so much for stopping by!


    Supplies:

    Stamps: ODBD – The Mighty Sea, The Sea,  Keep My Lamp Burning
    Paper: water color
    Ink: Ancient Page coal
    Accessories: Peerless water colors, water brushes, ODBD Window die (by Spellbinders),  Martha Stewart fence border punch, small corner rounder, white gel pen

  • Gingerbread House

    Julie Warner - justwritedesigns - https://thewritestuff.justwritedesigns.com

    Weekly-Favorite
    Best of 2011

    t’s a wonderful sketch today (SC358) on Splitcoast and as you can see, my version morphed a little. It started out good, but then I had to move my window over to make room for the big poinsettia and found it looked better to have the window lower than the frame around it. Oh well.

    All images & window die are Our Daily Bread designs. The little kitchen scene was stamped, colored and cut out. I used part of a Sizzix ef to emboss the dk red and attached the scene on top. The wood grain was stamped on the white c/s before the window was die cut. The curtains were die cut out of one of the dps. Both of the dp patterns are from an older Christmas stack and I cut out one little gingerbread man for the window. I cut two windows out of card board, sandwiched a piece of acetate between them then attached the window frame on top. I added a little stickles in the lower corners.I put the window back inside the leftover rectangle frame.
    Julie Warner - justwritedesigns - https://thewritestuff.justwritedesigns.com
    The poinsettia was also die cut and put together. I used a hole punch to punch some of the peppermint candies from the dp and used them for the center and also for the corners of the window frame. The finished card is 5 x 6.50 (A6).

    Thanks so much for stopping by!

    Supplies:

    Stamps: ODBD – Sweet Christmas Wishes, Wood Bg
    Paper: Neenah white, dk red, dp (DCWV Christmas stack), red & holly green for poinsettia
    Ink: Ancient Page coal, Memories soft sand
    Accessories: Tombow markers, ODBD window die & poinsettia die (both by Spellbinders), Candi dots, stickles, Sizzix TY set ef, 1/4 inch hole punch, Grand Calibur