Are you ready? Do you love realistic nature images? Well, the next 4 days will surely jump start your creativity! The Creative Architects were challenged to create unique card folds with these new lines!
Today we start with 2 card designs using Beautiful Butterflies II & III.
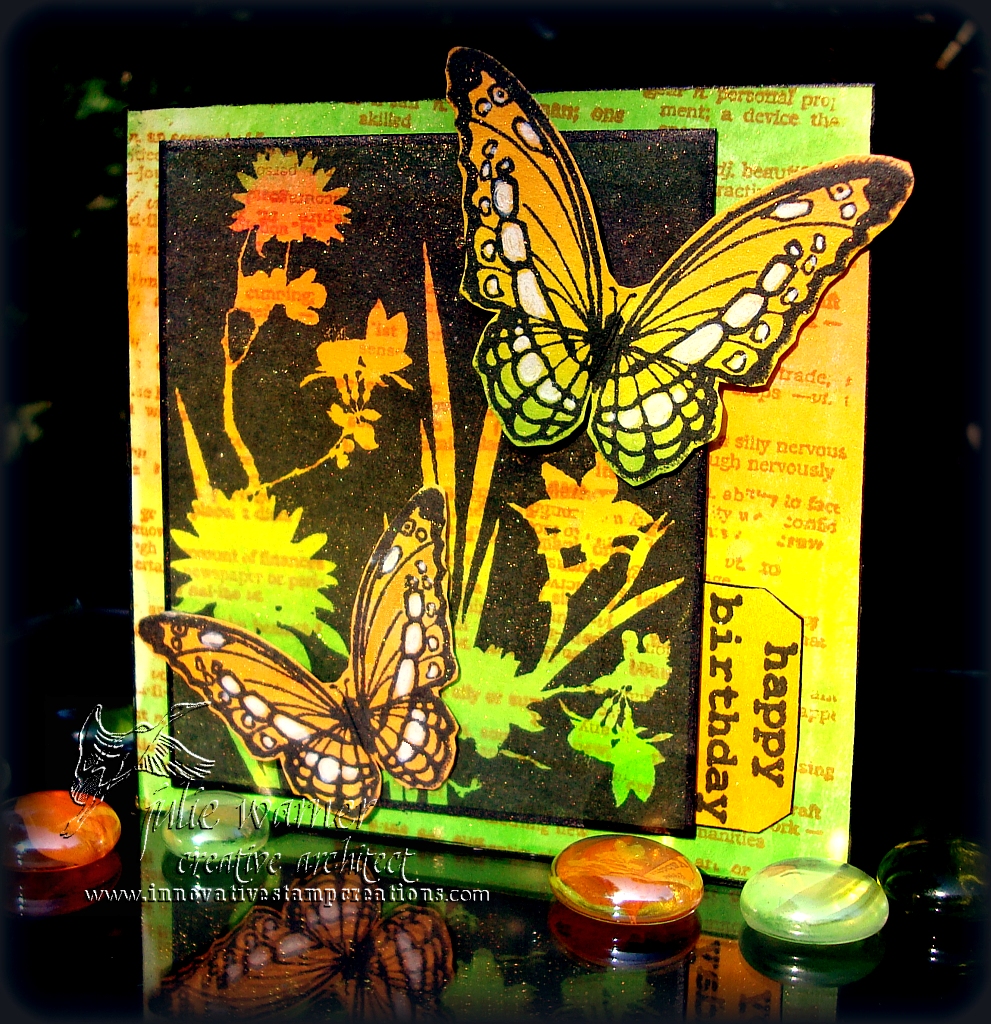
For this first card, we used a 4×4 Pop Out Frame (original is not available, but I found a Pin of it) template. It looks a little intimidating at first glance, but it’s not hard. Just follow the directions by starting with an 8×8 piece of card stock. After the scoring, folding and cutting, your card will be doubled in weight so I wouldn’t recommend a heavy card stock. The finished size is 4×4 when it’s closed.
(Click any image to enlarge)
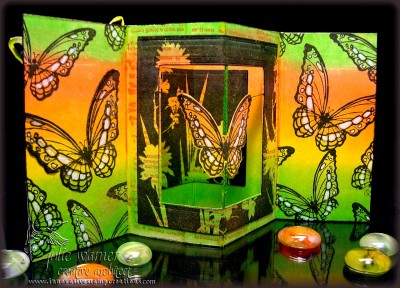
This is the front, closed view. I started with white c/s, stamped the text with sunburst ink then brayered over it with a rainbow ink pad. I stamped the reverse image flowers on top with black ink. The butterflies and sentiment were stamped on a separate piece of brayered c/s and cut out. I added some white gel pen accents on the butterflies.
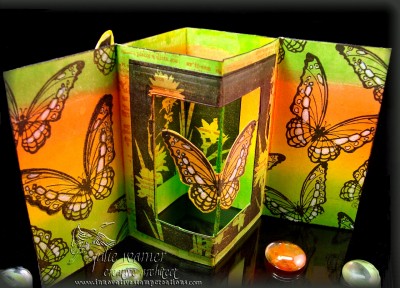
The next two are the inside and inside top views in order to show how the inside operates. The inside was brayered like the front and on a separate brayered piece, I stamped the reverse flowers again and used a Spellbinders square to cut out the center. I used the frame it left around the opening and attached the cut out square to the backside of the card. The cut out butterfly is scored in the center and suspended by the green thread down the center and 2 small black threads on either side. I misted the outside and inside with a little gold Shimmer Spritz.
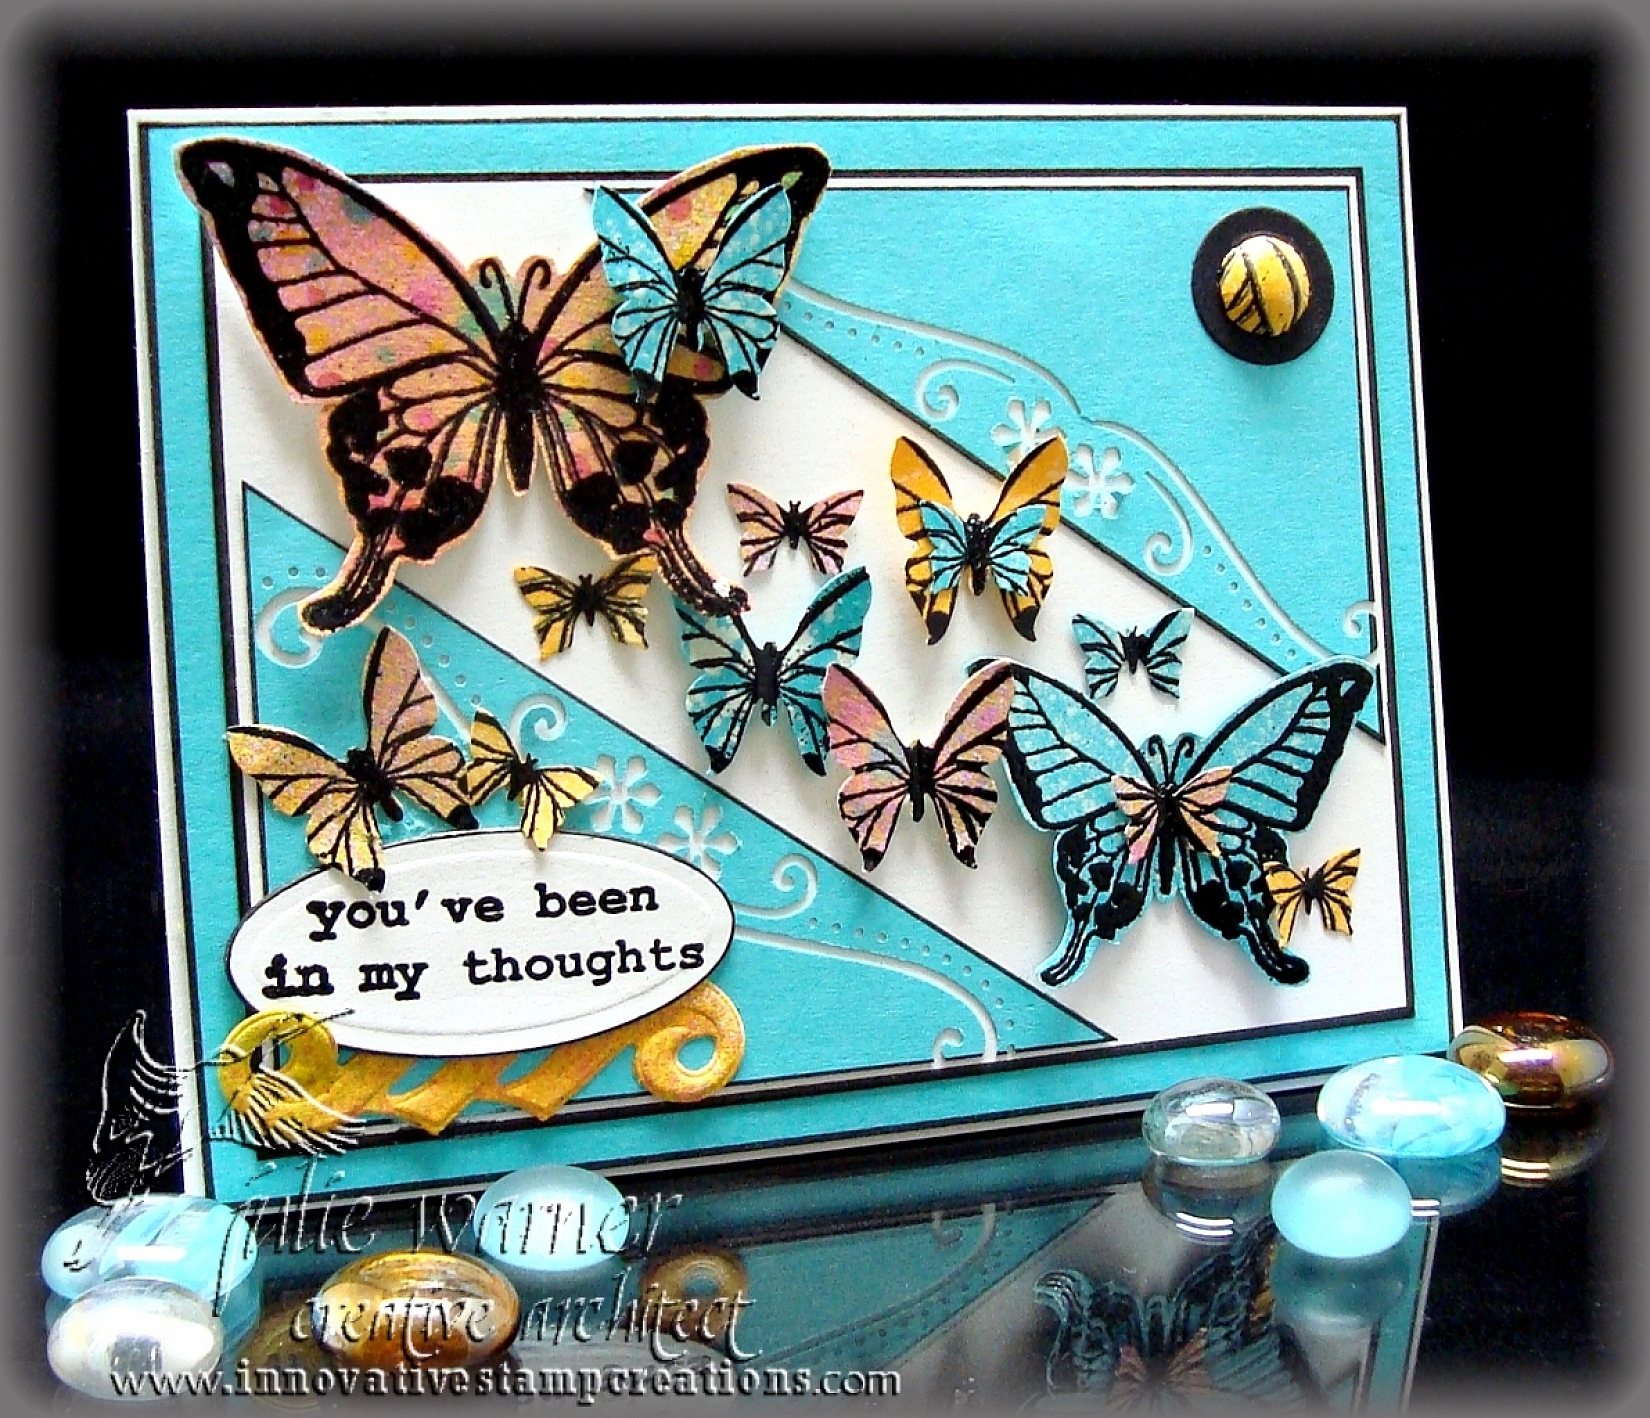
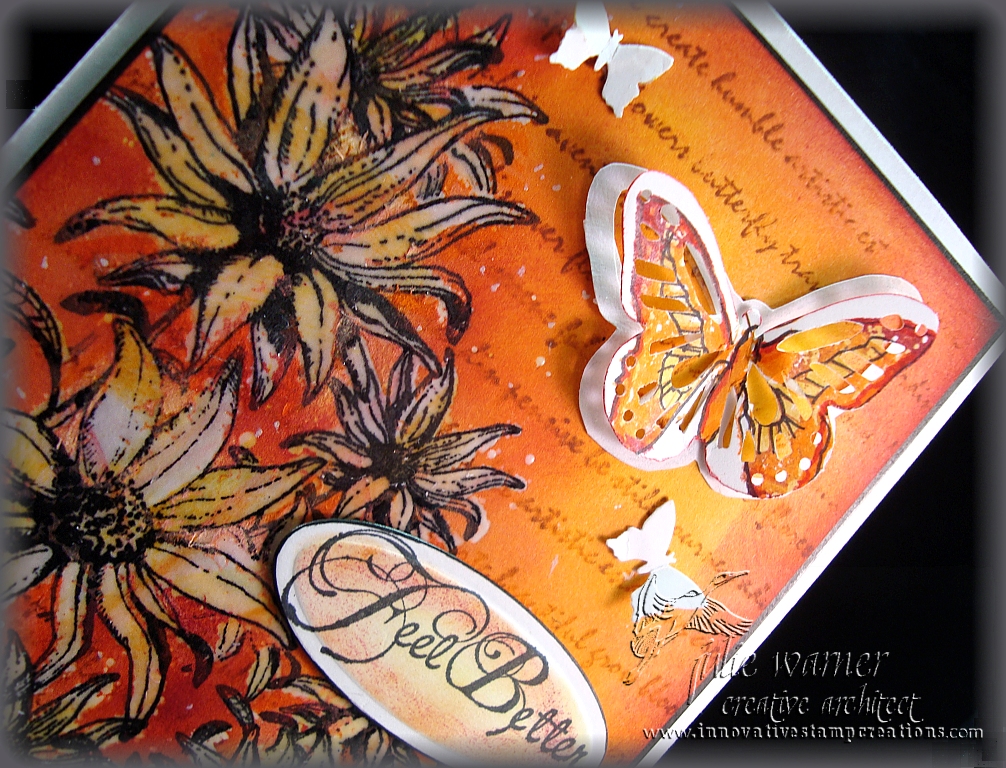
 For the second card, we used this Inspiration Picture. I liked the diagonal flow and all the multi color butterflies.
I worked this card a little backwards by starting with a 5.5 x 4.25 white card and cutting the turquoise and white layers to fit it. I did it this way in order to figure out what size to make my top, diagonal cut turquoise mat. After I cut it, I used a border punch along the inside edges and all layers were edged with a black marker before assembling. I had some backgrounds I made previously (the pinkish one was done with dye reinkers mixed w/ water and spritzed onto c/s; the turquoise was spritzed w/ bleach) and I stamped two sizes of the butterfly on them and black embossed them. I cut two full butterflies out and used two sizes of butterfly punches on the rest. The sentiment was cut with an oval Nestie and I made a 1/2 inch faux brad and attached it to a 3/4 inch punched black circle and attached it in the upper right corner.
Thanks so much for stopping by! Please stop by and visit all of the Architects and see the gorgeous work they have to share.
- Joanne Grzelak
- Judi Rose
- Karen Dubrook
- Julie Warner (you are here!)
- Kathy Tucker
Supplies:
- stamps: Innovative Stamp Creations
- paper: white, turquoise, yellow
- ink: VersaFine onyx, black pigment, Kaleidacolor melon melody rainbow pad, Ancient Page sunburst
- accessories: brayer, Scor-It, Martha Stewart med. butterfly punch, sm butterfly punch (All Night Media), border punch (EK Success), black Permapaque marker, Spellbinders square, petite oval & symbology one dies, 1/2 & 3/4 inch hole punches (faux brad), black detail embossing powder, white gel pen, gold Shimmer Spritz (Tsukineko)
