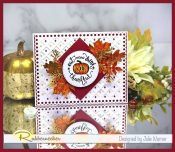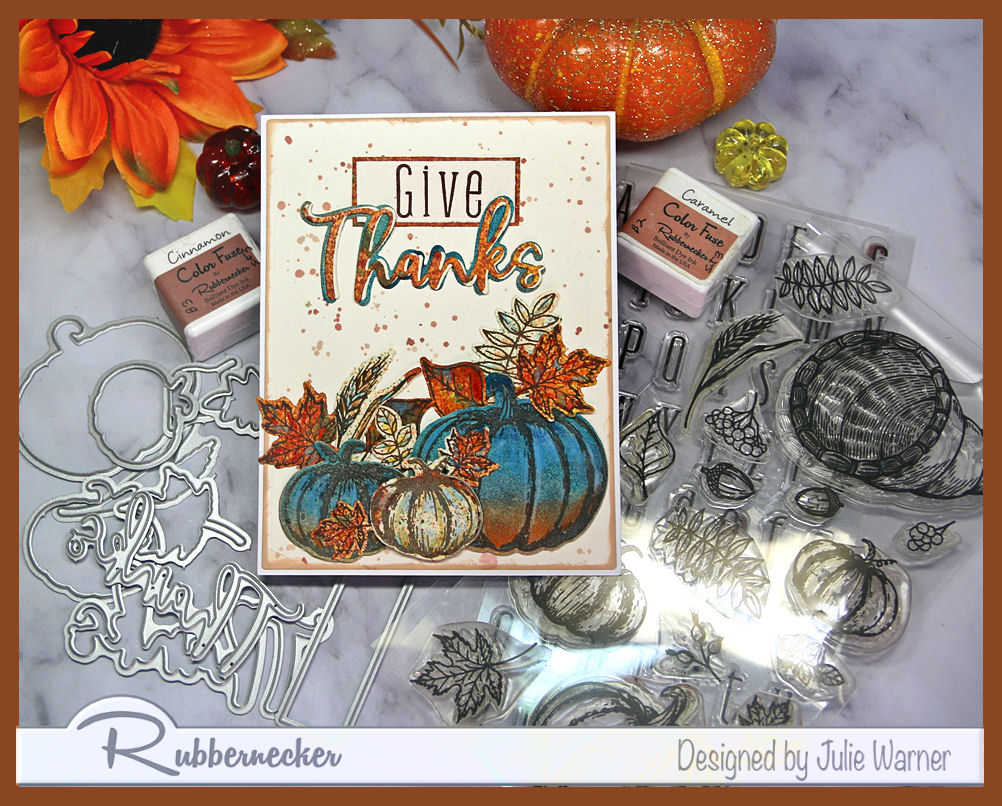
A Thanksgiving card with a different color combo. Blue & orange pumpkins w/ splattered leaves & partially die cut greeting. Two different backgrounds were used for the pumpkins & leaves. Great way to use up those backgrounds you made that aren’t that impressive on their own. Once you stamp & die cut an image onto them, they take on a whole new look.
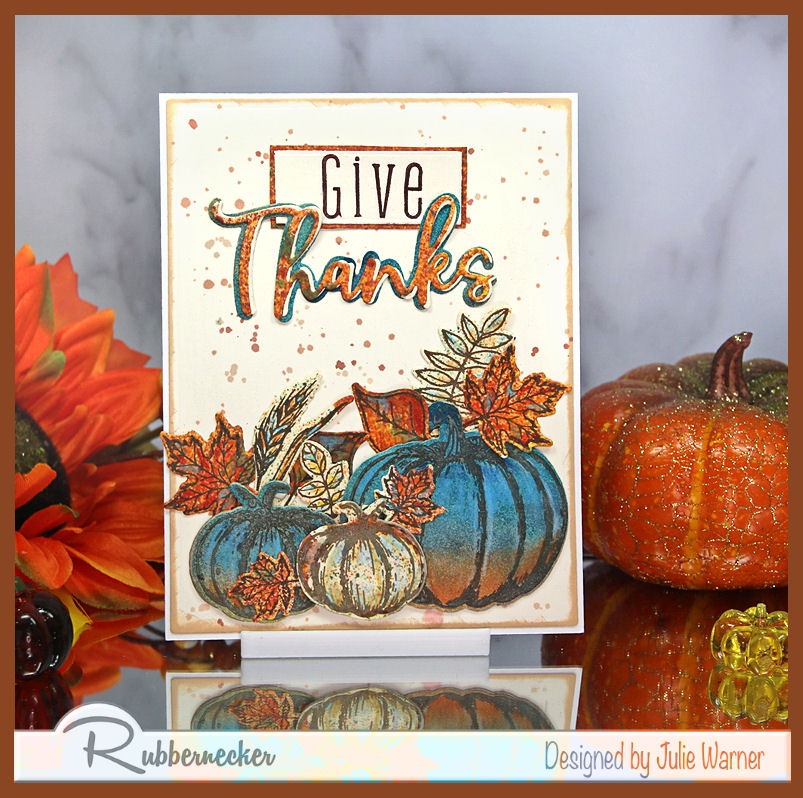
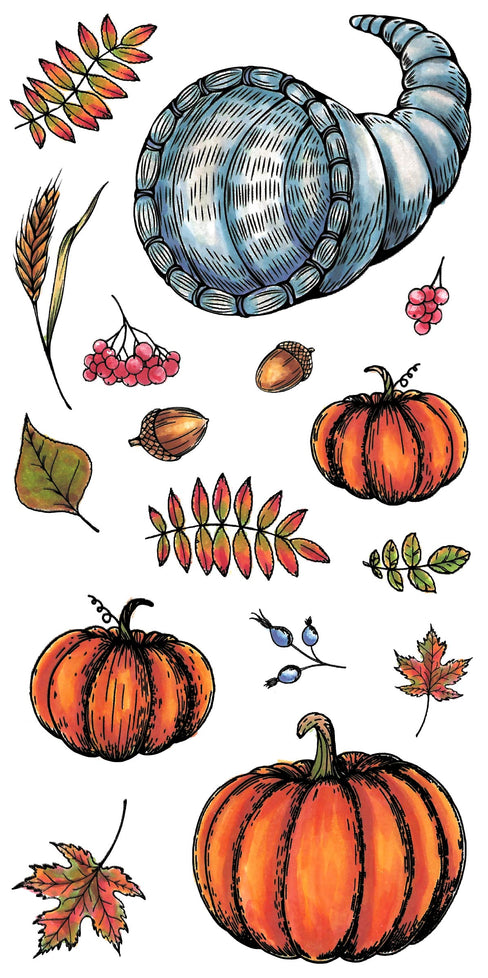
For the Inspiration Challenge (IC930) we’re visiting What Meagan Makes & her Pinterest site where I found THIS picture for my inspiration. I really liked the color combo of blue & orange for the pumpkins, so that’s where I started.
I had a couple of different backgrounds in my stash..1 was heavily splattered red/orange on the bottom and mostly ivory on top. I used that for the 1 whitish pumpkin & some of the leaves. The red/orange part I used for the rest of the leaves. The other background was brayered w/ blue & orange & to me, wasn’t all that pretty by itself. But I think it did work out great for the 2 bigger pumpkins. All the images were stamped w/ espresso Distress oxide ink. I wanted a bit of a softer, worn look & that fit the bill.
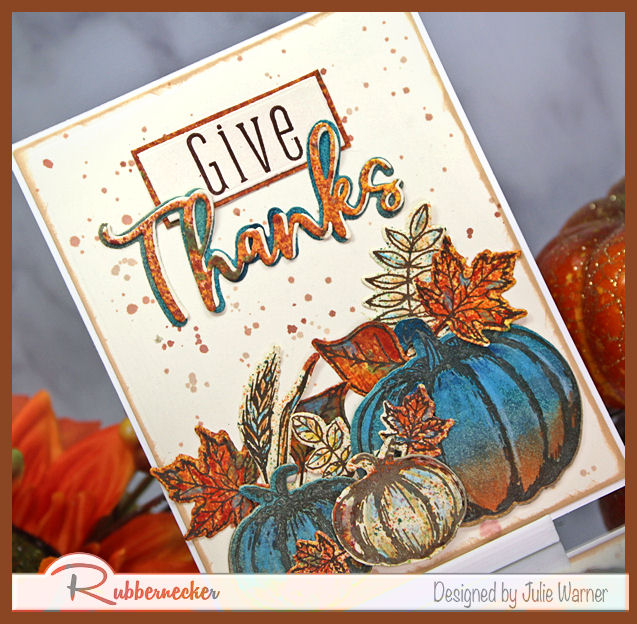
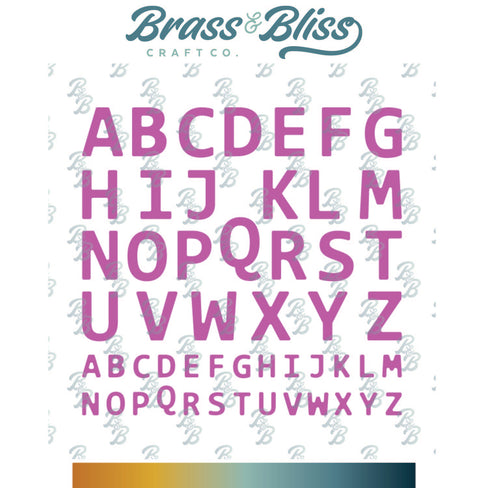
I also used the red/orange part for the Thanks die cut greeting, attached an ivory version, offset behind it before attaching it to the blue shadow. The Give word was stamped w/ an alphabet set. For the large ivory background, I smooshed two of the brown shades of the Color Fuse ink onto an acrylic block, then used a wet paintbrush to pick up the color & splatter it across the background. I used the lightest, mocha ink to sponge the edges of the panel.
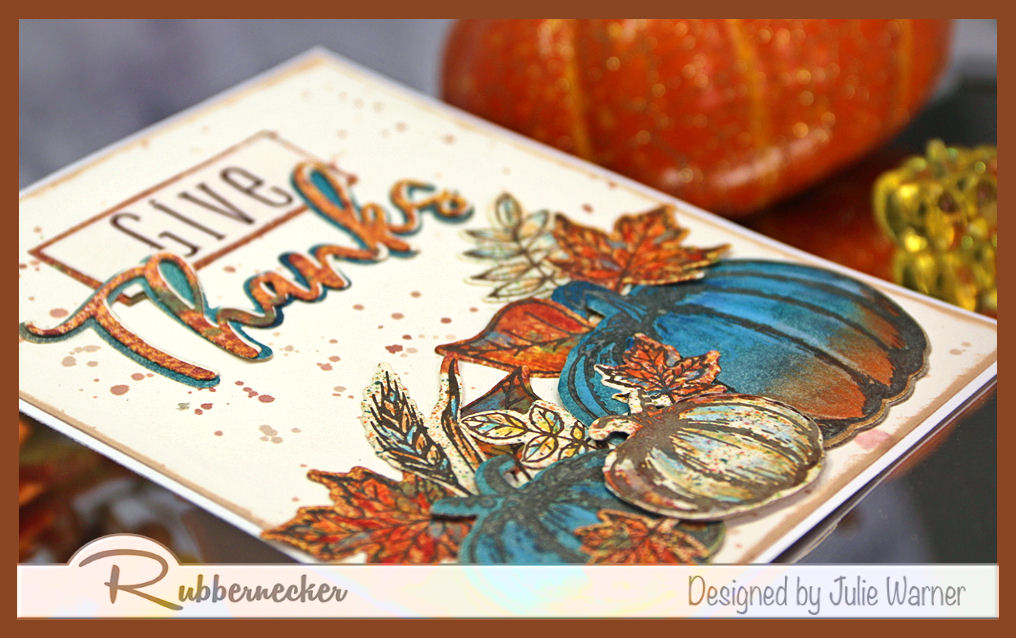
Then it was just a matter of arranging all the die cut images. the pumpkins are popped up a bit, w/ the mostly ivory one, popped up just a bit more than the others.
Thanks so much for stopping by!

Supplies:
| Stamps: Rubbernecker Stamps – Fall Pumpkins, Alpha set #1 |
| Paper: Staples 110# white, ivory |
| Ink: Distress oxide ink Ground Espresso, Versaclair pinecone (greeting) |
| Accessories: Rubbernecker: (Fall Pumpkins-retired), Thanks w/ Shadow, Offset Tag dies, MISTI, Crossover II |
|
|

|

|

|

|

|

|

|
You might also like: