• Tag Archives butterflies
  • ISC May Reworking the Butterflies

    Julie Warner - justwritedesigns - https://thewritestuff.justwritedesigns.com
    Weekly-Favorite
    Best of 2011

    Instead of a new release, this month we’re taking images of our choice and reworking, or using them again. Betsy says she gets a lot of request for more art using some of the butterfly images. We all buy images, maybe use them a few times, then move on to new stuff.  So this month, we’re using images from our stash and let me tell you, I used a whole bunch of different images from a lot of different releases. And I’ll mention here that NO Designer Paper was used. A lot of background images and inks were used to create the different looks.
    Julie Warner - justwritedesigns - https://thewritestuff.justwritedesigns.com

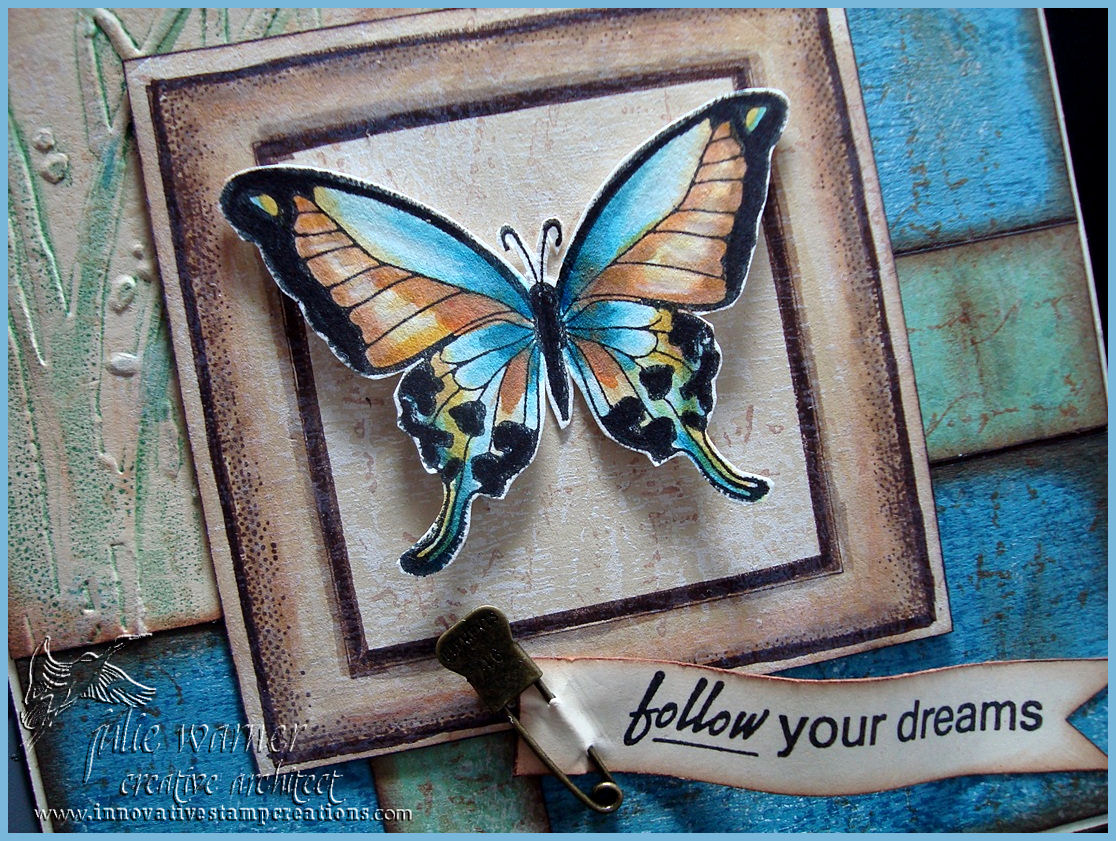
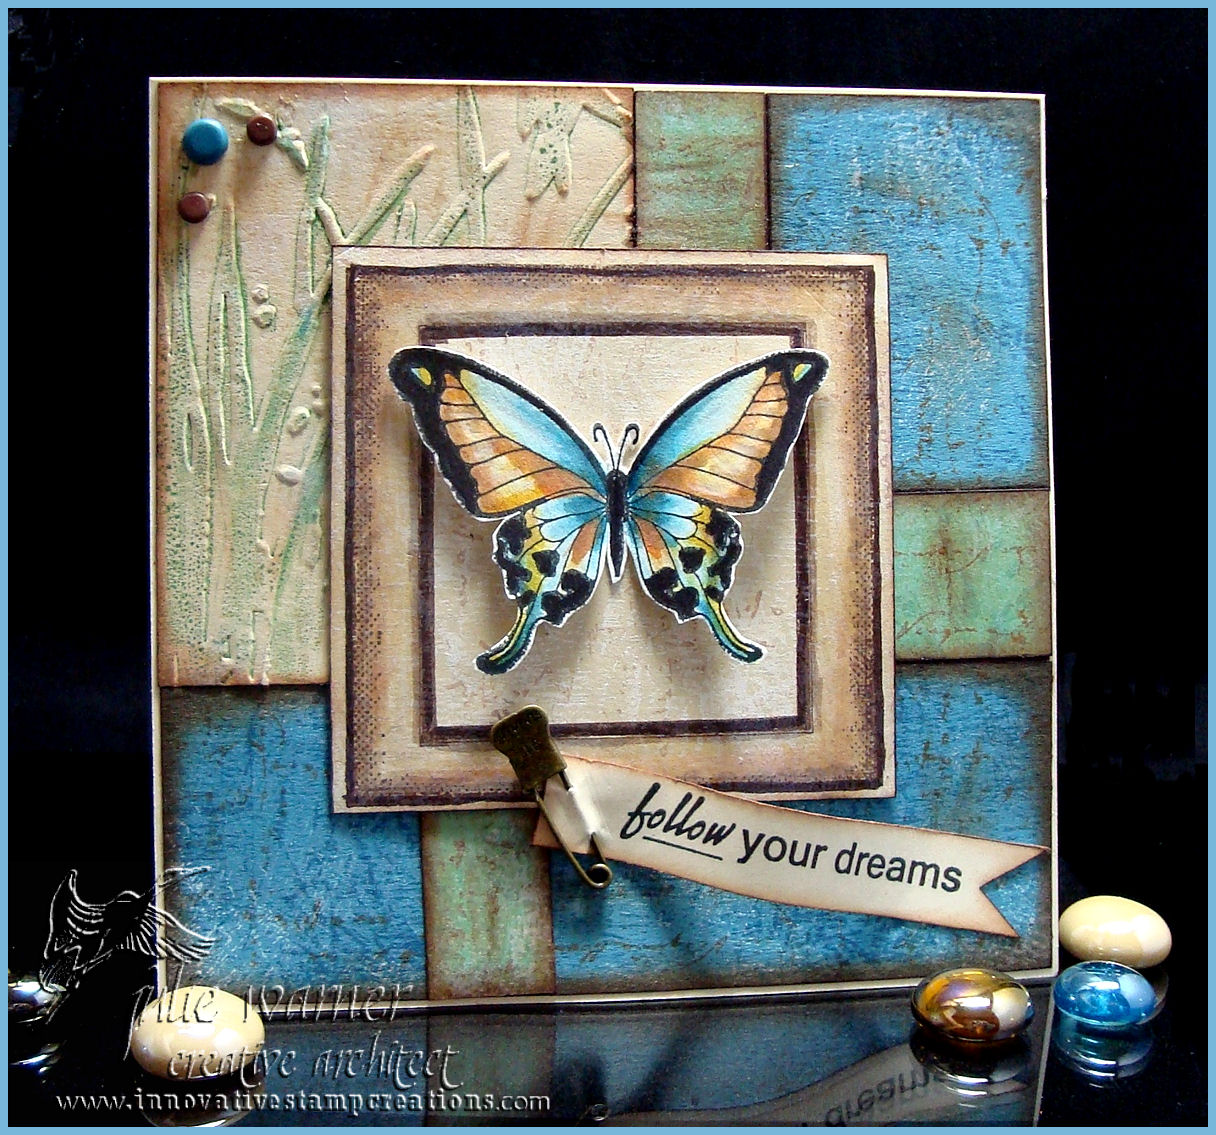
    For inspiration on this first card, Betsy provided a link to a couple of pictures and I chose this Montage. I went very literal for my card. For the blue and green background, I used several texture background images from Textured  Backgrounds and Dimensional Elements Edges 1.  For the tan panel, I colored the inside of the embossing folder w/ a green marker and embossed it. All edges were sponged w/ the tea dye and chocolate inks. The frame was shortened to fit the central panel using a SAMJ and after coloring the butterfly w/ markers, I cut it out and attached it on top. The finished ivory card measures 5.5 square.

    Supplies:

    Stamps: ISC -Textured  Backgrounds,  Dimensional Elements Edges 1, Beautiful Butterflies III, Fruitful (frame), Tropics (greeting)
    Paper: ivory, blue, sage, tan
    Ink: VersaFine Onyx, Ancient Page chocolate, Distress Ink Tea Dye, Colorbox white pigment
    Accessories: Cuttlebug Bird Call embossing folder, Tombow markers, brads, small pin, SAMJ (stamp-a-ma-jig)

    Julie Warner - justwritedesigns - https://thewritestuff.justwritedesigns.com

    Weekly-Favorite

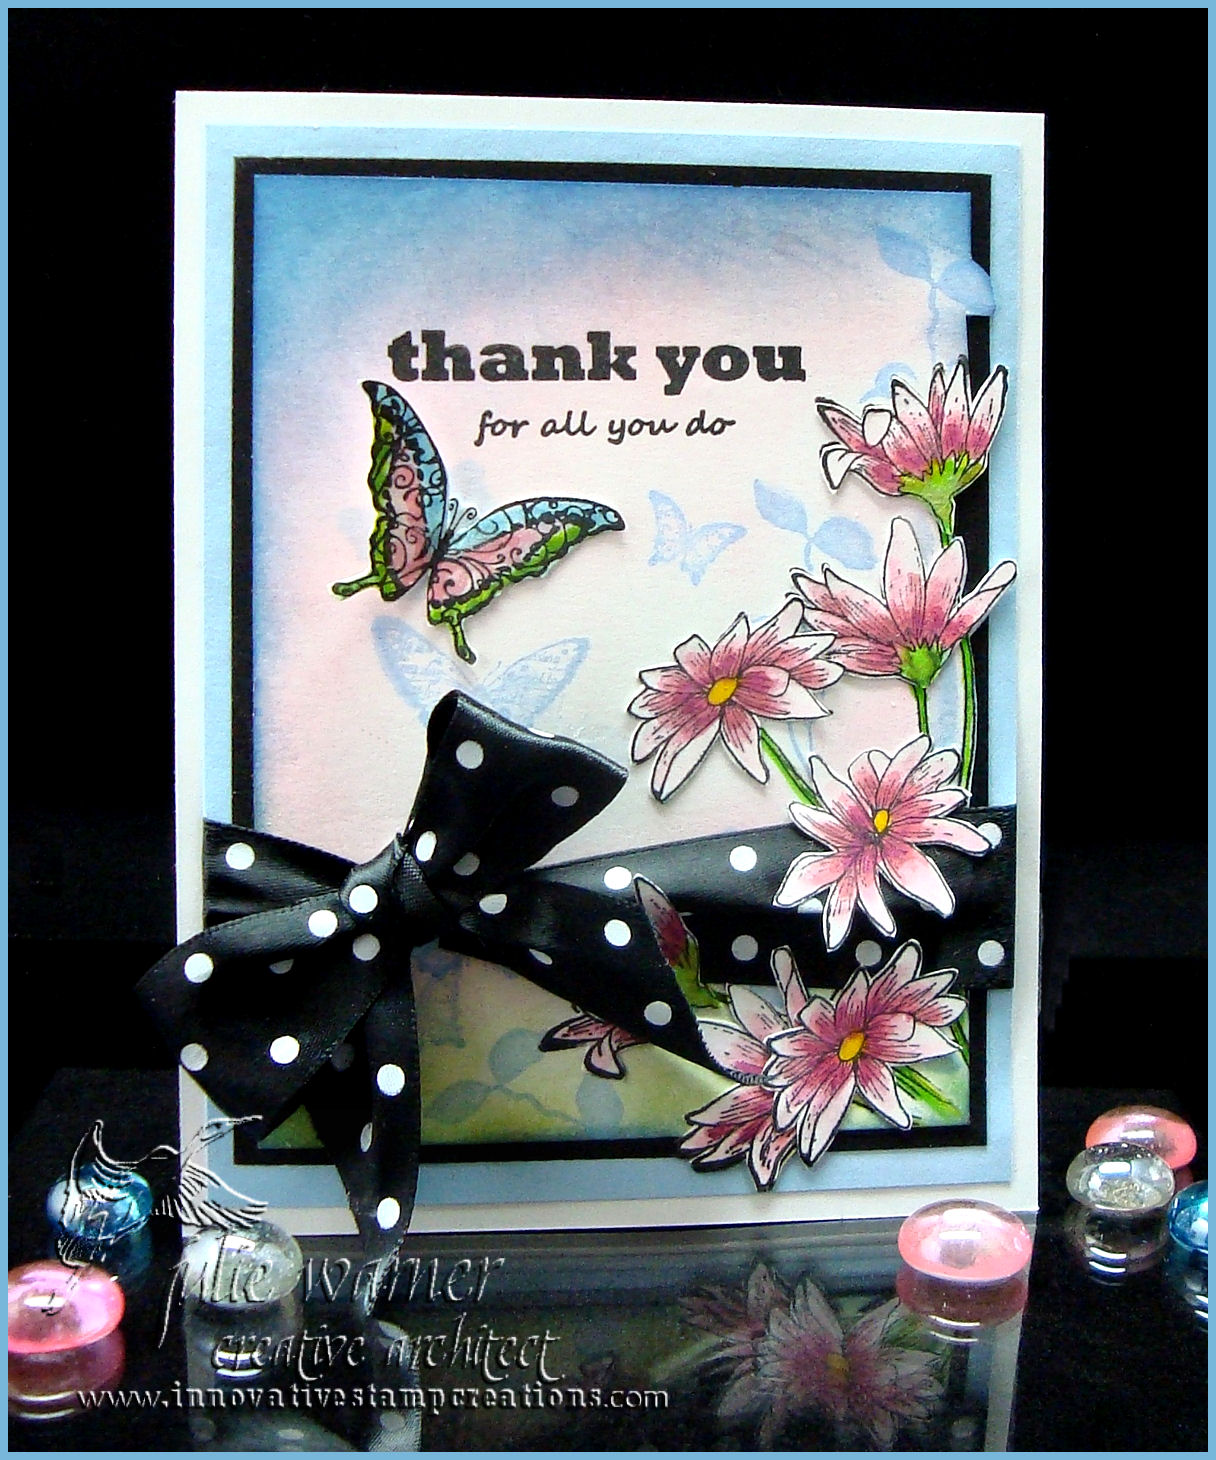
    On the second card, I used sponging and masking to create the main panel. A while back, I saw this card by TheresaCC when she was the featured stamper at Splitcoast. I loved the layout but didn’t have a chance to try it out until now. I stamped and masked the daisies and background leaves then stamped the daisies again on a separate piece of c/s. When I saw that the ribbon placement would cover the original images, I cut out the second set and attached them on top. The pink, blue and green inks were sponged onto the white panel w/ the image masks in place. The finished card measures 4.25 x 5.5.

    Supplies:

    Stamps: ISC – Oriental Nature Elements, Nature Silhouettes II, Nature Silhouettes III, Artful Décor, Silhouette Butterfly ATC, Marvels of Nature III (tiny butterflies)
    Paper: Neenah white, baby blue, black
    Ink: VersaFine Onyx, Memories soft baby blue & baby pink, Distress Ink shabby shutters, Colorbox baby blue pigment ink
    Accessories: Tombow markers, wide polka dot ribbon

    Thanks so much for stopping by!
    Julie2 sig


  • ISC April Release Day 3

    Delicate Swirls Butterfly Stamp Line

    Julie Warner - justwritedesigns - https://thewritestuff.justwritedesigns.com

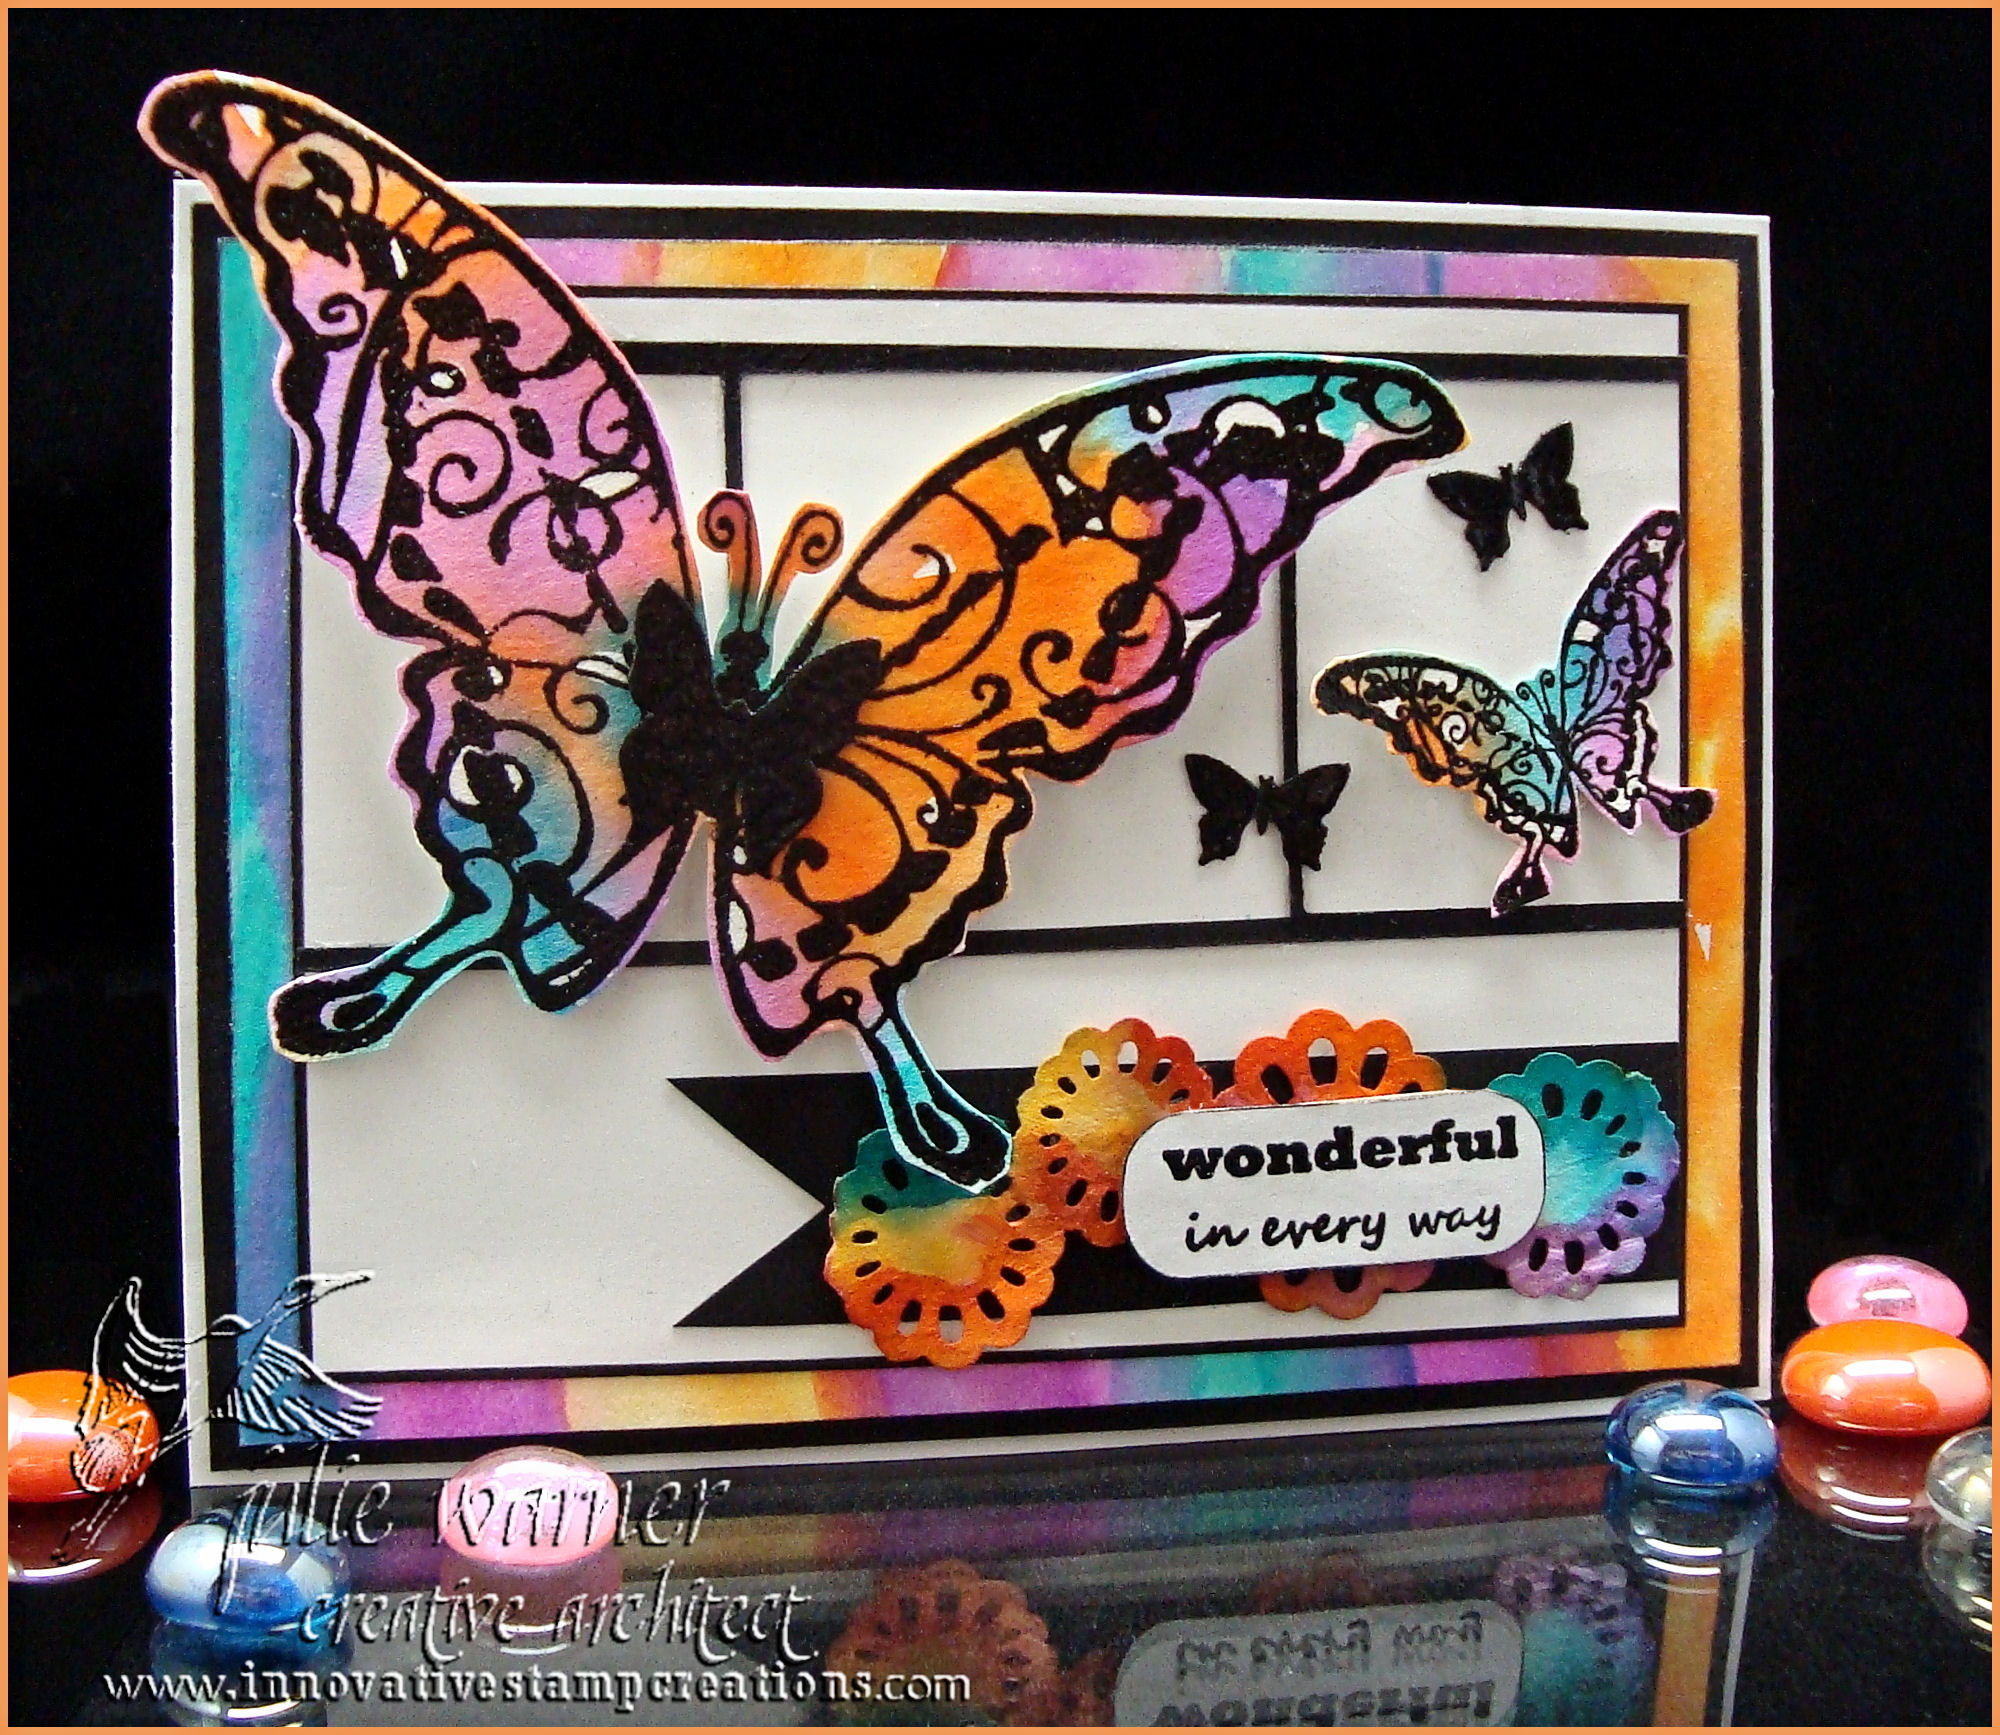
    For my card, I picked the Tropical Dramaturgy from  color link site Betsy gave us. I love tropical colors and I tried to incorporate as many as i could. I first made the background on lightweight water color paper by painting bands of dye reinker colors with a large paintbrush onto the dry paper. I used part of it for the background and I  black embossed the butterflies on the rest.  The narrow black frame was a leftover piece from another project where I had die cut some squares out of it.

    For the banner, I stamped the image w/ lighter colored ink, cut it out and used the reverse side. The daisy border was also painted w/ dye reinkers after it was punched.  The little black butterflies were punched out of black embossed c/s. The finished card measures 5.5 x 4.25.

    Thanks so much for stopping by! Please be sure to visit all the Architects.

    Kathy Tucker
    Julie Warner (you are here)
    Karen Dunbrook


    Julie2 sig
    Supplies:

    Stamps: ISC -Delicate Swirls Butterfly
    Paper: water color, black
    Ink: VersaFine Onyx, various Adirondack reinkers
    Accessories: Quickutz oval die,  black ep, small butterfly punch (All Night Media), Daisy border punch (EK Success)

  • Flower Pot Card


    Julie Warner - justwritedesigns https://thewritestuff.justwritedesigns.com/

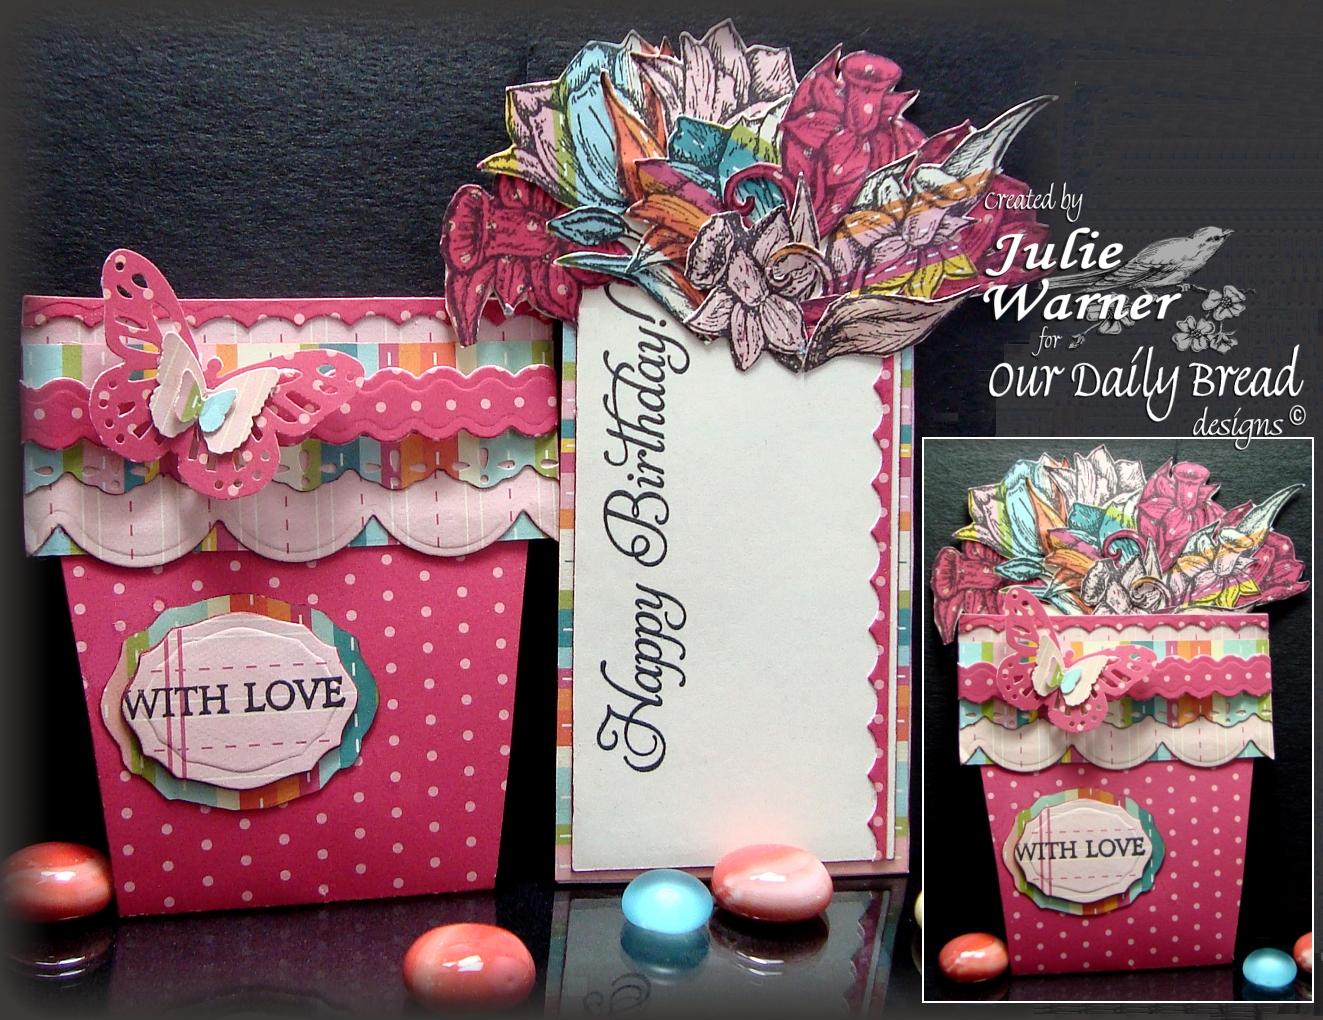
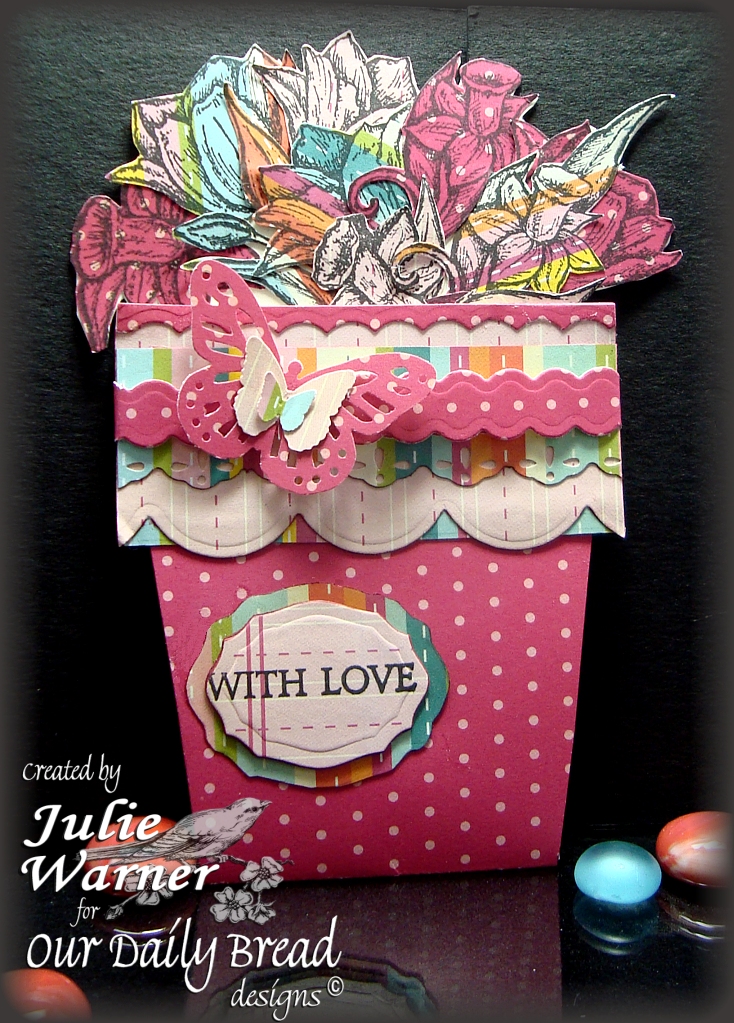
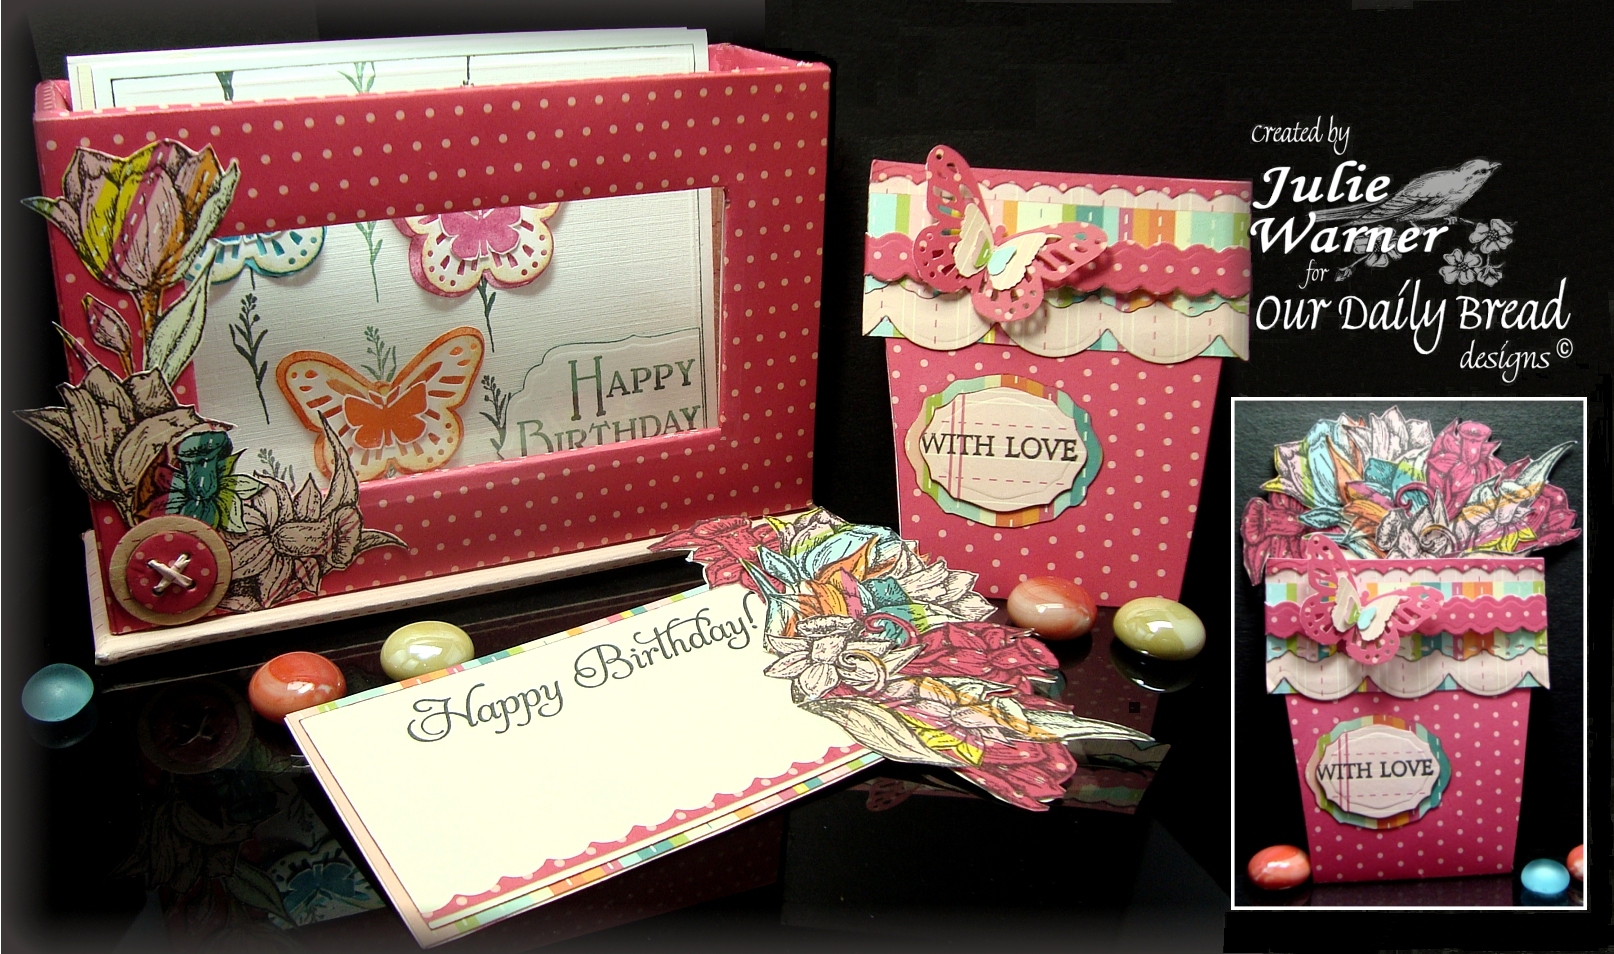
    This is part of a post I have over on the Our Daily Bread designs blog today. I hope you’ll stop by and let me know what you think of my redone card holder box I made to go with this card.  Recently, I saw a flower pot card and thought I’d like to give it a try. There’s a tutorial for this card on Splitcoast and I’ve also seen it on several blogs.  This blog had not only the instructions but a printable template as well. I made the pot part of my card with a dotted dp and added a coordinating wide band I cut w/ a Quickutz scallop border die.  A third dp pattern was used to make a narrower scalloped band. Instead of the ribbon for the closure, I made a narrow belly band, again using one of the scallop border dies. I attached the punched butterflies on top and slipped it over the lip of the flower pot.

    Julie Warner - justwritedesigns - https://thewritestuff.justwritedesigns.com

    The sentiment was cut using the new, exclusive ODBD/Spellbinders Labels One die.  I traced around the same die and hand cut the striped layer. For the insert, I stamped several tulips and daffodils on the three patterns of dp and cut them out. I stamped the greeting and layered the ivory onto a piece of the striped dp. A narrow piece of the scalloped edge dot dp left over from the belly band was attached down the side.

    Here’s a pic of the entire set please head over to the ODBD Blog.

    Right about now, you’re probably wondering what’s up with this box. I found it in my local craft store with the trendy desktop/scrapbook organizing items when it was on sale. The label stated it was a photo holder. Since it’s made to hold 4 x 6 photos, I reasoned it would also hold A2 (4.25 x 5.5) cards as well as larger cards if they were put in sideways. I usually have quite a few cards I’ve made that will be going out to different people throughout the coming weeks. I don’t want to put them away because I’ll forget, but I don’t like to have them just laying on the table either. I thought this would be a good place to hold them until I’m ready to mail.

    Here’s the before pic of the box:

    Well the colors are ok, but I wanted something a little different. I just finished making a really cute Flower Pot card and decided to use the papers to recover my box. I started by prying off the bottom and since it has a clear vinyl insert covering the window, I peeled it off from the inside. (It was attached to the final paper covering from the inside.) I left all the other paper “as is”. Using the box as a starting point, I cut out one piece from the dotted 12 x 12 sheet that went around the back, both sides and about a half inch on each side of the front. The exact measurements are: 5 1/8″ x 11 1/2″. On this piece I scored it (from the left side) at 1/2″, 2 1/2″, 9″ and 11″. From the bottom, I scored up 3/8″ inch, and at 4 1/2″ and 4 5/8″ inches. These narrow bands became the the bottom overlap (to be covered by the bottom piece) and at the top where it folds over to the inside.

    Julie Warner - justwritedesigns - https://thewritestuff.justwritedesigns.com
    For the inside, I just measured each piece and trimmed until it would fit. I used the coordinating paper on the inside and a third paper for the bottom. I used a spray adhesive on the back of all my papers and started by attaching all but the front window of the inside pieces. I used this removed piece to trace the window, cut the window and attached it over this piece. Don’t attach the window yet. It’s actually the LAST piece to be attached. The outside pieces were all attached and I had to trim and miter the corners as I went. I recovered the base and reattached it. Then I attached the inside window piece and it’s all done! Except for the tulips and daffys I stamped and cut out. The button is a die cut.

    Thanks so much for stopping by!

    Supplies:

    Stamps: ODBD – Tulip Corner, Daffodil Corner, Happy Birthday, With Love (from Mistletoe Tag set)
    Paper: ivory, dp (all from Cosmo Cricket – Girl Friday)
    Ink: VersaFine Onyx
    Accessories: ODBD Labels One dies, Martha Stewart butterfly punches, Quickutz scallop border dies