• Tag Archives masculine
  • Sparkle N Sprinkle Blog Hop!

    Julie Warner - justwritedesigns - https://thewritestuff.justwritedesigns.comWelcome to our Not so Macho Masculine Blog Hop brought to you by the Sparkle Team of Sparkle N Sprinkle!

    If you arrived here from Barbara Bruder’s blog, you are in the right place! If not, you’ll probably want to go to the SNS Blog and start from the beginning.


    Julie Warner - justwritedesigns - https://thewritestuff.justwritedesigns.comWeekly-Favorite
    Best of 2011

    I’m going to share two different cards made using the same set, 1900 Cars set 285. For the travel card above, I used two different map papers, a new banner die set and labels 17  from Spellbinders. The antique autos on both cards were colored using a combination of  markers and Prismacolor pencils. For the Travel greeting, I used a bookplate die and bowed it slightly when I attached it.

    On the Classic card below, I cut out the roadster and also an extra left side (facing the viewer) and layered it on the base image for a little extra dimension. The background scene was stamped, masked, sponged and then colored w/ markers. The white frame used a lg oval Spellbinders die and a dot border embossing folder which I used a stylus to hand emboss around the frame.  Both cards measure 5.5 x 4.25. The Travel and Classic cards w/ full instructions are also on the SNS website.

    Julie Warner - justwritedesigns - https://thewritestuff.justwritedesigns.com

    Your next stop will be Jill Jacobson’s Blog, so hop on over! By the way, the product you can win from my blog is a jar of Berry Pudding Glitter Tinsel. If you haven’t tried it, please check it out. It’s fabulous! And this color is just scrumptious! Thanks so much for stopping by!


    Supplies:

    Stamps: Sparkle N Sprinkle – 1900 Cars, Scenery set 349 (for Classic card)
    Paper: Neenah white, dk red,  2 different designer/map papers
    Ink:VersaFine Onyx, Kaleidacolor Melon Melody, Desert Heat & Riviera  rainbow pads
    Accessories:White gel pen, Prismacolor pencils, Tombow Markers, 1/2″ Double Sided “Tear-ific” Tape SAT04, 1/8” Tear-ific Tape SAT02, Spellbinders Labels 17, petite ovals & Banner Basics 2 dies, Sizzix bookplate die, Cuttlebug dot border embossing folder, stylus, sponges, Stamp-a-ma-jig (SAMJ)

    More challenges for this:
    Stamps R Us – masculine
    SCS WT322 -trees, SCS FS223
    Kaboodle Doodles – lots of layers
    Cards for Men – someone special
    Tuesday Throwdown – die cuts
    Timeless Tuesday Challenge – anything goes!


  • ODBD Feb Release Blog Hop!

    j

    Welcome to the Feb. release Blog Hop for Our Daily Bread designs! If you got here from Angella’s Blog, then you are in the right place! If not, you might want to start at the ODBD Blog and hop from there so you don’t miss anyone!

    Julie Warner - justwritedesigns - https://thewritestuff.justwritedesigns.com

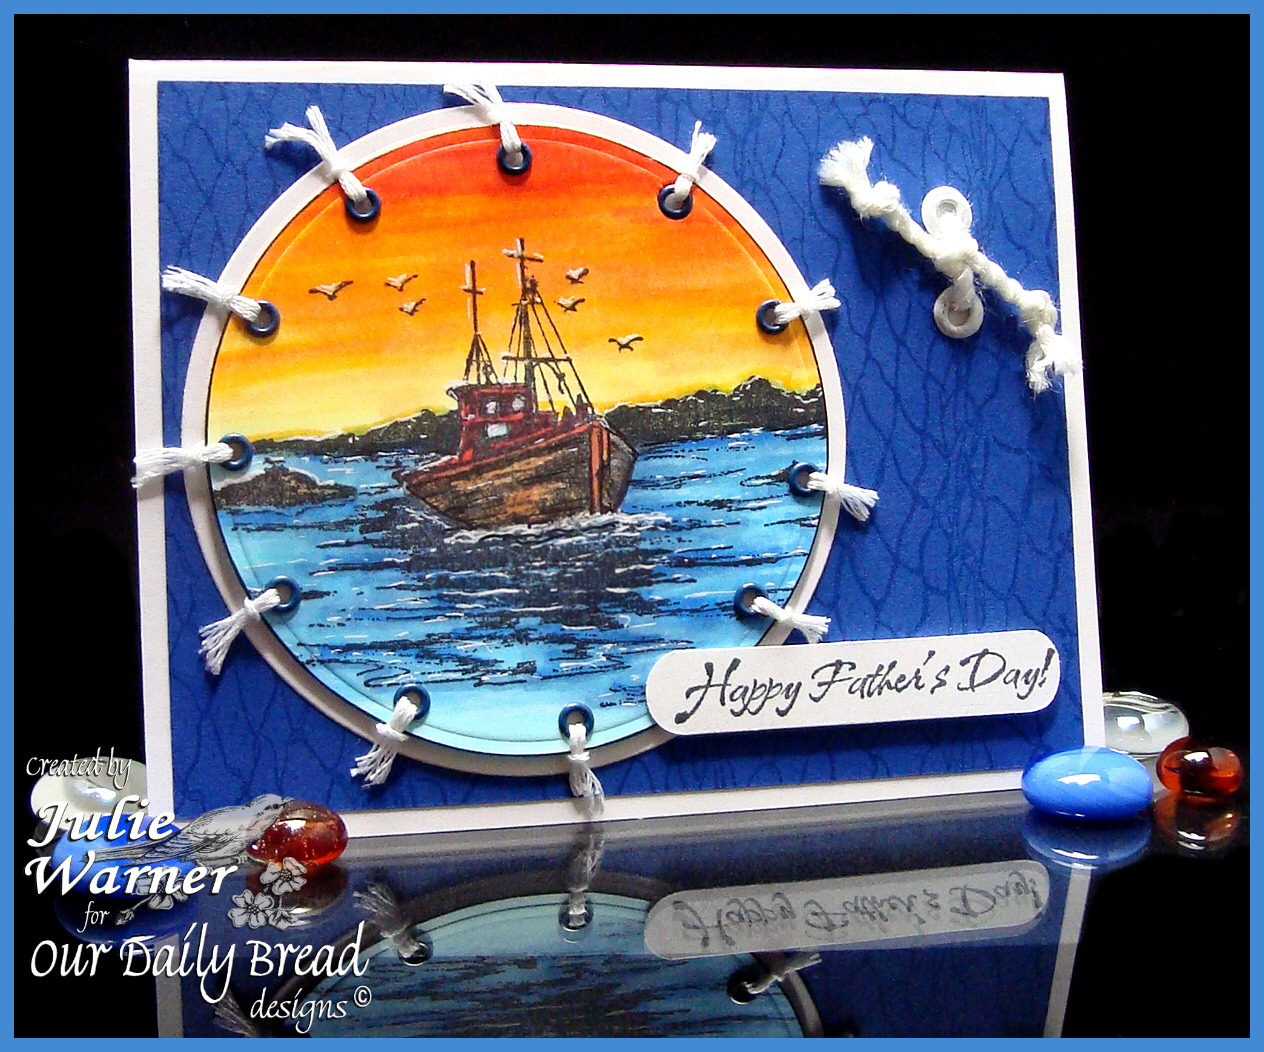
    For my card, I stamped the anchor twice on vanilla card stock and colored them with markers.  I painted on some bleach with a small acrylic paint brush on the anchor and clouds. I used a circle die to cut one out and sliced off the bottom edge. I die cut a larger circle out of a multi color paint chip and attached the image on top. After cutting out the other image, I attached it on top of the base image with a little foam tape to elevate it slightly.

    On the larger, shades of blue paint chip, I placed it back side down on the fish embossing plate and ran it through my Spellbinders Grand Calibur. With the die still in place, I used a sanding block over the raised fish on the right side.

    The sentiment panel was punched on two sides and torn down the left side. I attached two eyelets and tied some twine through them. The finished card measures 4.25 x 5.5.

    From here, hop on over to Dawn’s Blog and prepare to be amazed!

    Thanks so much for stopping by!


    Supplies:
    Stamps: ODBD – Anchor
    paper: vanilla, various paintchips
    ink: Ancient Page indigo
    accessories: ODBD fish embossing plate, Spellbinders circle dies, eyelets,  twine, Tombow markers, sanding block, small rope border punch (All Night Media), bleach, small acrylic paintbrush


  • Quick Desk Calendar

    Julie Warner - justwritedesigns https://thewritestuff.justwritedesigns.com/

    The ISC Architects have some little mini calendar projects to show you today. Wouldn’t these make great little gifts for friends and co-workers?  To print the mini calendar, we used a free calendar print program from Red Castle. After I printed mine out on vanilla paper, I cut it apart and stapled the pages together.  I attached them to a piece of card board for support then to a slightly larger piece of black c/s. (Click any picture to enlarge.)

    Julie Warner - justwritedesigns https://thewritestuff.justwritedesigns.com/All images are Innovative Stamp Creations.  After cutting three layers, 2 of the labels 8 and 1 of labels 16, I left the dies in place while stamping various images from different sheets, I sponged on colors on the largest two and used markers on the smallest one. Each layer is backed by card board for stability. I then cut a smaller labels 8  out of white card board for my easel back and attached a smaller piece of card board covered with sticky back black felt. I also used the felt for the hinge because it’s more durable and flexible than card stock. The horizontal felt the calendar rests on will fold up flat between the easel and the calendar back for easy mailing. When opened, the calendar bottom rests on the felt which keeps it from sliding.

    Julie Warner - justwritedesigns https://thewritestuff.justwritedesigns.com/

    Thanks so much for stopping by!

    Supplies:
    stamps: ISC – Mini Ledger, Odd FindingsMake a NoteDestination, Time
    paper: vanilla paper, Neenah white, black
    ink: VersaFine Onyx, Kaleidacolor blue breeze, Memories soft vanilla
    accessories: Red Castle free calendar print program,  Spellbinders labels 8 & 16, card board, black sticky back felt, Tombow markers, staples

    SaveSave