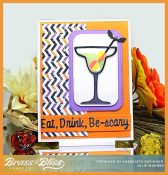
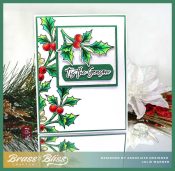
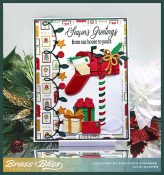
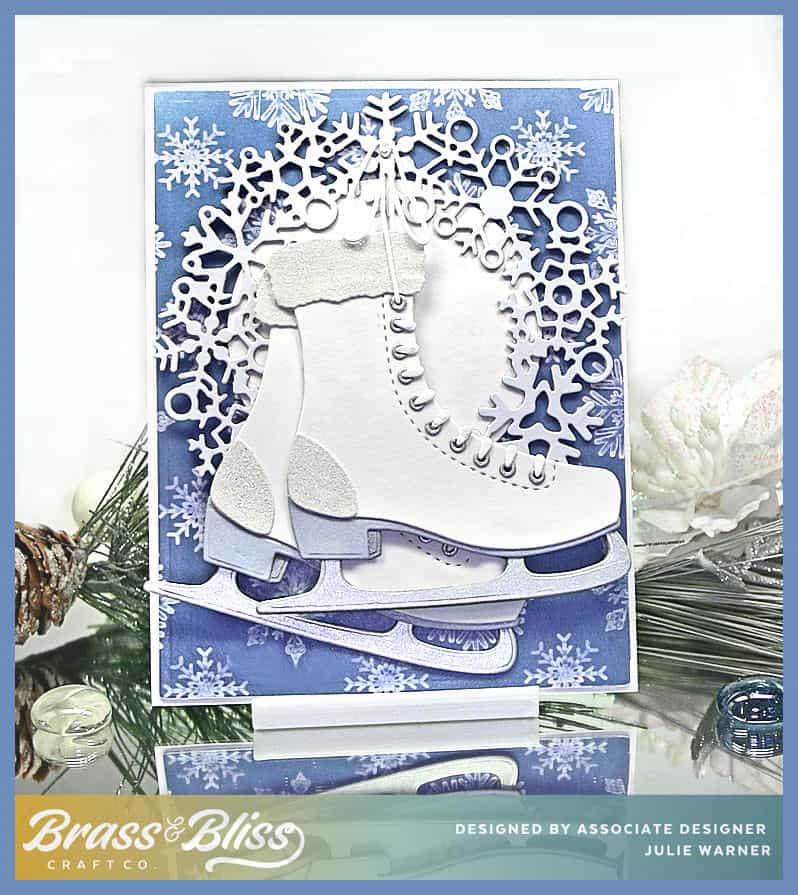
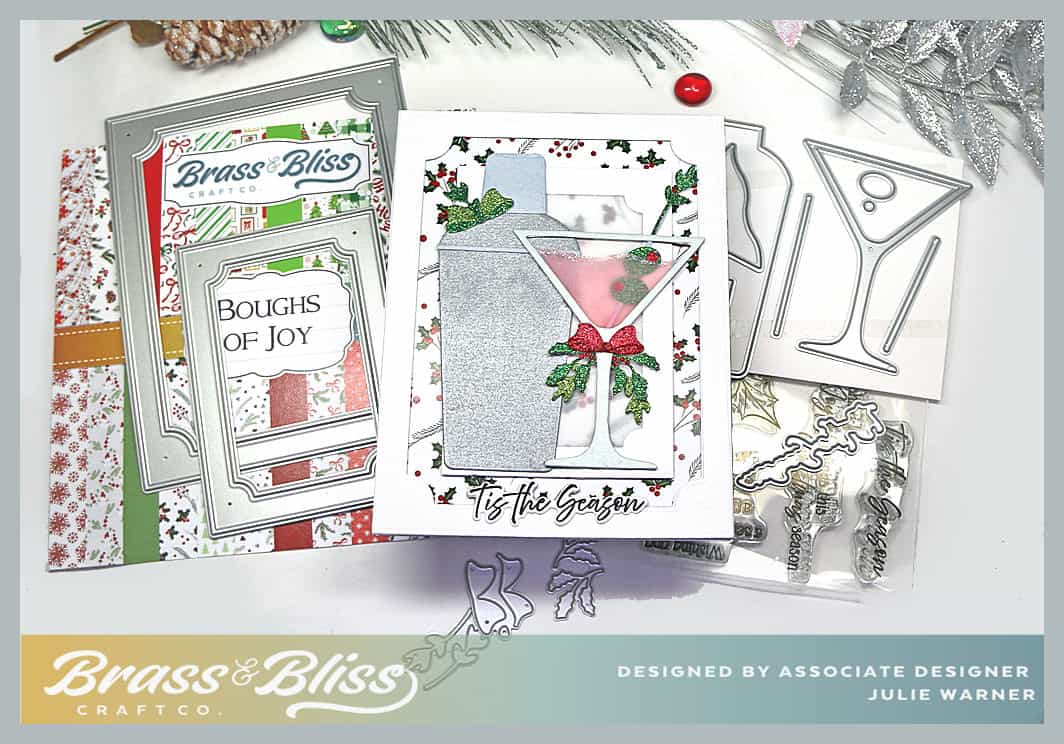
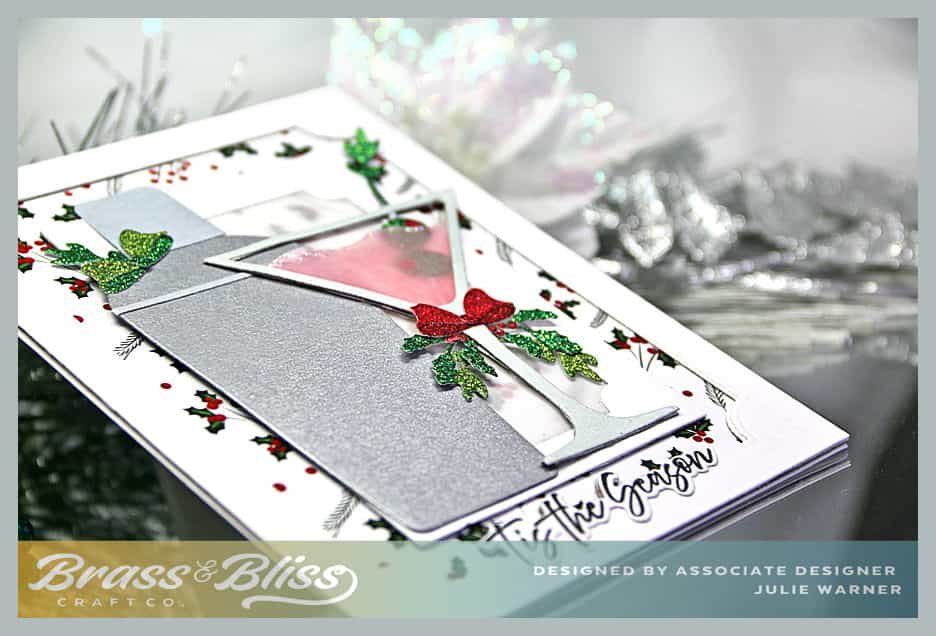
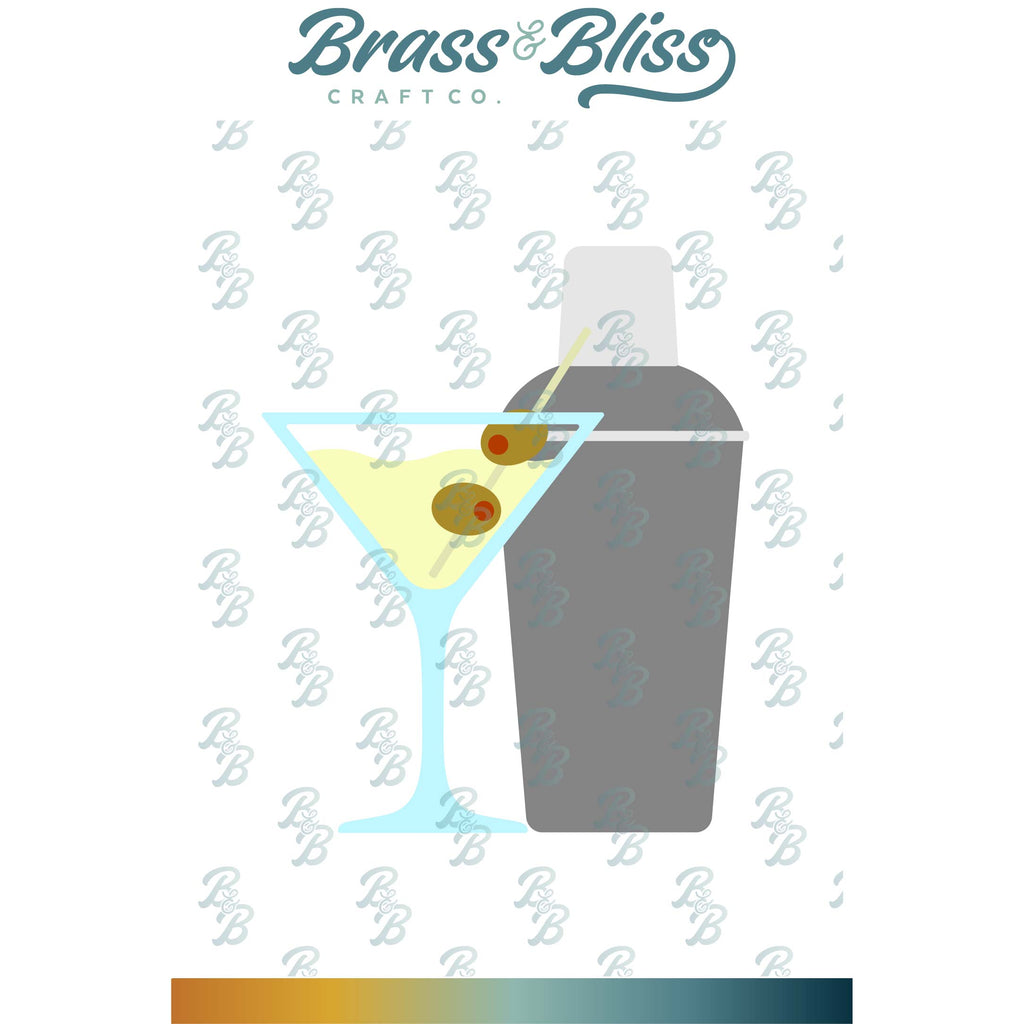
I have a fun, classy, holiday card for the grownup crowd today. This would also be great for a holiday party invite or for your favorite martini loving friend. Change the colors, papers and greeting and you have an all season card. Great for birthdays and parties. The best part is it only takes 3 die sets, a greeting and some pretty paper.
For the Inspiration Challenge IC1042, we are visiting Callister’s Christmas & their Pinterest Board where I was inspired by THIS ornament.

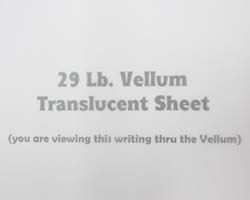
To make my martini card, I die cut the glass out of a shimmery silver card stock. The shaker was cut out of 2 shades of metallic silver & paper pieced. The glass insert was cut twice out of transparent vellum & I used a lt red marker on the back side of the vellum pieces. After cutting the olives out of red & green glitter paper & piecing them to the stir stick, I attached one of the vellum inserts to the back side of the martini glass. The glittery olives were attached behind the vellum & the second vellum insert was attached behind it. Another glass cut out of card board was attached on the very bottom to sandwich all the parts together. The little bows & holly were cut out of glitter paper & added. The largest & mid size tag frames were cut out of white & a piece of designer paper was attached behind the largest one. A piece of vellum was attached behind the smaller one & popped up once more, before the the glass & shaker were added on top.
Thanks so much for stopping by!

Supplies: (click the names below the pictures to take you to the products)
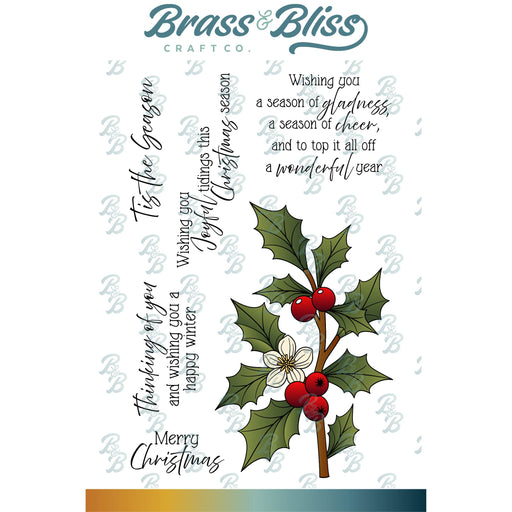
| Stamps: Brass & Bliss: Holly & Cheer set |
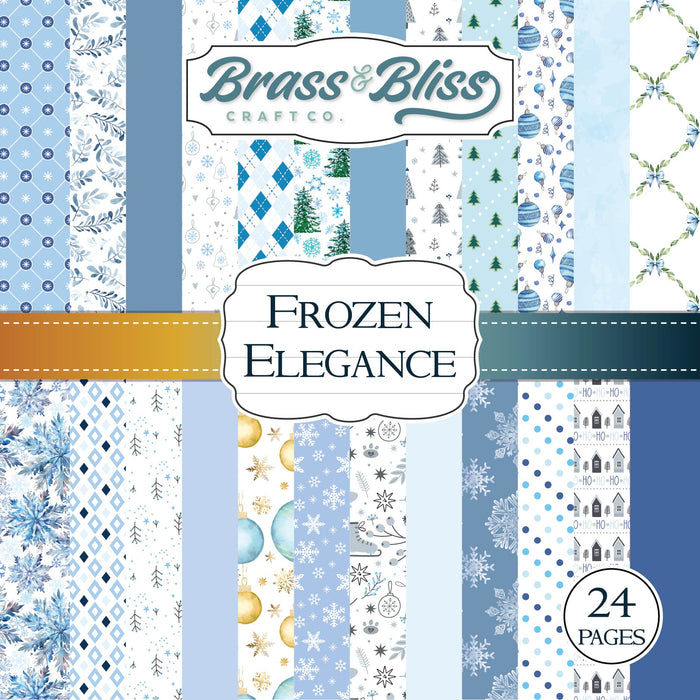
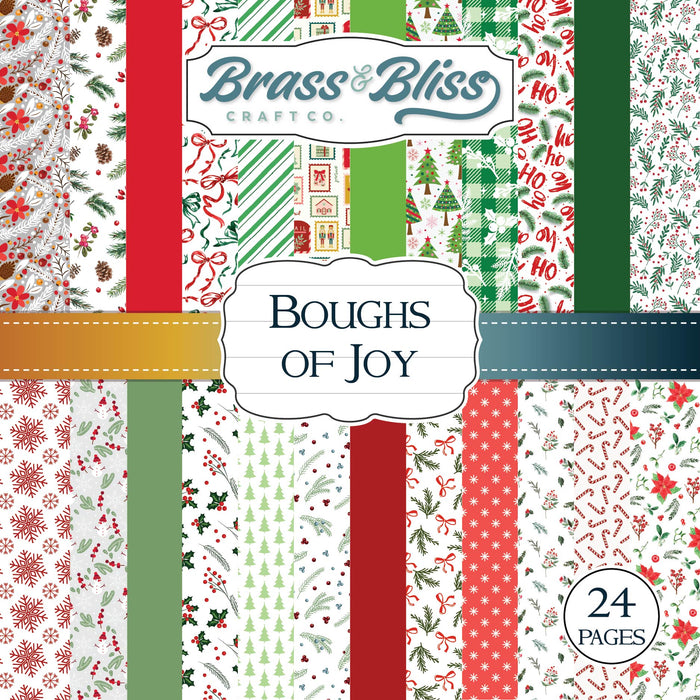
| Paper: Staples 110# white, shimmery silver, 3 shades of metallic silver, red & green glitter, vellum, Brass & Bliss: Boughs of Joy paper pad |
| Ink: Memento tuxedo black |
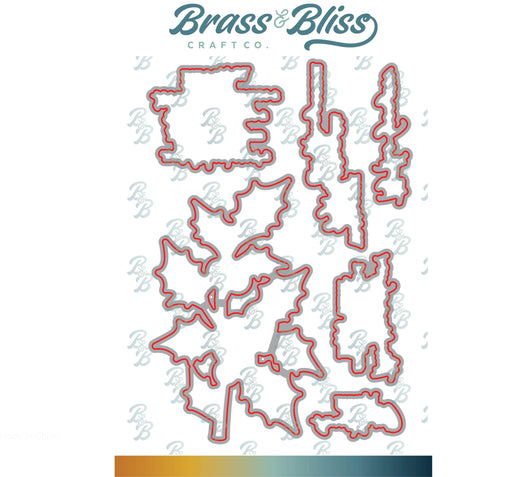
| Accessories: Brass & Bliss: Holly & Cheer, Tag Frames, Martini & Shaker, Market Stand dies |
|
|
|

|
|
|

|

|
|

|
|

|
You might also like: