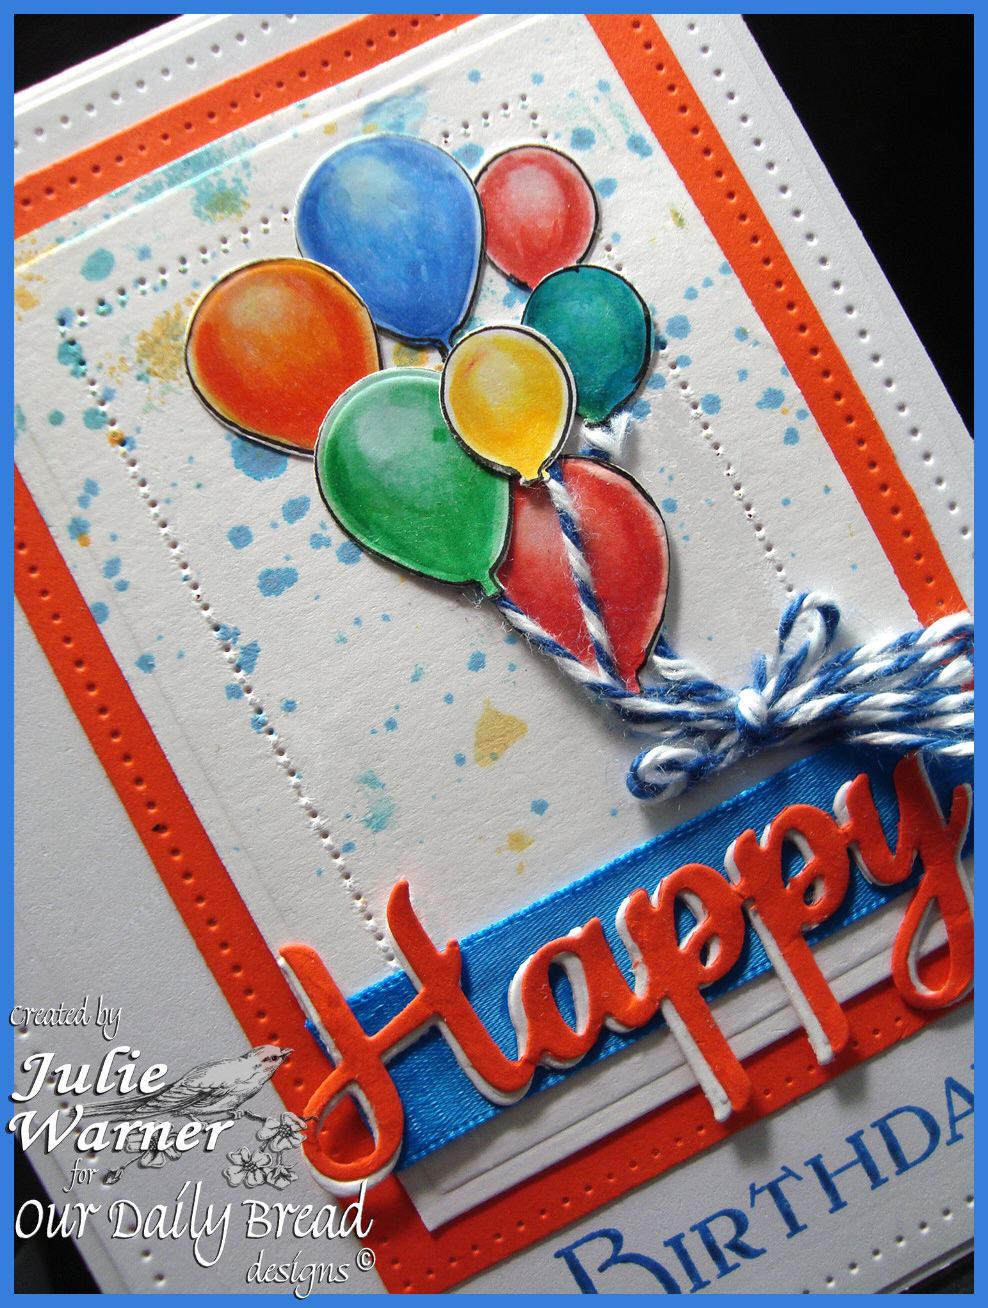

A big congrats to Kerry, the newest Featured Stamper (FS424) on Splitcoast! She has such a fun, colorful gallery and after much browsing, I kept coming back to THIS fun card. I kept the layout, balloons and fun birthday theme, but I since I didn’t have a balloon stamp like hers, I used die cuts & a punch for my balloons, used a greeting and added a layer.
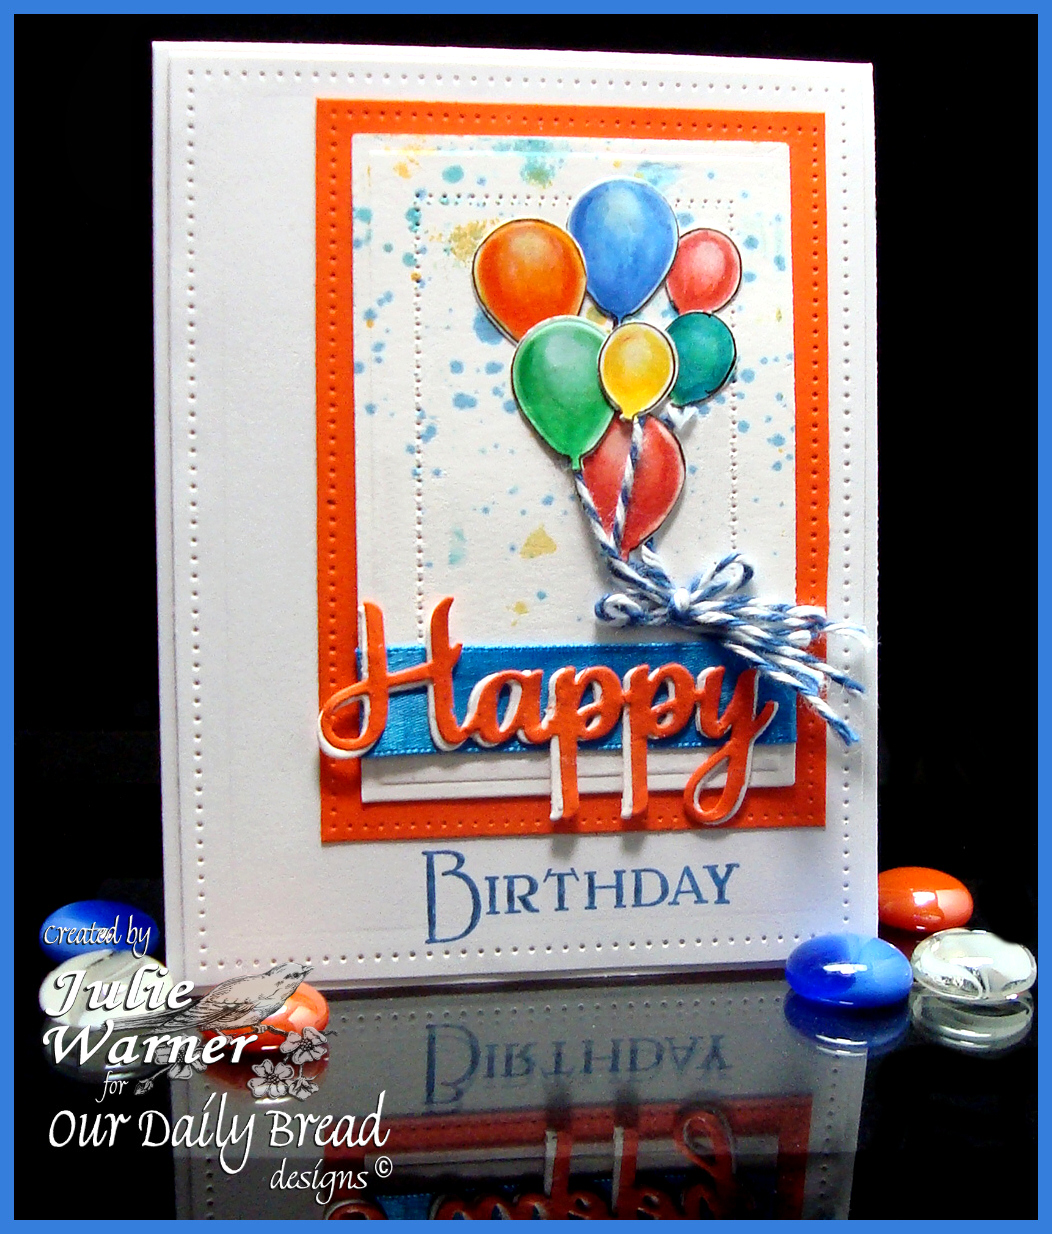
Since my big balloons were die cuts & the small balloons are a punch, they don’t have lines like an image. So I die cut a large one & punched a small one and used the reverse masks as a frame to draw in my lines. Then I colored them and die cut/punched them. The layers were also die cut as well then I spritzed some shine spray on the top white layer. The Happy part of the greeting was die cut once out of the orange, once out of white and stacked, slightly off. I added some twine for the strings and a blue ribbon behind the Happy. The Birthday was stamped below the orange layer to finish it.
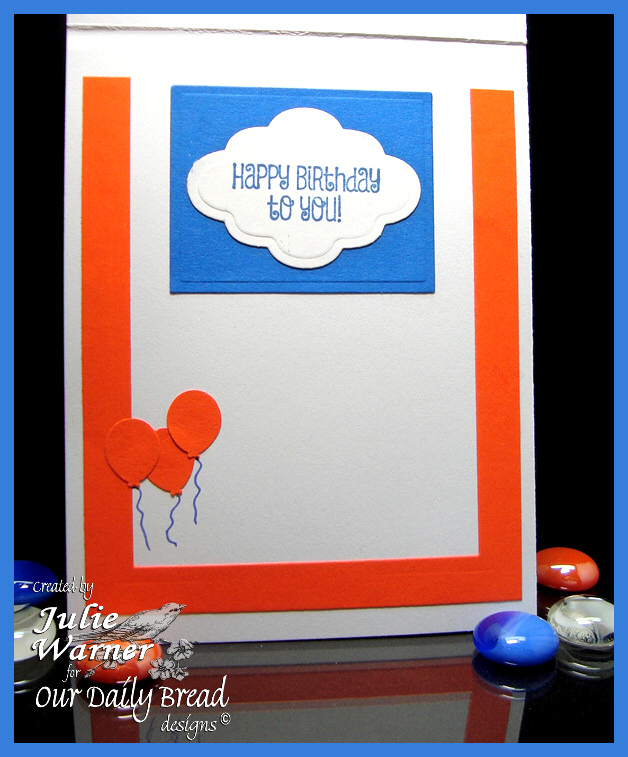
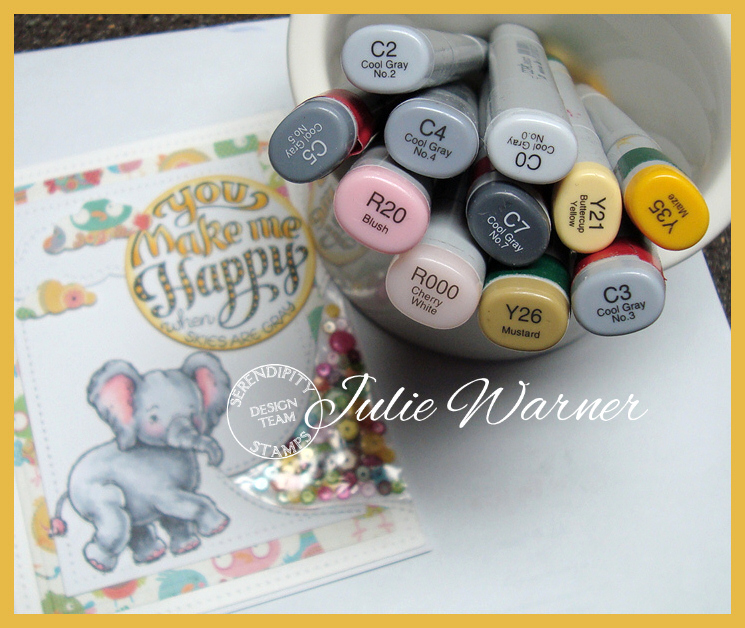
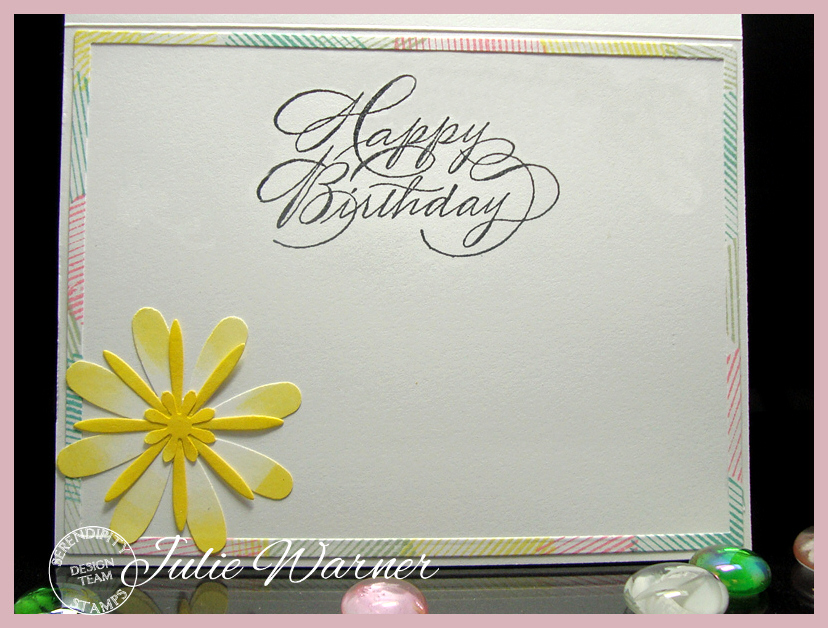
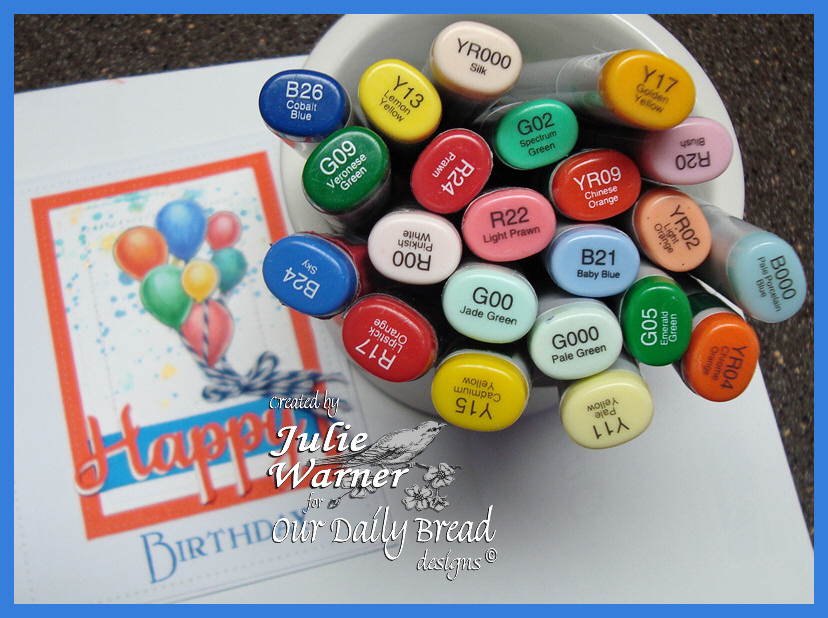
Here’s a look at the inside (above) and these are the Copics I used for the balloons. Apparently it takes a village of Copics to color in some little balloons, lol.
Congrats again, Kerry! Thanks so much for stopping by!

Supplies:
| Stamps: Our Daily Bread designs – Dad, Be Joyful (inside) |
| Paper: Neenah white |
| Ink: Memento danube blue |
| Accessories: ODBD Happy Birthday dies, Spellbinders pierced rectangle dies, Copic markers, small balloon punch (EK Success), baker’s twine, ribbon, Heidi Swapp shine sprays |