• Tag Archives embossing resist
  • ISC April Inspiration Challenge

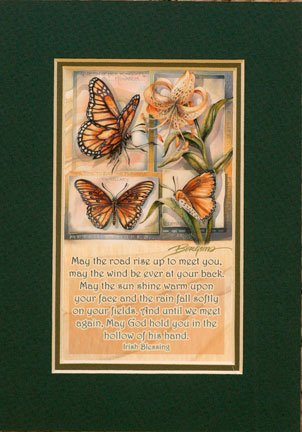
    This month, ISC has an Inspiration Challenge for you! Betsy chose this wonderful picture for the inspiration piece. Don’t you just love the colors and images? Want to win a free sheet of ISC images? To be eligible to win, use the picture as your inspiration and create a card or other project using ISC images only, and link your creation to the ISC Blog by May 9th.


    Weekly-Favorite

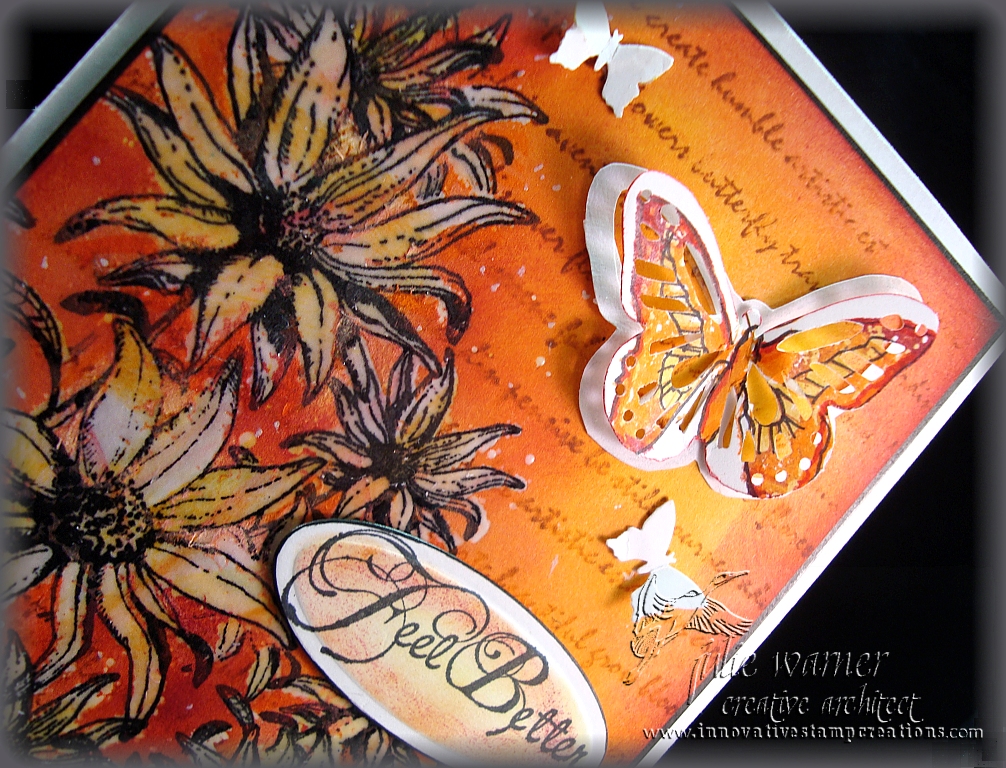
    And this is my version. I really picked up on the orange colors, the flower and butterflies. Although it may look like there are layers or cut outs, there’s really only one layer attached to the card, three punched butterflies and one die cut sentiment. I started with a piece of white c/s slightly smaller than my 4.25 x 5.5 (A2) white card. I stamped the medium and small Bush Flowers with black ink, masking when needed. I added just a touch of color by lightly swiping sponges w/ yellow, orange and pink inks haphazardly across the flowers. I colored over all of the petals w/ a VersaMark pen and clear embossed them. A few specks of embossing powder were spread out around the flowers, but I like the splatter look so I left them and even added a few more.

    Yellow, orange, pink, ginger and cranberry inks were then sponged over the entire piece and I used more of the darker colors around the flowers to add more contrast. The excess ink was wiped off of the clear embossed flowers. The script from Odd Findings was stamped over the top with ginger ink.  I stamped a butterfly from  Friends are Special using the yellow, orange and cranberry inks on a scrap of white then I used a butterfly punch. The punch didn’t exactly line up w/ the image, but I like it anyway.  I traced around it on a piece of white and cut the inside out, leaving just a white frame of the butterfly. I used this as my base to attach to the card and popped the butterfly up on top. I added two more small punched white butterflies and the sentiment (also from Bush Flowers). I edged the entire piece w/ a black marker and added a piece of cardboard underneath for a little dimension before attaching it to my card.

    Thanks so much for stopping by! Your comments are always read and much appreciated!

    Be sure to check out the rest of the ISC Architect’s creations. Links are on the side bar. ———————>


    Julie2 sig

    Supplies:
    stamps: Innovative Stamp Creations
    paper: white
    ink: Ancient Page coal, Adirondack ginger & cranberry, Stamp It orange & pink
    accessories: black Permapaque marker, Martha Stewart monarch butterfly punch, small butterfly punch (All Night Media), Spellbinders mega oval set
     

    SaveSave

    SaveSave


  • Ombré Watercolor Resist

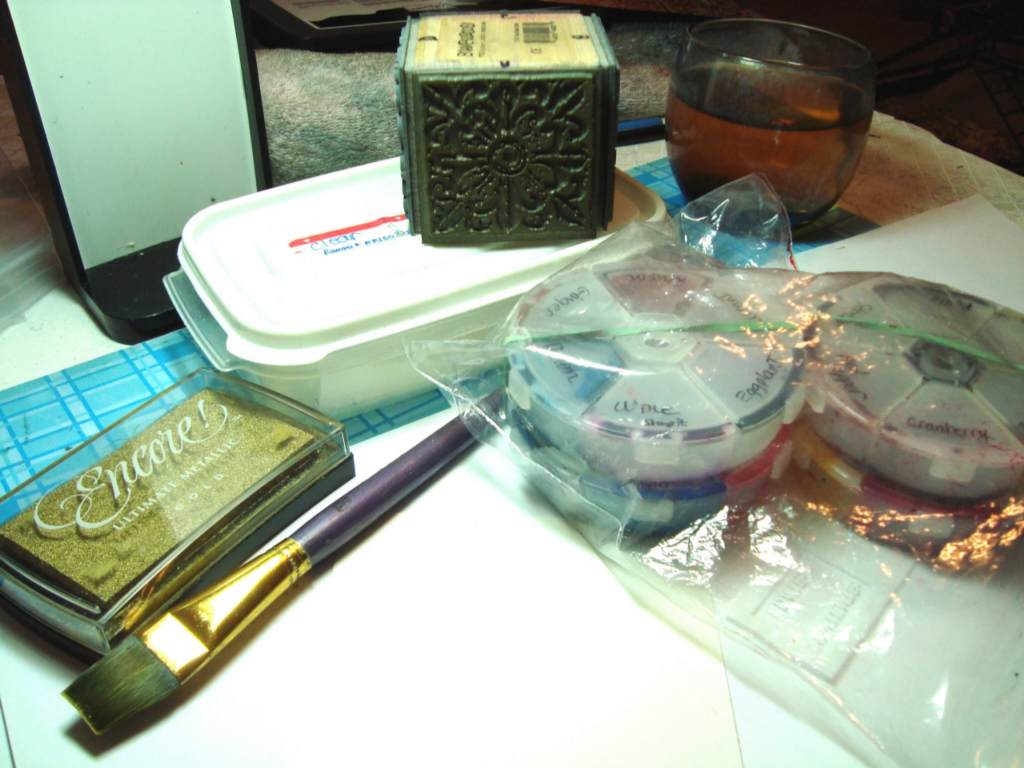
    Supplies Needed
    Supplies Needed
    Supplies:
    1. Watercolor paper
    2. ¾” Flat Wash Paint Brush
    3. Adirondack reinkers in Butterscotch, Ginger, Raisin and Eggplant (I keep drops of mine in these little round, divided craft containers-it’s fine when they dry out; just reactivate with a little water)
    4. Tiled Quad Cube stamp (Stampendous)
    5. Encore Ultimate Metallic Gold ink (Tsukineko)
    6. Clear Embossing Powder & Heat Tool
    7. Water


    (Click any picture to enlarge)

    Step 1
    Step 1 & 2

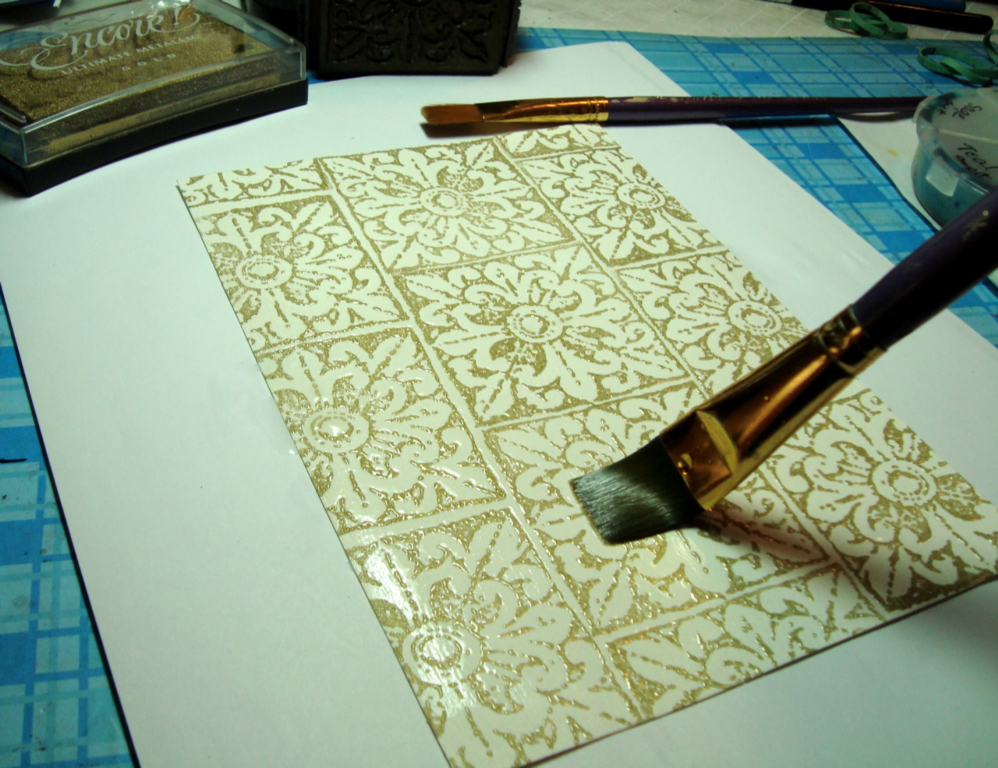
    Step 1:

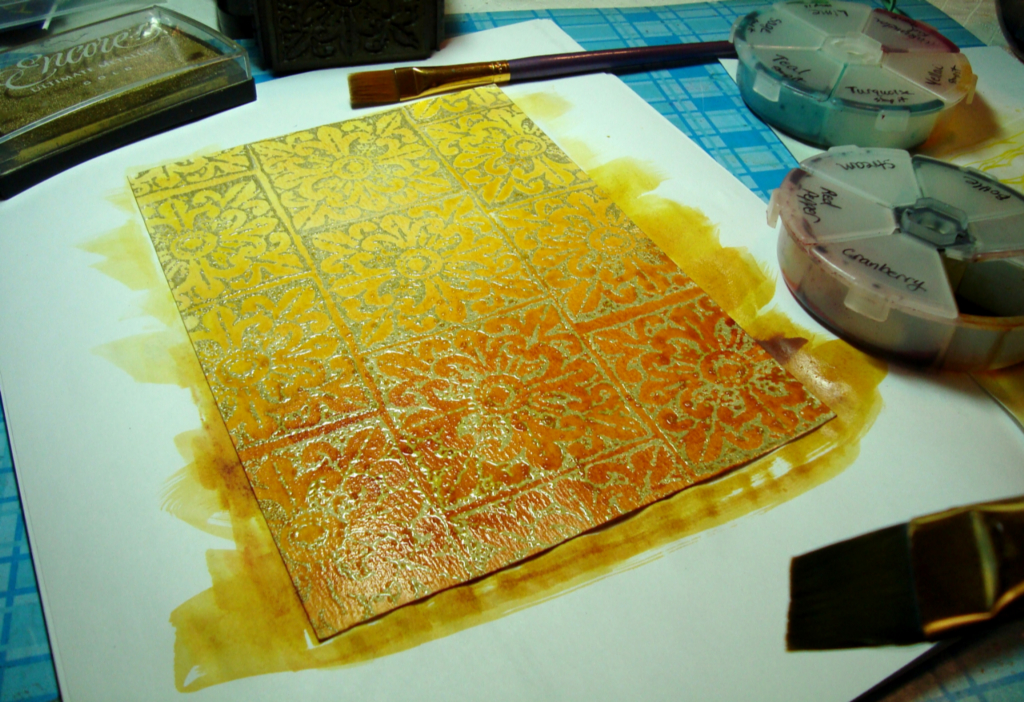
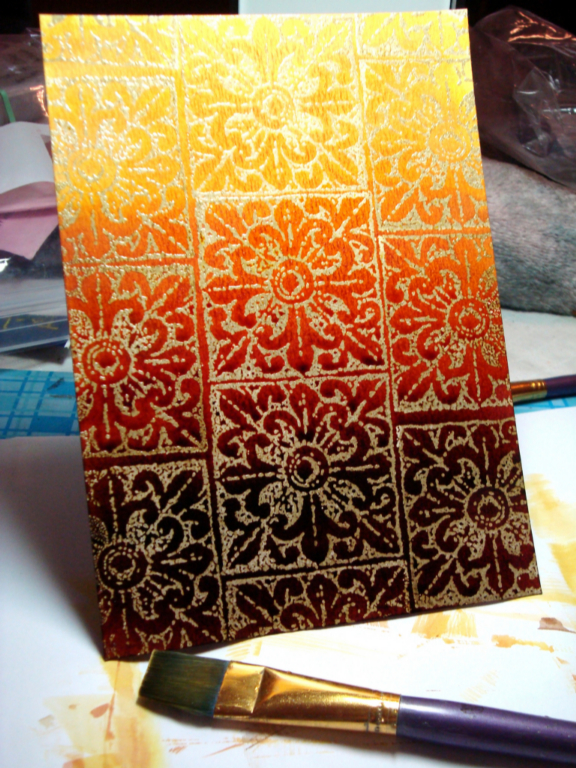
    Stamp image repeatedly onto watercolor paper using the gold ink. Coat with clear powder and heat emboss.

    Step 2:

    Use the paint brush to wet the entire piece.

    Step 3:

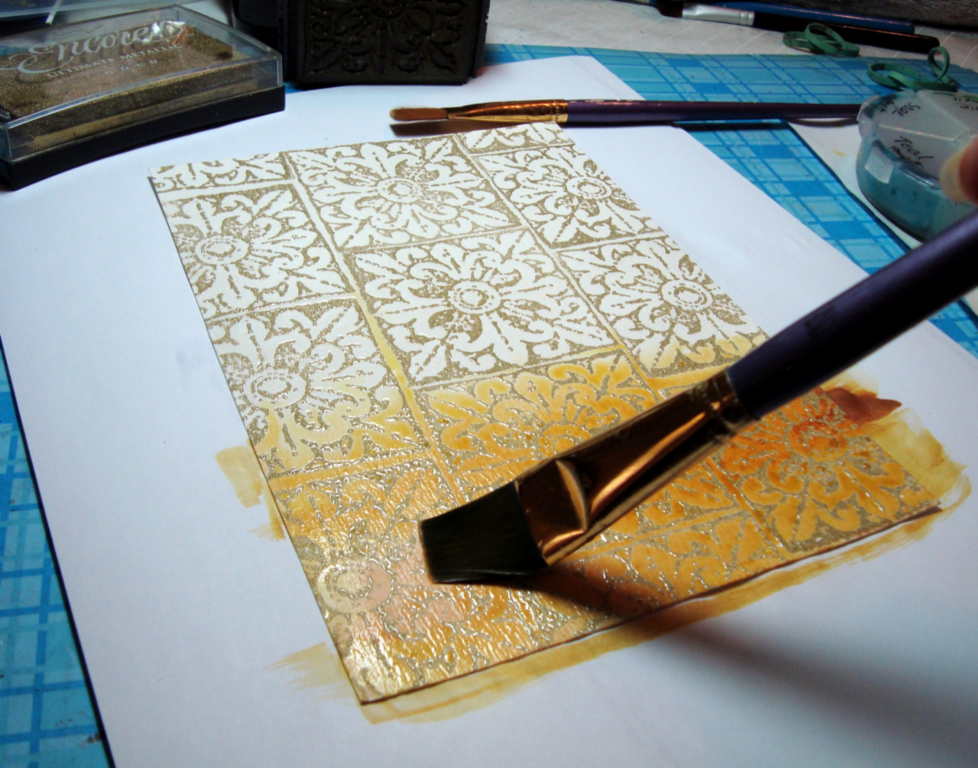
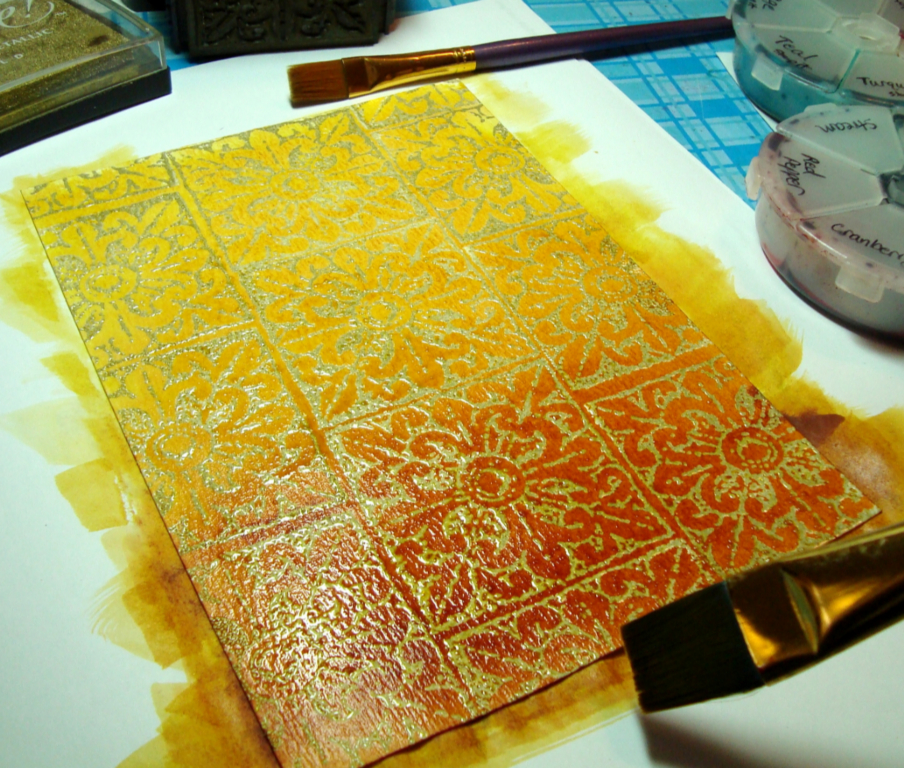
    With the water loaded paint brush, pick up some of the Butterscotch ink and begin washing it across the wet background. Begin at the lower edge and work your way up. The ink will become lighter as you move up the page. When adding more ink, always begin at the lower edge.

    Step 2
    Step3


    Step 3 after application of Butterscotch ink
    Step 4
    Step 4

    Step 4:

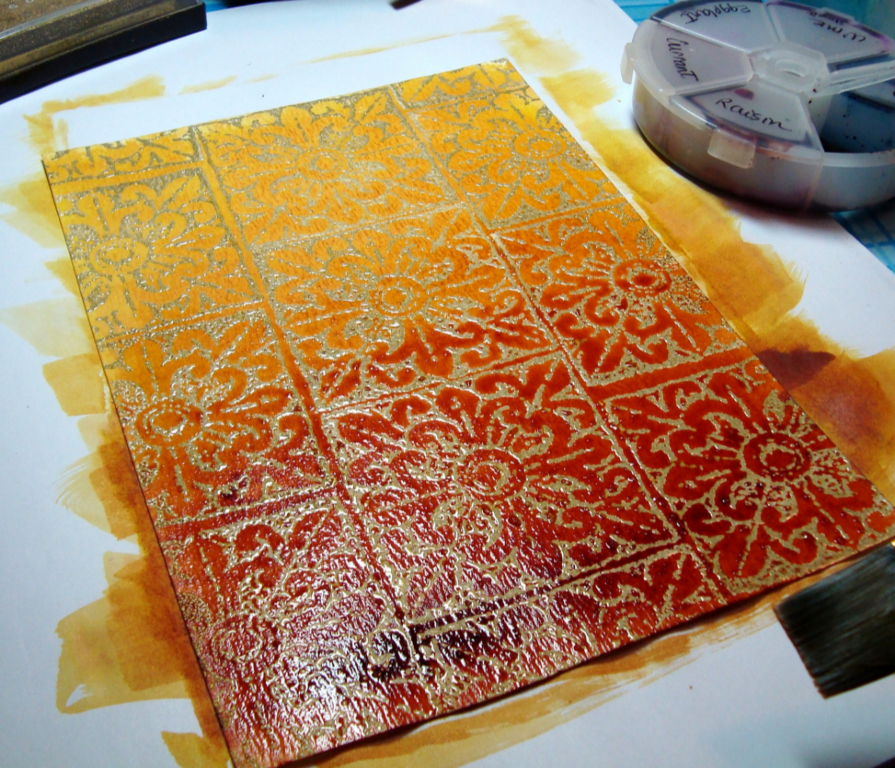
    With the water loaded paint brush, pick up some of the Ginger ink and float in only on the bottom ½ of the piece

    Step 5
    Step 5


    Step 6
    Step 6

    Step 5 & 6:

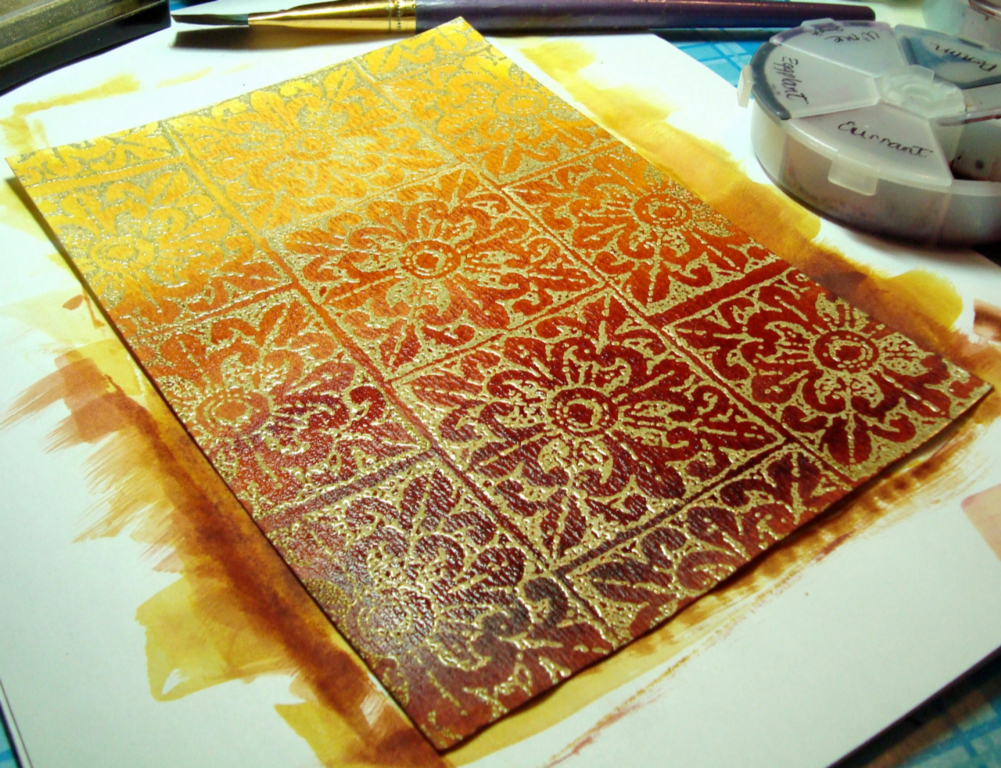
    With the water loaded paint brush, pick up some of the Raisin ink and float in on the bottom 1/3 of the piece. Finally, float in a little Eggplant ink on the lower 1/3. I used Eggplant because I don’t have a darker brown reinker. Since the dk. purple Eggplant is the opposite (or complement on the color wheel) of the orangey yellows it will produce the brown color I need.

    (Optional)

    Let the piece dry for a few minutes, then load the paint brush with water and add a little Eggplant ink. Tap the paint brush against your other hand while holding it over the piece. This will produce a splatter pattern.

    Finished background
    Finished background

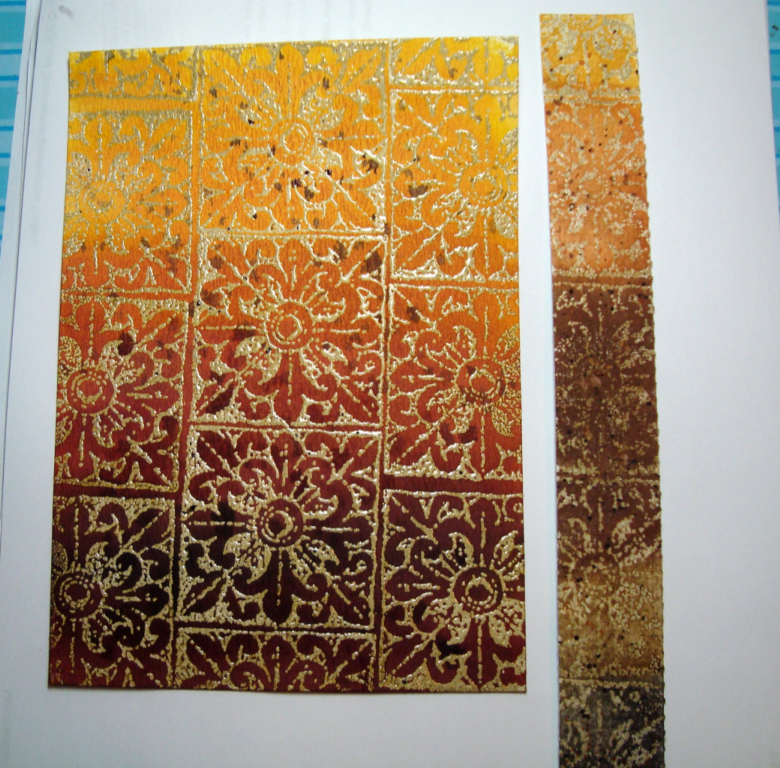
    Finished Piece:Comparasion: left was done with reinkers, right strip was done with traditional watercolor paints.

    Comparison- reinkers on left, tradional watercolors on right
    Comparison- note reinkers are slightly more transparent


    DTGD08Michele DTGD08Christine DTGD08Lauren Model T494a
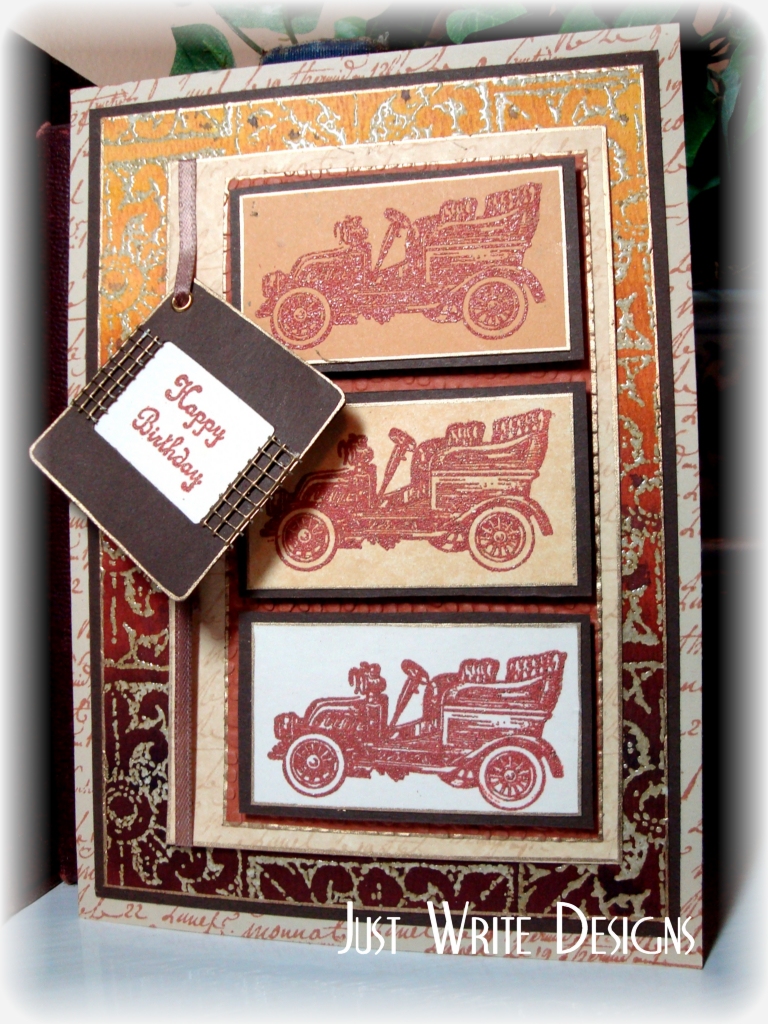
    Finished card using the background


    Julie2 sig