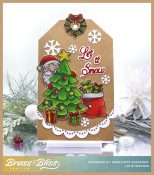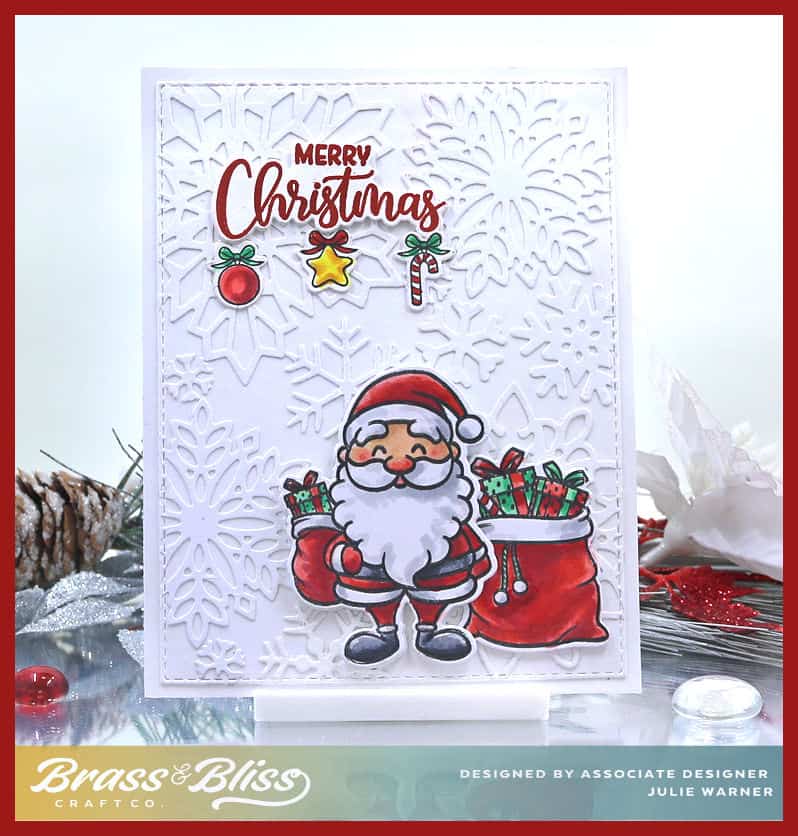
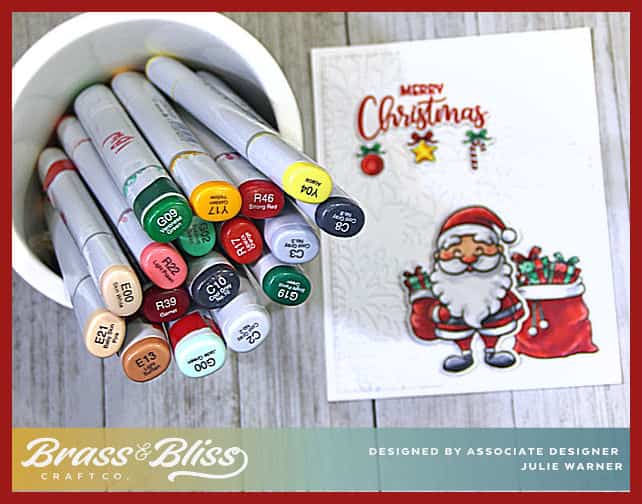
Christmas is fast approaching so this is a good time to add another to the pile. This one has a fun Santa image and snowflake covered background. It’s easy to make, it just takes a little die cutting and gluing. Color up the Santa and add him to the card!
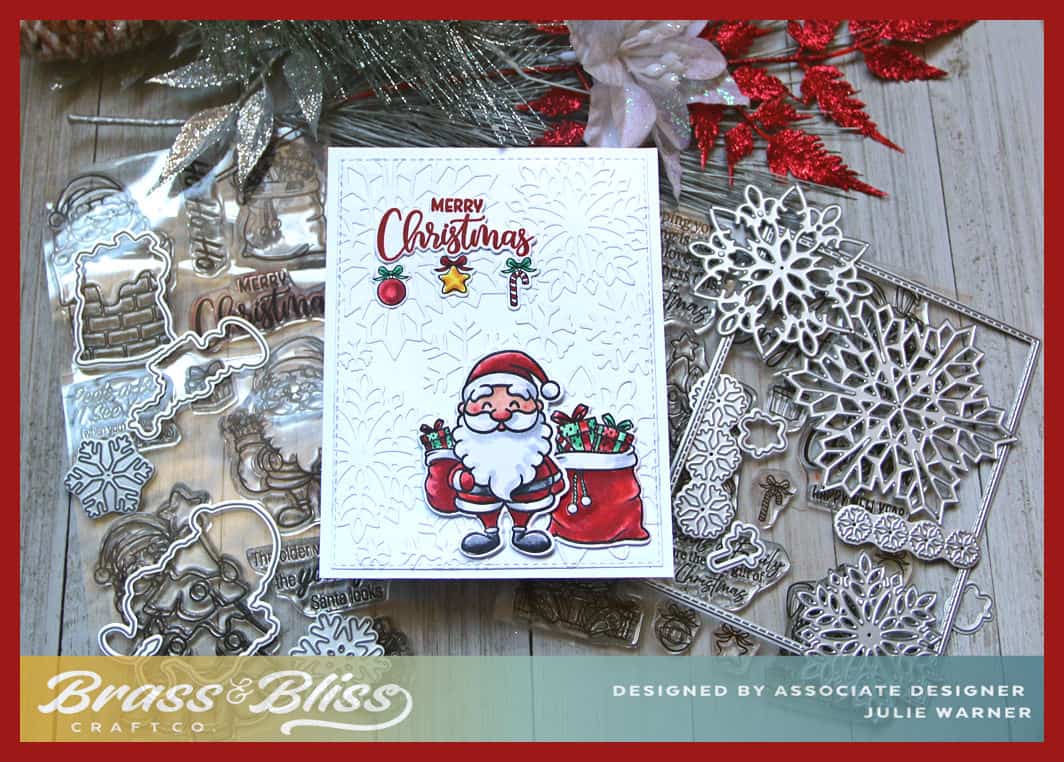
A big congrats to Barbara, the newest Featured Stamper FS1031! She has a big, beautiful gallery with a lot of fun cards. I chose THIS card to case. I kept the Christmas theme & snowflake background, but I used different images & dies & added little ornaments hanging from the greeting.
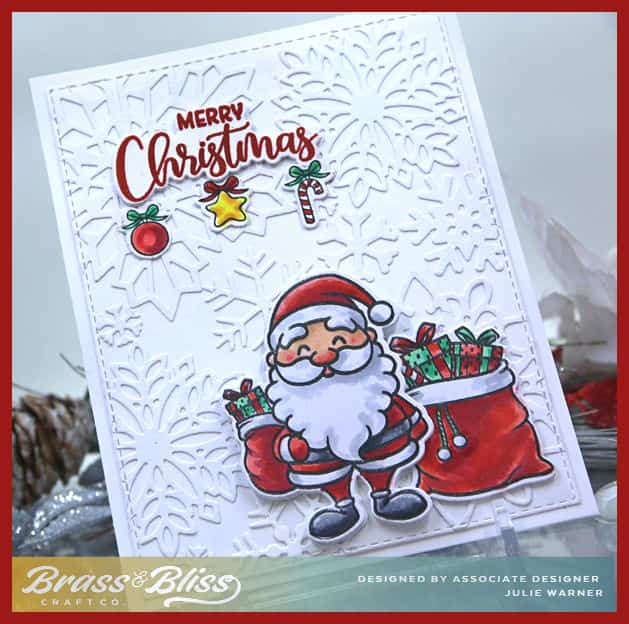
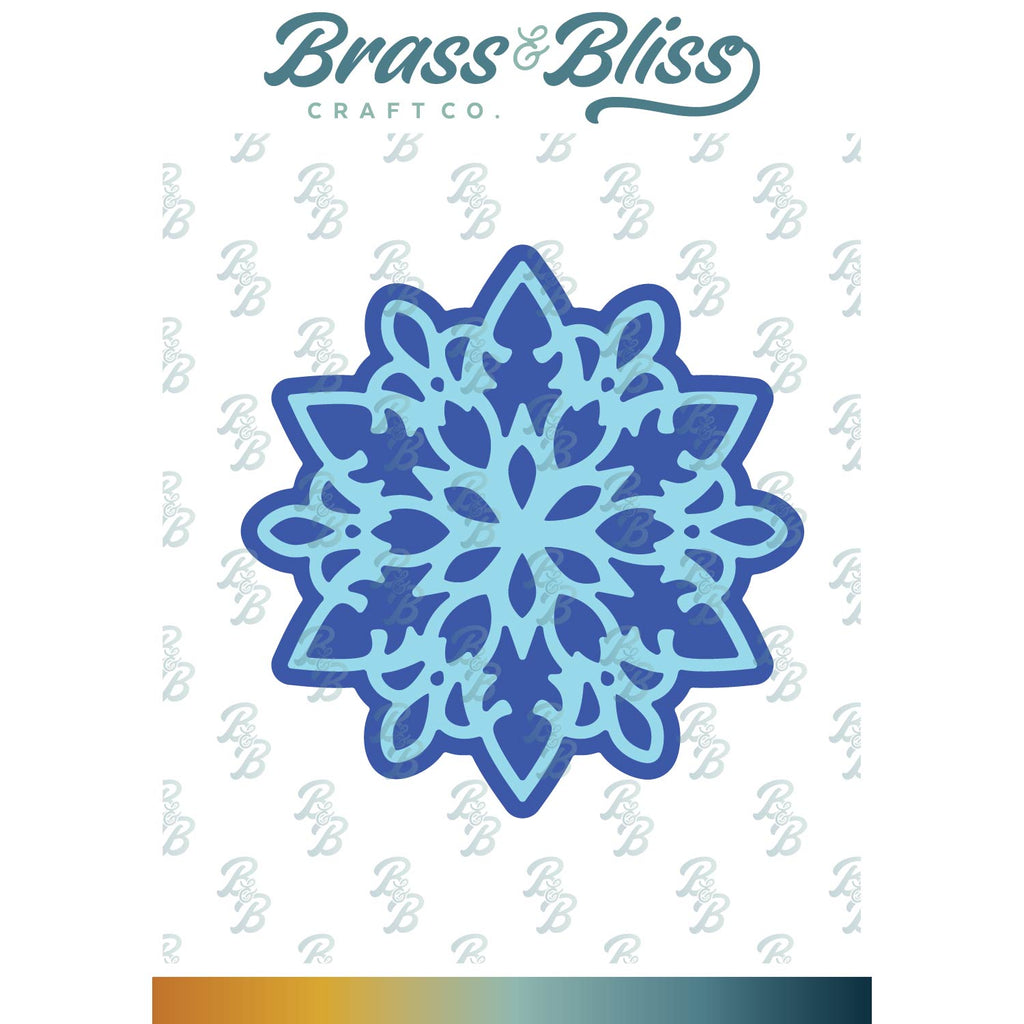
For my card, I die cut a bunch of different sized snowflakes & glued them to a piece of white. The 3 largest sizes have shadows that go behind them, but I didn’t use them here. After they dried, I die cut the piece w/ a stitched rectangle. Then the images were die cut & colored. Tip: I find it easier to die cut the pieces out of white, then put a little removable adhesive on the backs, put them in my Misti. I use a clear, lined grid on top, stamp the images on it, then see if they line up w/ the blank die cuts. This is especially helpful with the smaller images. Santa, his big bag & the greeting are all popped up.
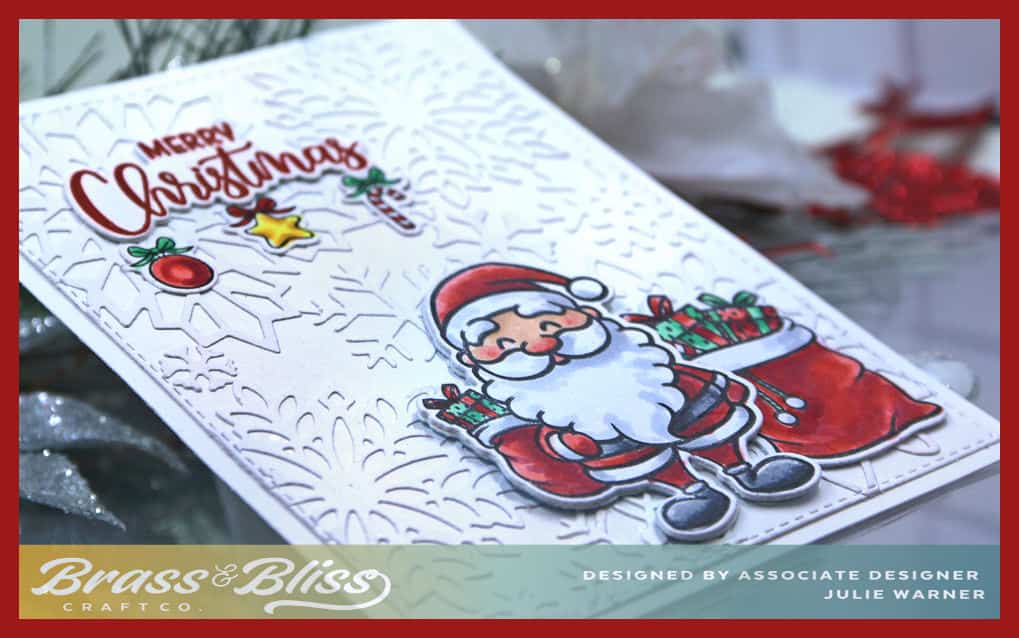
Here are the Copics I used:
Thanks so much for stopping by!

Supplies: (click the names below the pictures to take you to the products)
| Stamps: Brass & Bliss: Jolly Old Mischief set, Christmas Bunnies set (tiny ornaments) |
| Paper: Staples 110# white |
| Ink: Memento tuxedo black, Versaclair tulip red |
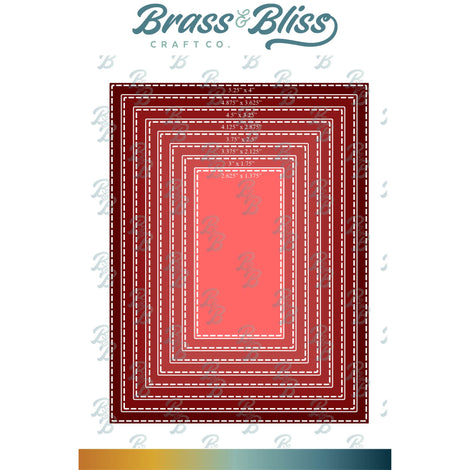
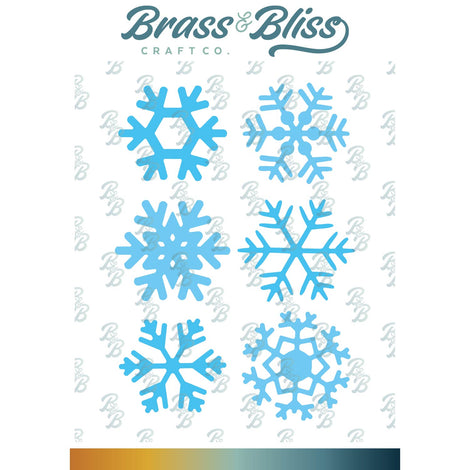
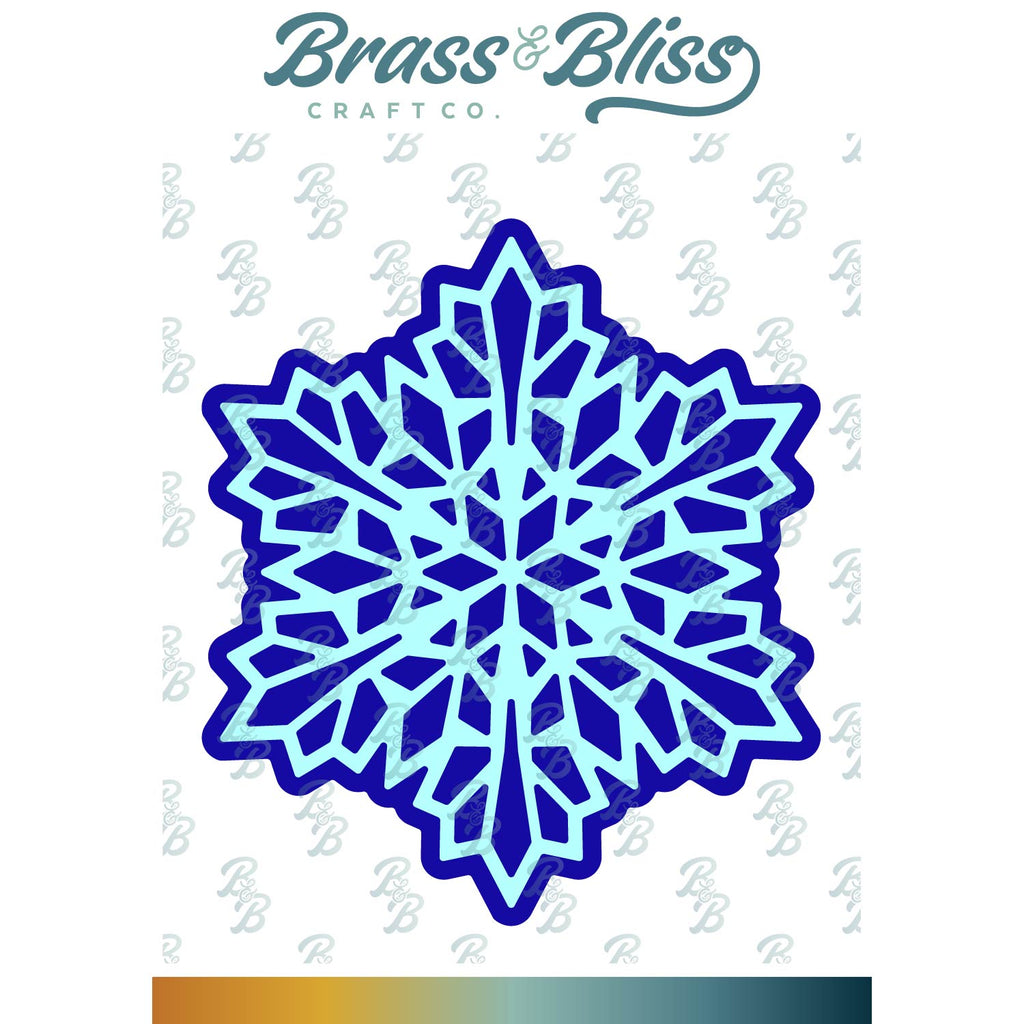
| Accessories: Brass & Bliss: Jolly Old Mischief, Christmas Bunnies, Lg Snowflake w/ Shadow, Med Snowflake w/ Shadow, Sm Snowflake w/ Shadow, Snowflakes, Mini Snowflakes, Stitched Rectangles dies, Copic Sketch Markers |

|

|

|

|

|
|
|
|
|

|
|

|

|

|

|
You might also like: